Welcome to my Blog Party. You have arrived at The Happy Wonderer. I’m ellen b and I’m so happy to welcome you here. I’ve made a cake for the occassion and I’m sharing the recipe with you. My birthday is March 14th so this is a great week for a party around here. I would like to give you a taste of what my blog is like. I’m posting some regular kind of things you’ll see if you come back to visit. So relax and enjoy as you scroll on down…
Applesauce Spice Cake
1 pkg. yellow cake mix
1 pkg. 4 serving size jello instant vanilla pudding
4 eggs
1 cup applesauce
1/2 C. water
1/4 C. oil
1/2 tsp. cinnamon
1/2 tsp. nutmeg
1/4 tsp. all-spice (optional)
1/2 raisins finely chopped (optional)
Combine all ingredients in large mixing bowl of electric mixer and blend then beat at medium for 4 minutes. Pour into well greased and floured 10 inch tube or fluted tube pan. (I’ve used a bundt cake pan and angel food cake pan). Bake at 350 degrees for 50-55 minutes or until cake tester comes out clean. DO NOT UNDERBAKE. Cool in pan for 15 min. remove and cool on rack. When the cake has cooled and before I serve it I give it a dusting of powdered sugar.
This goes really well with whipped cream or a good vanilla ice cream, too. This has become a favorite in my house and is requested for birthday cakes very often.
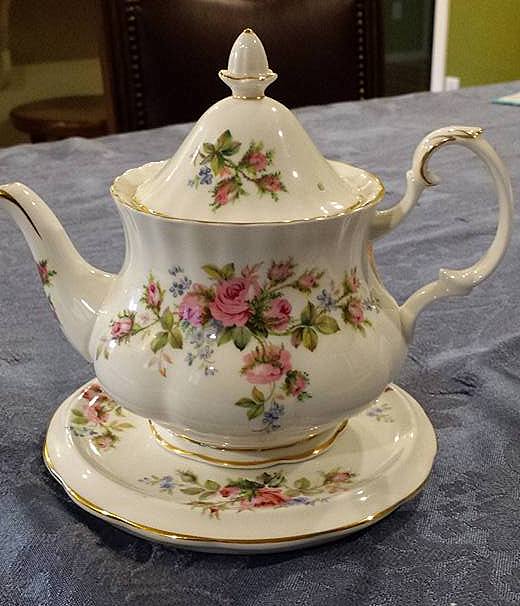
I like to share my recipes and I really enjoy inviting table settings like these…
Special times with family and friends are shared on my blog as well.
I enjoy walking and I share photos from these walks and I’m part of a Bloggy Walking Club. The bloggers who participate keep track of their average steps for a 5-6 day period each week and share their totals. My husband who I call “Dear” on this blog and I walk most every Saturday at Emma Wood State Beach in Ventura, California.
I’m also a Brown Plate Special participant which is a sensible challenge for some of us older bloggers to eat smaller quantities and add more activity in our lives and be accountable to each other.
I participate in a few weekly blog carnivals like ABC Wednesday, Word Filled Wednesday, Wordless Wednesday, Thankful Thursday, Sky Watch Fridays and Photo Hunters. I post a Hymn or Worship song on Sunday. Sometimes during the week I’ll share a devotional or a quote from a book I’m reading.
A fun experience I’ve had since I started blogging is meeting a fellow blogger who lives in the same city as me. After meeting we decided to walk together. We try to walk every weekday which has been great. Here’s a photo from the day we met at a local Coffee shop in town.
This is Willow from Willow’s Cottage. I’m the brunette (I think brunette sounds so much better than I’m the old lady on the right with brown hair)
I will also share photos from travels here in the states and abroad.
My sister Lana and I started blogging about the same time. We talk most everyday (mostly about our blogs). It’s fun to have a bosom bloggy buddy who doesn’t get tired of “blog talk”. We laugh all the time. Her blog is called Above the Clouds because she travels weekly by air.
I post a lot, at least one post a day sometimes 2 to 3 posts a day on bloggy carnival days.
I choose for my blog be an encouraging blog and to honor the Lord so you generally will not hear me ranting and you will not find bad language and things that I find objectionable to my heart and mind here.
Whew! My posts are not this long generally unless it’s all photos (Did I say I’m visual and love photos!?)
Thanks so much for visiting and I hope you come again. Blessings on you…
You can see more blogs that are participating in the party at 5 minutes for Mom. I’ll add the link when they have it up later tonight. Well as soon as 5MFM fixes their site you can click and get there we all crashed it I think. For now you can google Ultimate Blog Party and find some sites!
Photobucket is holding all my photos from 2007-2015 hostage. I’m working on updating my blog posts very slowly.