Nadyezhda’s (Надежда) Kulich (Paska)

This is a historic post that I will probably repost every year during one of the days leading up to Easter. Easter shares the rank with Christmas as my favorite holiday of the year. My winter favorite and my Spring favorite. Easter has more ‘dear to me’ food traditions. Our mom Nadyezhda (Nadia) passed these recipes to us with tweaks along the way. Nadia or Nadya (Надя, accent on first syllable) is the diminutive form of the full name Nadyezhda (Надежда), meaning “hope” and derived from Old Church Slavonic.
easter 2016 047

Paska is a slightly sweet Easter yeast bread that is traditional in the Ukraine and Russia. My Russian relatives call this bread Kulich. My mother and relatives always made dozens of loaves in the cylindrical shape using coffee cans or large juice cans.

What many of you call Paska we call Kulich. This is my mom’s Russian Easter Bread Recipe that I quartered because the amount she would make is quite daunting for me. We have cut it in half in years past. What you need to know about my mom and recipes is that she ends up tweaking them from year to year so this recipe is for her Kulich from 2001. I have a 2009 and 2012 recipe, too. This one was easier to quarter. Here’s the link to the original. My dear mom passed away from this earth in September of 2013 so I cherish her tweaked recipes.

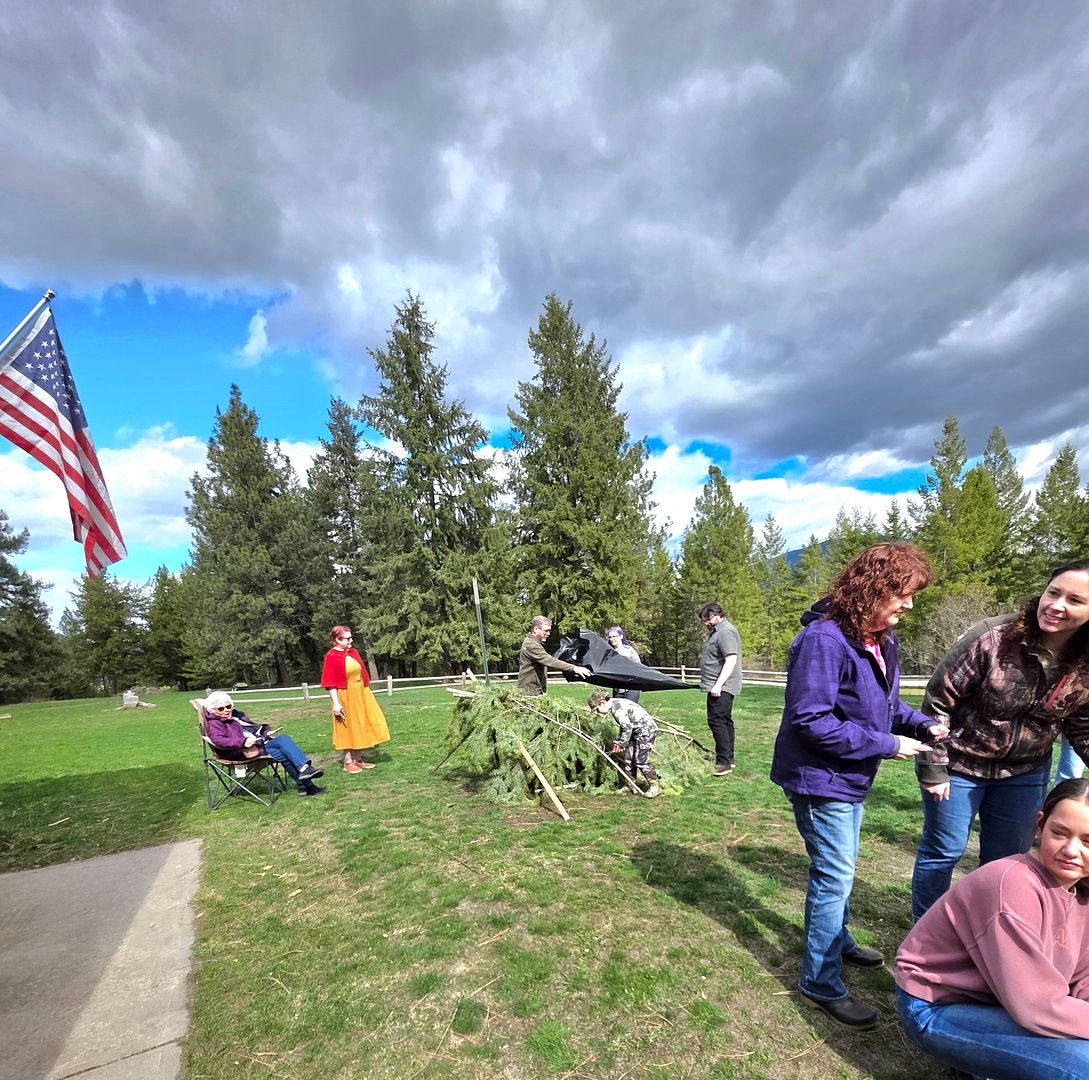
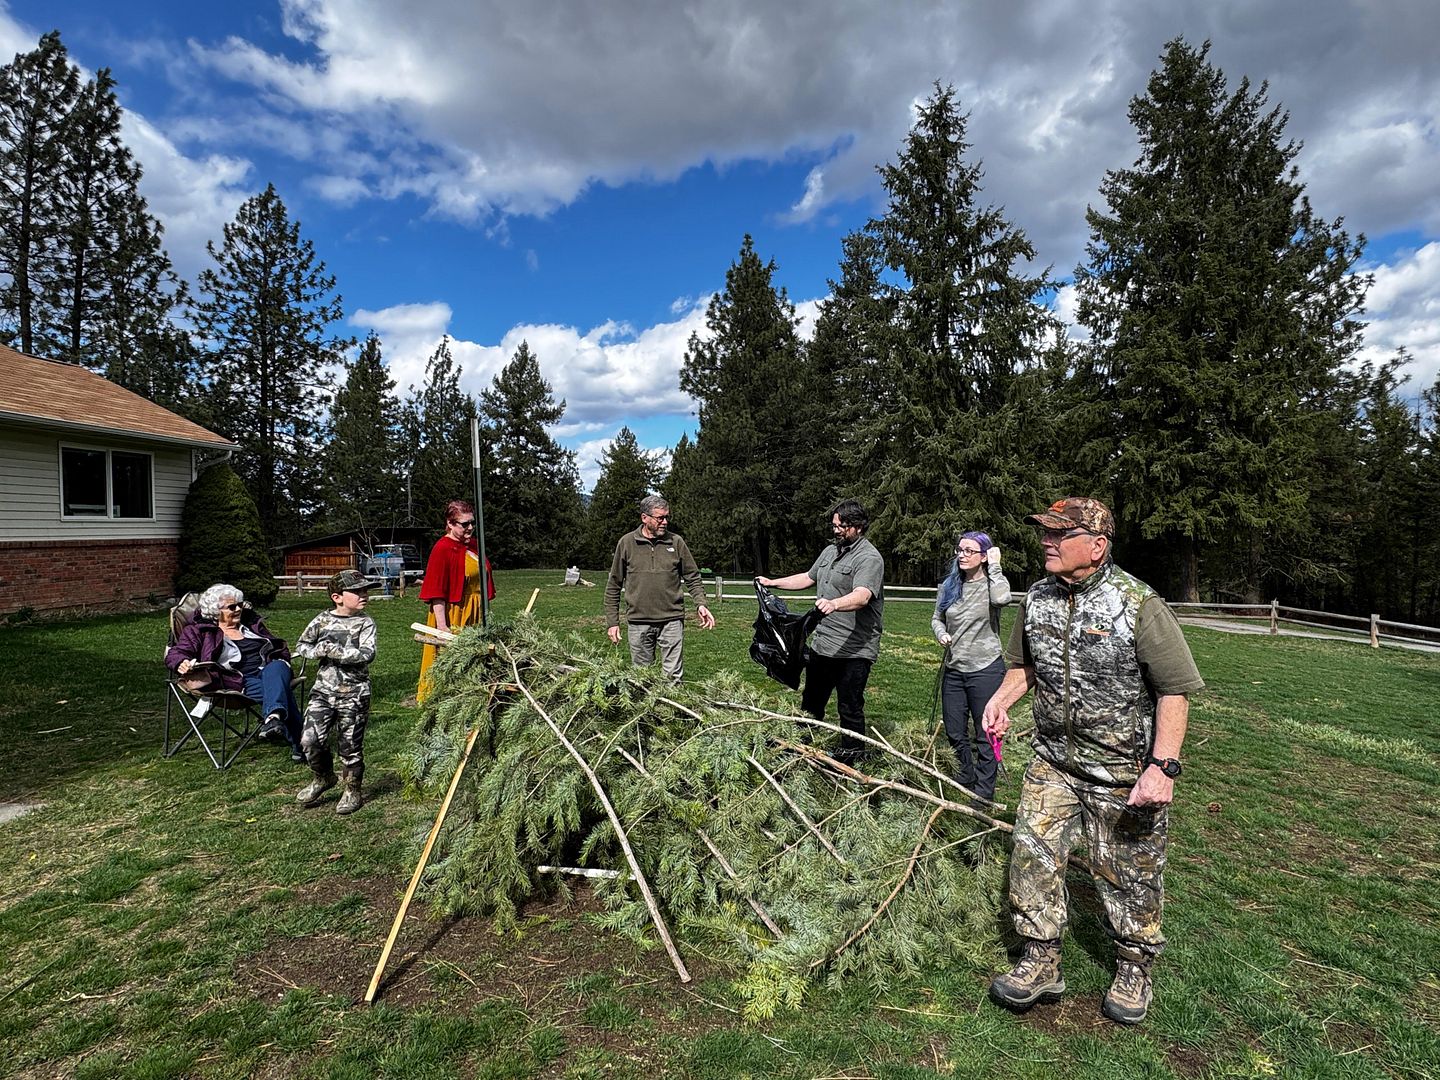
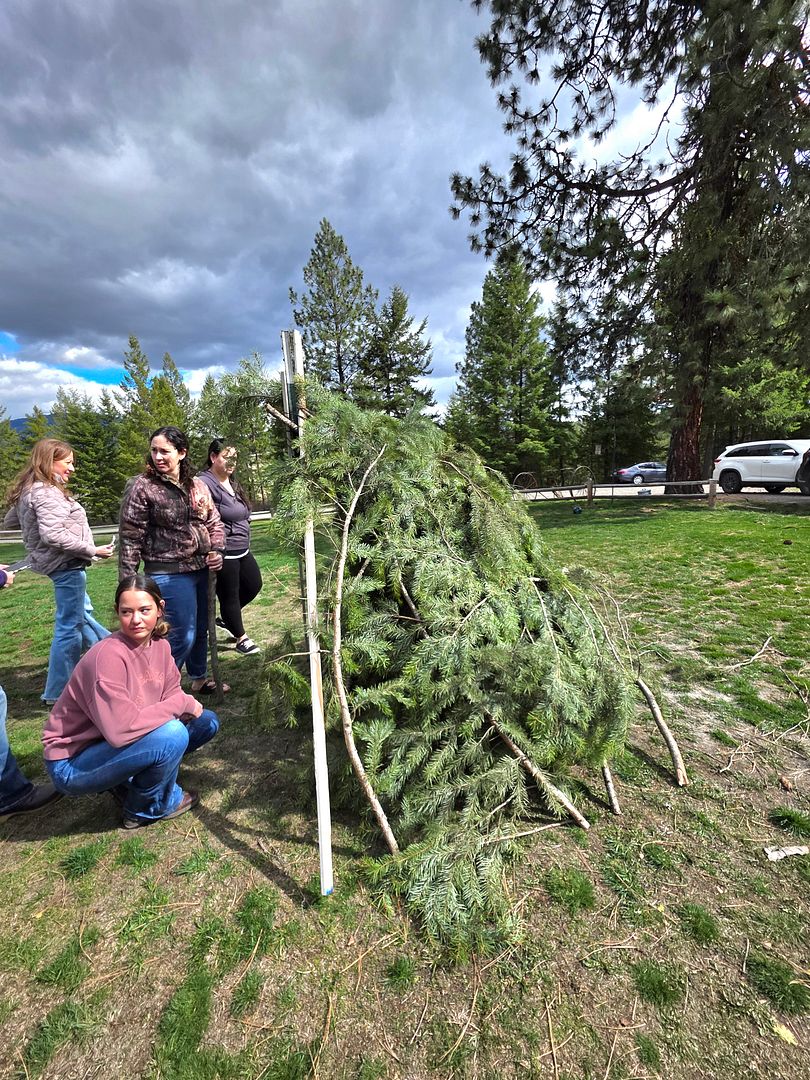
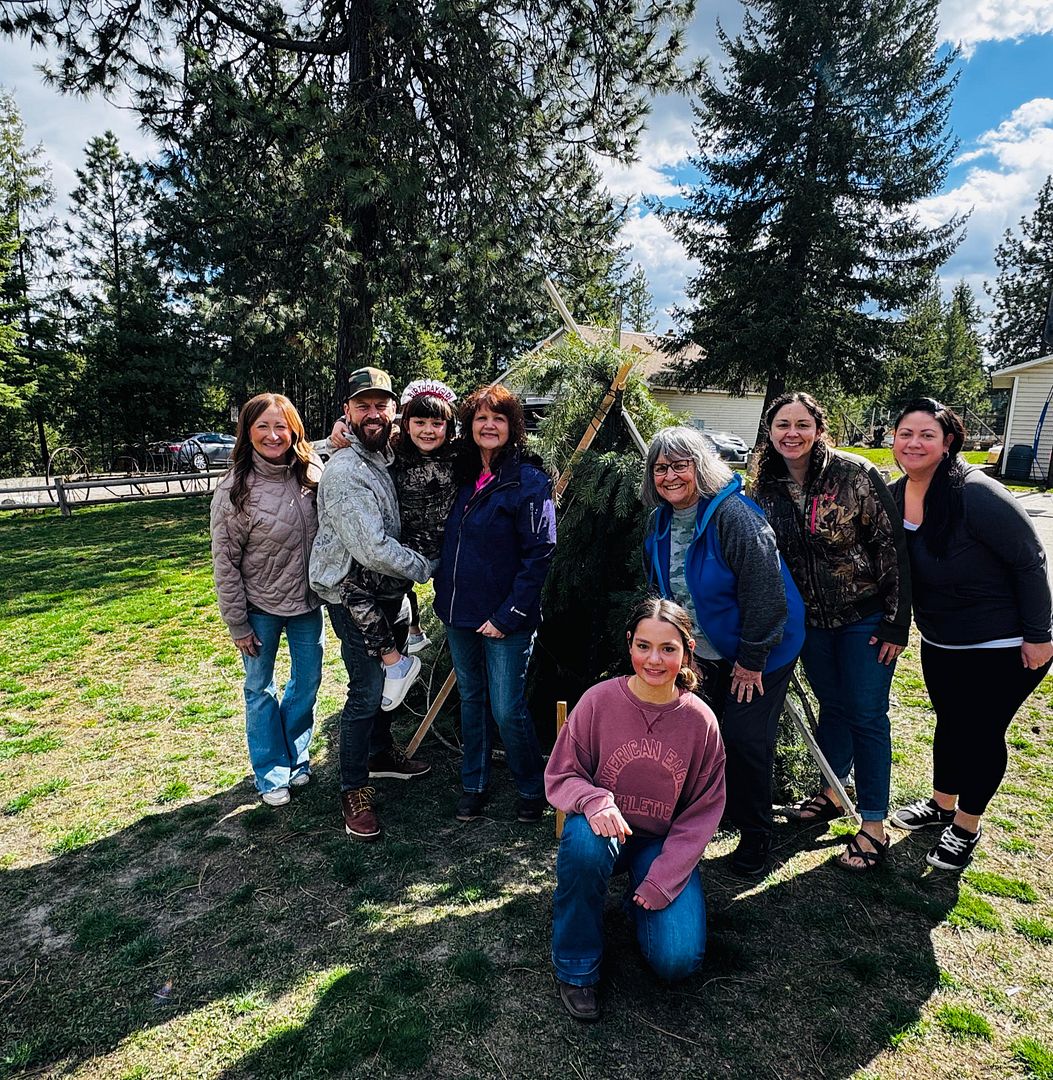
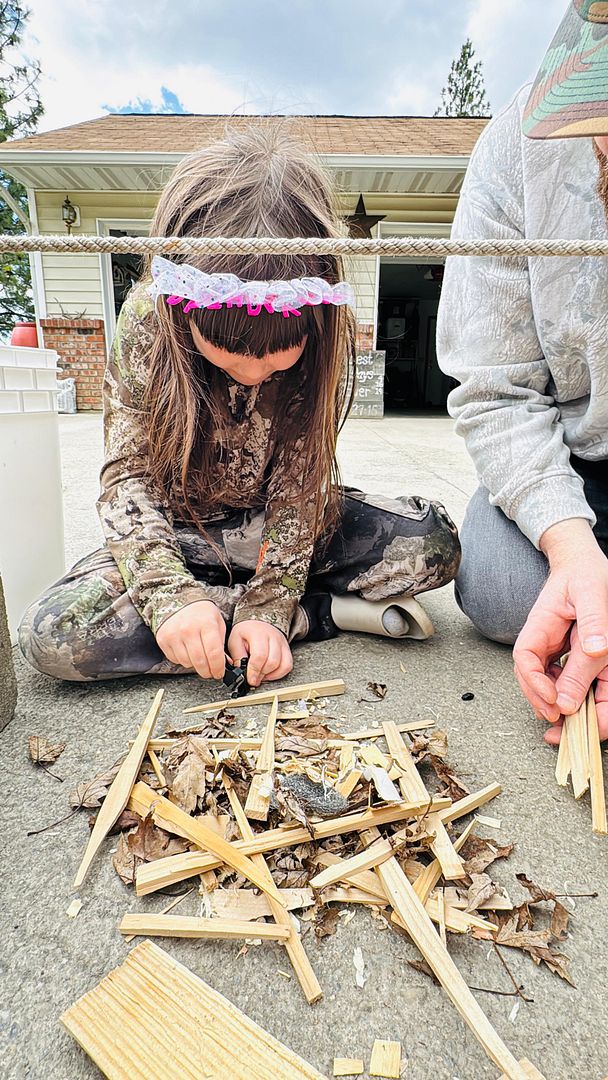
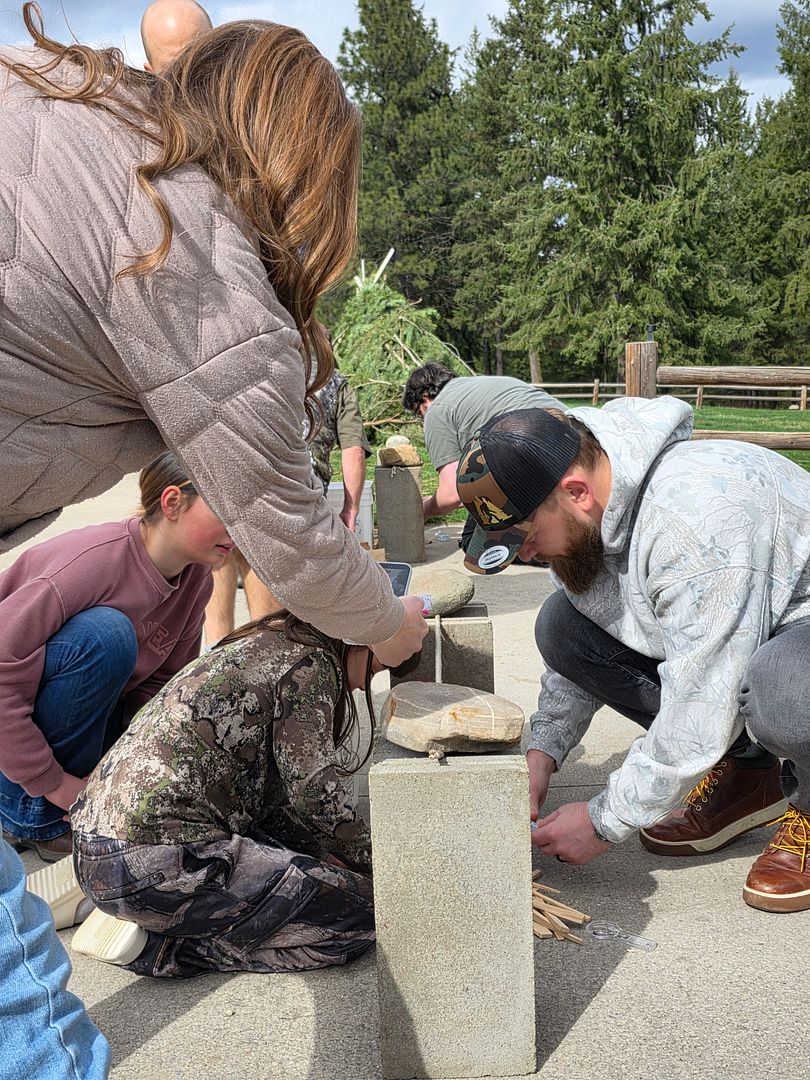
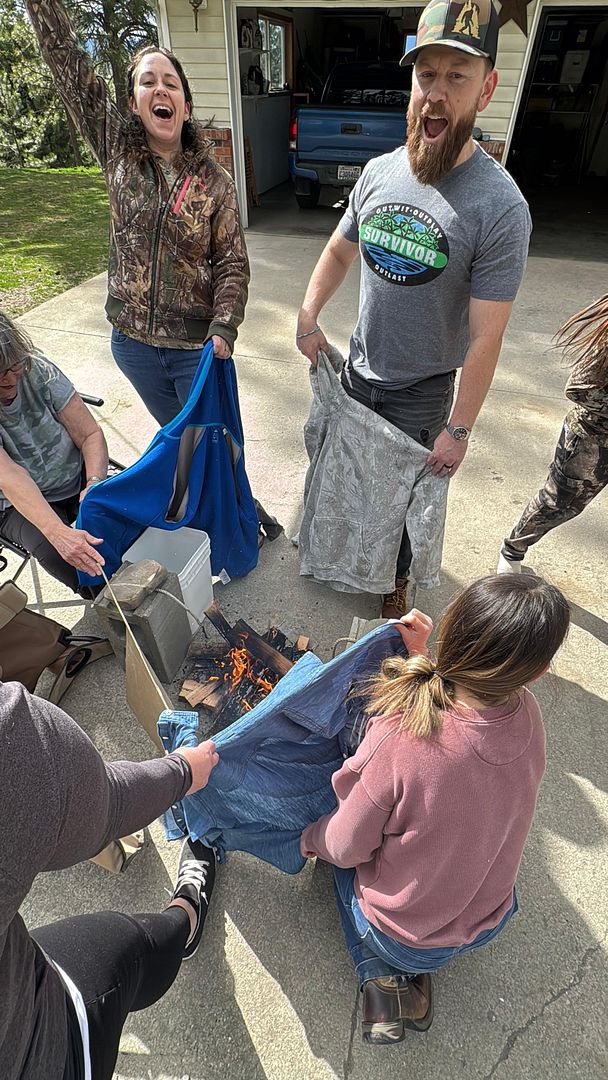
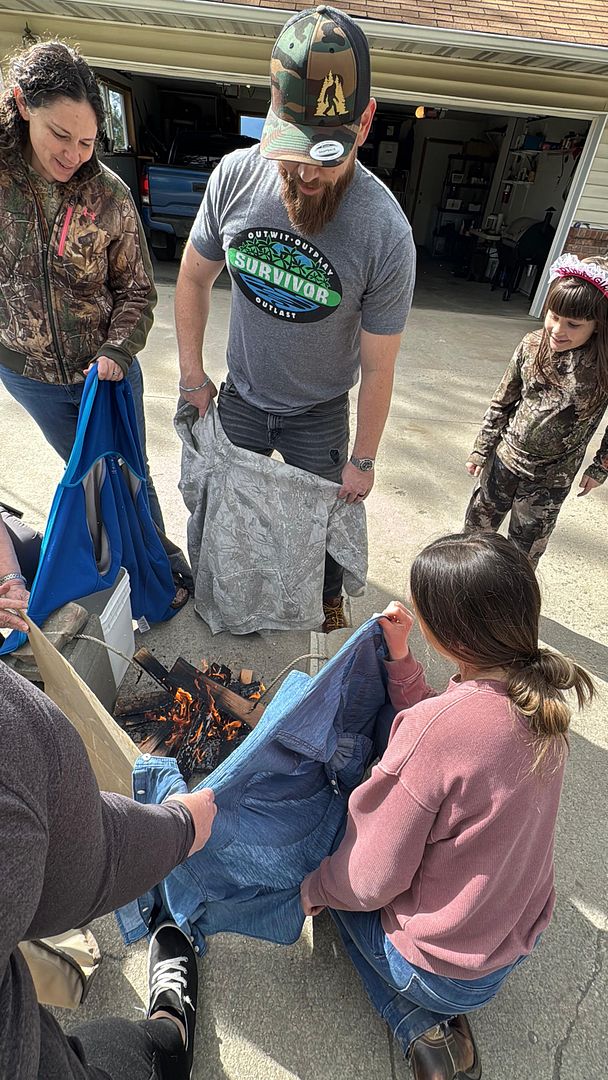
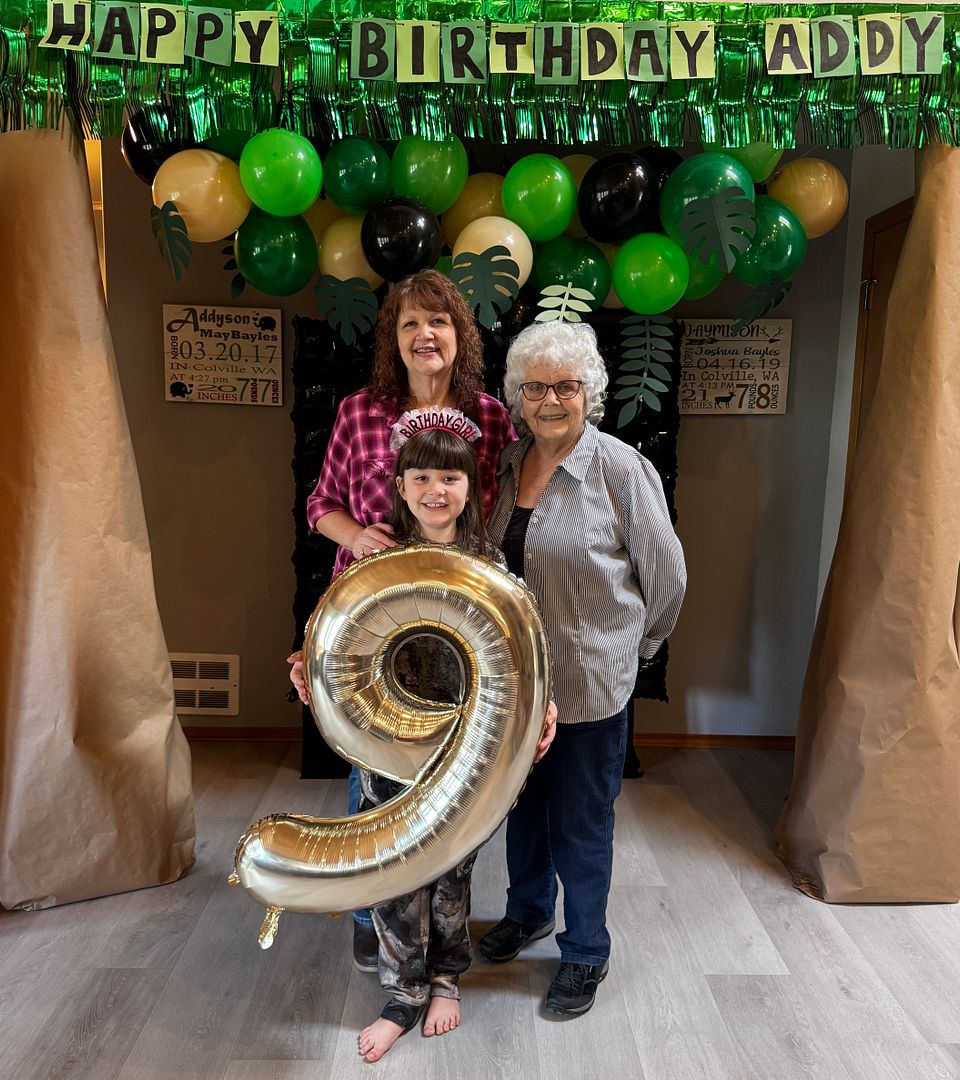
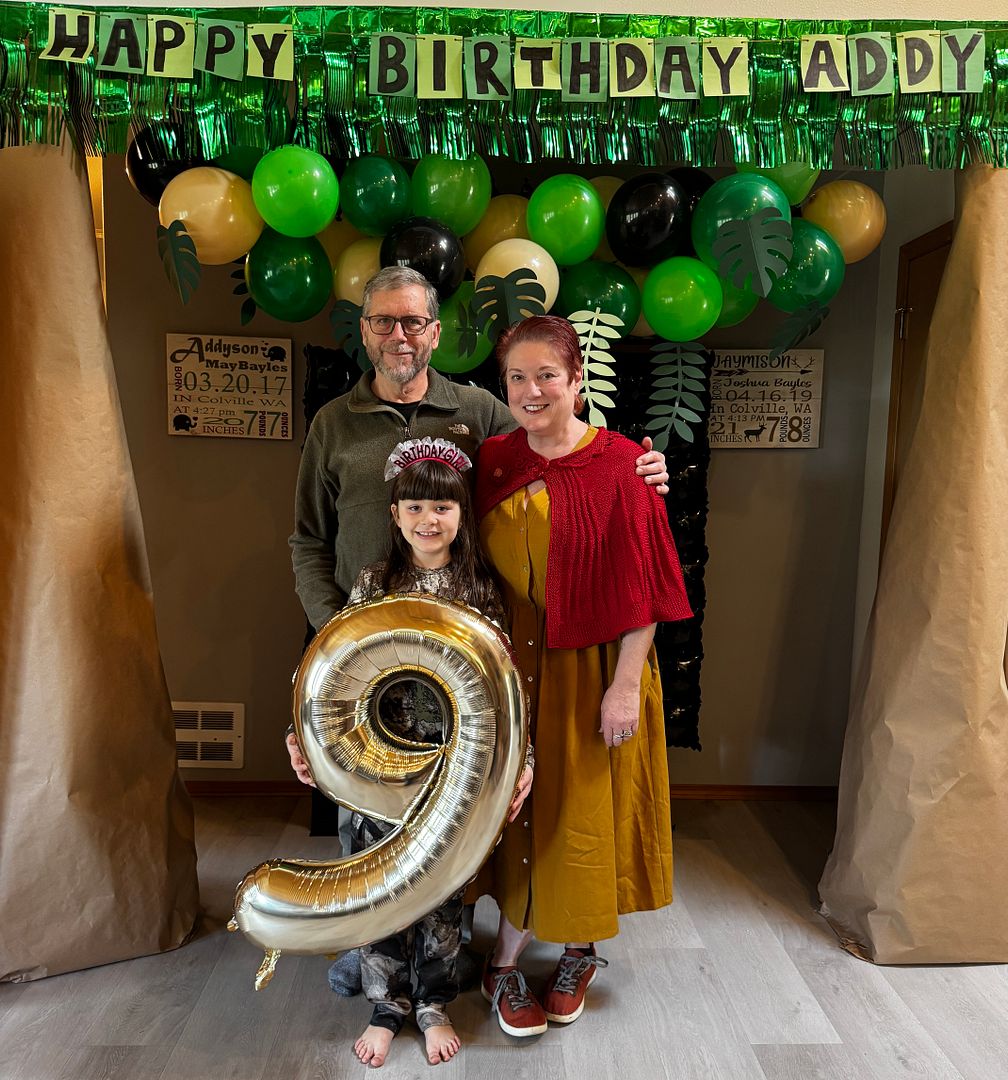
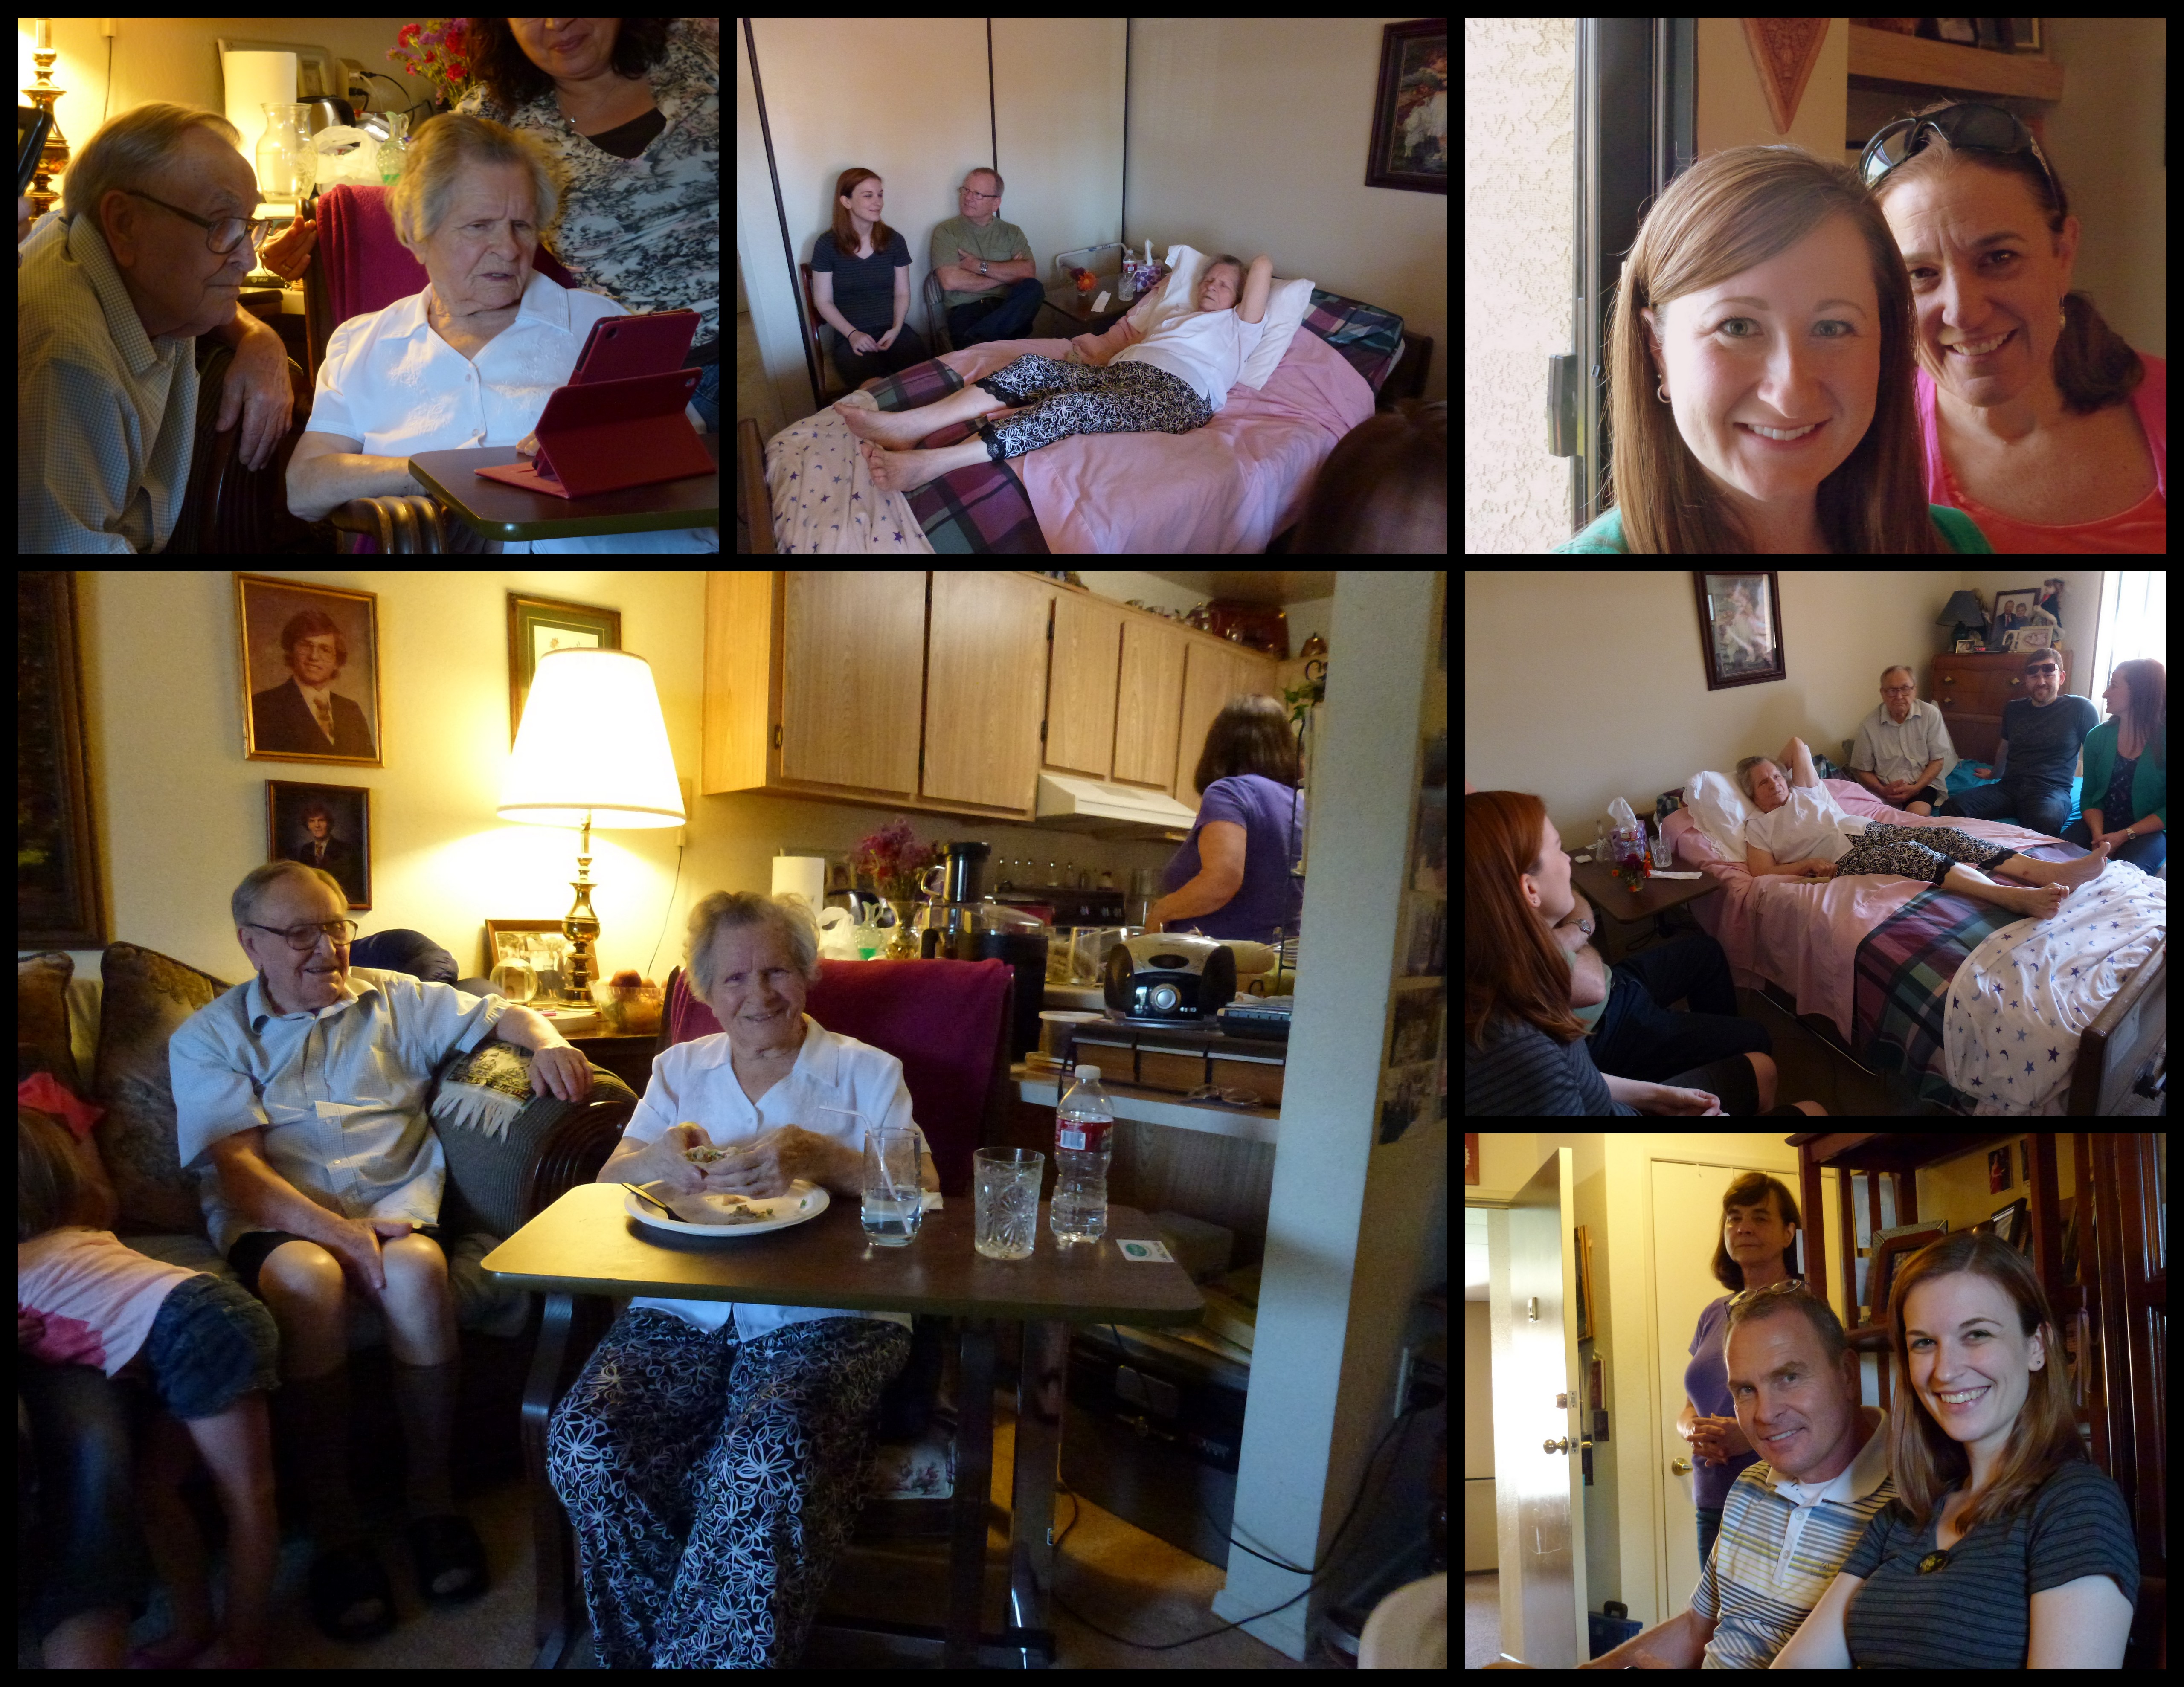
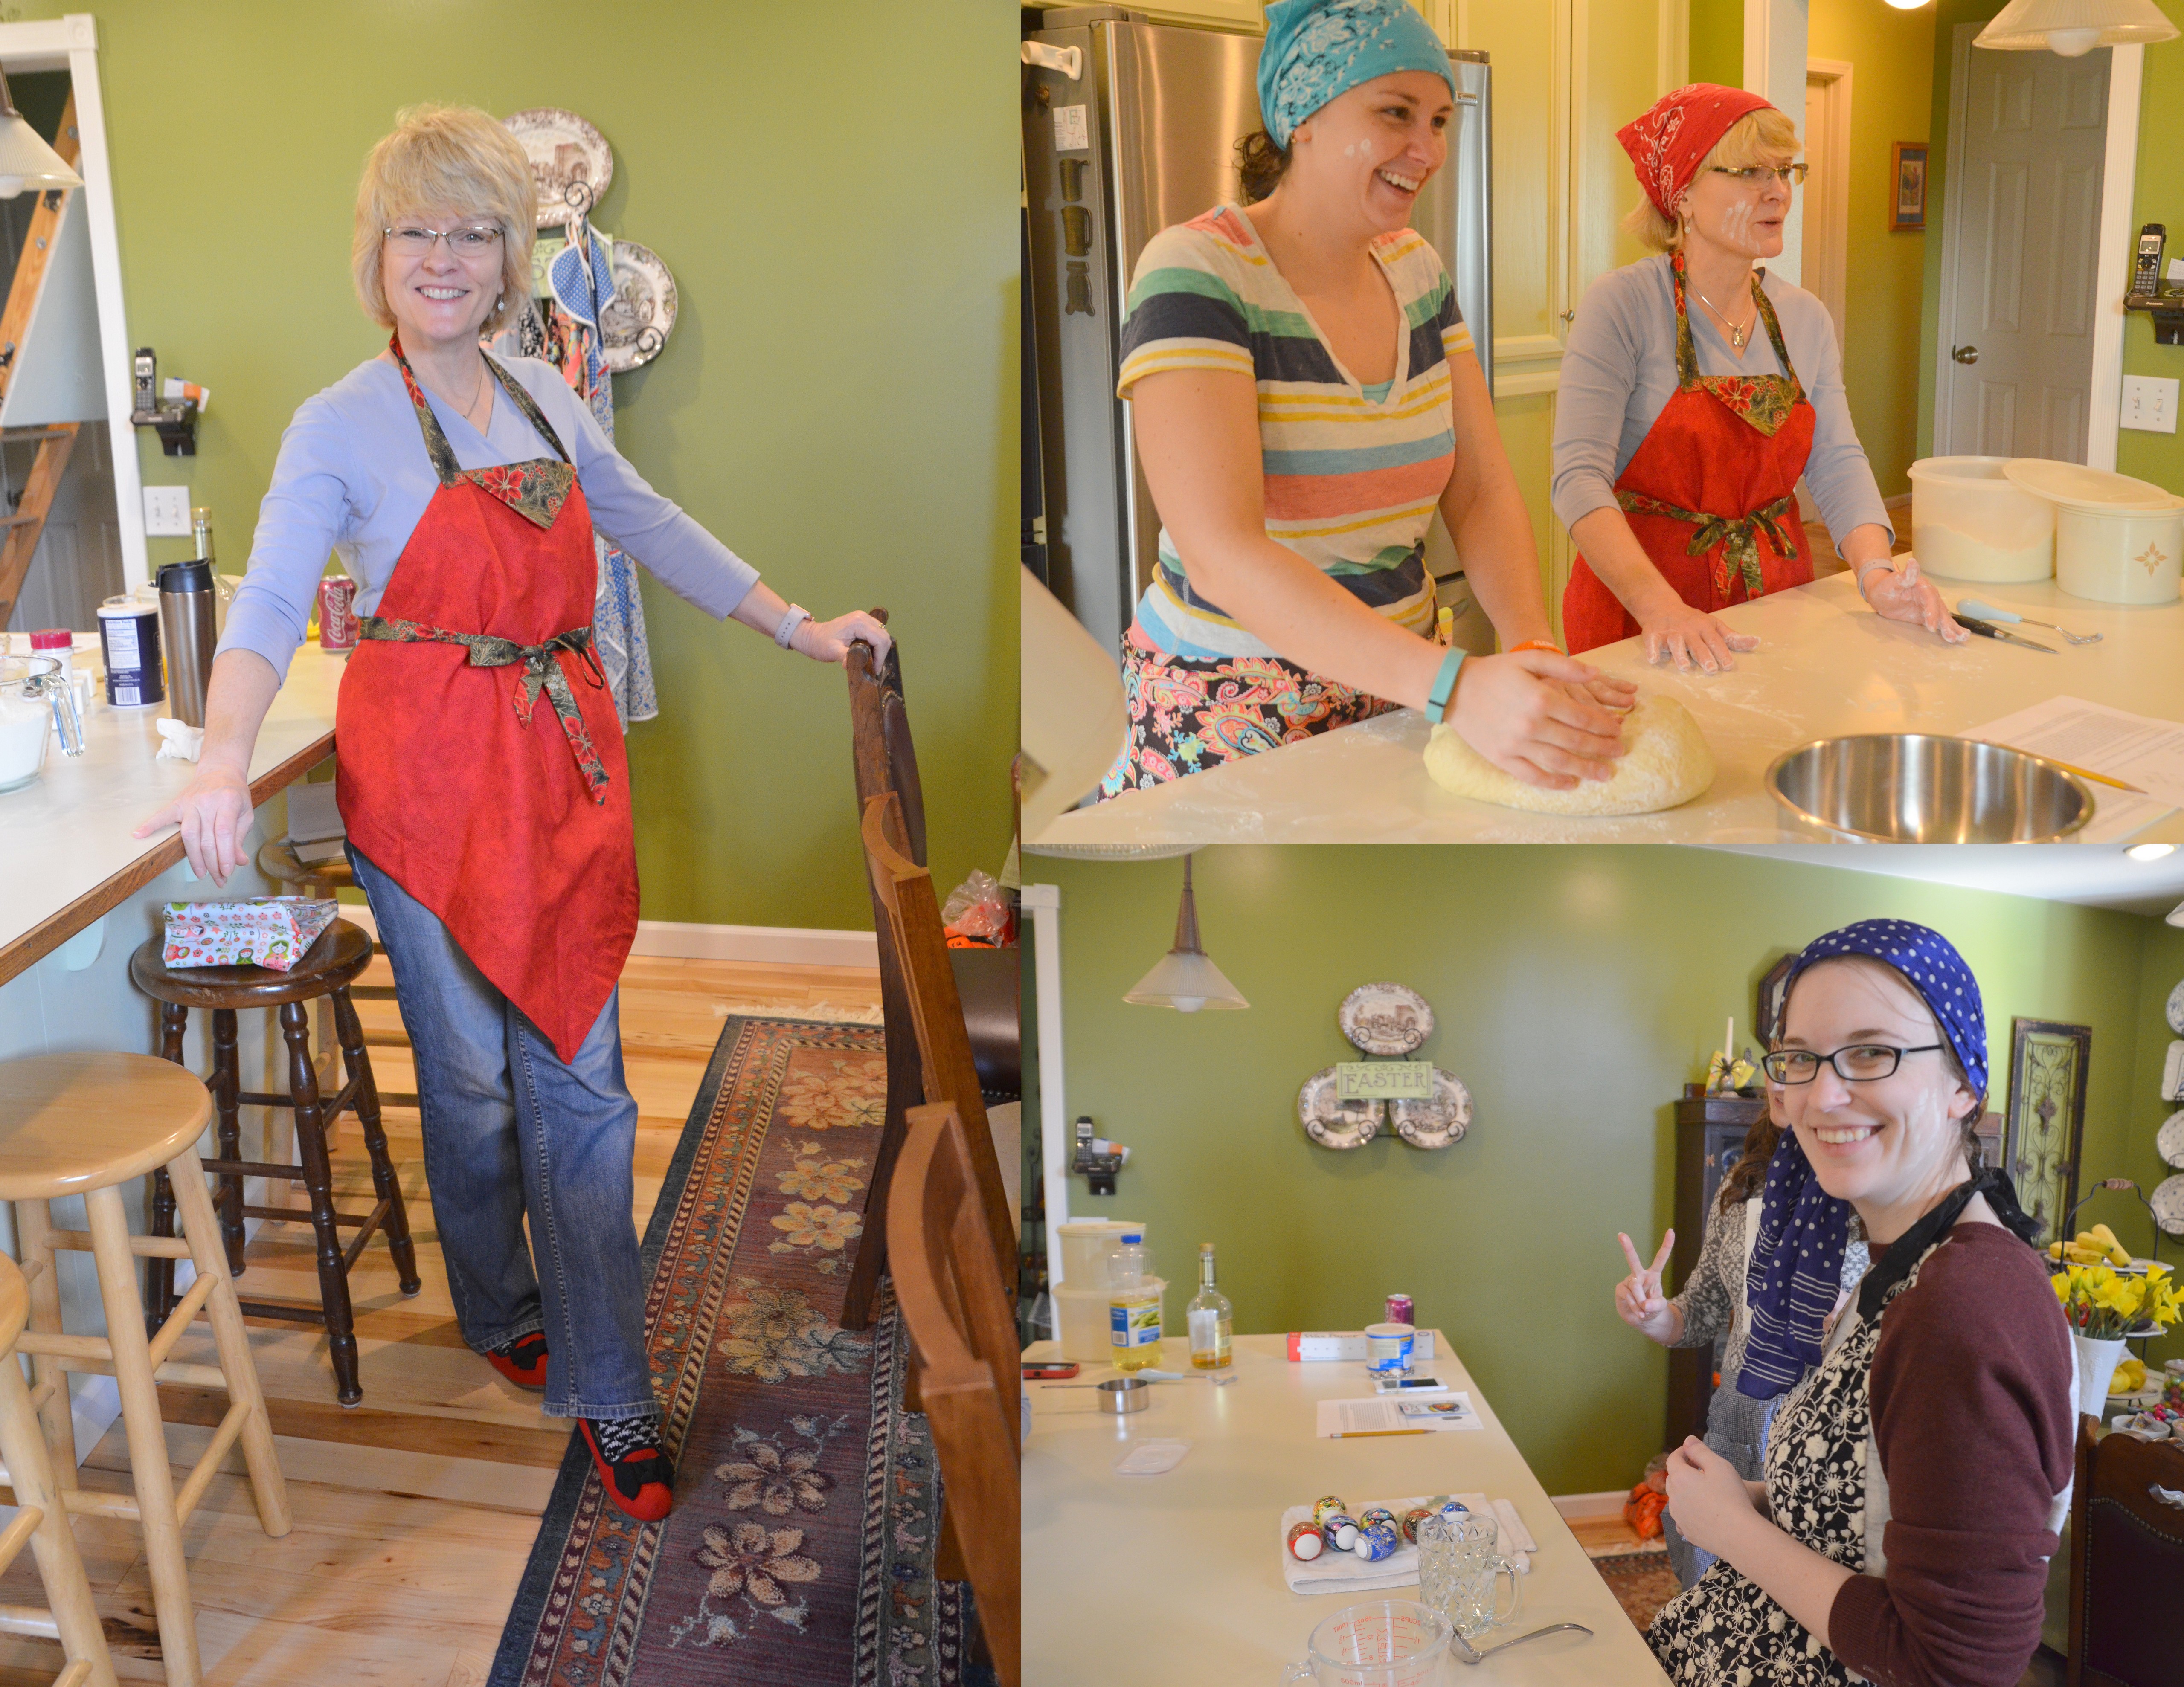
I will post her recipe every year about a week before Easter for inspiration. We like it fresh so many years we bake it on the day in between Good Friday and Easter. This is not a recipe that I would attempt on my own. In my mind it calls for company enjoying the process together, like this group of loved ones in 2016.

12670500_10209025541021643_6688122367162299089_n

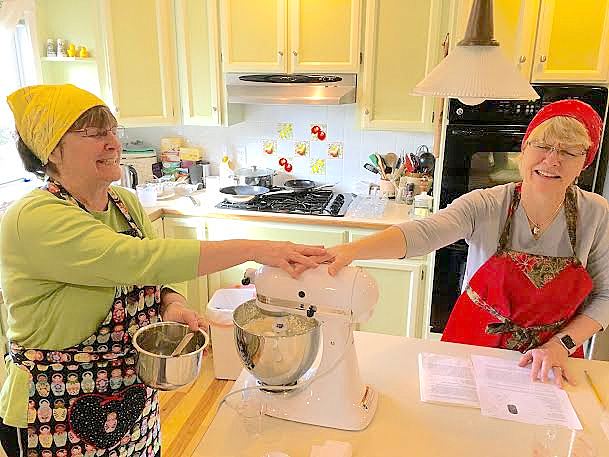
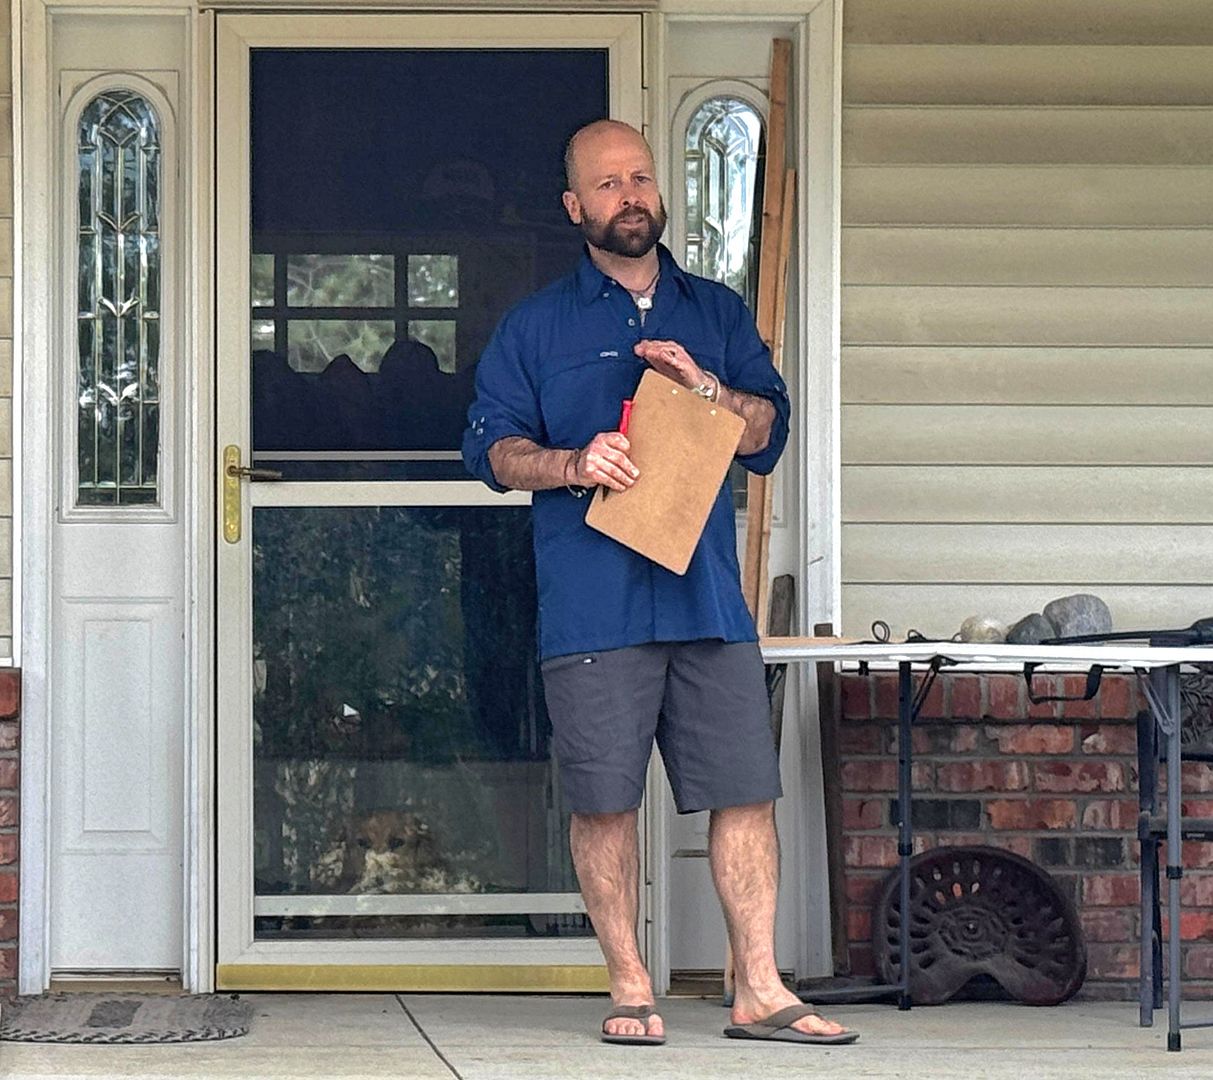
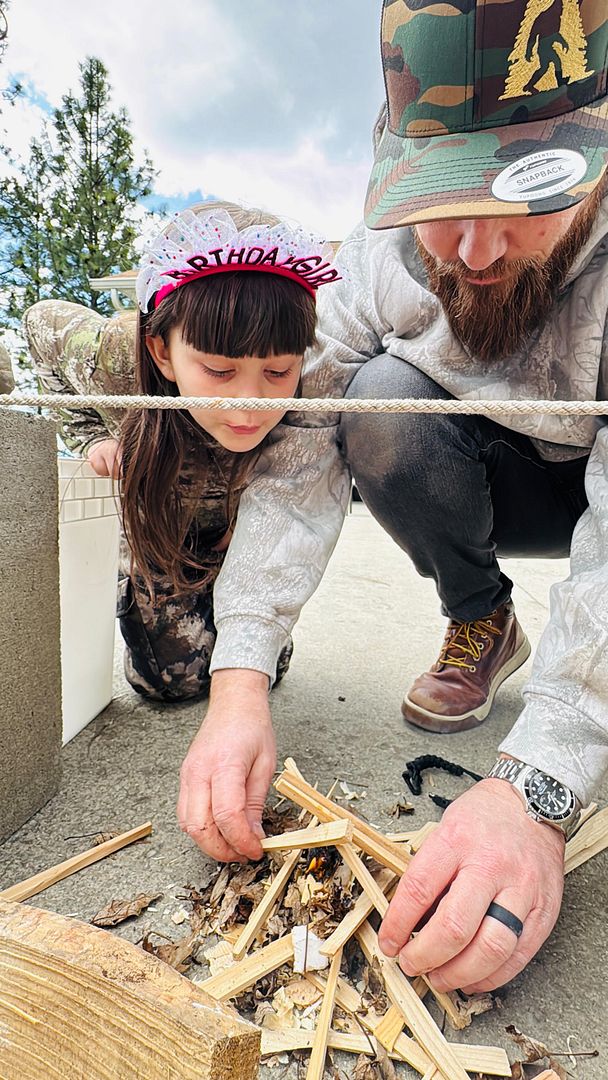
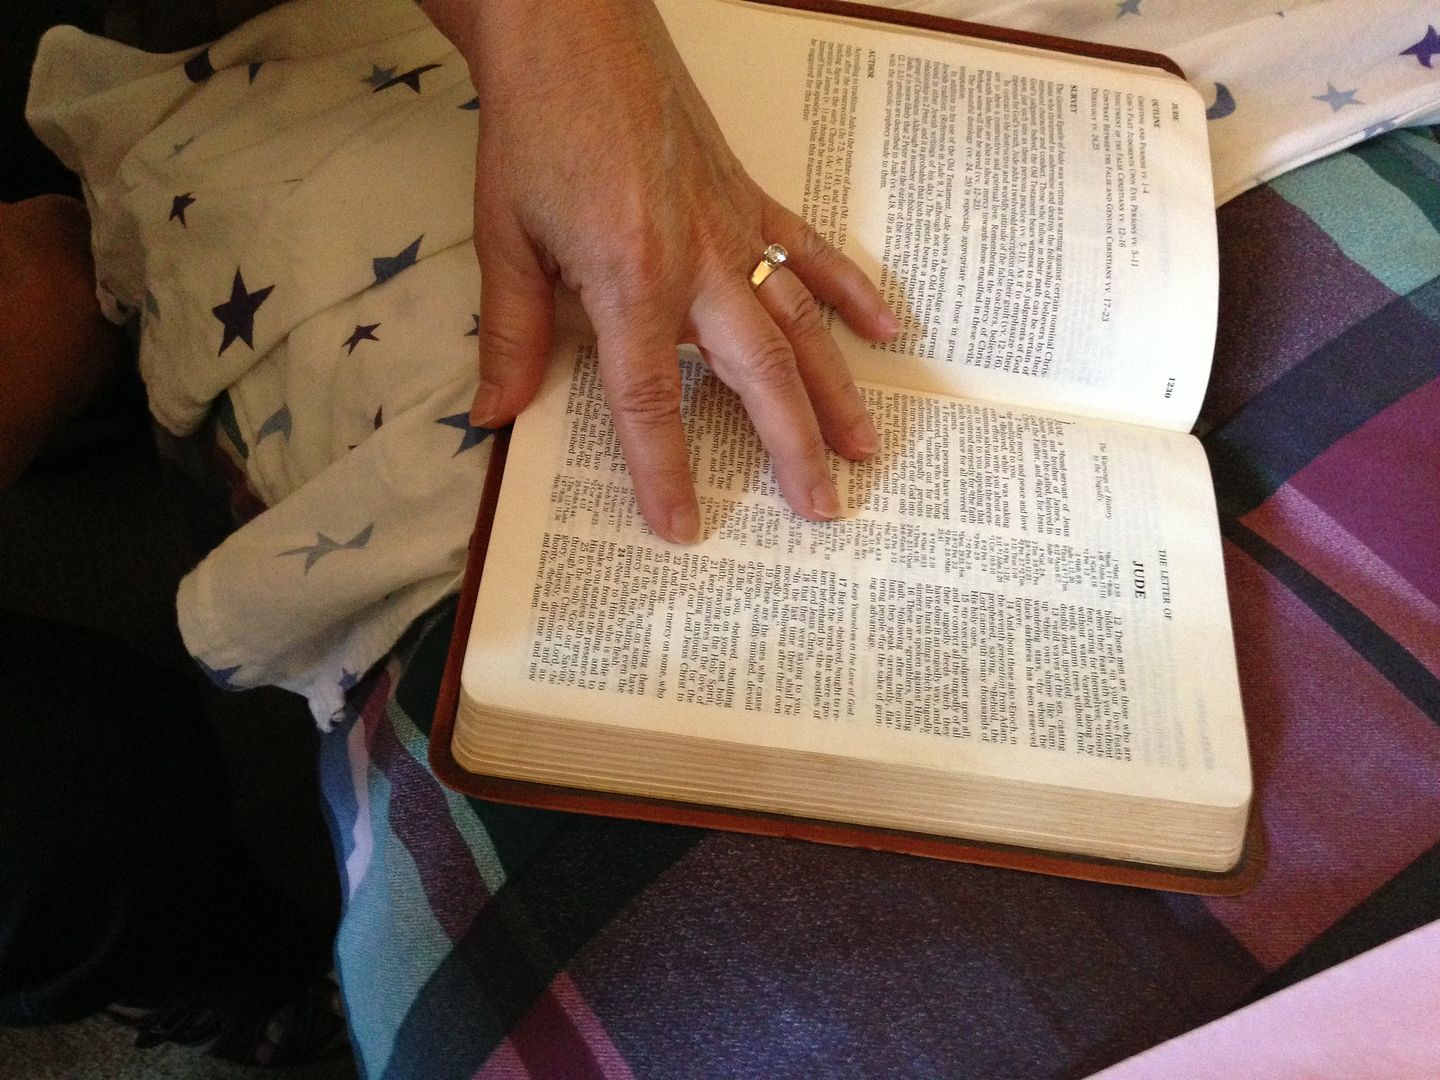
It’s always good to pray over your dough!

Kulich

Ingredients:

  • 2 packets rapid rise yeast
    1/4 cup lukewarm water
    1/4 cup lukewarm milk
    1 teaspoon sugar
  • 4 egg yolks
    1 egg
    1-1/4 cups sugar
    3/4 cup butter
    1 cup whipping cream
    1 cup half and half
    1/2 ounce apricot brandy
    1-1/2 teaspoons powdered vanilla
    1 teaspoon salt
    Zest of half a lemon
    About 2-1/2 pounds of flour, sifted (about 7 cups)
    Vegetable oil to coat the rising dough
  • 6 to 7 one pound or two pound cans for baking. You can use loaf pans or large muffin tins if you don’t have the cans to bake them in

Method:

Add yeast to the lukewarm water and milk and sugar in a stainless steel bowl making sure the liquids are lukewarm. Let this mixture dissolve and sit.

Beat the egg yolks and egg together.
Cream the butter and sugar in the large bowl of a stand-up mixer.
Add the eggs to the butter and sugar mixture slowly mixing to combine and then beat to incorporate well.

Mix the half and half with the whipping cream and heat until lukewarm, not hot, and slowly incorporate into the creamed mixture.
Mix in the vanilla and brandy.
Add the yeast mixture and the salt and beat with a mixer.
Continue beating and add the lemon zest.
Continue beating and add the sifted flour about a cup at a time.
Once you cannot beat the dough any longer using the mixer, put the dough on a floured surface and start incorporating the remaining flour by kneading the dough.
The dough should be kneaded very well, approximately 10 minutes.
You should knead the dough until you can cut it with a knife and it is smooth without any holes.
Place the dough in a stainless steel bowl.

Take some oil and pour a little on the dough and spread it all over the dough making sure to turn the dough so it is coated evenly.
Cover with plastic wrap right on the dough and a dish towel on top of that.
Place in a warm place away from drafts to rise.

(My sister usually puts it into the oven that has been warmed slightly).

It is now time to prepare the coffee cans (1 lb. and 2 lb. cans are the best)

Cut circles the size of the bottom of the cans out of wax paper. You will need four circles per can. Make sure the cans are well greased. Put the 4 circles in the bottom of the cans.

Use a empty and clean coffee can like the ones above. If there is a label make sure to take it off. If the can has a lip at the top you’ll need to use a can opener to cut the lip off the can. I hope these pictures will make the process easier to understand.

After putting the circles in the bottoms of the cans, cut sheets of wax paper long enough to line the sides of the can and tall enough to be 2″ above the rim of the can. Use Crisco to seal the ends of the paper.

Back to the dough…

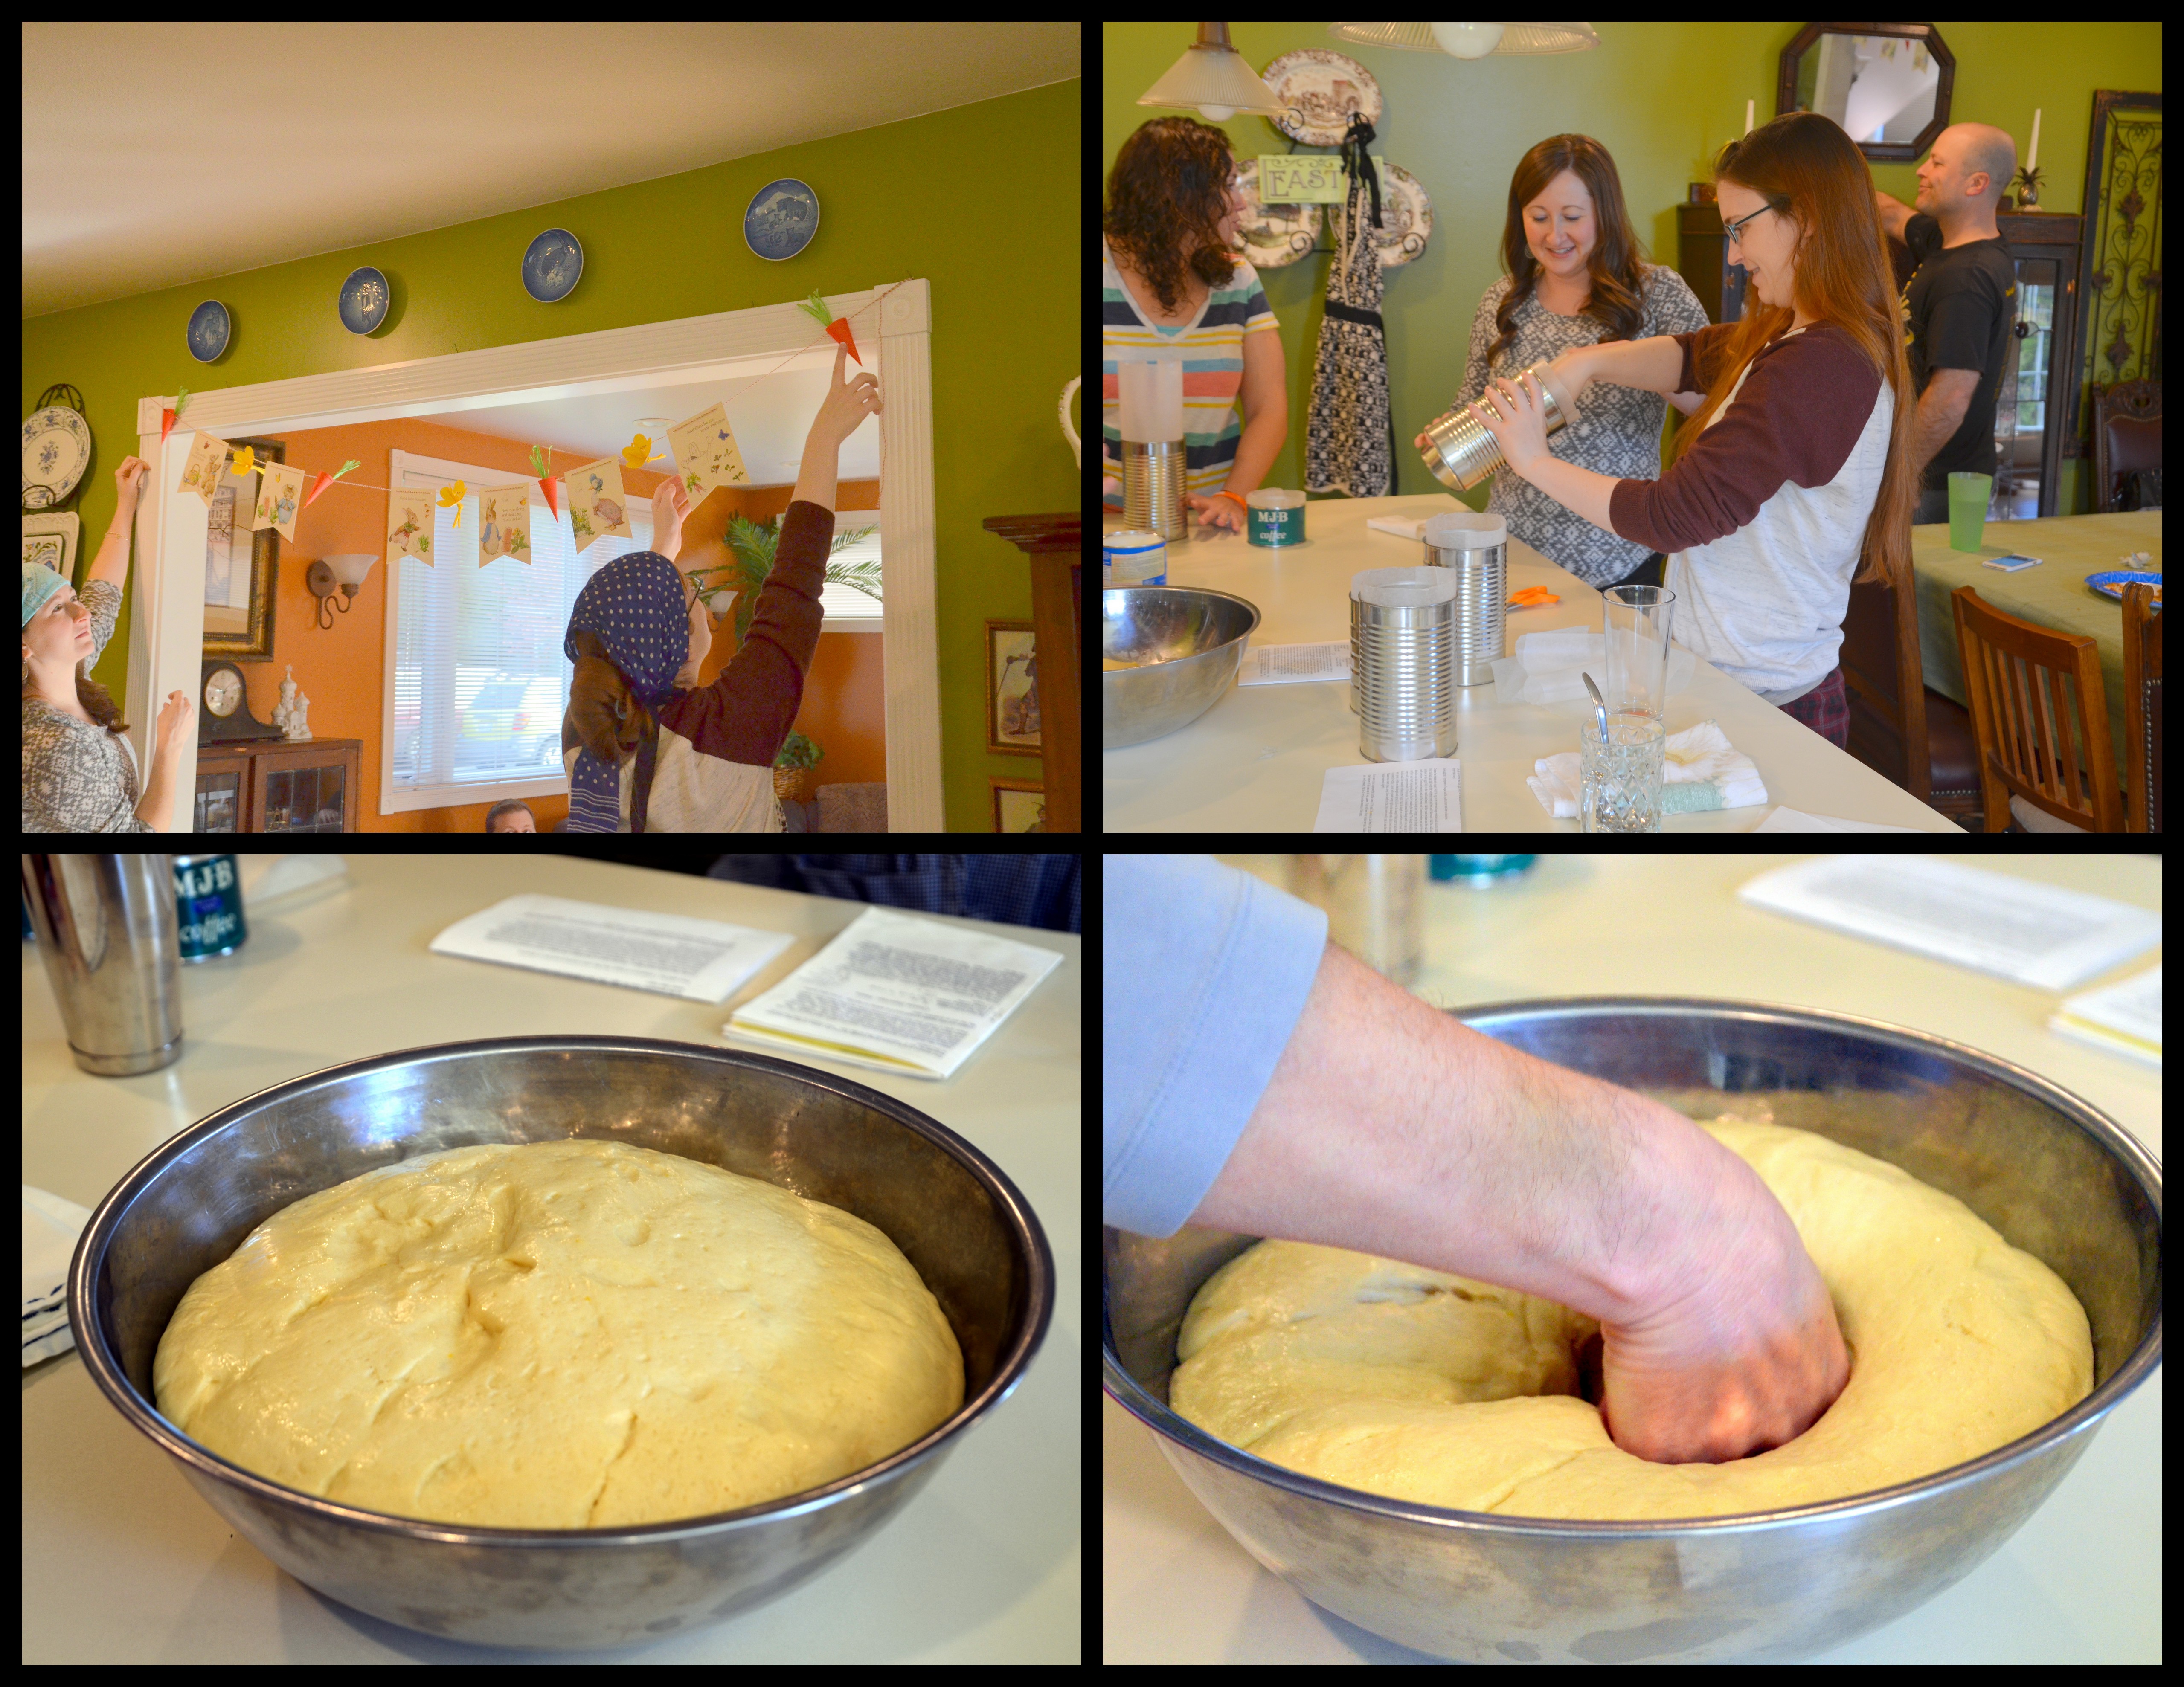
When the dough has doubled in size, punch it down and turn it over.
Let it rise a second time until it doubles in size. Punch it down again.
Now the dough is ready to put into the prepared cans.
You will take a portion of dough about 1/3 the size of the can. Knead it and form it into a smooth ball that you can easily drop into the can.

Let the dough rise again inside the can until it is at least double in size.

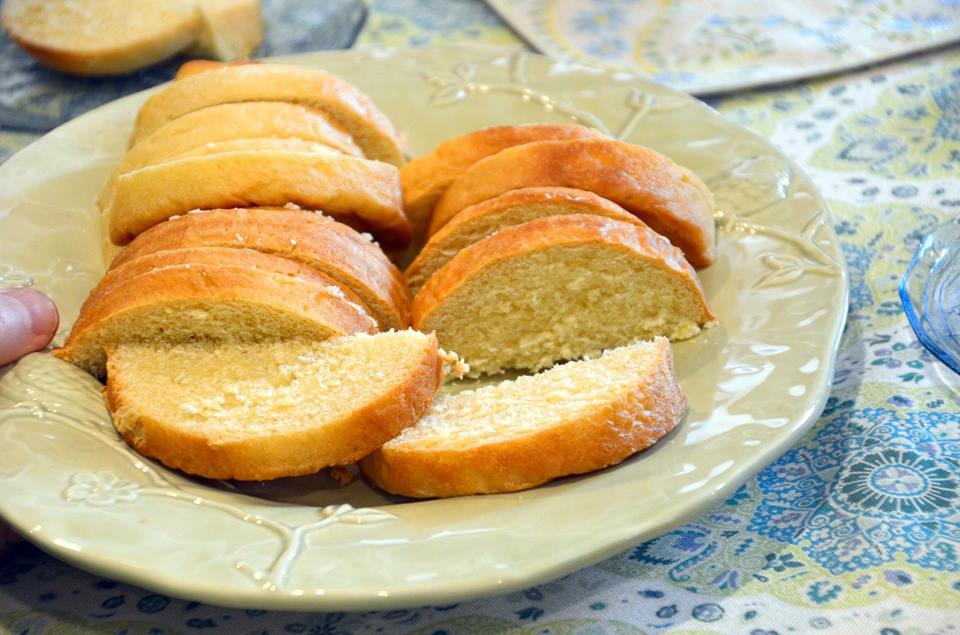
Bake in a 350 degree oven until golden brown on top.(approximately 30 minutes or more depending on your oven.)

Let them cool slightly in the cans. Remove them from the cans and then cool completely standing up. Some people cool them on their sides turning them often to keep their shape. We found this time that they cool just fine and keep their shape standing up so we didn’t bother with that step!

This recipe yielded 7 loaves.

P1010130

To go with this bread my mom always made a wonderful sweet cheese topping that is formed in a mold in different shapes.  I’m adding the recipe here.

paska class 005

 Seernaya Paska

Ingredients:

18 – hard boiled eggs /
3 pounds Farmers cheese /a dry curd cheese like a dry cottage cheese can be substituted.
1 pint whipping cream /
3 cubes unsalted butter (12 oz.) /
3 cups sugar /

Press the Farmers cheese through a sieve. (This is the hardest part of the recipe) If you find a very small curd cheese you won’t have to do this to the cheese. I usually use a wooden spoon and press it through a wire strainer a little at a time. Separate the egg yolks from the whites. (You will not be using the whites).

Press the egg yolks through the sieve. Cream the sugar and butter together. Beat in the egg yolks. Beat in the cheese. Add whipping cream and mix well. You will place the mixture into a strainer lined with about 3 layers of cheesecloth. You will need enough cheesecloth to wrap up and over the top of the cheese. Place the cheese mixture into the cheese cloth lined strainer, or flower pot with holes in the bottom. Bring the ends of the cheese cloth up and tie the ends on top of the cheese in a knot. Place the sieve or flower pot into a larger bowl suspended with enough room for the cheese to drain without sitting in the drained liquid. Place a plate on top of the cheese an place a heavy rock, brick, or other weight on top of the plate. Refrigerate over night.

This recipe is enough to feed an army. If you don’t have to feed an army here’s a scaled down version :0)

If you just want a normal amount, cut the recipe in thirds. (6 cooked egg yolks, 1-lb. cheese, 2/3 cup whipping cream, 1 cube butter and 1 cup sugar.) Enjoy!

Farmers Cheese or Hoop Cheese can be hard to find. There are Russian-Ukrainian delis that sell a dry curd cottage type cheese that will work. If you can find a dry cottage cheese at the grocers that will work too.

I found a site online that sells the cheese that I use for this yummy spread.

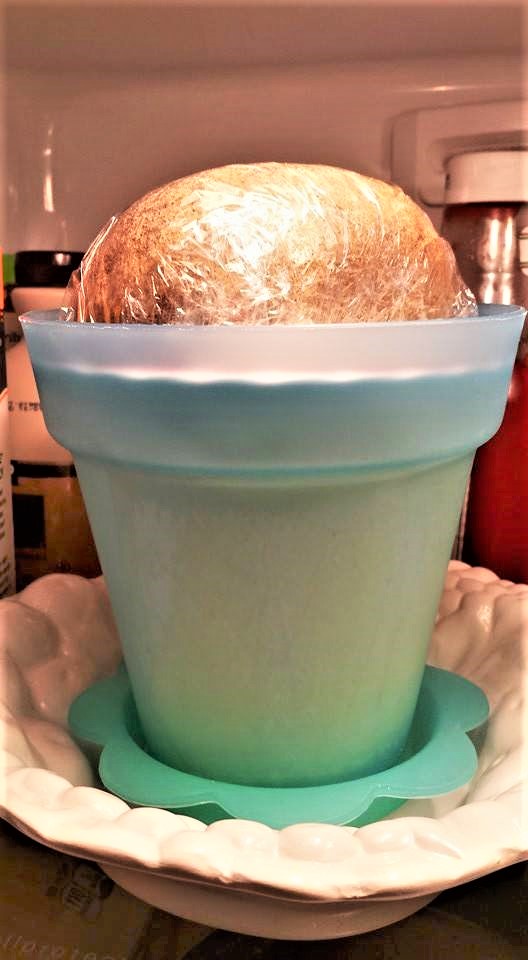
The cheese spread in the flower pot in the refrigerator with the stone on top to help release as much liquid as possible.

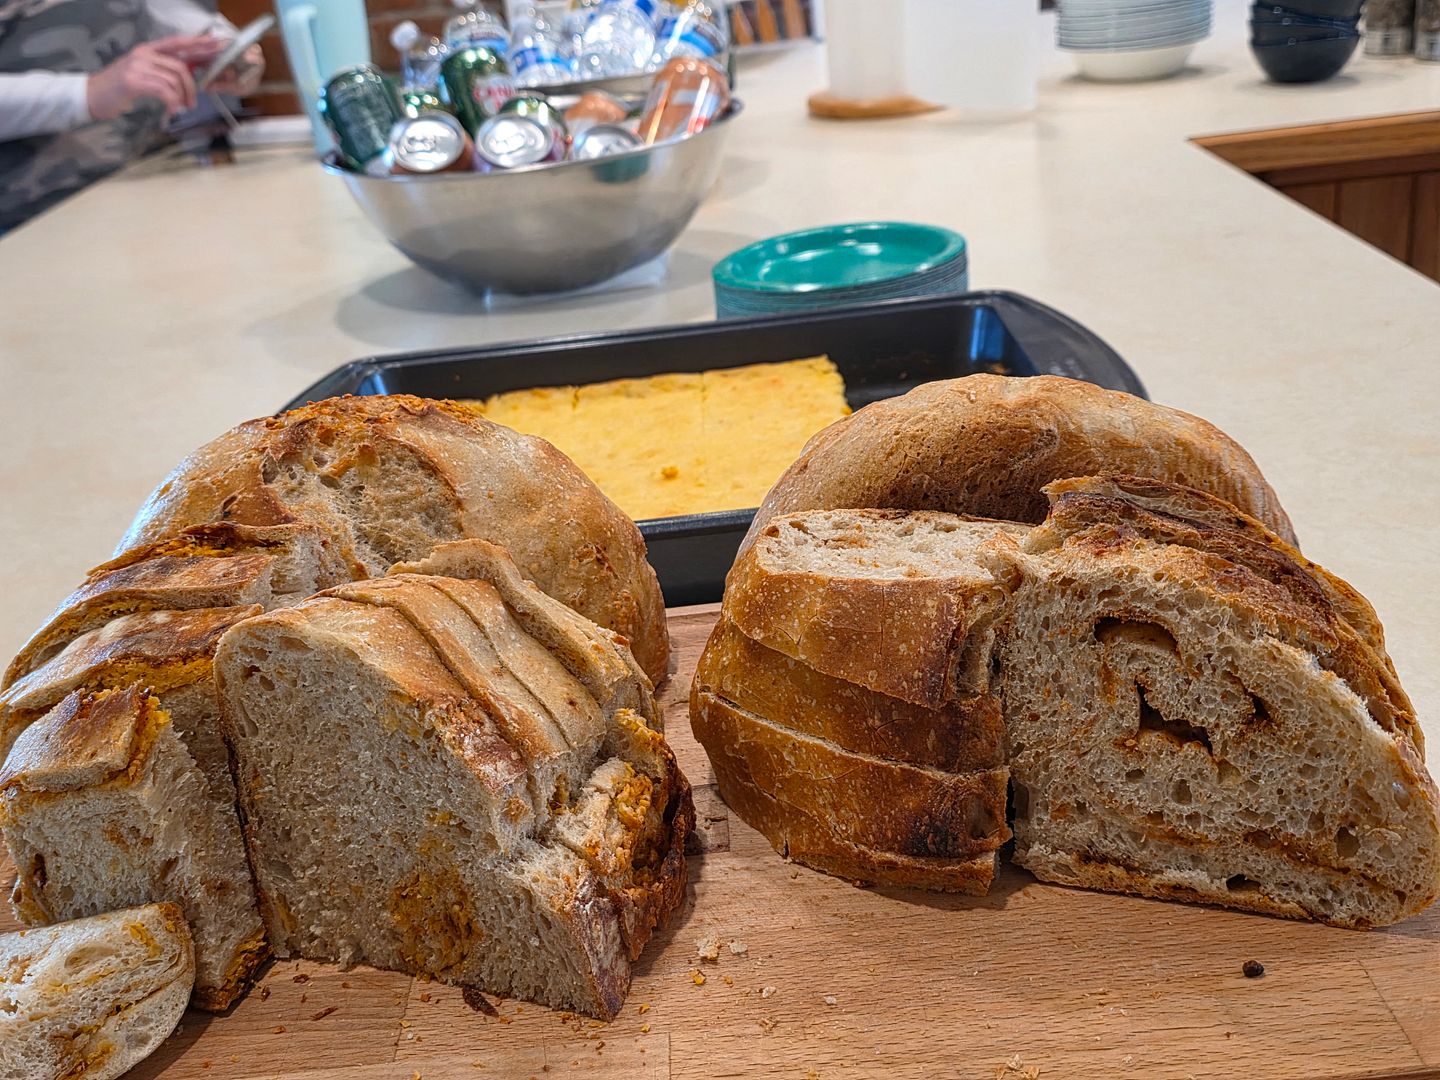
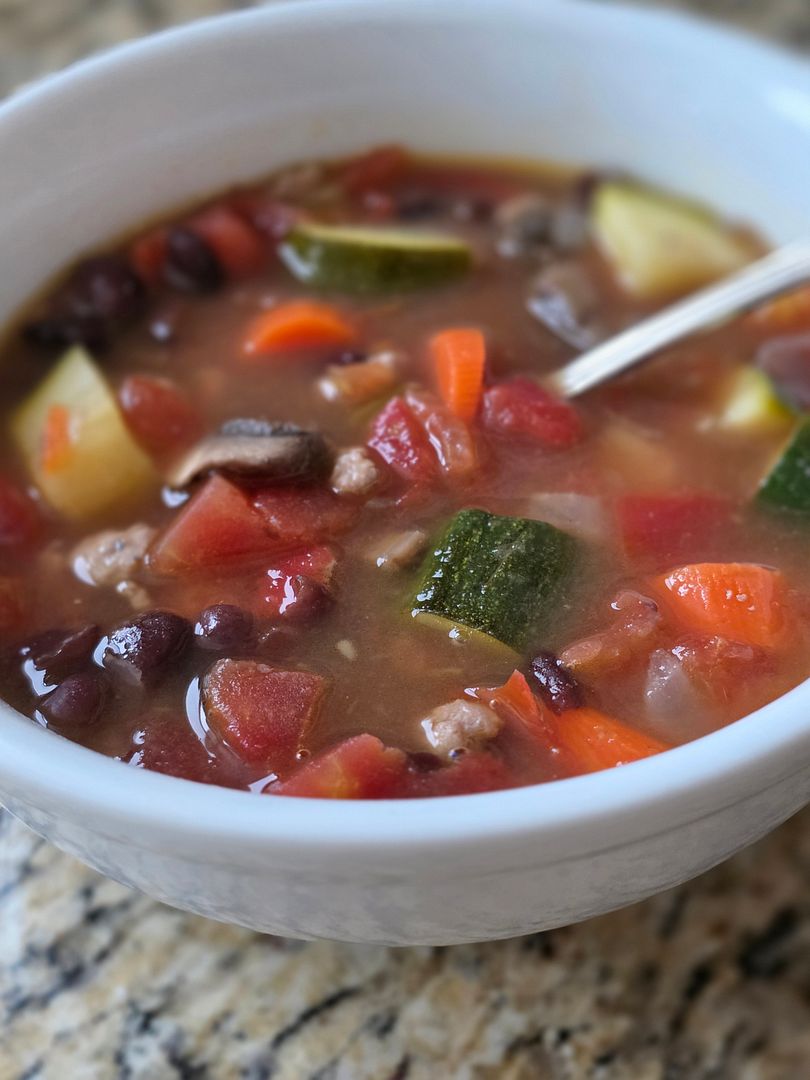
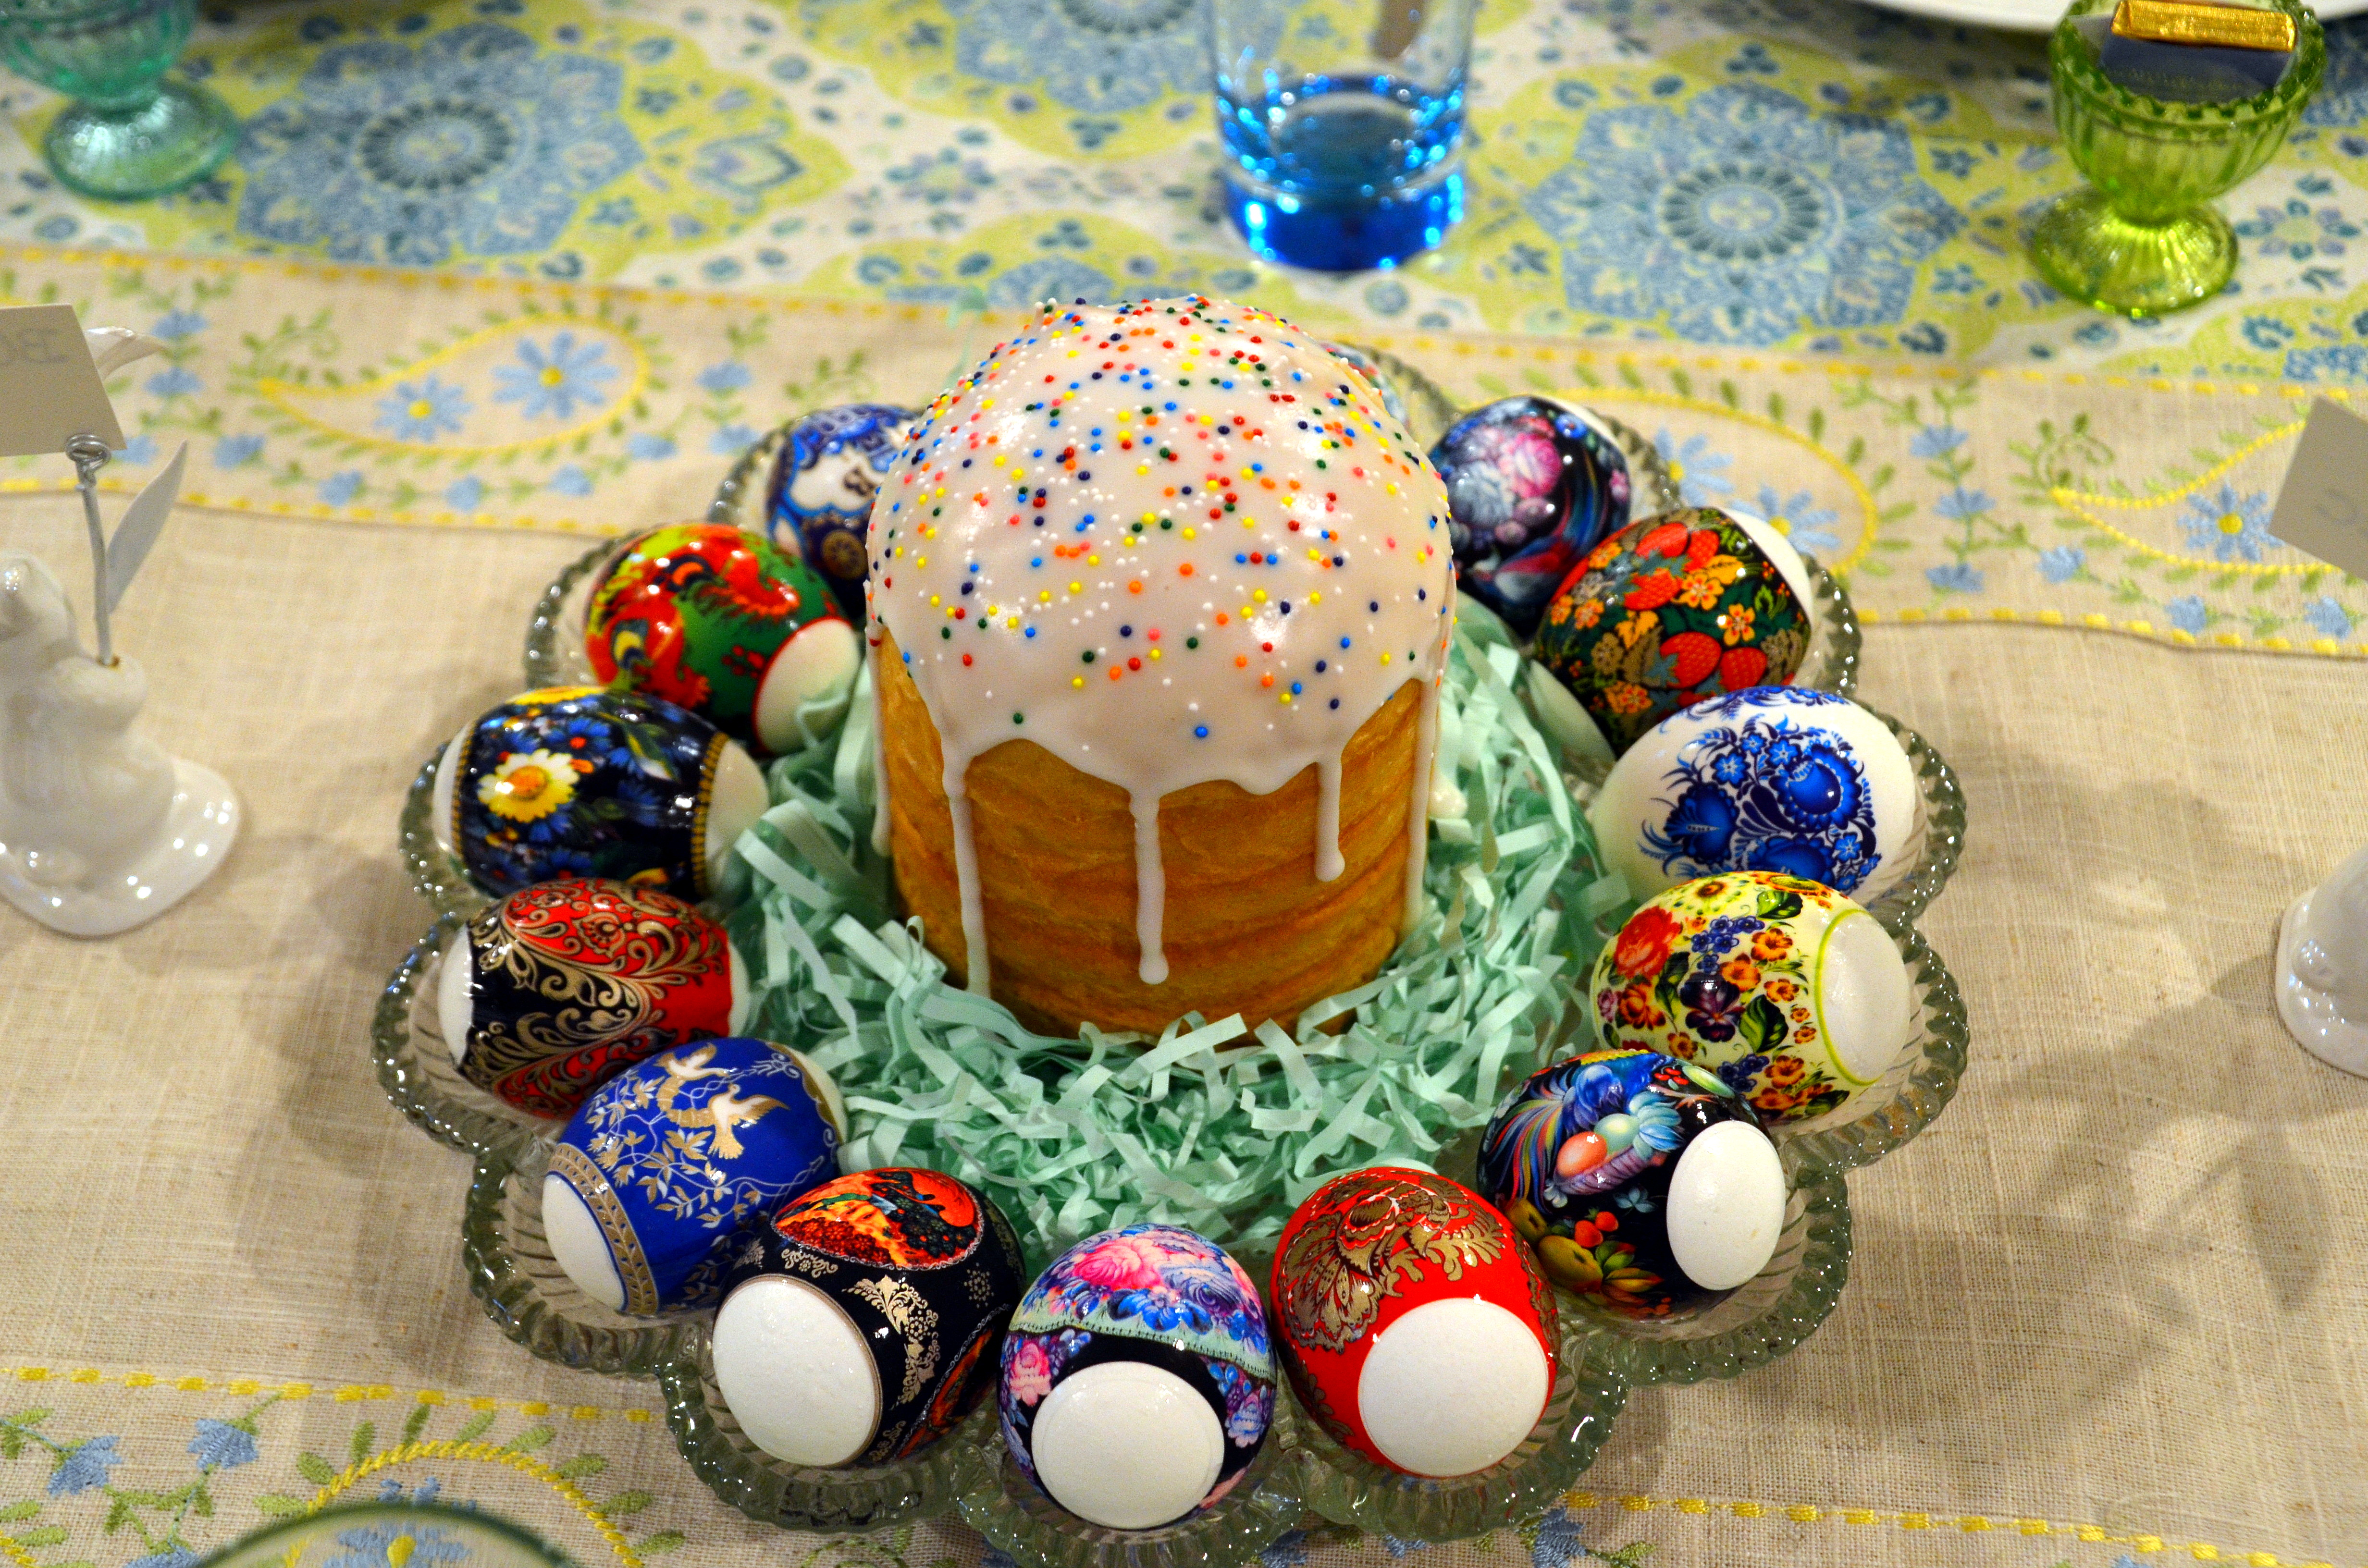
We like to serve the kulich with the spread and strawberries.

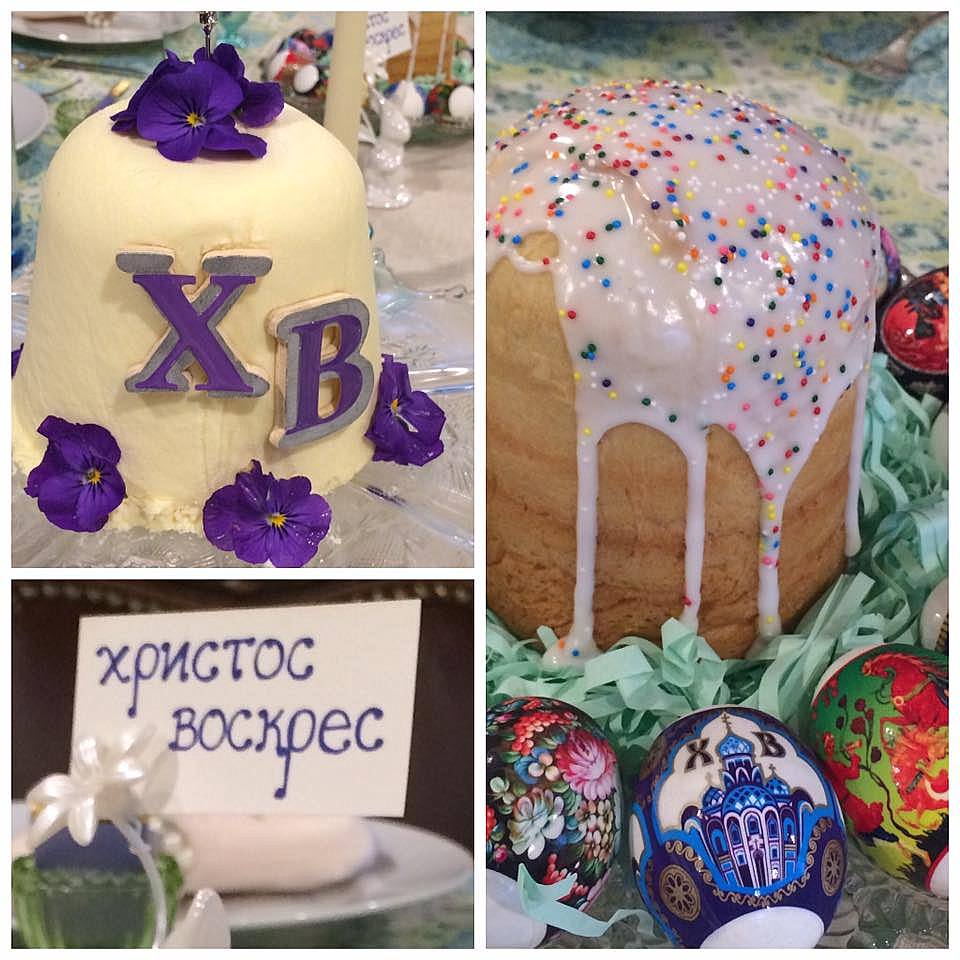
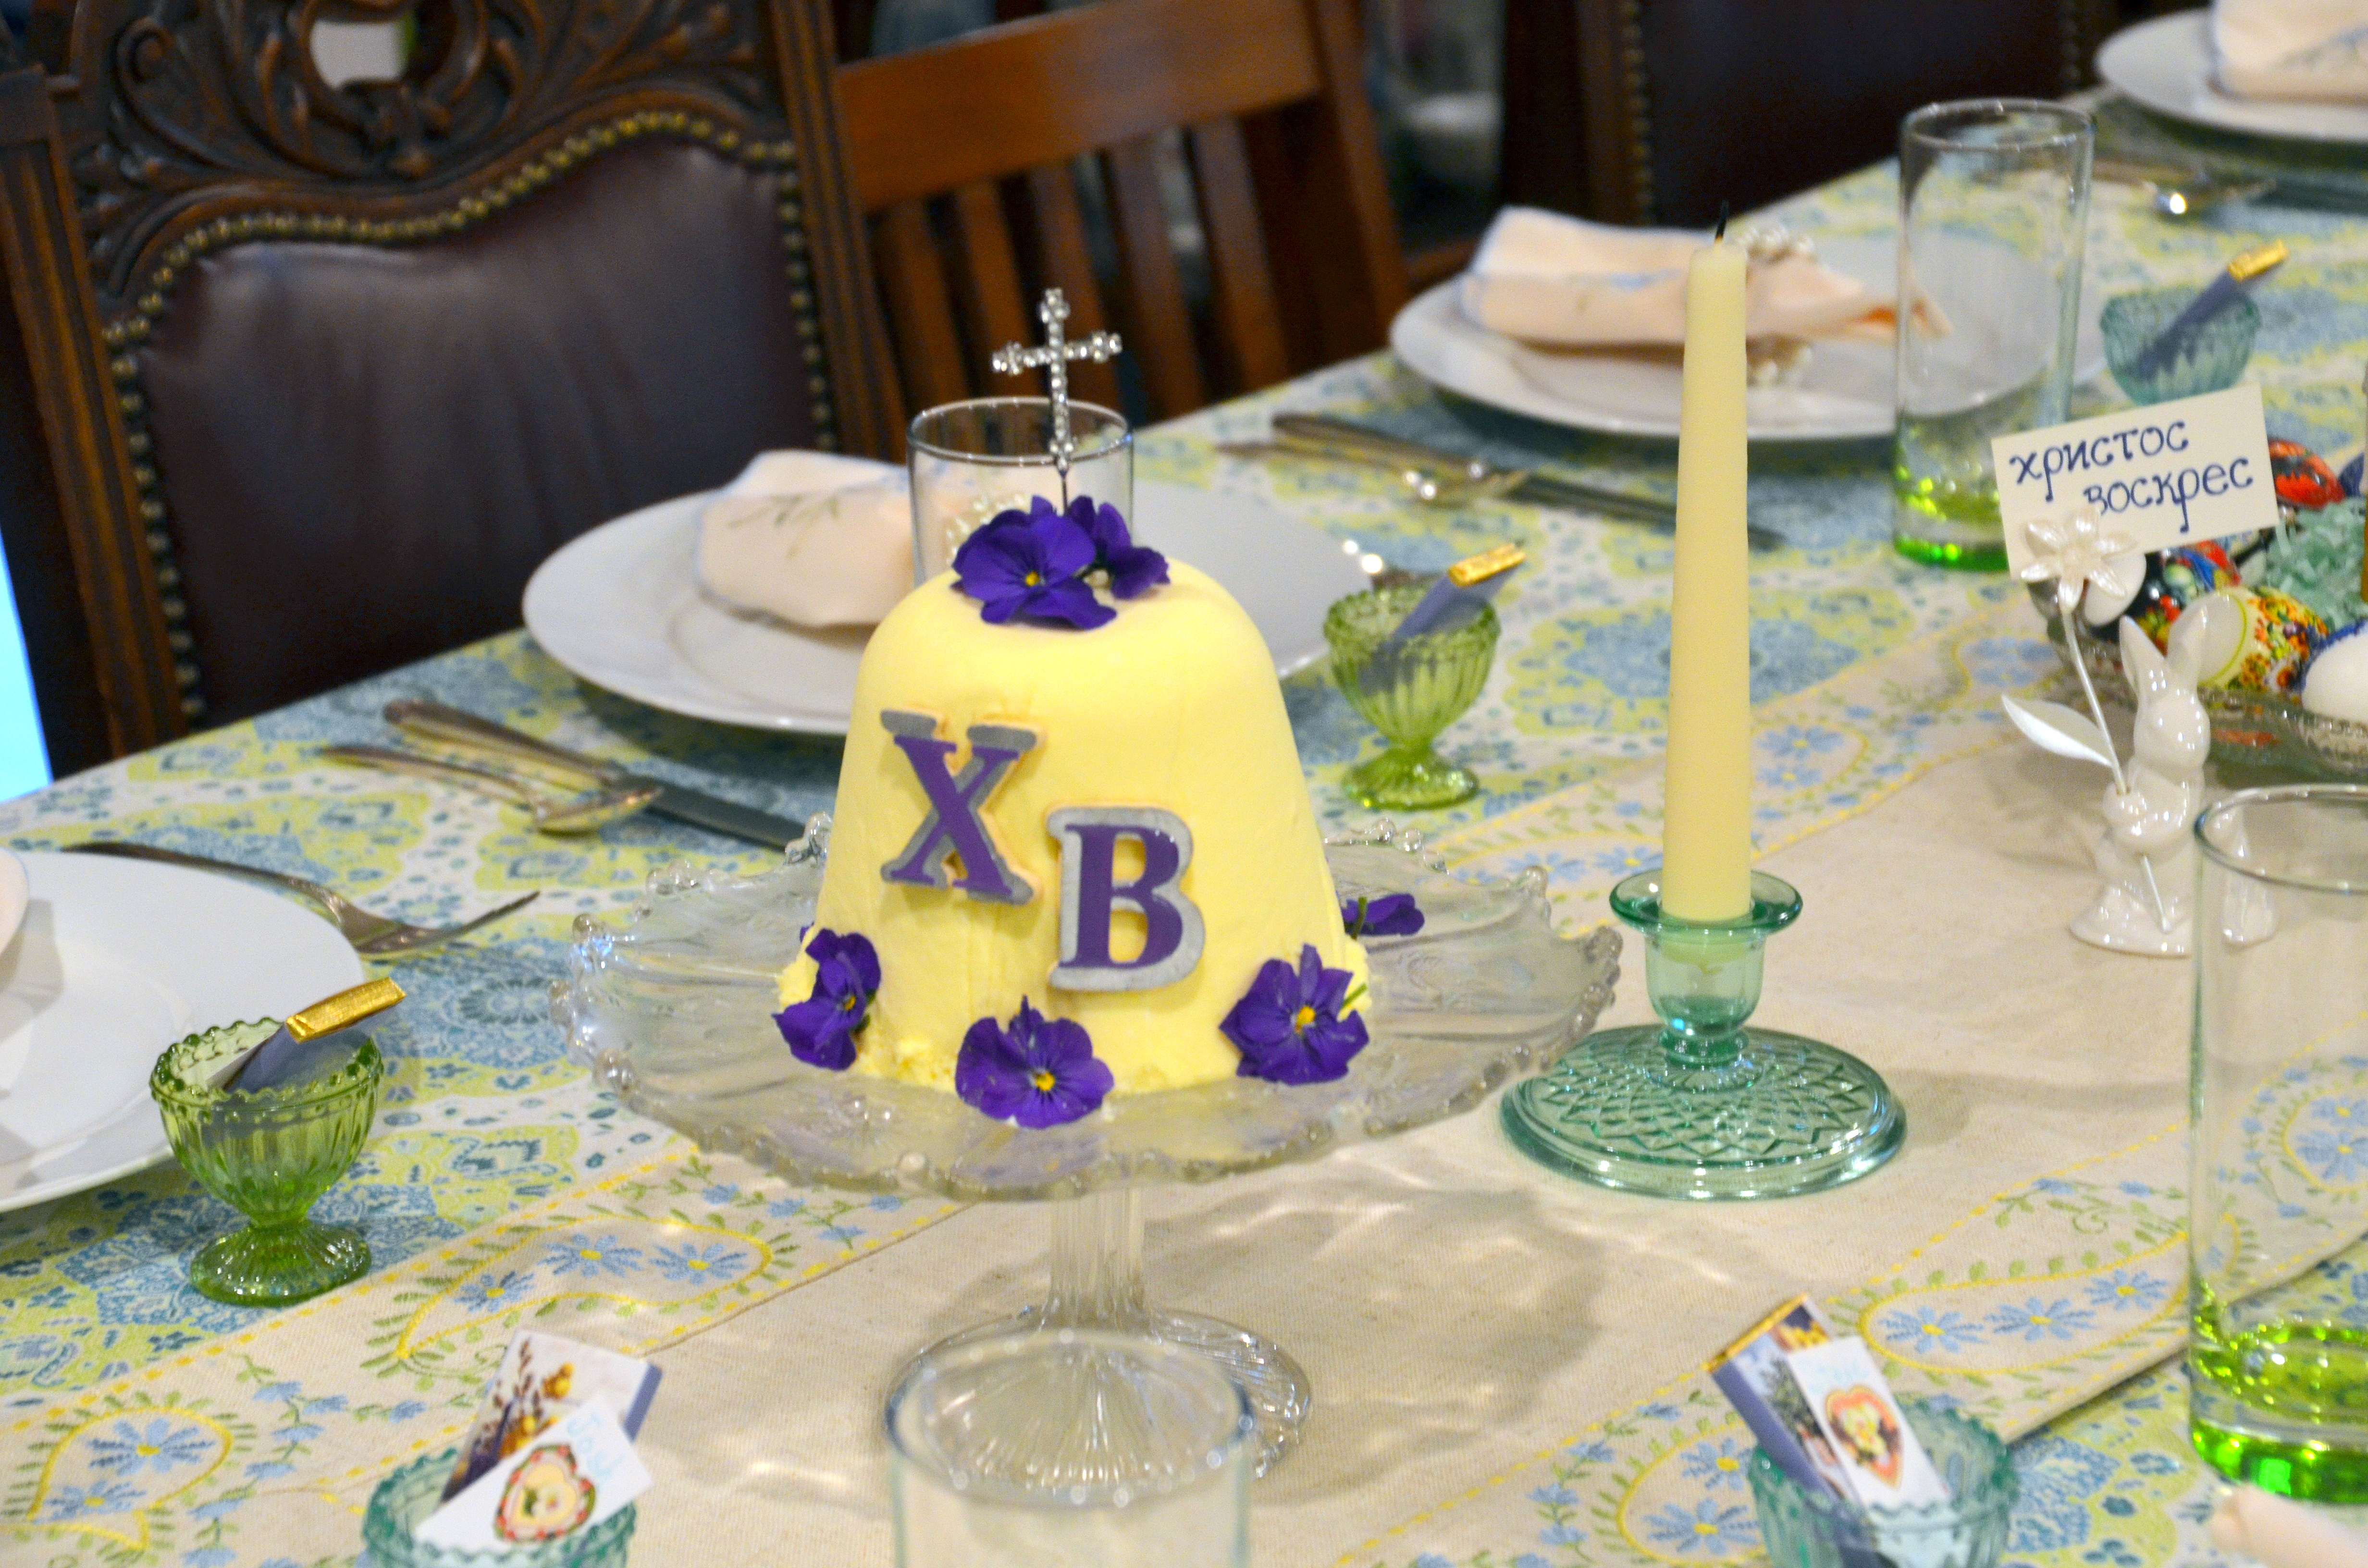
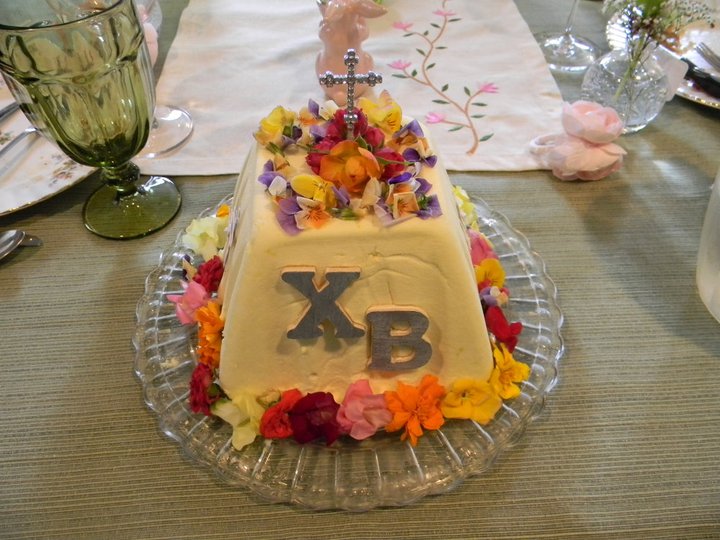
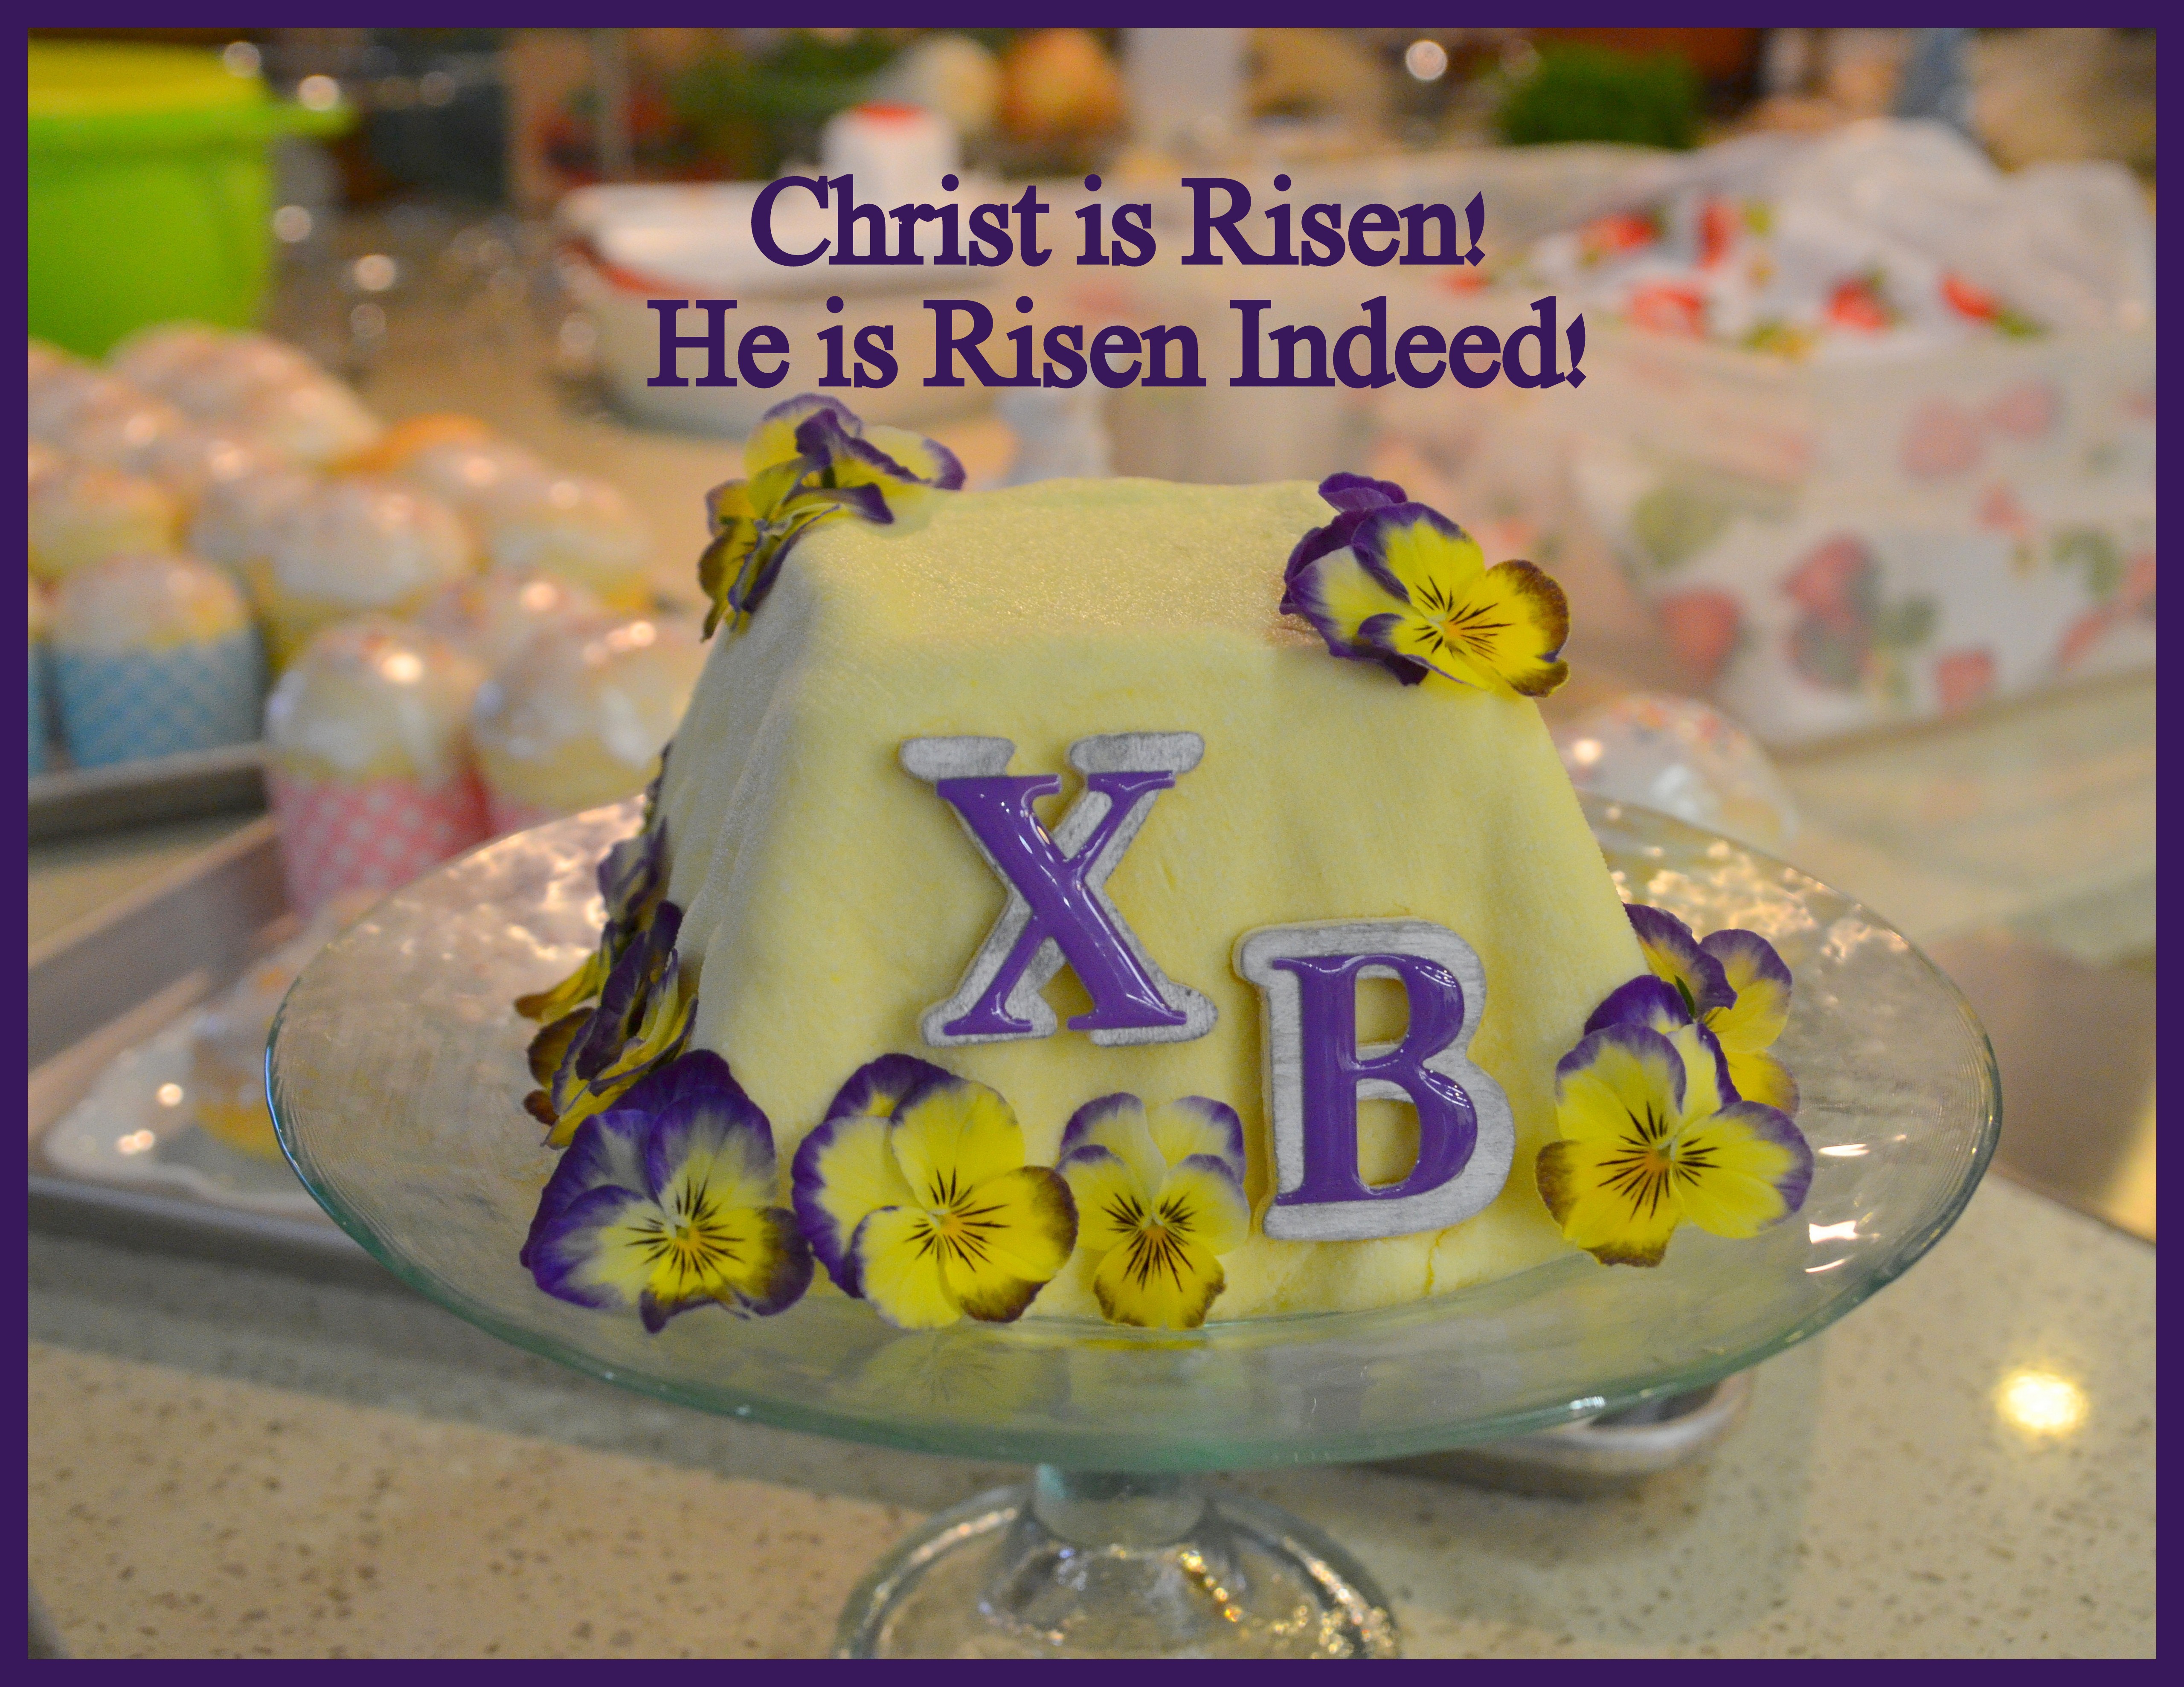
When the Mennonite Girls Can Cook had a Paska demonstration at Lepp Market in Abbotsford I brought a completed Seernaya Paska, sweet cheese spread molded from home since it has to sit in the refrigerator having all the liquid pressed out for at least 24 hours. I plated it and showed one of the flower pots I use to mold the cheese and the heavy stone wrapped in plastic wrap to weight the cheese and force the liquid out. We used fresh viola blossoms to decorate it.

Because the class was all about Easter I have to explain what the X and B on my Russian Sweet Cheese Spread is all about. On Easter the greeting that we always express to one another is

Christos Voskress! Voistinu Voskress!

Христос Воскрес!

Воистину воскрес!

Christ is Risen!

Truly He is Risen!

So the X (the first letter of Christ in Russian) stands for Christ and the B (the first letter of risen in Russian) stands for Risen, Christ is Risen. This is what Easter is all about.

I made an error in the pronunciation of this dish in our first cookbook. It is called seernaya paska not seerney paska . I’ve always had a hard time with my Russian. I’ve found these plastic flower pots work well to mold the cheese. Make sure you add holes in the bottom of the pot so the liquid can escape easily.

easter 2016 038

You do not need old coffee cans to make Kulich/Paska. This next photo shows individual sized portions using paper baking cups that were baked for our cooking class at Lepp Farm Market years ago.

paska class 001

This blast from the past was probably our first Easter in Washington State, 1989.

2014-03-027

True Confessions: I have not attempted to make Kulich here in Colville. I have made Seernaya Paska to go with Kulich that I purchased at Kiev Market in Spokane. The market Kulich was only good for decorating the table. It does not compare to our mom’s recipe.

Are you preparing for Easter?

Addy’s 9th Birthday Party

If you are a fan or have watched ‘Survivor’ or ‘Alone’ you will understand the challenges we enjoyed at Addy’s 9th birthday party. We all gathered on Saturday dressed to survive any challenges thrown at us by our challenge host, (Jeff Probst) Dad Dan.

Addy’s most talented mom made her logs on fire cake or campfire cake! The flames were made from jolly rancher candies!

Before cake and before our survivor challenges began we enjoyed lunch of chili and homemade sourdough and cornbread.

Fortified for the challenges Addy and JJ (the captains) chose their teams.

Team Addy on the left and team JJ on the right with Dan (Jeff) giving the rules and asking the bonus questions for extra supplies to build our shelters. Each team was given a set of supplies to begin and then had the chance to earn extra supplies. The shelters would be judged as to whether they could survive a rain storm (simulated with buckets of water).


If you’ve watched ‘Survivor’ you will notice that Dad Dan had Jeff’s look captured to a T! Here he is giving us the rules and the go ahead!

The Shelter making challenge was borrowed more from the TV show, Alone.

There was a time limit and everyone worked fast to get their shelter completed. JJ’s team had supervisors overseeing the work.

Team Addy’s shelter!

Team JJ’s shelter.

The Bucket test would be after cake and presents!

Time for cake before either Addy or JJ would get soaked or stay dry in the bucket challenge!

Time for presents!

From presents we moved on to the very exciting fire starting challenge with only select materials to get our fires going. The team who’s fire burned through the rope first would win the challenge. No matches only a type of flint, a little kindling and other elements plus wood to get the flames going.

The rope you see was what we needed to burn through to win. Not an easy task. It was a group effort from beginning to end.

We got a flame!!!

It was a windy afternoon and we had that challenge to deal with, too.

Team Addy for the fire making win! What an intense and fun challenge this was!

The final test was to see if team Addy or team JJ would stay dry in their shelter.

Team JJ won this event. Addy got the wet end of this challenge! Well done on your shelter, team JJ!

Thanks to Addy’s mom and dad for hosting such a fun 9th birthday for Addy and guests!

After all the excitement of Addy’s birthday party there were more gatherings for dinner and cake and presents for my belated birthday.

The March birthday girls got the hats and songs at the Mexican restaurant.

We then all gathered at our home.  We enjoyed another cake that Addy’s mom made, a Persian cake, for my belated birthday celebration. I was showered with presents and kind words of encouragement.

It was an evening of reminiscing about years gone by and we talked about my mom’s last days and how we had visited her for the last time in person in August of 2013. Laura remembered she had photos from that day on her phone and quickly found this next photo which brought back the memories of our mom wanting to share this portion of Jude with all of us. This is my hand next to the verses that were important to our mom to share.

Here is part of the post that I published on my blog in August of 2013, after our visit with our mom/Baba. Our mom was received in heaven by her Savior on September 13, 2013.

MomAfter the beautiful wedding on Saturday we packed up and headed to my mom and pop’s apartment for a short visit before our flight home. We had a wonderful time around my mom’s hospital bed where she shared her favorite verses from the Bible with us with some added words of counsel. She was able to walk into the living area for a while to eat and watch the video of the wedding of grandson Caleb and sweet Marie that was recorded with my sister’s IPad during the wedding ceremony.  By this point she had to go back to her bed and rest. Dear, Josh, Laura, Katie and I said our goodbyes knowing this would be the last time we would see her alive.  Heavy…

Jude 17-25:

But you must remember, beloved, the predictions of the apostles of our Lord Jesus Christ. They said to you, “In the last time there will be scoffers, following their own ungodly passions.” It is these who cause divisions, worldly people, devoid of the Spirit.

But you, beloved, building yourselves up in your most holy faith and praying in the Holy Spirit, keep yourselves in the love of God, waiting for the mercy of our Lord Jesus Christ that leads to eternal life. and have mercy on those who doubt, save others by snatching them out of the fire; to others show mercy with fear, hating even the garment stained by flesh.

Now to him who is able to keep you from stumbling and to present you blameless before the presence of his glory with great joy, to the only God, our Savior, through Jesus Christ our Lord, be glory, majesty, dominion, and authority, before all time and now and forever, Amen. 

It was a lovely way to end a day of joy celebrating our dear granddaughter and being celebrated by my dear family.

Thanks for surviving our 9th and 75th celebration!!

Creamy Poblano Soup

In the past I’ve found good recipes that are included with store flyers. This recipe came from a flyer that Fred Meyer sent out some years past, recipes with a Latin flair. I tried two of their soup recipes. The first one I tried and the whole family enjoyed was this Creamy Poblano Soup. There are no credits given in the magazine for the recipe so I’ll give Fred Meyer the credit.

Creamy Poblano Soup

6 poblano peppers
1 lb. ground beef (80% lean)
2 cups sliced leeks (from 2 large leeks, white part only)
2 cups corn kernels, fresh or frozen
3 cups chicken stock
1 cup whipping cream
salt and pepper to taste

Preheat the broiler in your oven.
Arrange Poblanos on a sheet pan and place 4-6 inches under the broiler.
Cook until charred on all sides, turning every few minutes, about 8-12 minutes or more.
Transfer the charred peppers to a bowl and cover them tightly with plastic wrap.
Let them steam for 10 minutes then peel and chop the peppers, discarding the skin and seeds.
Set aside.

Add the ground beef to a large pot over medium heat.
Cook, stirring often, until the fat is rendered and the beef has begun to brown.
Using a slotted spoon, remove the beef and set aside, leaving the fat in the pan.
Add the leaks and cook, stirring occasionally until they have softened, about 5 minutes.

Add the reserved poblanos and corn, and continue to cook until the corn has cooked through, about 5 minutes. (add some olive oil to pan if it seems dry) Add the chicken stock and simmer until the flavors incorporate about 5 minutes. Stir in the cram and reserved cooked ground beef. Season with salt and pepper. Simmer until the soup is warmed through then serve at once, refrigerating any leftovers.
This will serve 4-6 people.

Notes: I salted the raw beef lightly while it was cooking and I also salted the leeks and corn lightly while they cooked. You could prepare the poblanos a day ahead to speed up the cooking process on the day you want to eat the soup. If you have a gas stove top you can char the peppers over the flame but it’s easier to char them under the broiler.

We really enjoyed this flavorful soup! Poblano peppers have a more gentle spiciness than jalapenos or Anaheim chilies.

Bruschetta Ricotta Cheese Spread

We enjoy Bruschetta which is a simple Italian appetizer consisting of grilled bread lightly brushed with olive oil and rubbed with garlic. From here the varieties are abundant. We enjoy this prepared bread topped with a simple tomato and fresh basil mix or with an added dimension of this ricotta spread.

Ricotta Cheese Spread
Ingredients:

  • 1 cup ricotta
  • 2 tablespoons fresh basil chopped
  • 1 clove roasted garlic minced
  • 1 tablespoon fresh lemon juice
  • 1/4 teaspoon salt
  • 1/8 teaspoon fresh ground pepper
  • 2 Tablespoons chives chopped
  • 1 or more tablespoons of grated Parmesan

Method:

  1. Mix all of these ingredients and store in refrigerator until ready to use.
  2. When your bread and tomato topping is ready arrange on plate and serve.

Tomato Topping:

  • 3-4 roma tomatoes chopped with liquid drained
  • 1 clove minced roasted garlic
  • chopped fresh basil (amount to taste)
  • Small amount of olive oil to just coat ingredients and salt and pepper to taste

Method:

  1. Mix together and serve fresh on toasted or grilled slices of bread spread with olive oil and garlic.
  2.  Spread the toasted bread with the ricotta mixture and top with tomato/basil mix and enjoy.

You can also offer an olive tapenade to your serving platter which will go well with the ricotta spread.

Talking to Myself

I’ve been talking to myself since I finally stepped on the scale last week. Yikes! That number I saw was shocking to me.

Before I stepped on the scale, I had already planned and started a 1200 calorie a day eating plan. I bought a book for inspiration but my choices are personalized.

After a full week on 1200 calories a day I’m telling myself…

1200 calories is plenty of food to eat in a day.

Some days after dinner and being satisfied, I still have 200 calories left to consume.

It’s okay to eat the same thing over and over again if it is what I like.

Adding cucumbers to wraps gives you a delicious crunch and satisfaction.

That a single serving of oatmeal with a walnut, two teaspoons of brown sugar, 1/2 cup of blueberries was delicious and satisfying and under 300 calories. (I’ll be having that for breakfast again)

The varieties of good food I can eat is encouraging and doable.

A Costco chicken deboned chopped or shredded and frozen in smaller portions is a plus.

Shopping with a list of  good things to buy is important. I need to have those items on hand.

Keeping an ongoing, daily list of everything I put into my mouth is necessary for me.

My math skills are being challenged in figuring out calories then adding and subtracting. 🙂

I’m reminding myself that things might be slow going but I’ll be pleased in a month, more pleased in 2 months, etc.

A huge help for me is knowing my ‘girls’ are cheering me on. They are praying with me for resolve to continue doing what is good for me physically and mentally. Accountability is key.

Because of my Plantar Fasciitis I’m not able to walk regularly for extra exercise but I have started chair exercises with a YouTube that is good and going well. Just 10 minutes in the session but still helpful and easy on my feet.

Another reality is that there will be special events where I won’t be counting calories and that is okay.

As my clothes feel less tight I will remember to take notice and be thankful.

You won’t hear any weekly reports from me about this journey but I will try to post something monthly or every six weeks for more accountability.

This ground turkey soup I made on Saturday ended up being 175 calories per cup (8oz.) and was very tasty per Greg and me.

Ingredients

  • 8 oz. cooked ground turkey
  • 1 can chicken broth
  • 1 can Rotel original diced tomatoes and chilies
  • 1 can black beans drained and rinsed
  • 1 small zucchini sliced
  • 2 mushrooms sliced
  • 1 Carrot sliced

Method:

  1. Combine all ingredients in soup pot.
  2. Bring to a boil then turn down to simmer.
  3. Simmer for 30 minutes.
  4. Serve while hot.

Yield: About 5 cups

Note: This was spicy with the Ro-Tel but added some nice depth of flavor.  You can substitute a can of chopped tomatoes instead if you don’t tolerate hot spice.

Some other meals I’ve enjoyed, just to name a few.

  • Low Fat Cottage cheese with pineapple
  • Cooked ground beef wrap with cucumbers and salsa
  • 2 eggs on toast
  • Strawberries with a squirt of whipped cream
  • Avocado and egg on toast
  • Cheese melt on English muffin
  • Teriyaki Chicken breast with rice and brussels sprouts

For the Birds

A couple of weeks ago we started building this birdhouse with Addy and JJ. The involvement with hammers and nails and glue made me fail to get photos of A and J while they were working on it.

Both Addy and JJ are good with directions and the whole building process. Addy’s window is a little more detailed than JJ’s.

It was Addy’s idea to add the B. We had to let all the glue dry at this point and it was time for Addy and JJ to go to Awana. The finishing of the roof would have to happen at a later date.

On Monday afternoon JJ was here while Addy was at dance so we started on the shingles on the roof. The royal ‘we’ was JJ supervising me and giving me tips while he ate an orange.

Here’s an older Autumn photo of Addy and JJ.

I wanted to update y’all on the fires in our parts. The closest fire to us is 74% contained and another fire a little farther from us is 46% contained. The folks from our church who had to evacuate have been able to go back to their homes and they weren’t destroyed. We had a downpour on Sunday and that was helpful, too. Hope all is well in your neck of the woods.

Dance Recital

On Saturday after JJ’s birthday party some time was spent on braiding and curling Addy’s hair for her dance recital. Addy, her mommy and Auntie Lolo left early and we followed later. We waited with anticipation to see Addy come on stage.

The lighting was difficult but I was able to get some photos to show some of the dance moves.


In this shot you can see the braids and curls that held well throughout the performance. Hats off to Auntie Lolo and her mommy.

She really danced her heart out and it was great to see her confidence on stage. I wish I could have gotten the video to load onto my computer but it just didn’t work for me.


Baba and Gramps thought you did a wonderful job. You worked hard at your practices and it showed on stage! Well done, Addy!

Home to have a good rest before her next performance on Sunday afternoon.

We found out after the show that there were a few of the young performers who had challenges to overcome and they did it brilliantly. There was one young dancer who was completely deaf. Another amazing young man with a cochlear implant from the same family who was one of the stars of the show. Another performer came to the Haran Dancers without being able to jump or hop. All of these challenges were overcome with practice and patience. We are pleased that our granddaughter can learn and perform in this wonderful school of Irish Dancers with gifted teachers.

DIY Master Shower

We had plans to replace our Master Shower well over a year ago. We purchased the tile then and waited for the right time to begin the project. Our hard well water didn’t do any favors to the floor of this one piece shower insert and it was frustrating to try to clean it. Dear took the old shower stall out and it was hauled to the dump. We envisioned the project being done during the summer but that didn’t happen.

Each step along the way took lots of planning and tweaking.

The floor tile went in first and then it was covered up to protect it during the rest of the project.

At one point we didn’t think we had purchased enough of the 12 x 24 tile sections and we returned to the tile store to see what options we had. We found these decorative 8×8 tiles and added some of the floor tiles to frame them and get a 12 x 12 format. (Did you understand that?).

Greg’s left hand only works at 30% since his stroke so this project was a lot more difficult than the last shower tile project he completed at our old home in Kenmore.


Time to apply the grout.

Time for fixtures and safety bars. Another nerve wracking endeavor to cut the holes just right and get them into studs.

Success!

Vanity kicks in now because my shampoos and other product stick out like a sore thumb on these pretty niche shelves because of the color of the packaging.

All that is left for this project is to touch up some of the walls and do some paint touch up.

I’m enjoying our new shower and thankful that Dear persevered during this very tough project. There were times in the process that we both just wanted to walk away.

Our Guest Bath Update

Good morning friends. The forecast here in our corner of Washington State has predictions of heavy wet snow with the possibility of falling trees and branches breaking and downing power lines. Hopefully we will not lose power but if we do, I’ve created a few posts for this week and hopefully the predictions won’t be as dire as forecasted.

When we moved into our current home in September of 2018 we knew that we wanted to make changes in our guest bath. In 2019 we bought a slab of maple wood with a live edge to replace the countertop in this bathroom. That slab lived under the guest bed in what we call the Blue Room for about 3 years. Along the way in those 3 years we bought a new sink for the bathroom, too.

Demolition day…

After he stripped the bathroom, the walls, ceiling and cabinet were painted white.

The slab of wood was measured for cutting the hole for the sink and faucet.

Now it was time to treat the wood with TopOil.

The top oil complete it was time to install the backsplash.

Time for the plumbing. We tried some of our old wall pieces and really didn’t like the look so we contemplated changes that would function better. That wall piece on the side wall got moved to the master bedroom. It poked out to far over the new countertop and imposed on the counter space.

Time to set the sink and hook up more plumbing.

We tried a few pieces over the toilet area and finally settled on this piece with shelves and a rod for hand towels. We found this piece at Wal-Mart.

We are pleased with the update. Josh and Laura were our first overnight guests to enjoy the changes.

Dear does good work and has saved us thousands of dollars over the years by doing these projects himself.

I was going to list the projects that Dear was planning to complete in the next several months but as Providence would have it we had an emergency health event that has changed our plans. Dear suffered a Stroke on Saturday in our home while we were together enjoying our lunch. He and I recognized something was terribly wrong. 911 was called and we had a great response with the EMT’s and the Fire Chief of our area. Once evaluated at our local hospital, Dear was transported to Spokane to the ICU at Sacred Heart for further evaluation. Our son drove me to Spokane and booked a room for us across the street from the hospital. Dear is in expert care and it was determined he should have surgery sooner than later and he will have an Endarterectomy on Tuesday afternoon. We are grateful that things were caught early and the right treatment was given for the best overall outcomes. His brain and speech are in great shape. The lingering symptom is weakness in his left hand. Thanking God for watching over him. Thanking those of you in advance who will pray to our God for Dear’s surgery to go well and for his recovery to be free of complications.

We have had such an outpouring of care and prayers from loved ones, our kids have rallied, our church family in Colville, old friends in Edmonds, Monroe, Bothell, Lynnwood, Kenmore and Poulsbo. Family in New York, North Carolina, Texas, California, my ‘girls’ in British Columbia and Manitoba. We are so thankful to our God for the love and peace we have experienced because of those prayers.

Posts this week will be sporadic if at all.

Hope your new week is going well.