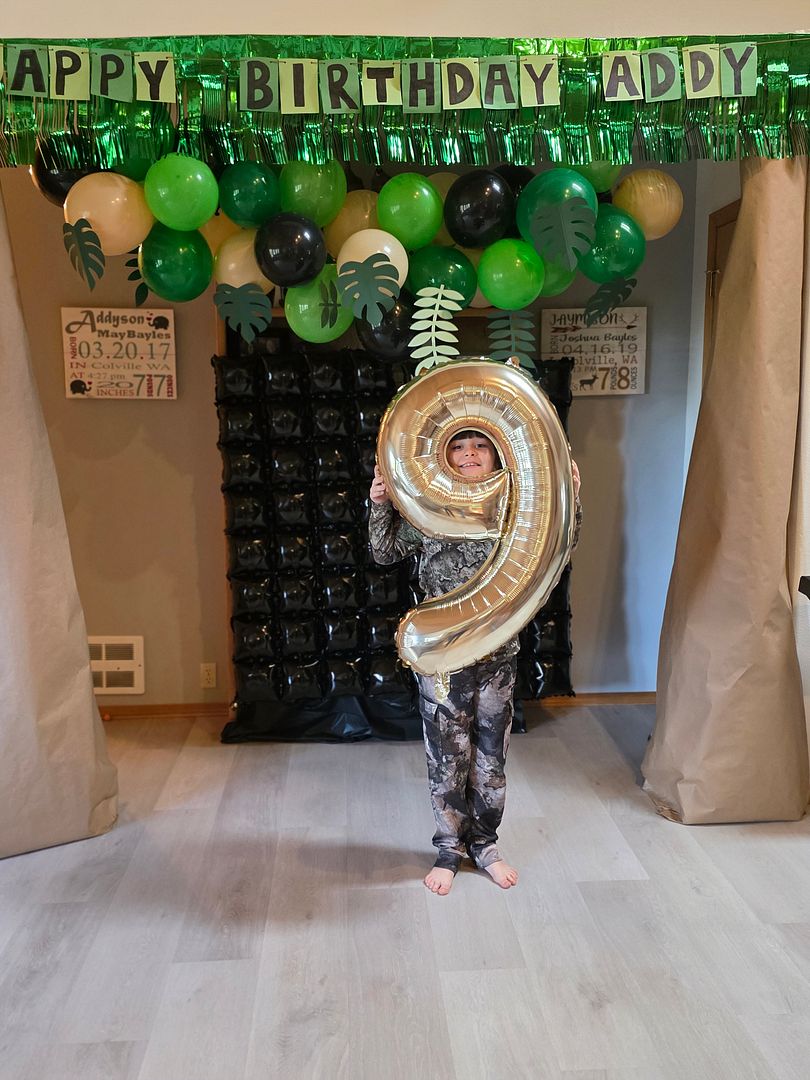
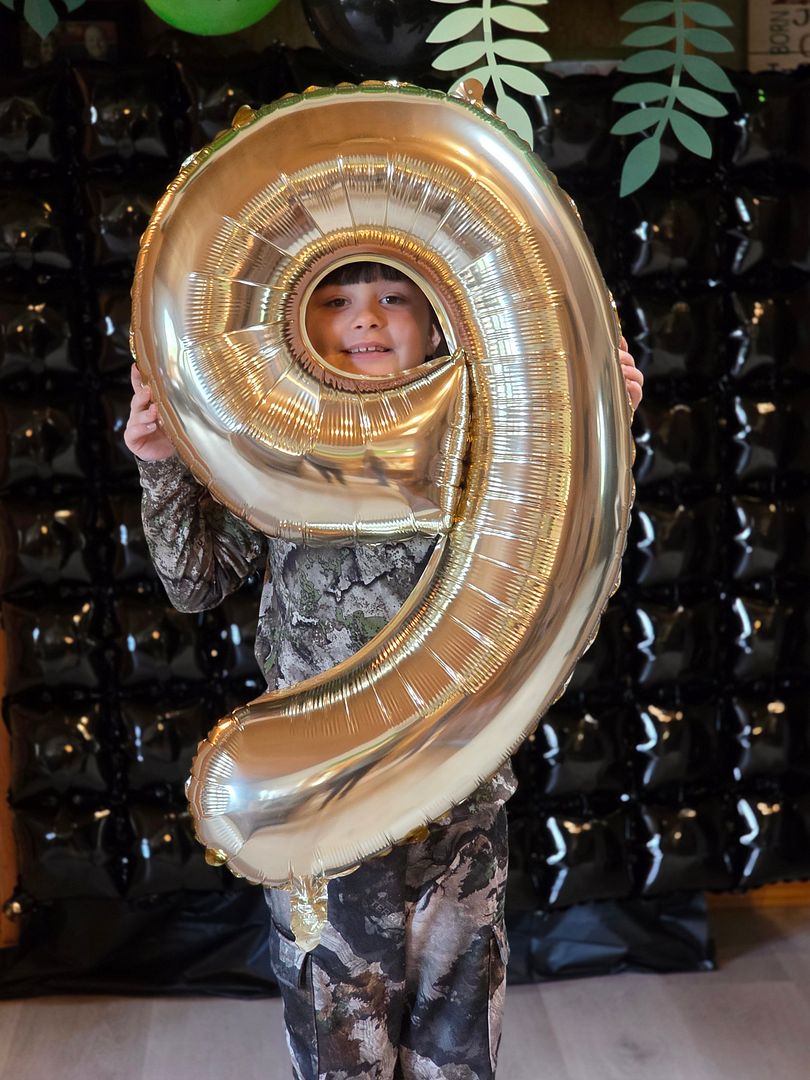
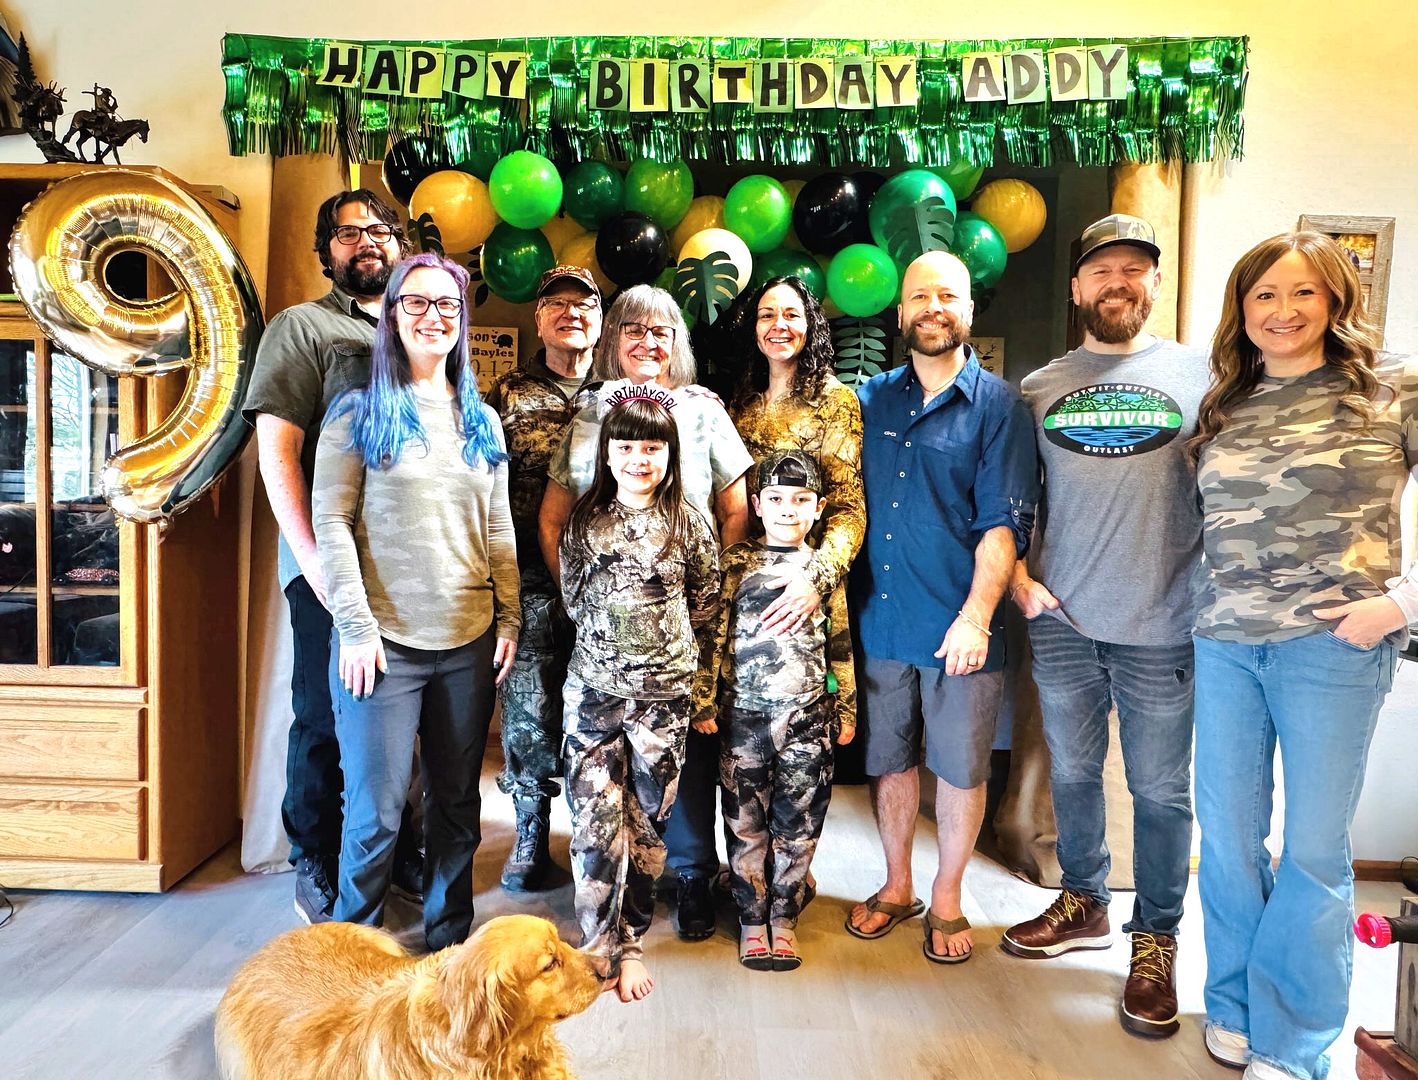
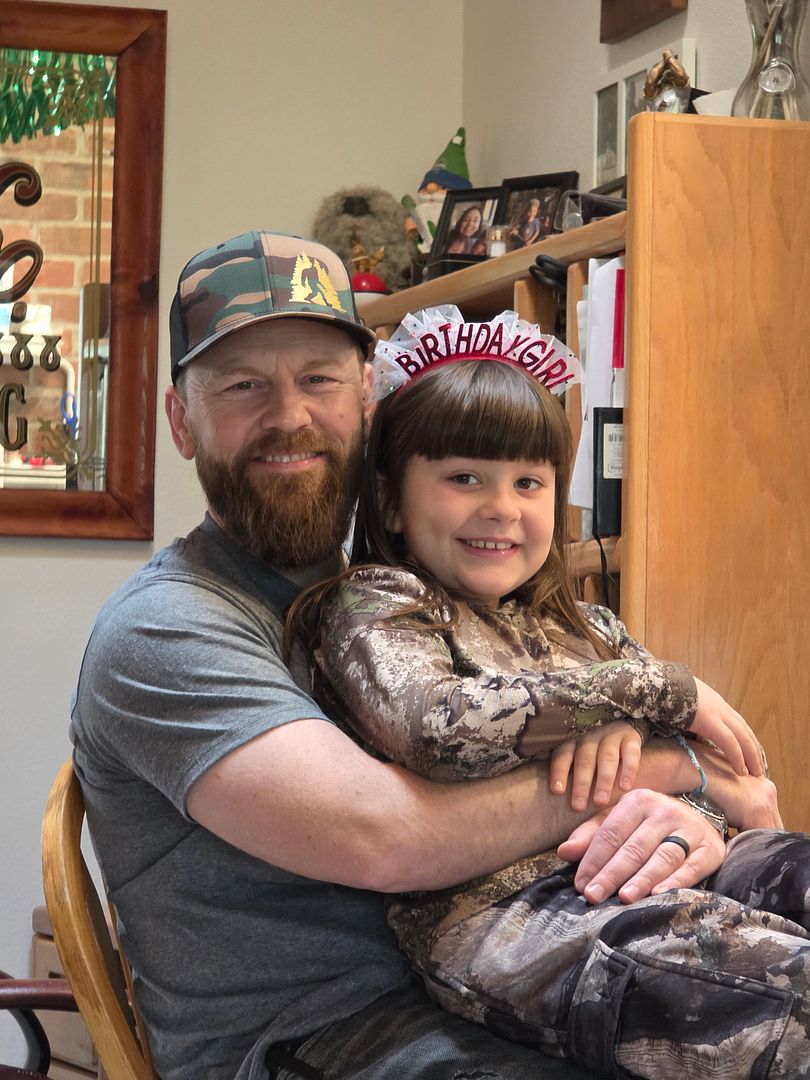
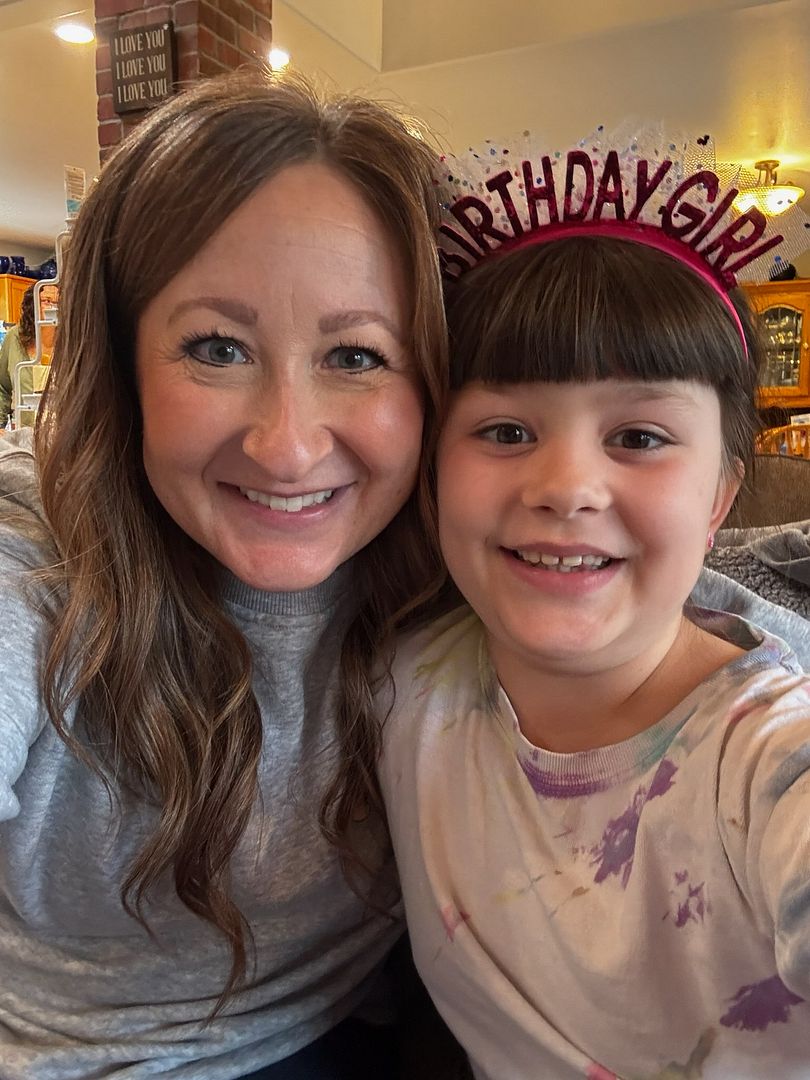
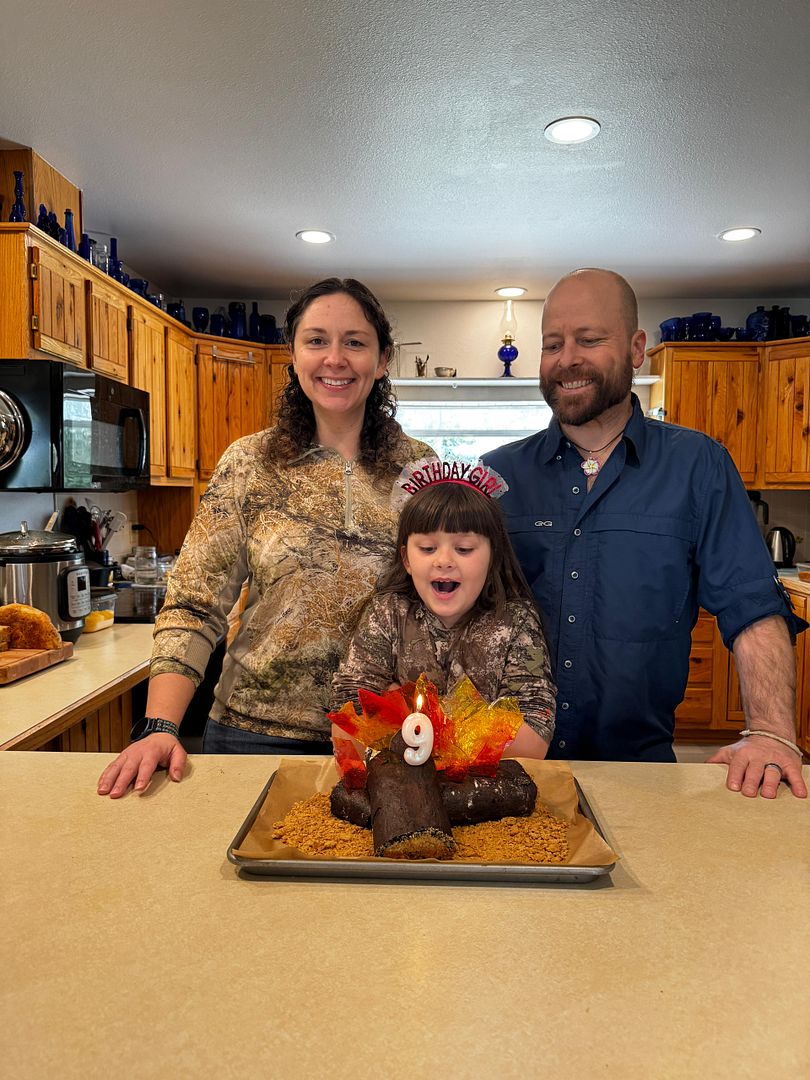
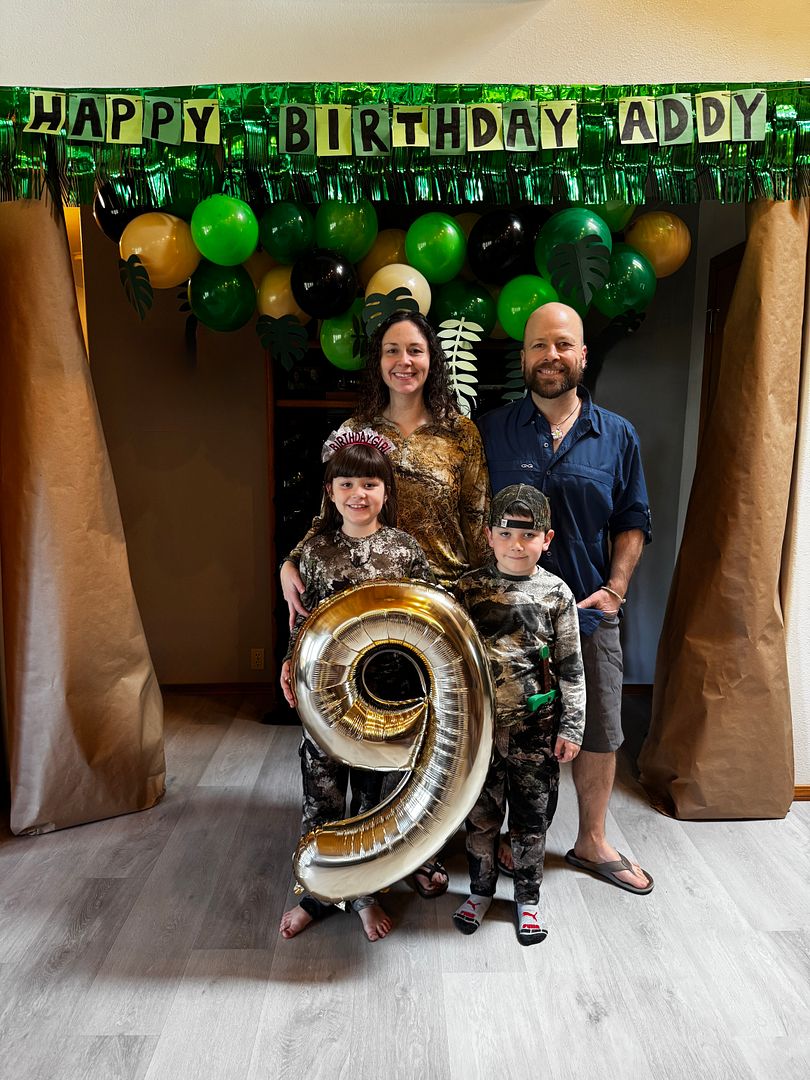
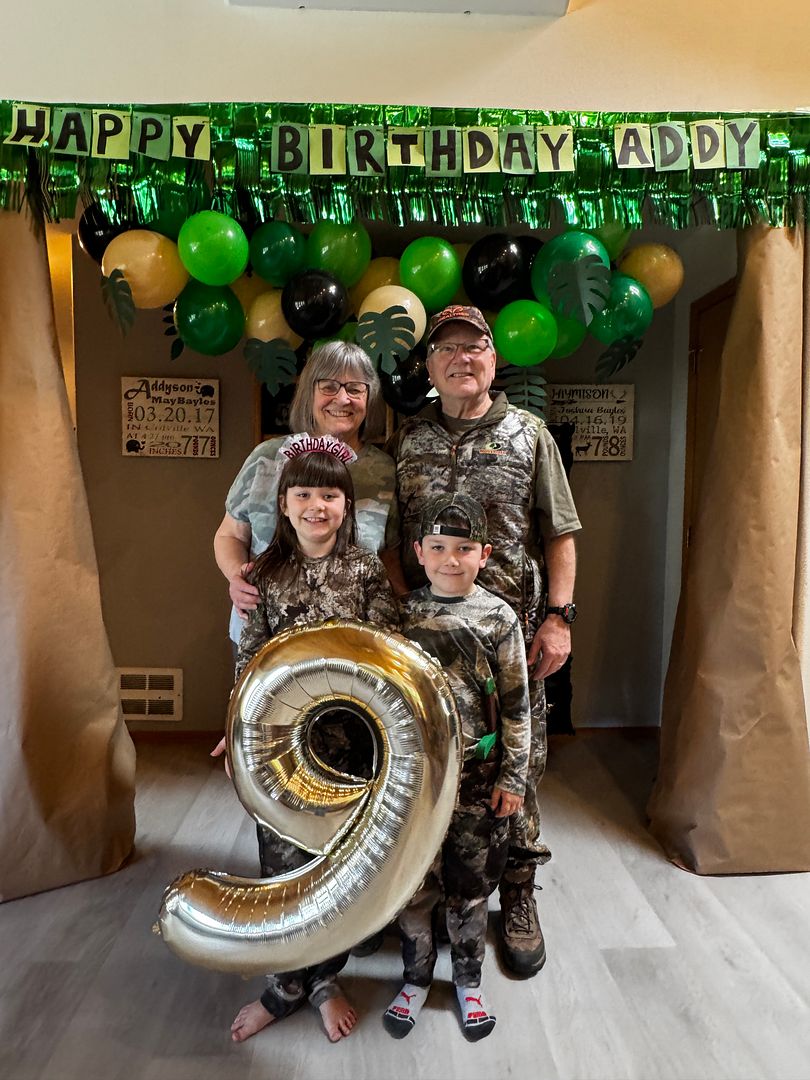
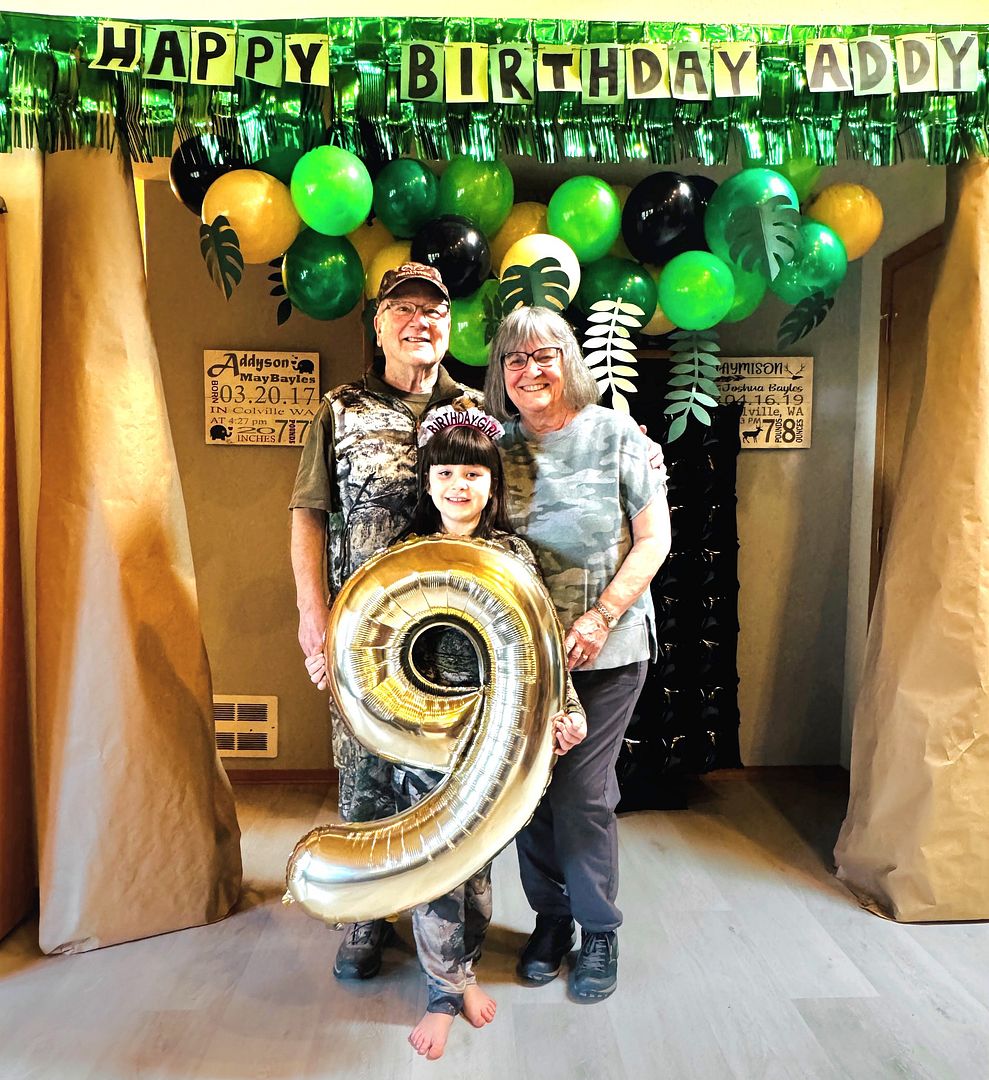
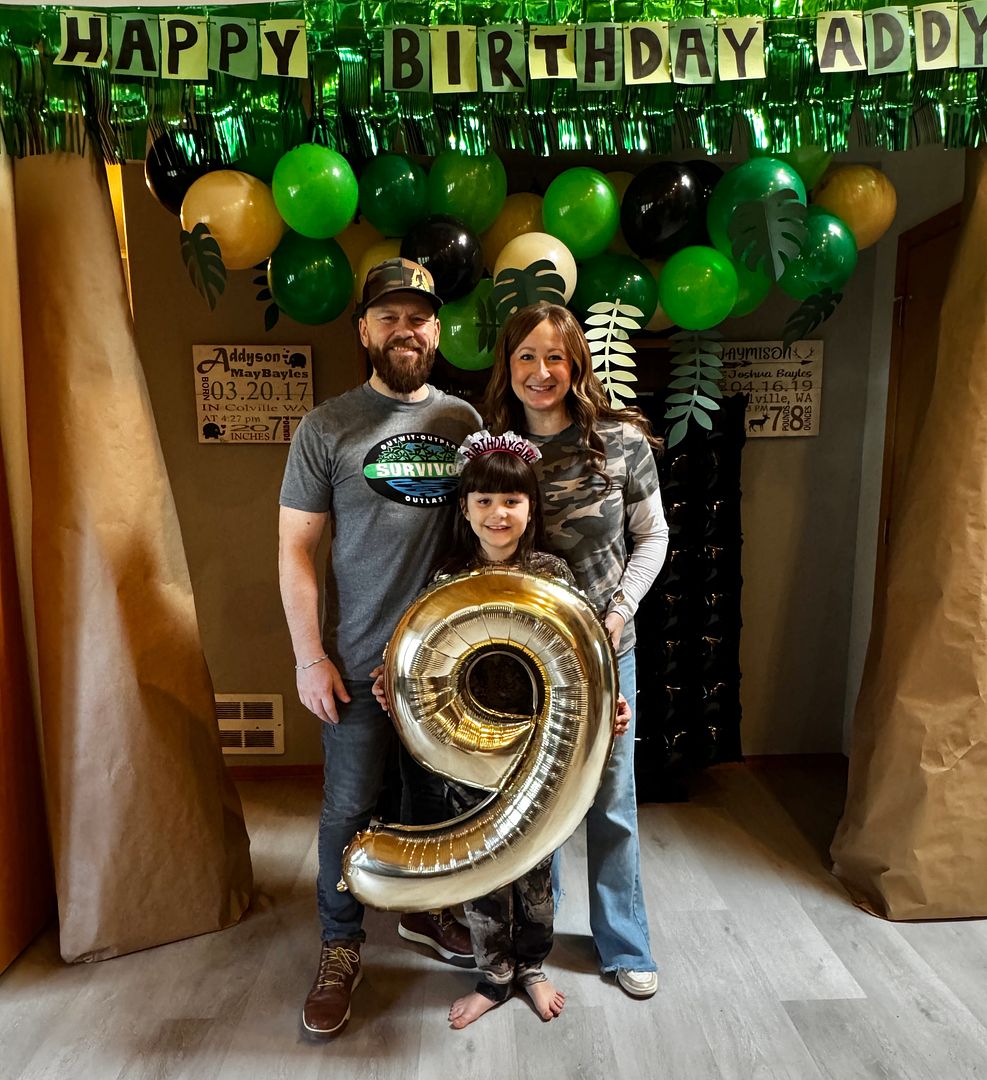
If you are a fan or have watched ‘Survivor’ or ‘Alone’ you will understand the challenges we enjoyed at Addy’s 9th birthday party. We all gathered on Saturday dressed to survive any challenges thrown at us by our challenge host, (Jeff Probst) Dad Dan.
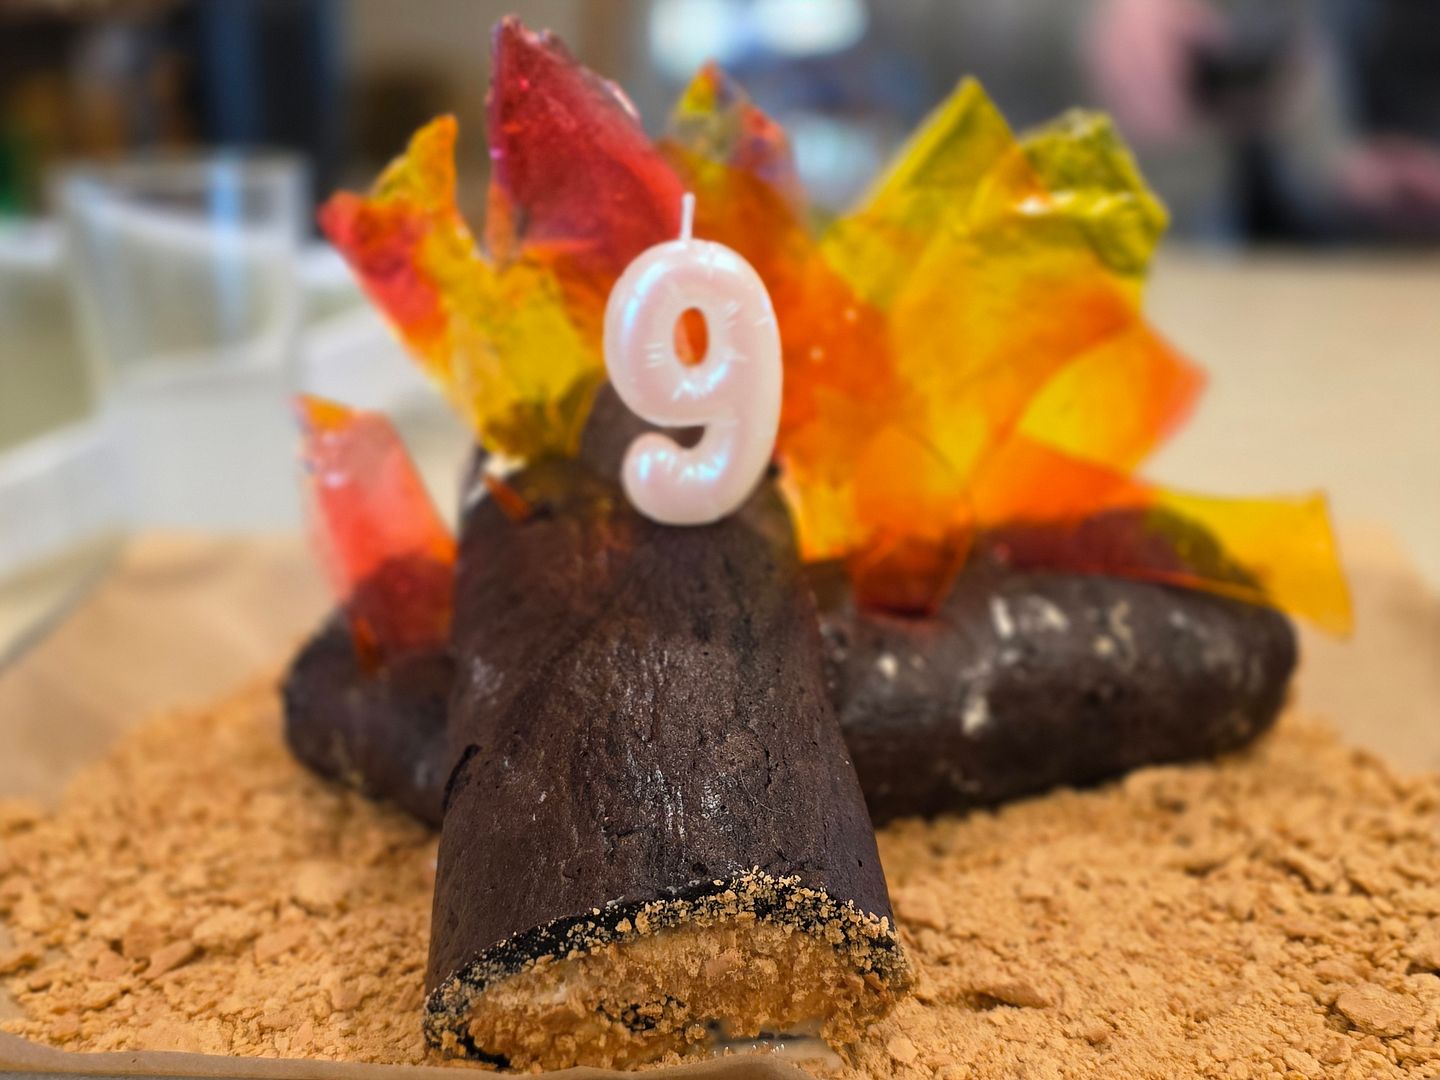
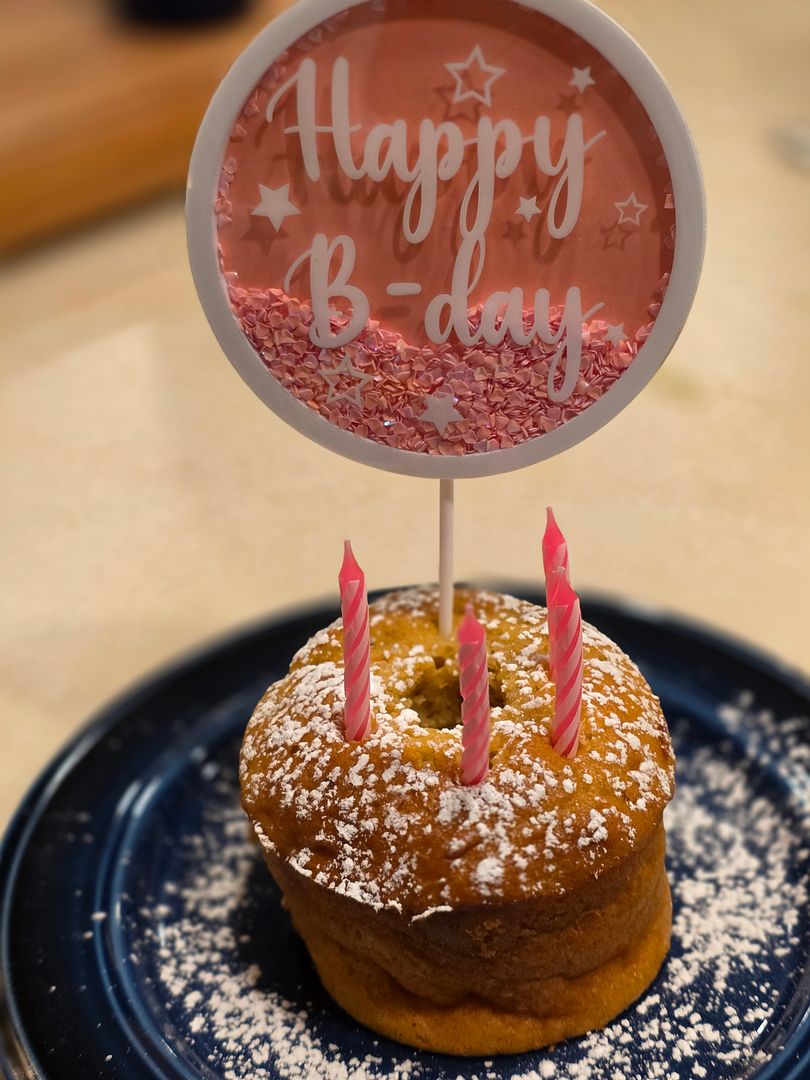
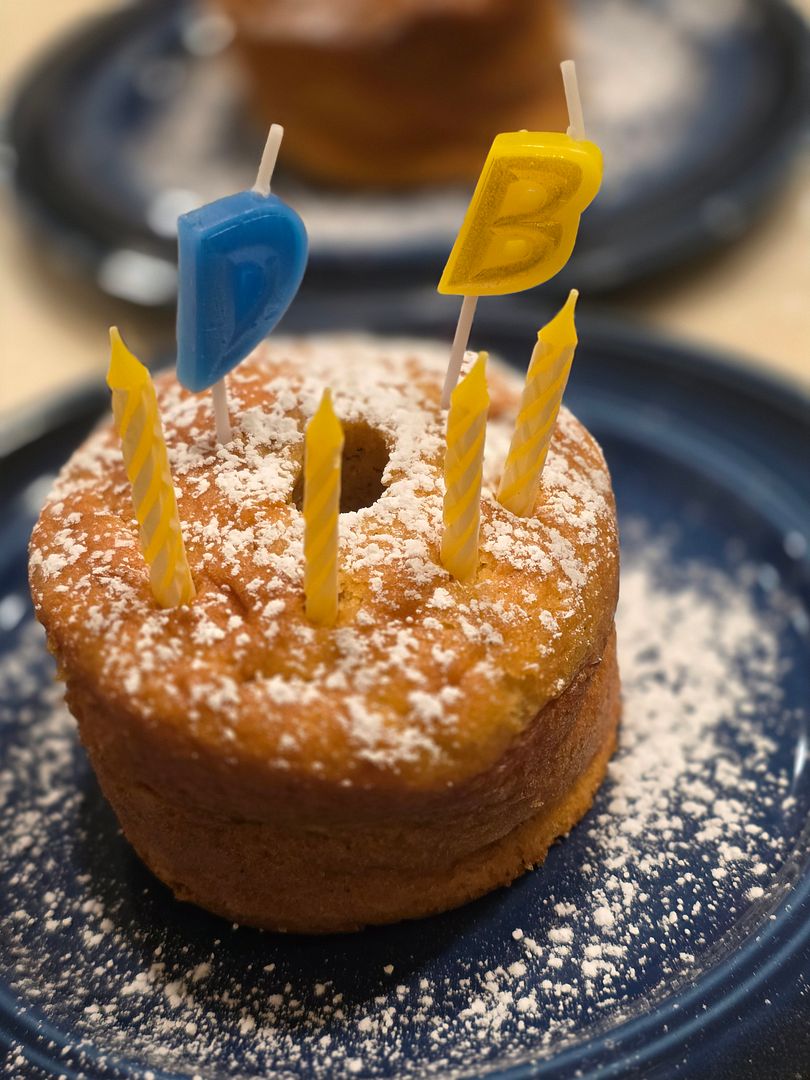
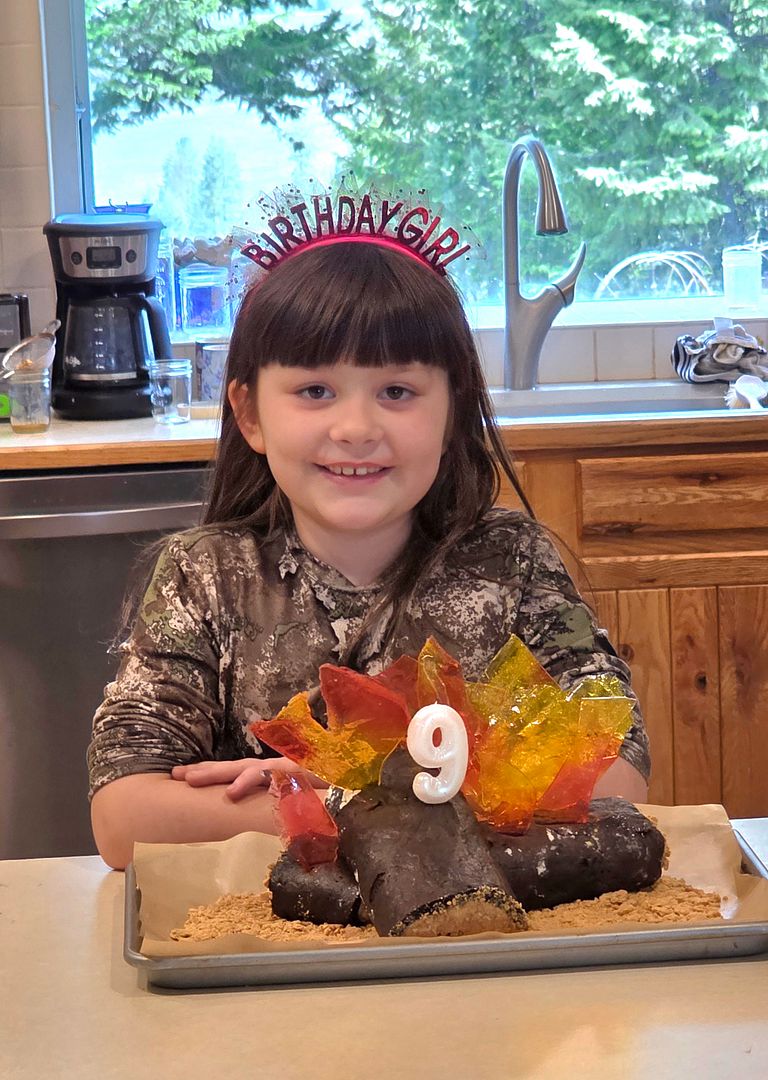
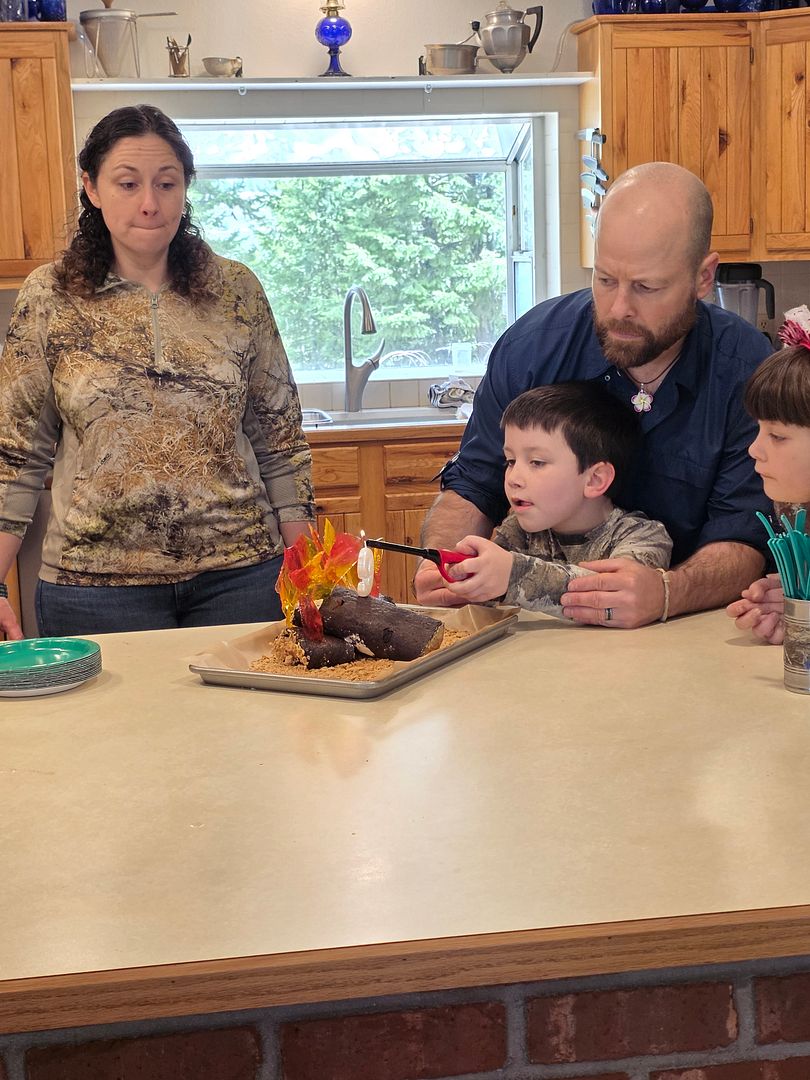
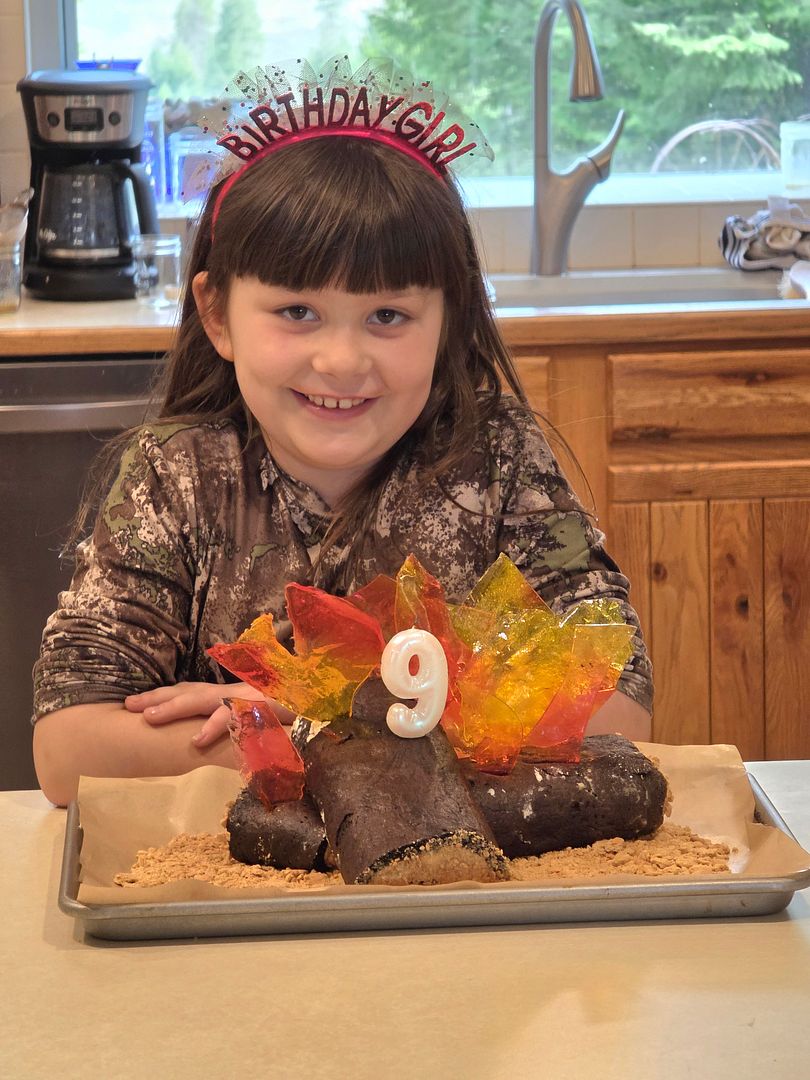
Addy’s most talented mom made her logs on fire cake or campfire cake! The flames were made from jolly rancher candies!
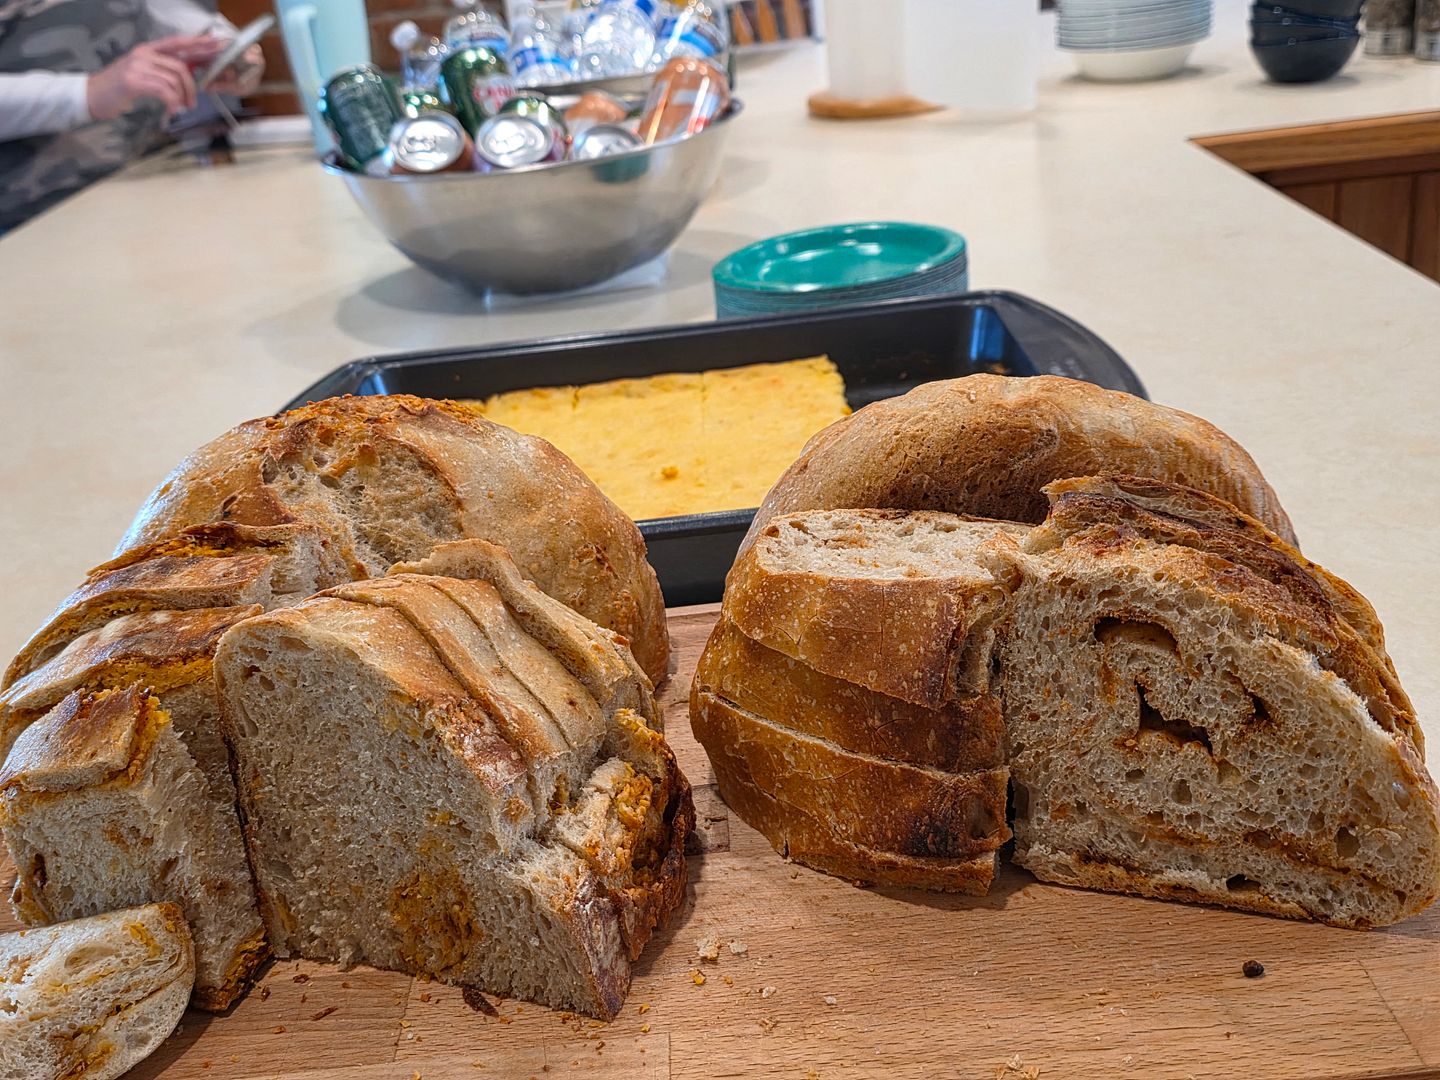
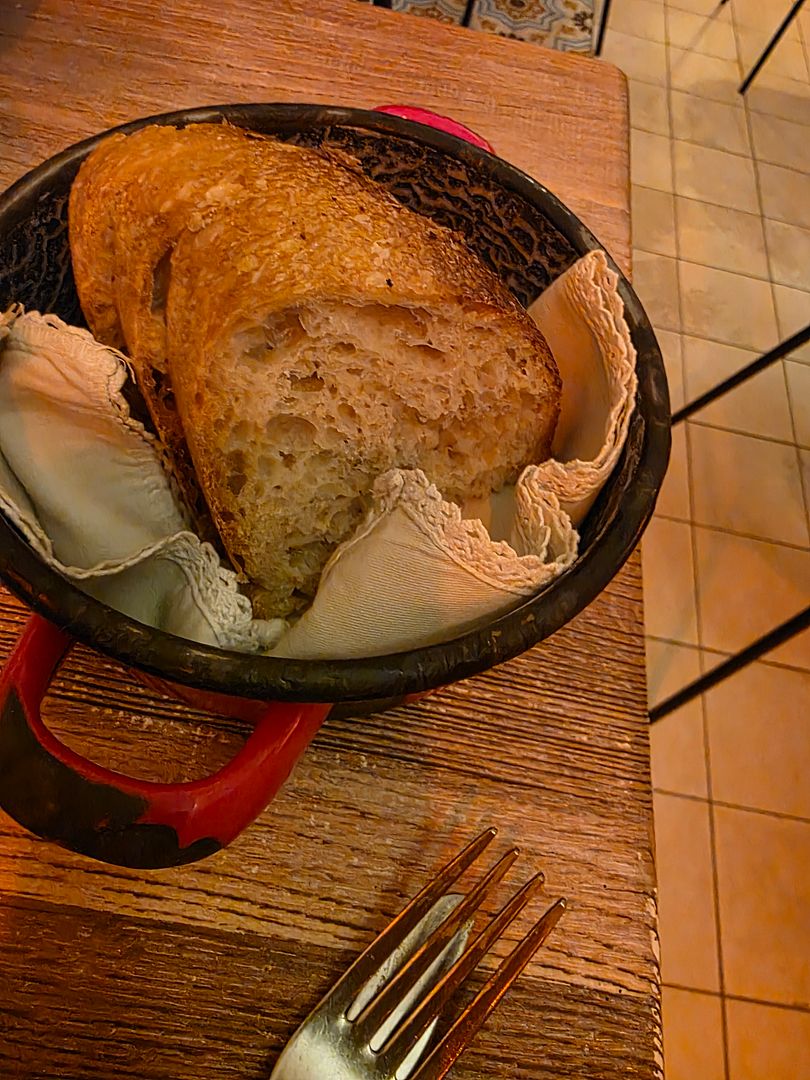
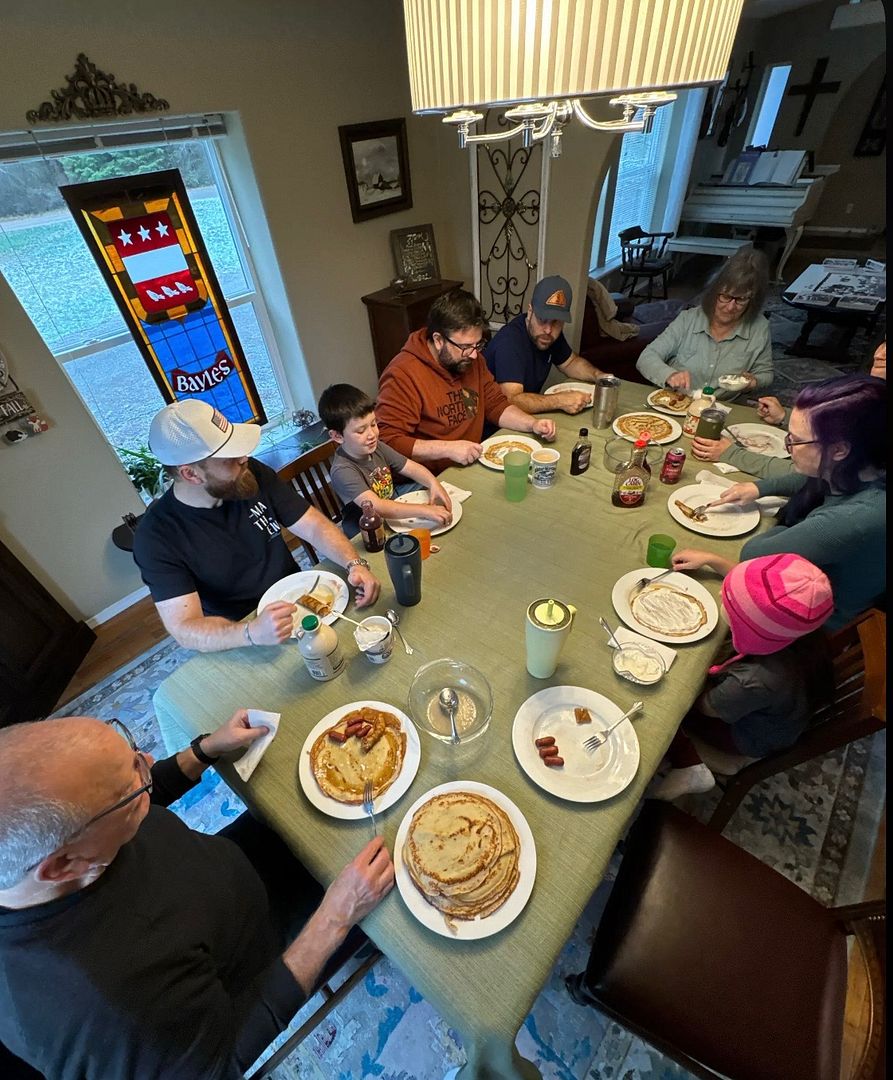
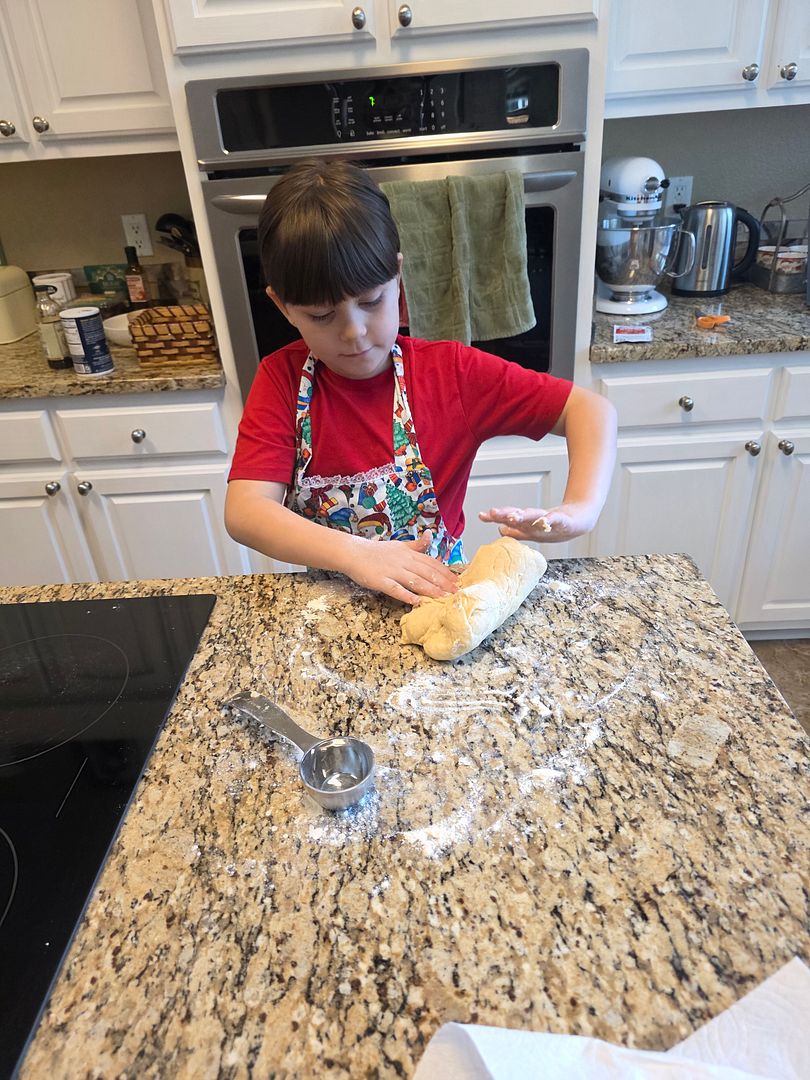
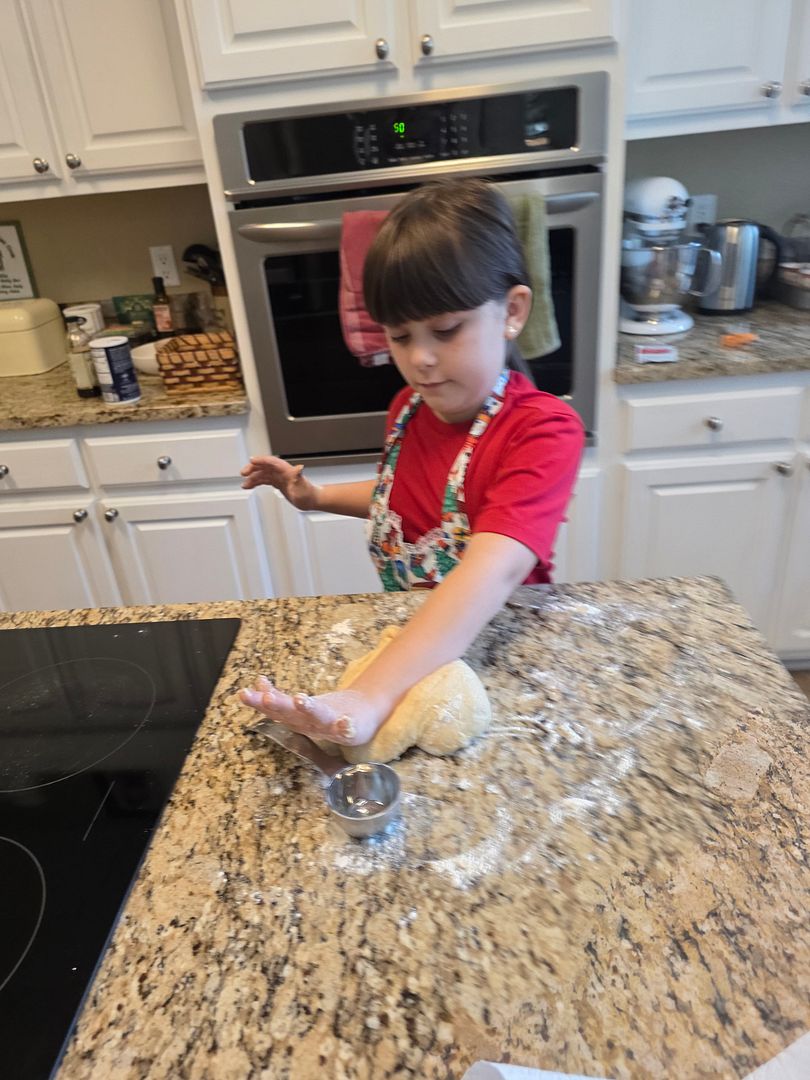
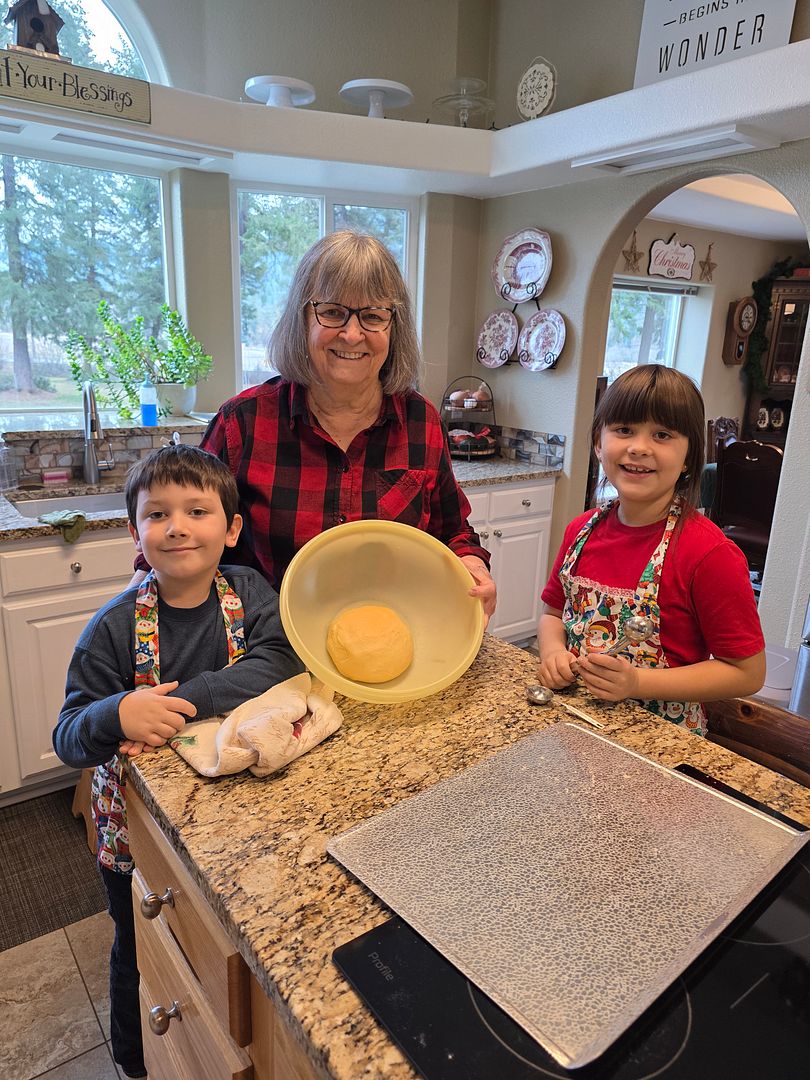
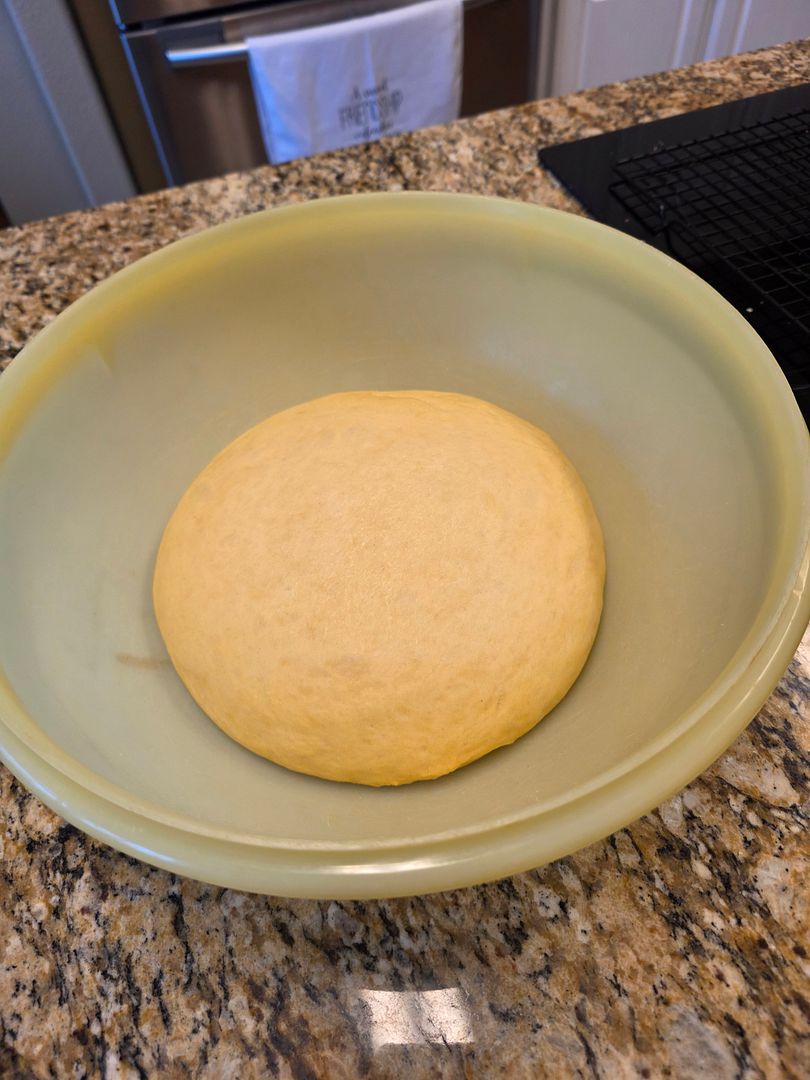
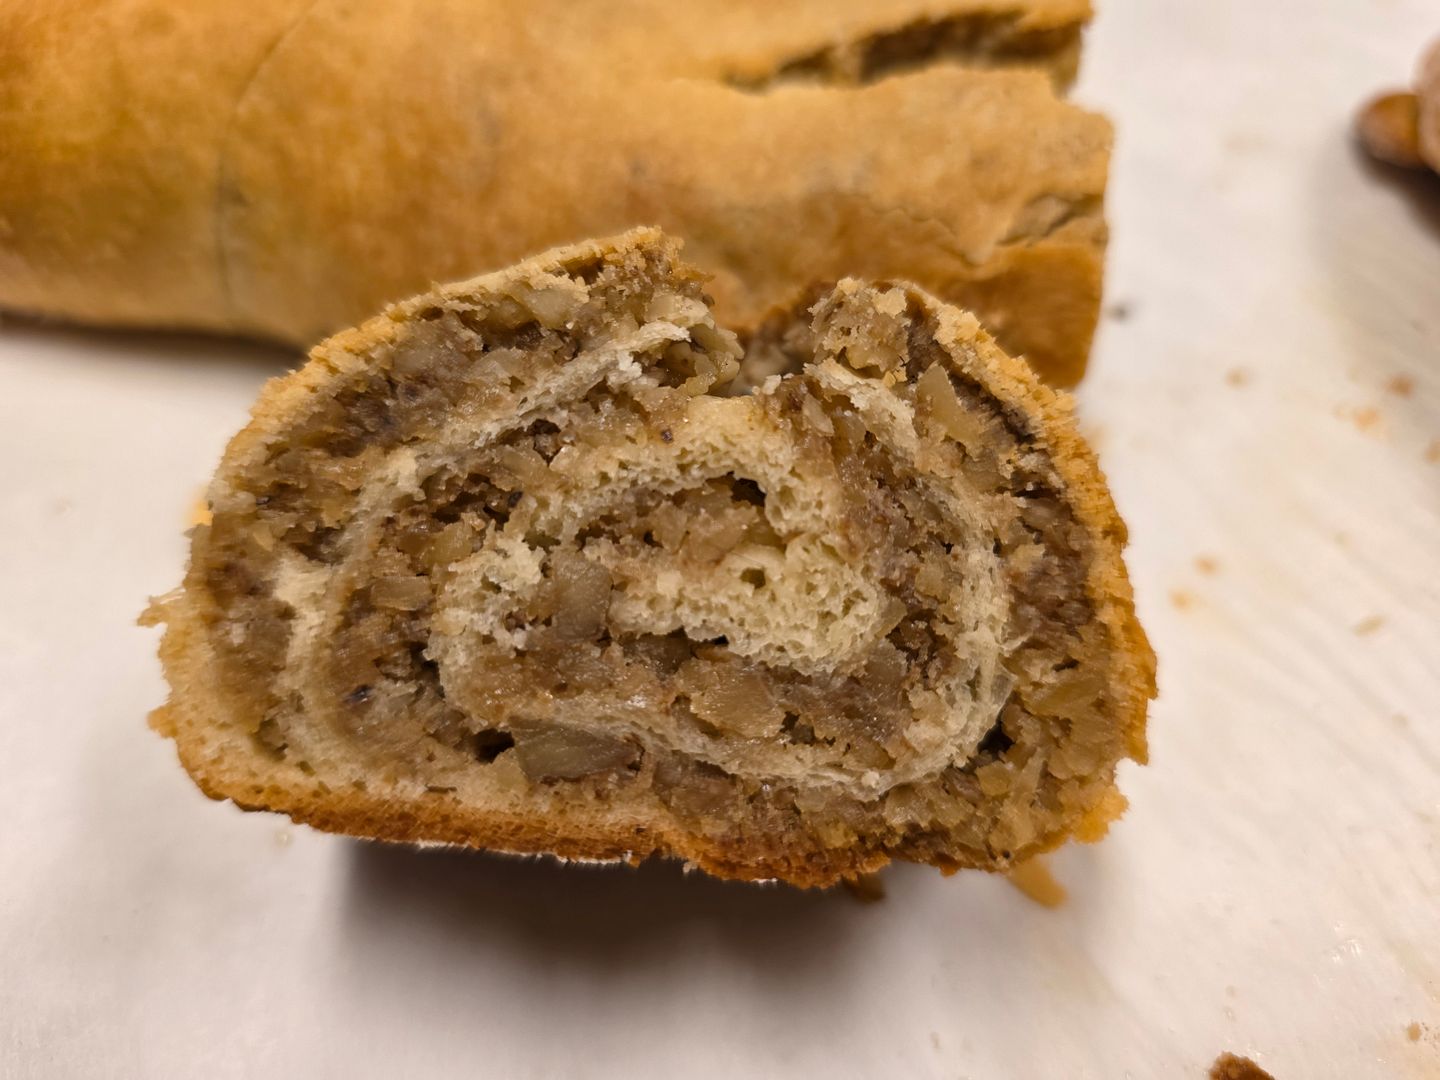
Before cake and before our survivor challenges began we enjoyed lunch of chili and homemade sourdough and cornbread.
Fortified for the challenges Addy and JJ (the captains) chose their teams.

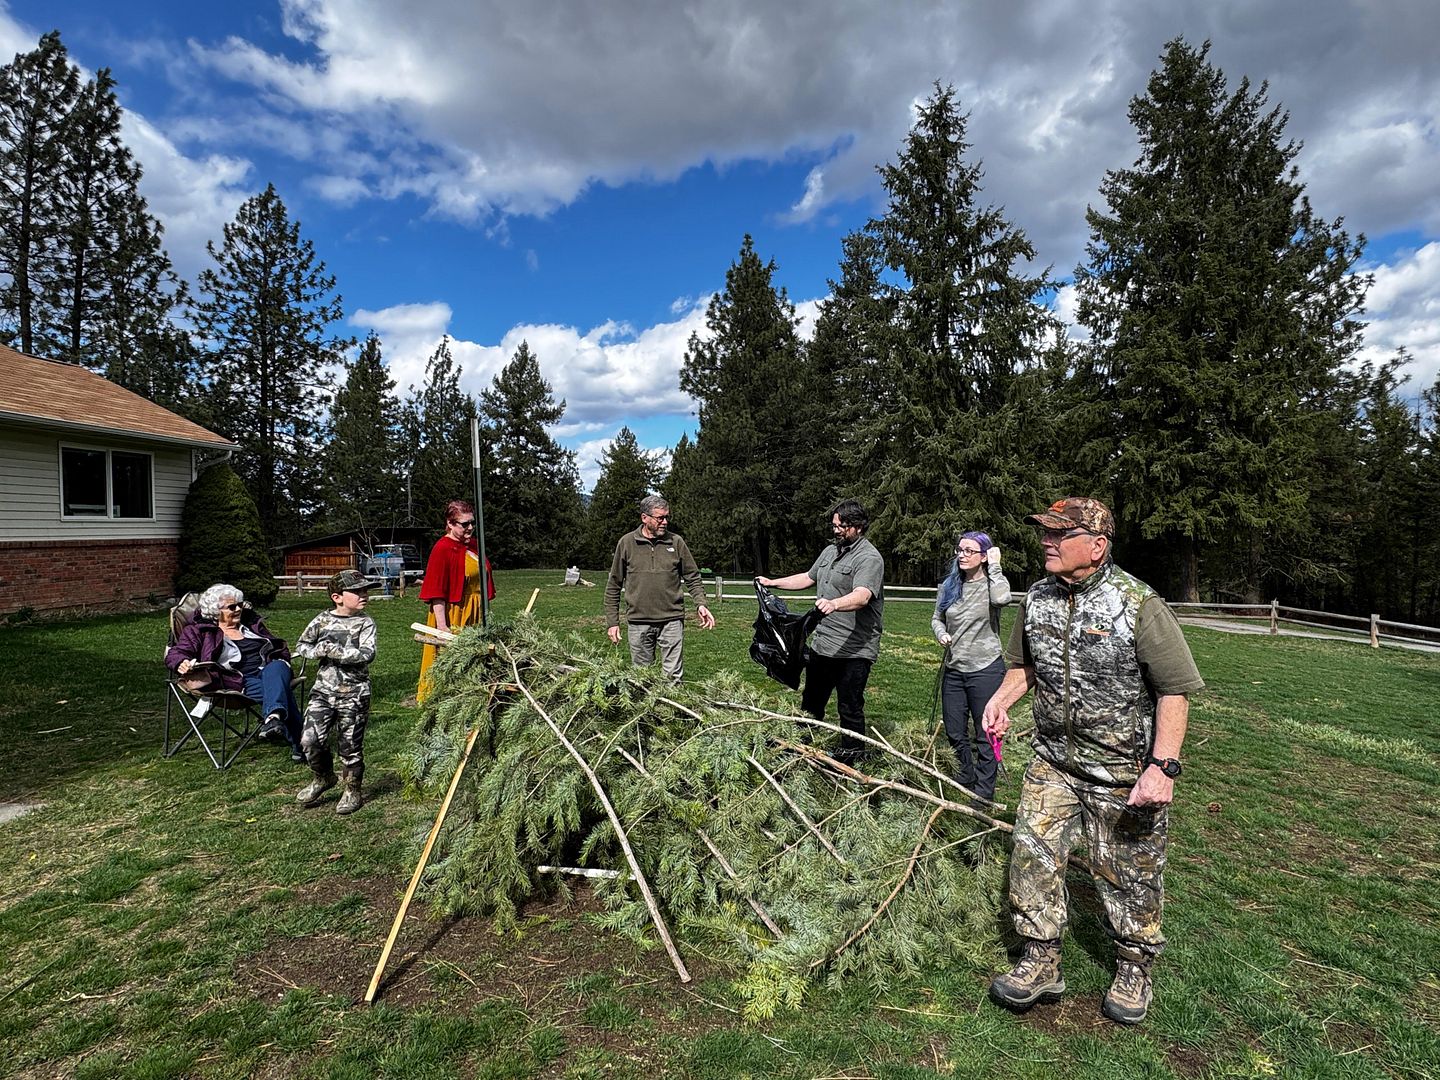
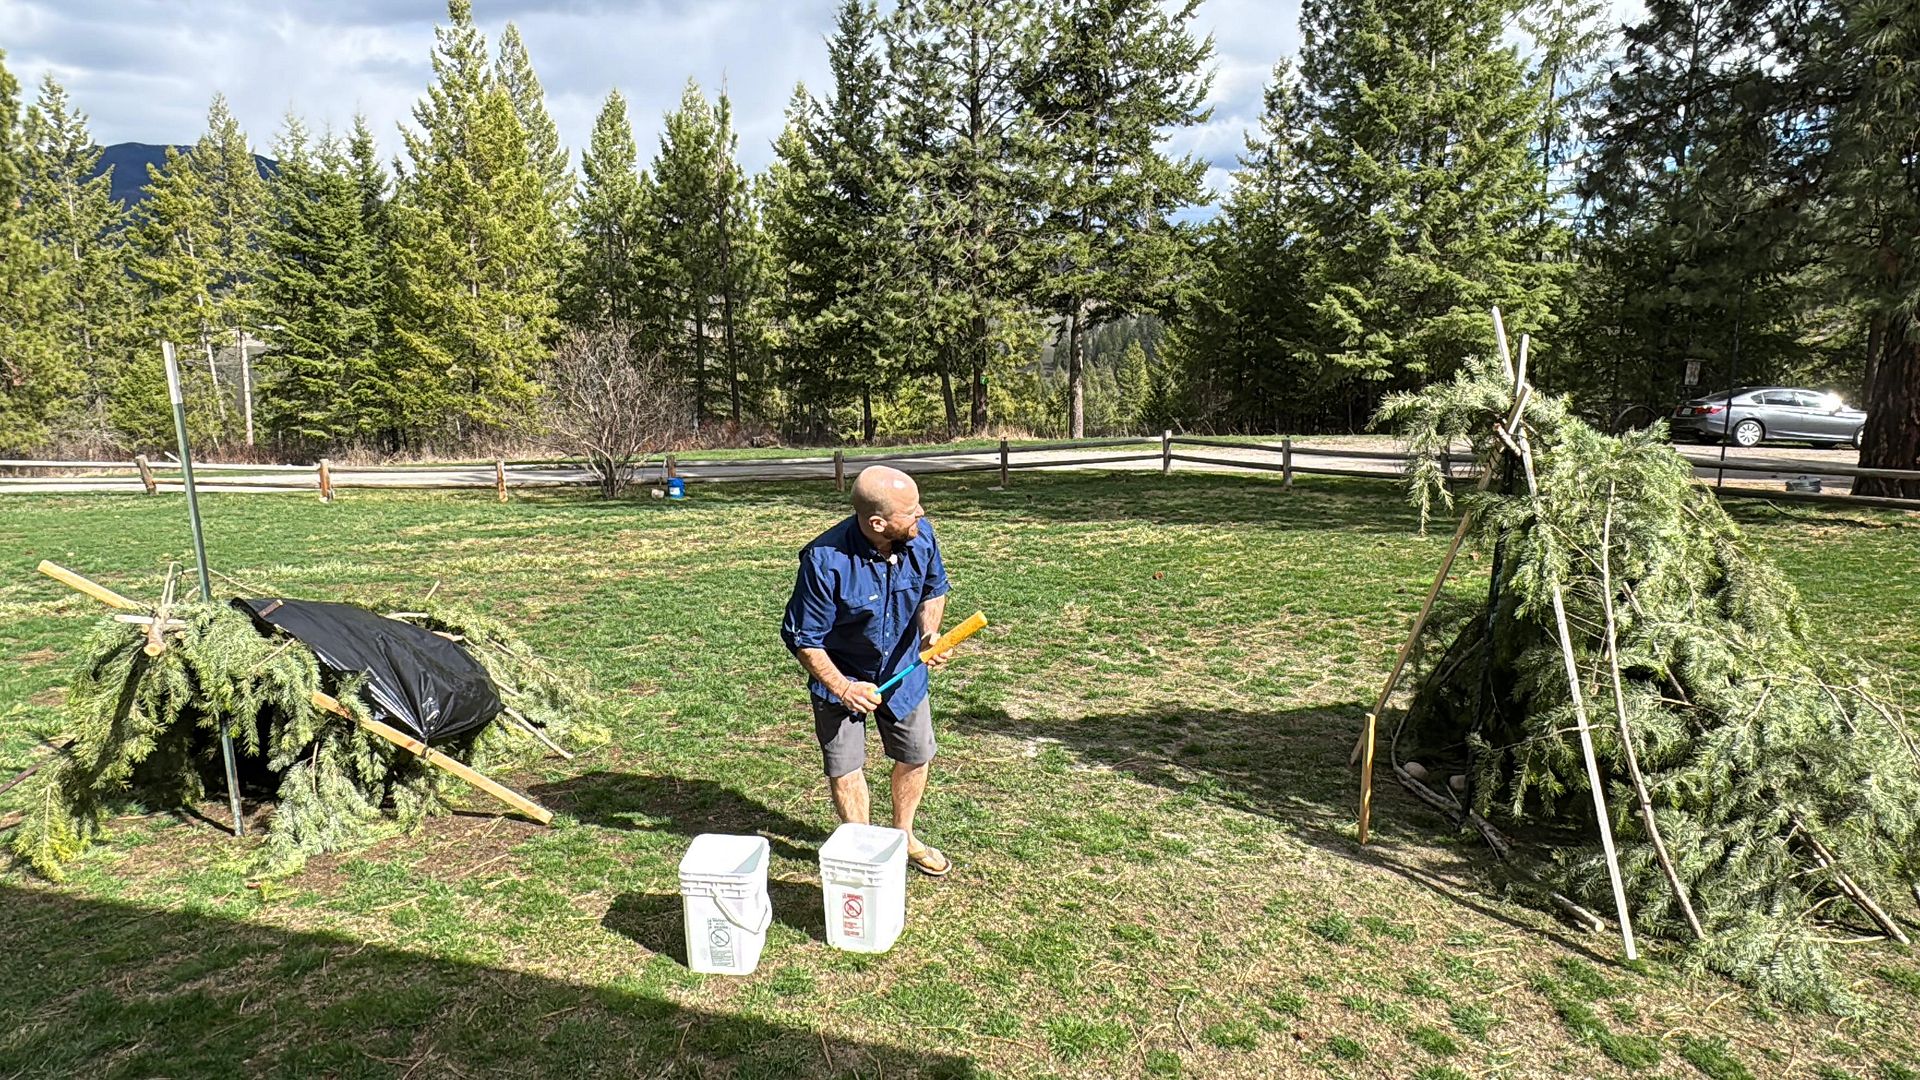
Team Addy on the left and team JJ on the right with Dan (Jeff) giving the rules and asking the bonus questions for extra supplies to build our shelters. Each team was given a set of supplies to begin and then had the chance to earn extra supplies. The shelters would be judged as to whether they could survive a rain storm (simulated with buckets of water).
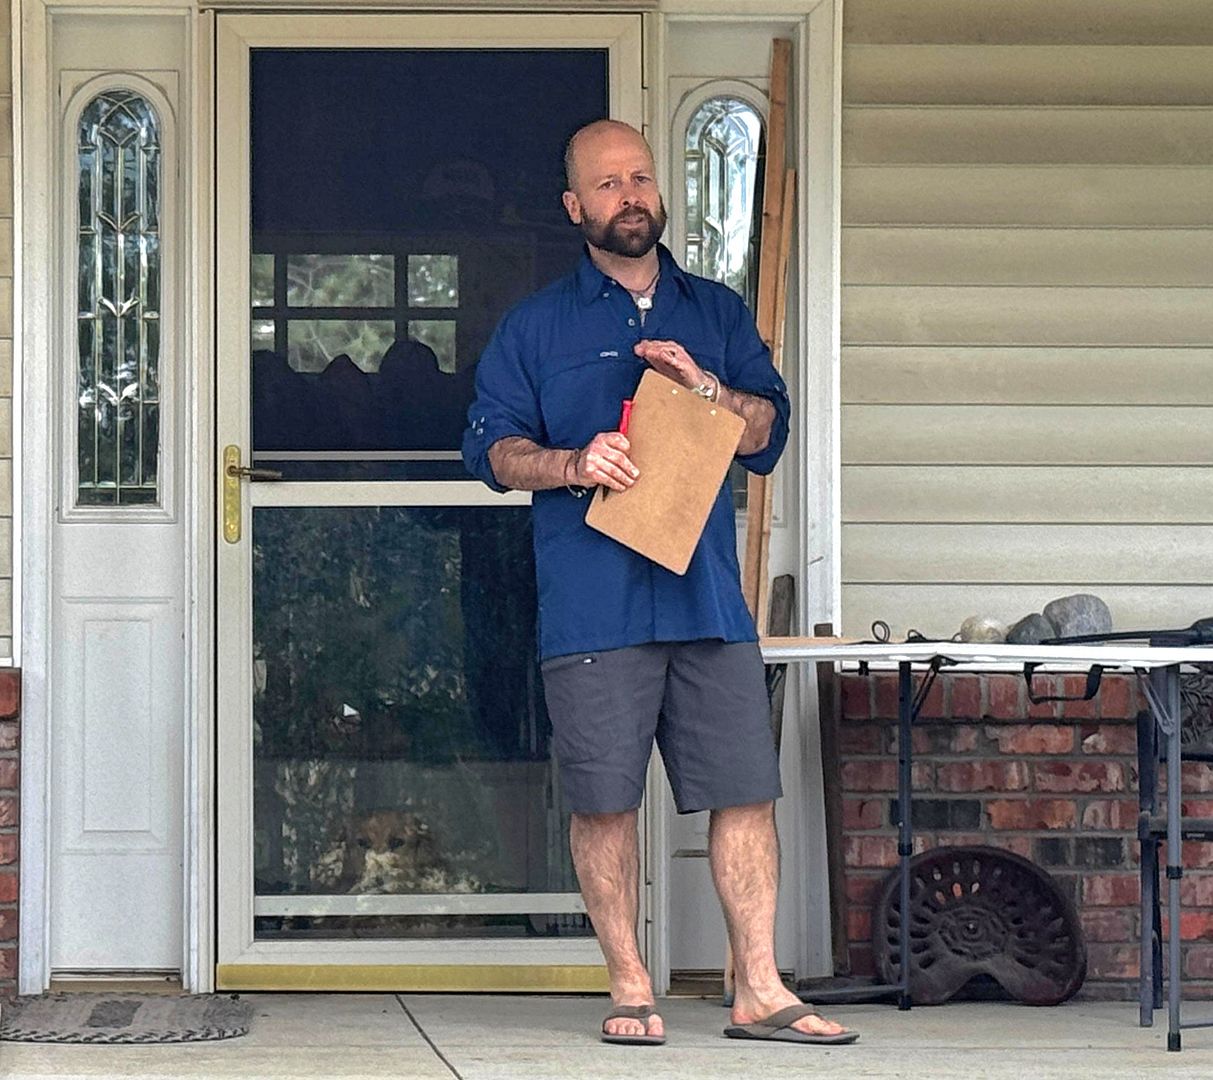
If you’ve watched ‘Survivor’ you will notice that Dad Dan had Jeff’s look captured to a T! Here he is giving us the rules and the go ahead!
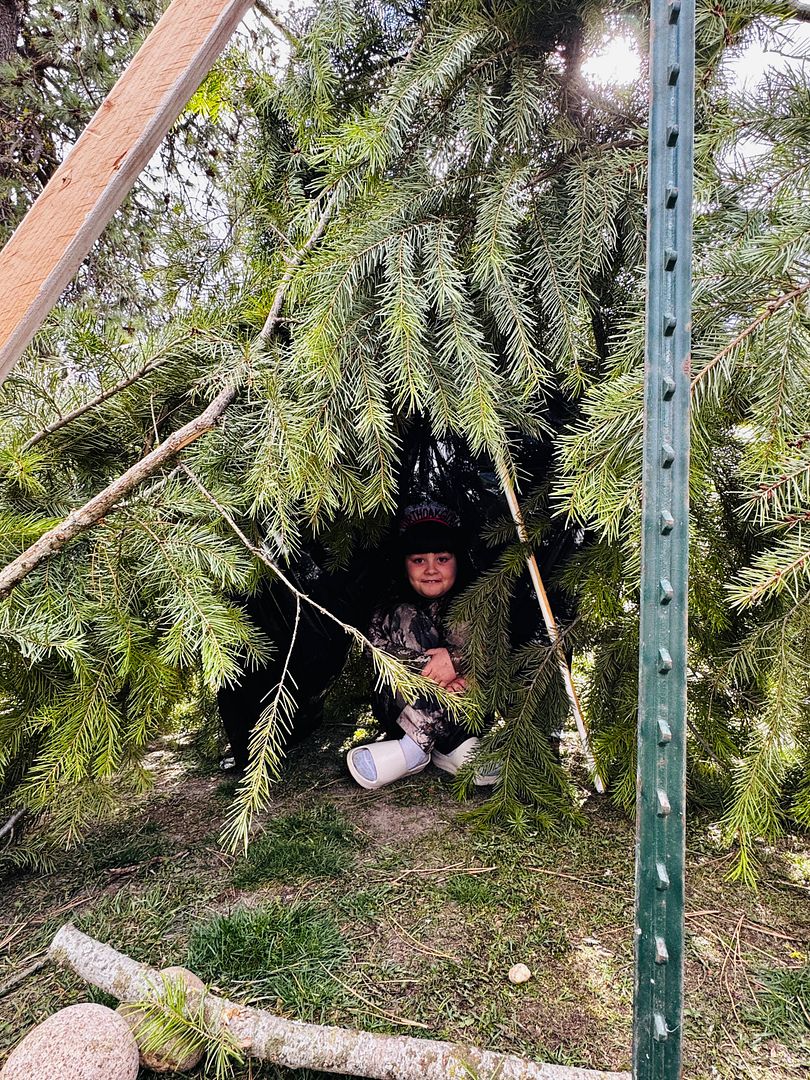
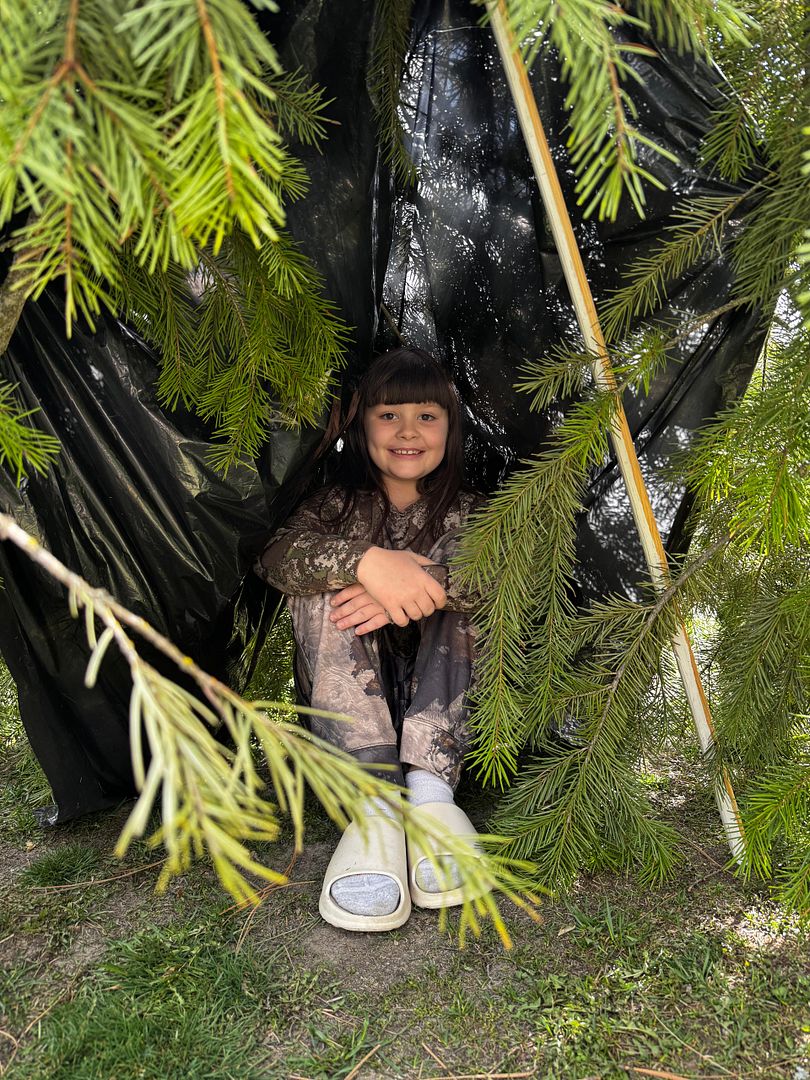
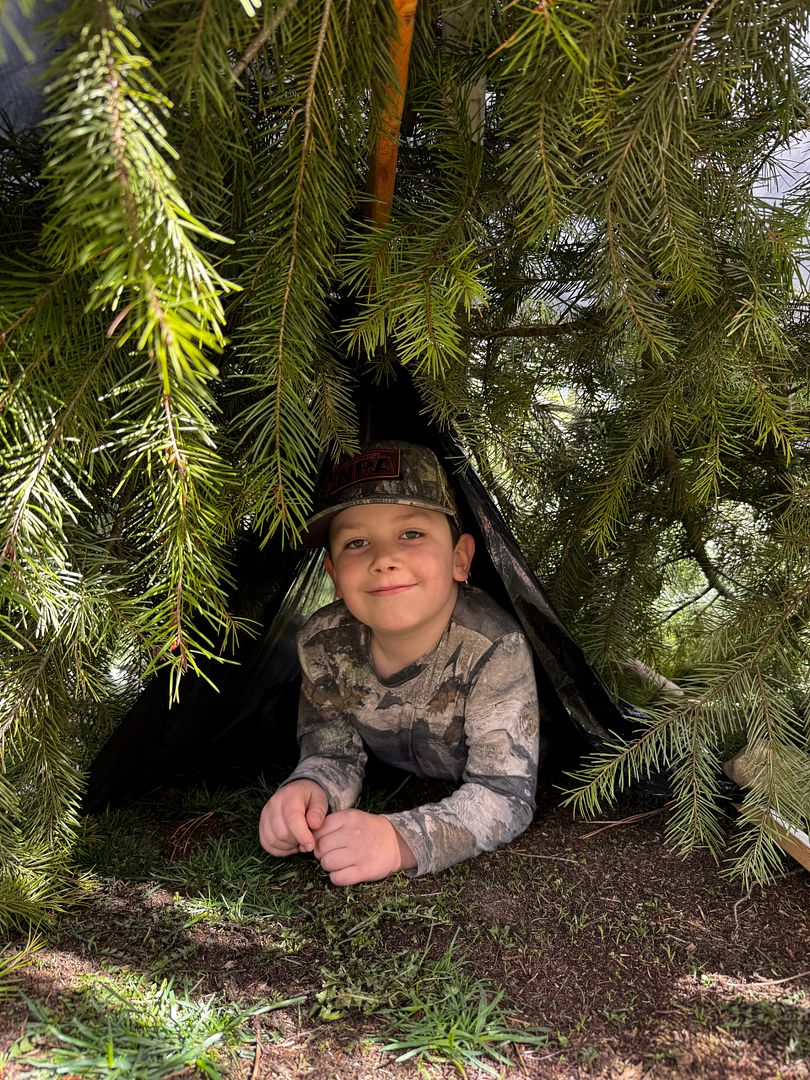
The Shelter making challenge was borrowed more from the TV show, Alone.
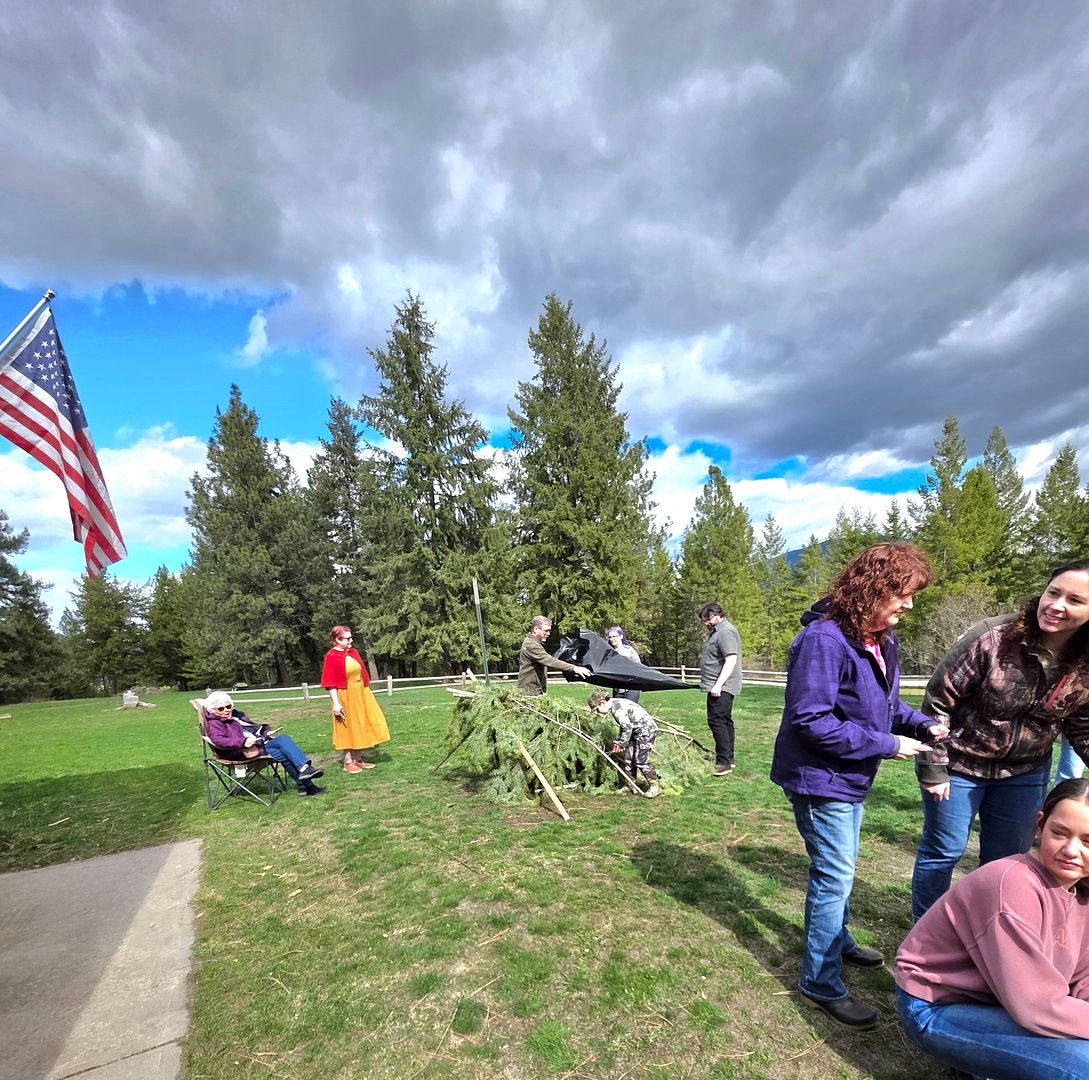
There was a time limit and everyone worked fast to get their shelter completed. JJ’s team had supervisors overseeing the work.
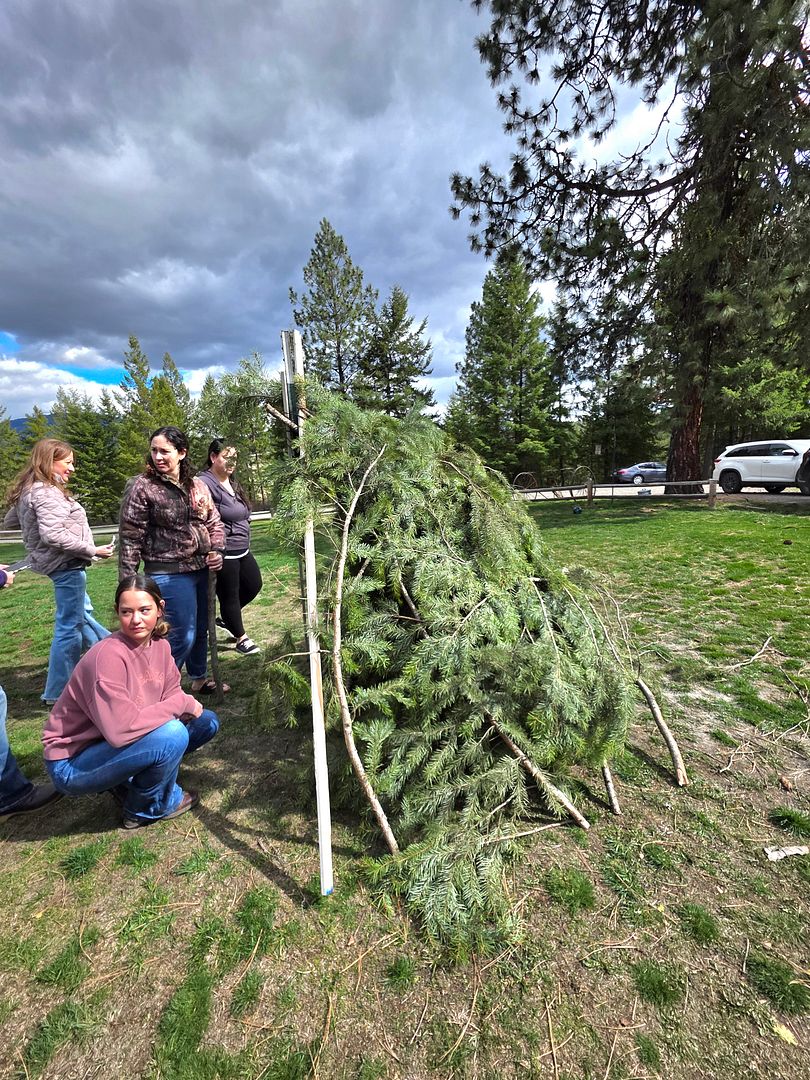
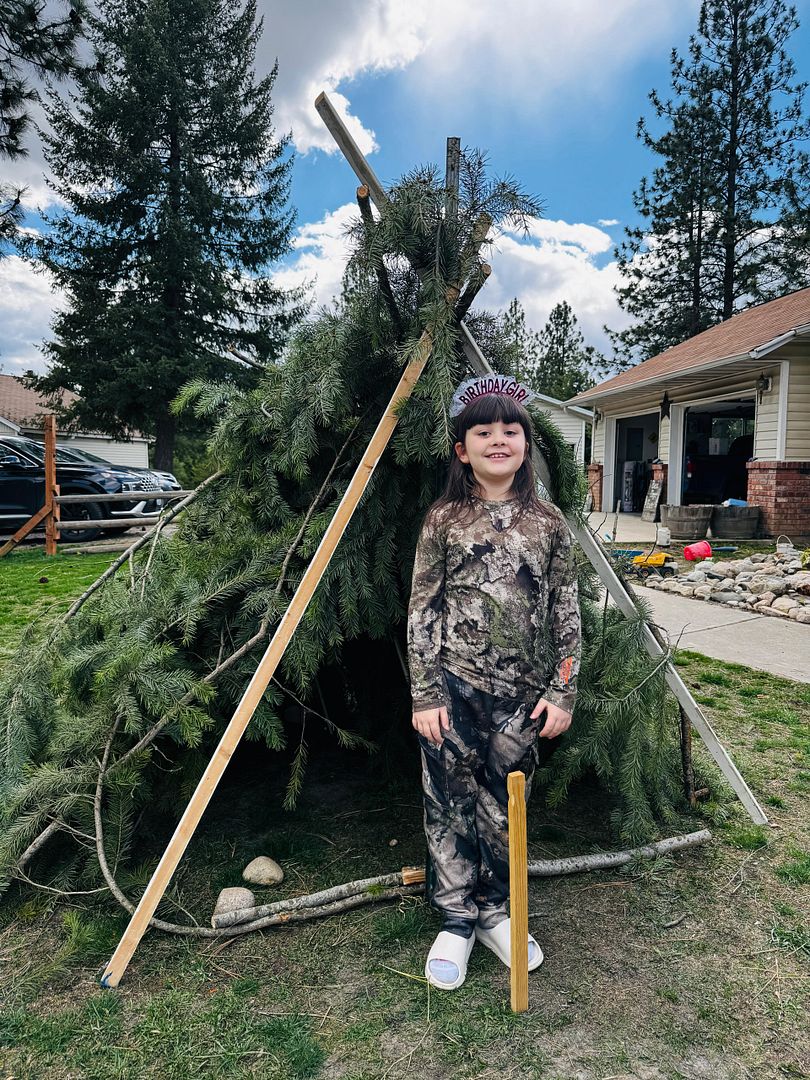
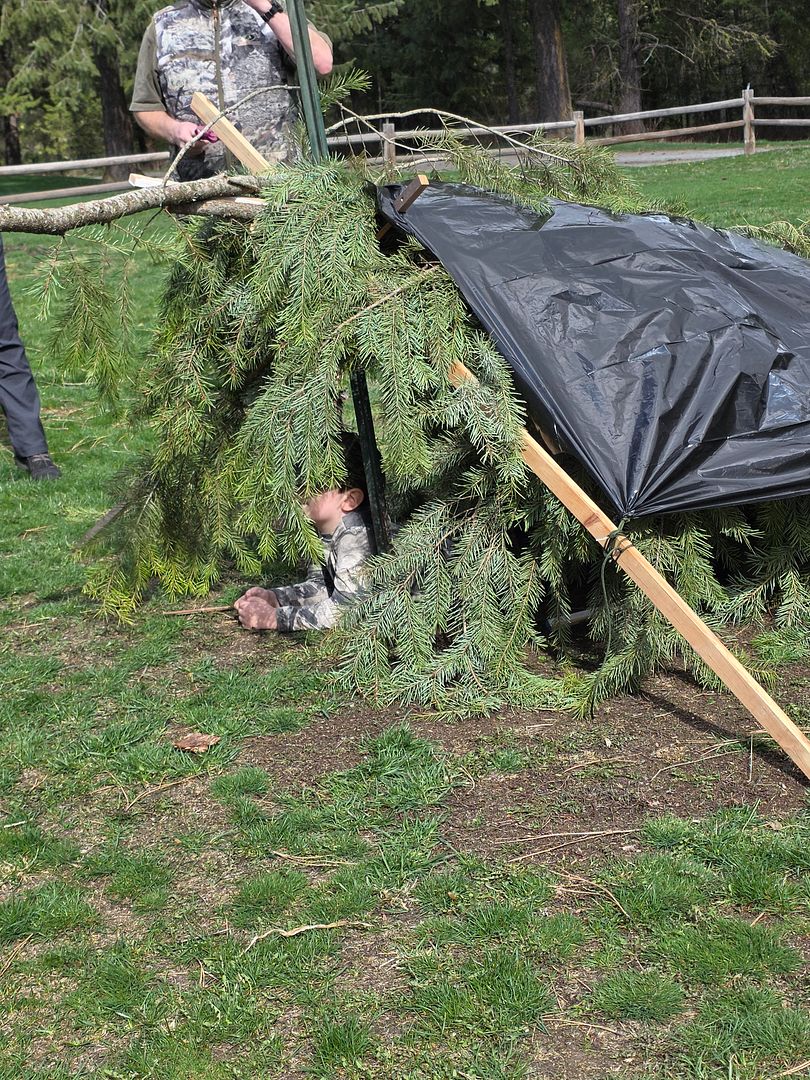
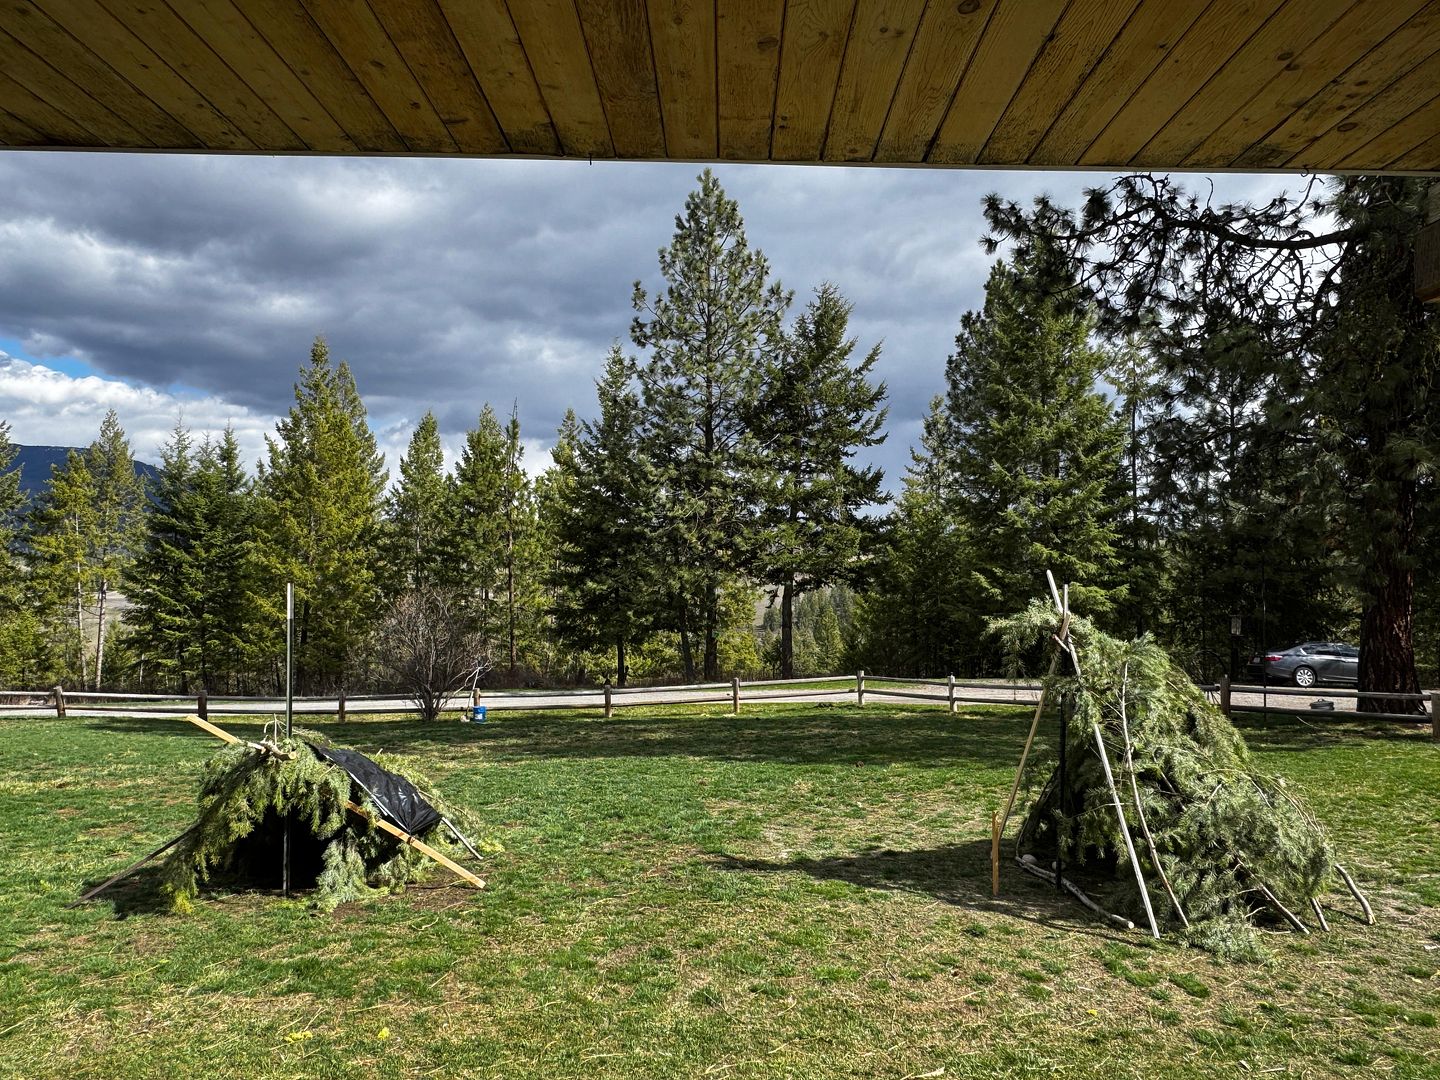
Team Addy’s shelter!
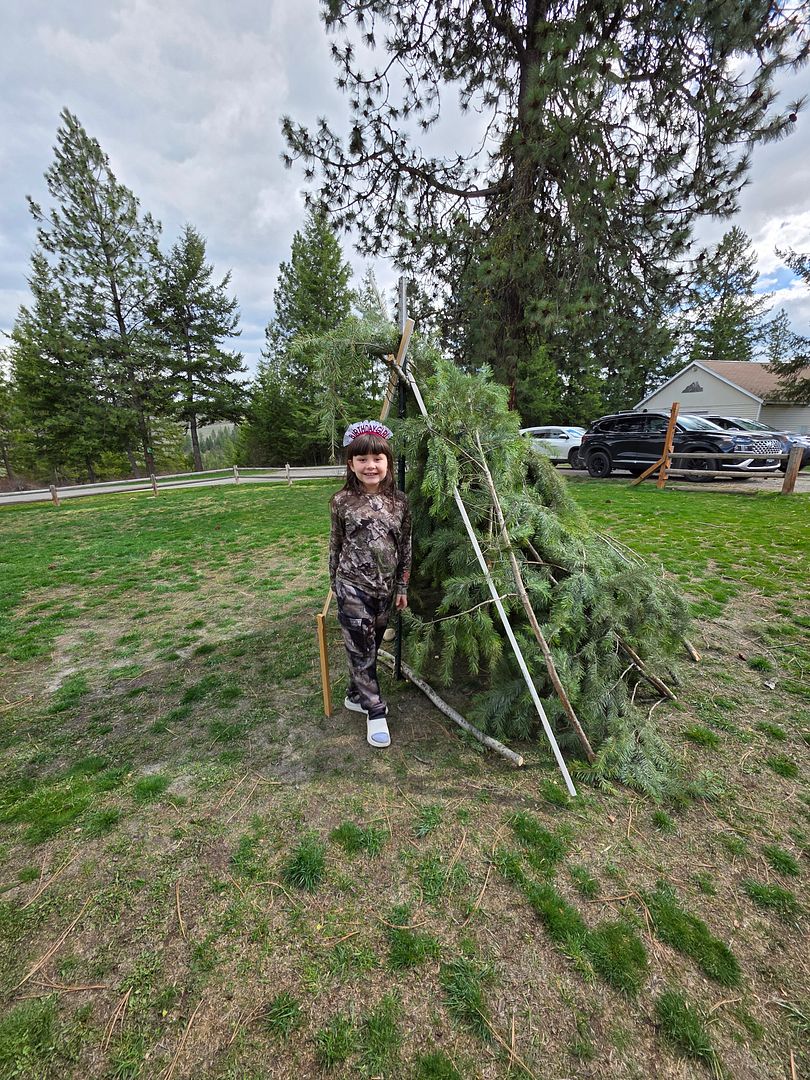
Team JJ’s shelter.
The Bucket test would be after cake and presents!
Time for cake before either Addy or JJ would get soaked or stay dry in the bucket challenge!
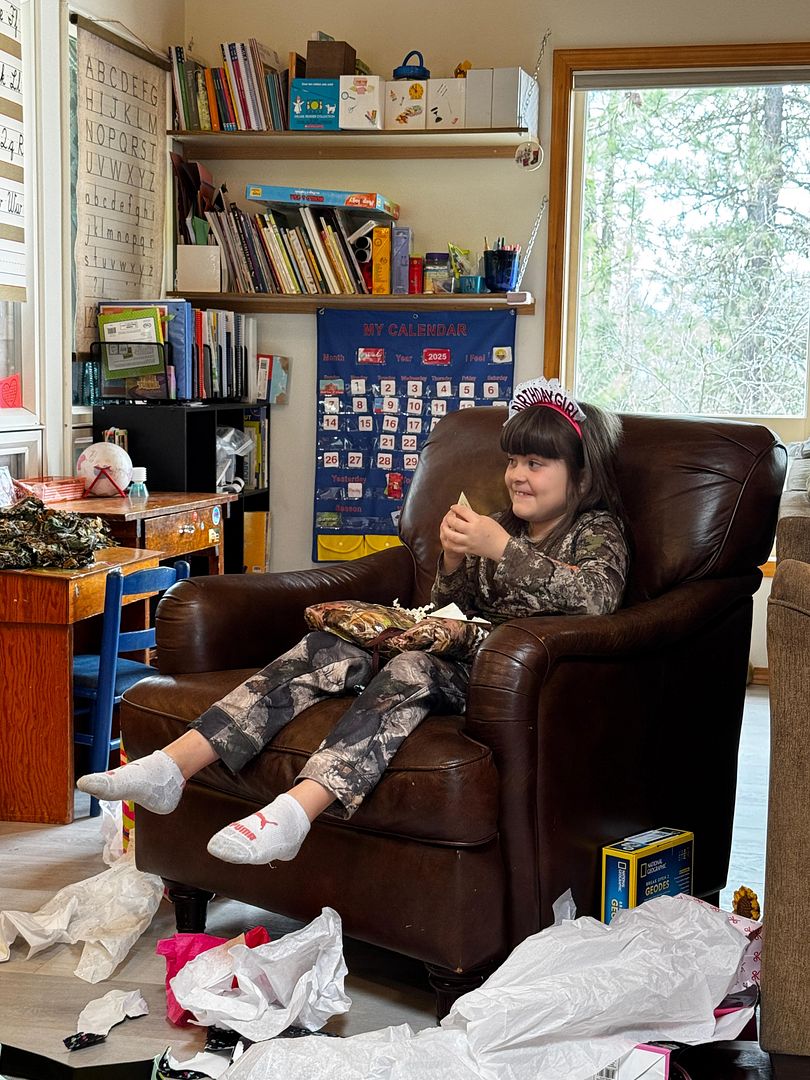
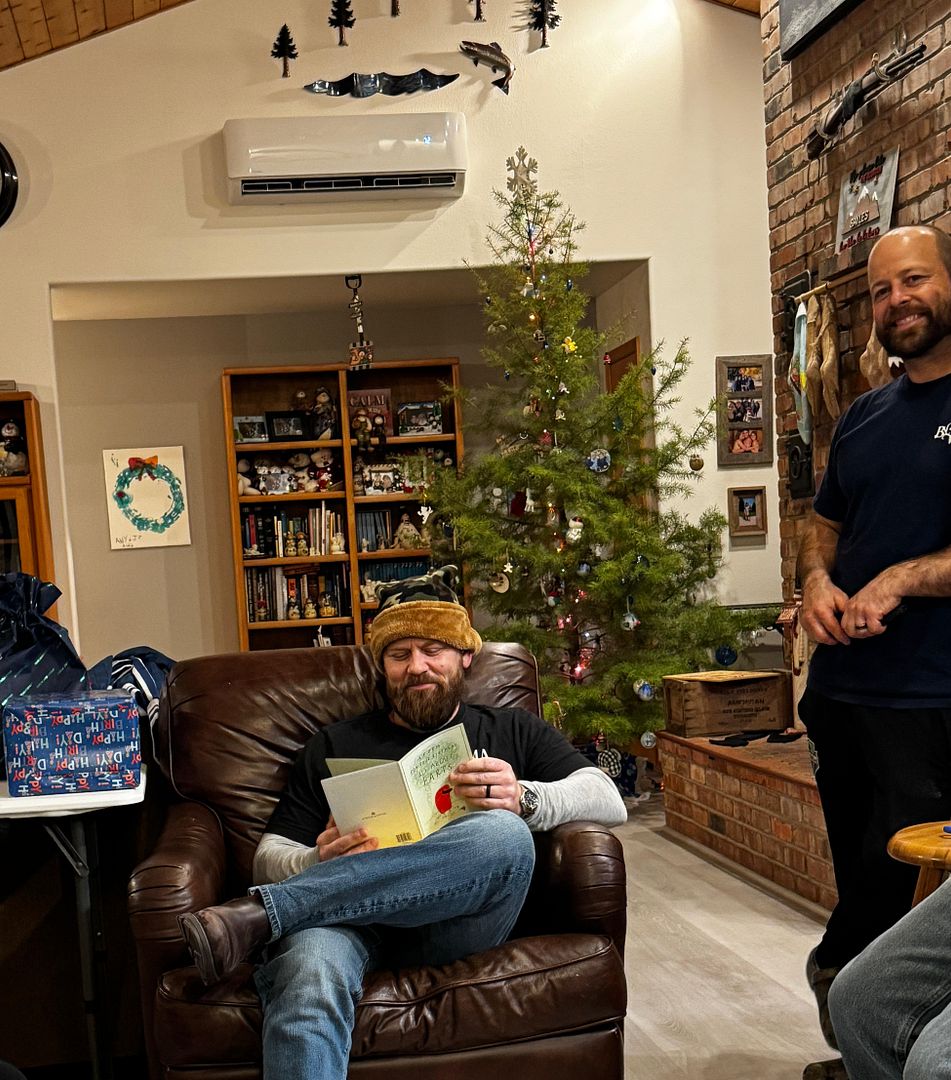
Time for presents!
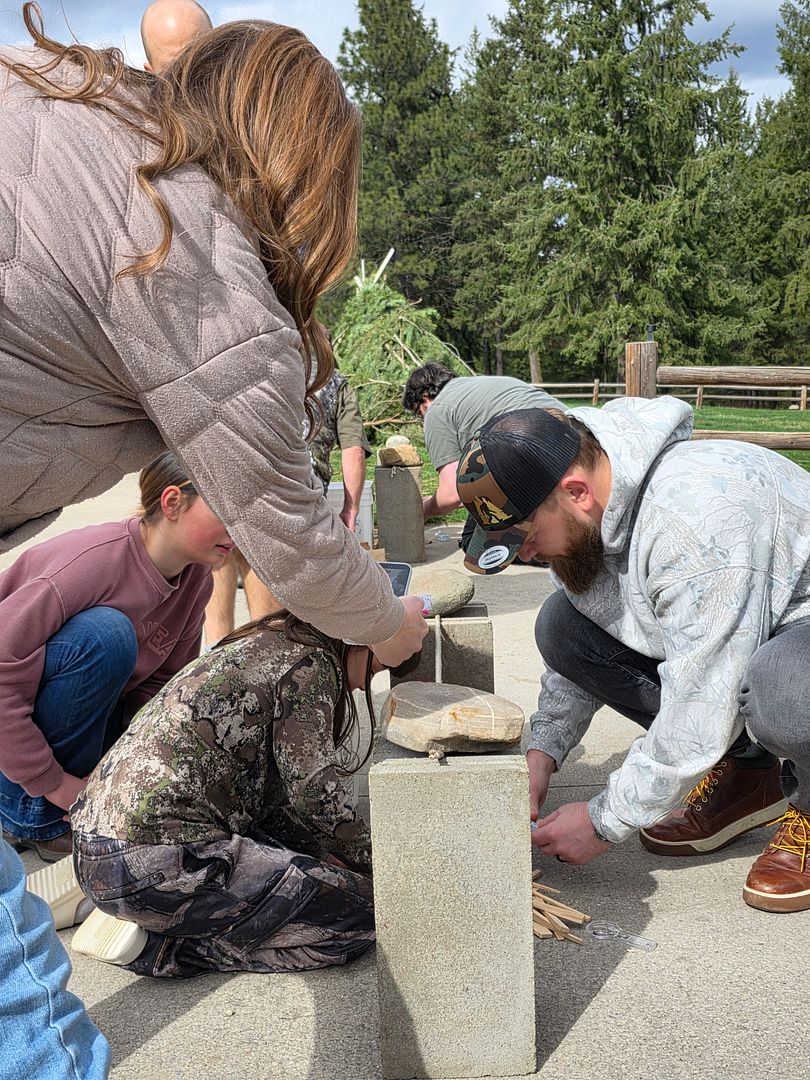
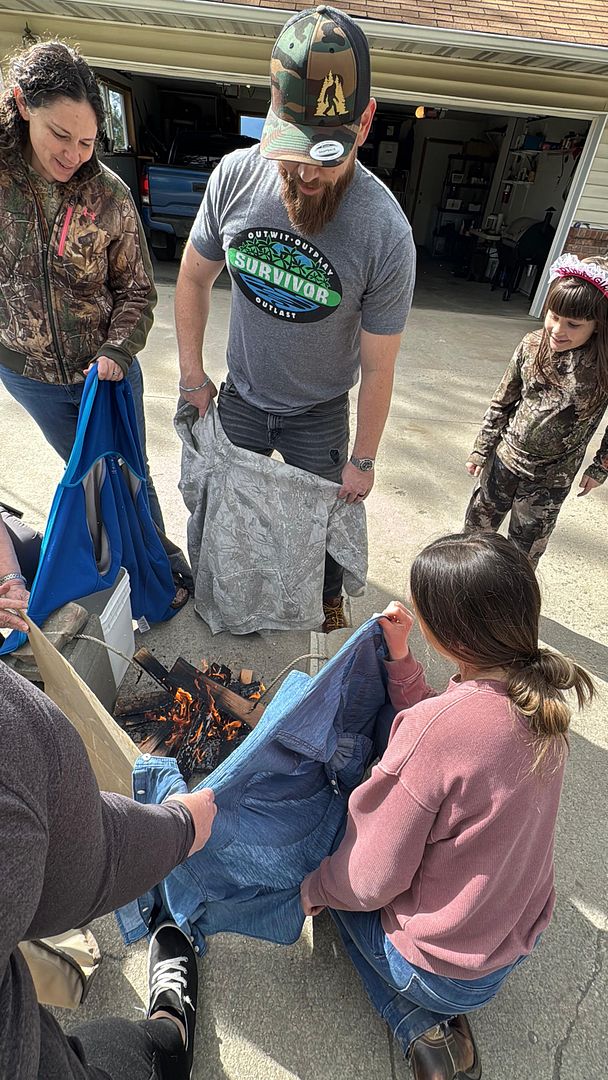
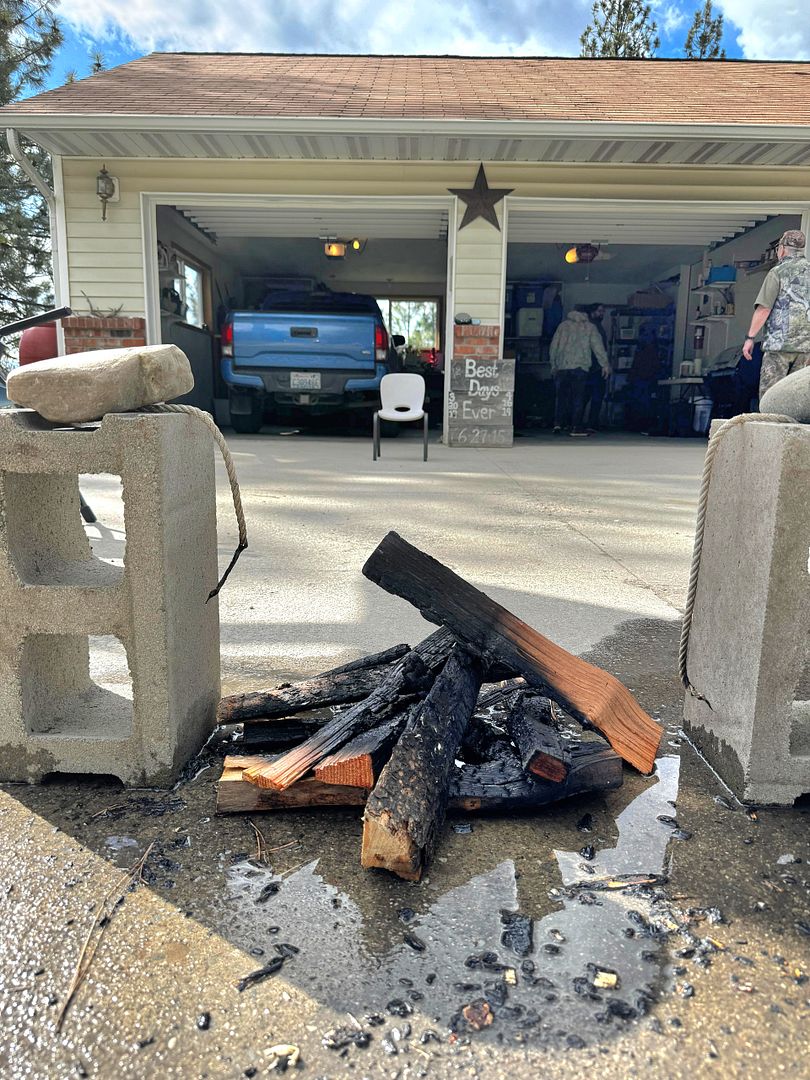
From presents we moved on to the very exciting fire starting challenge with only select materials to get our fires going. The team who’s fire burned through the rope first would win the challenge. No matches only a type of flint, a little kindling and other elements plus wood to get the flames going.
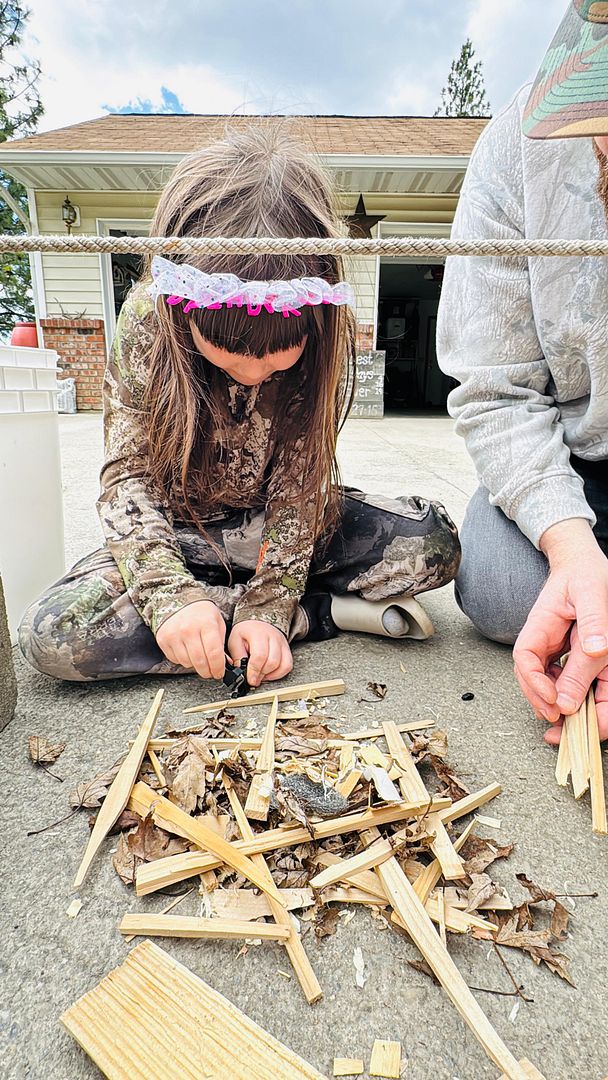
The rope you see was what we needed to burn through to win. Not an easy task. It was a group effort from beginning to end.

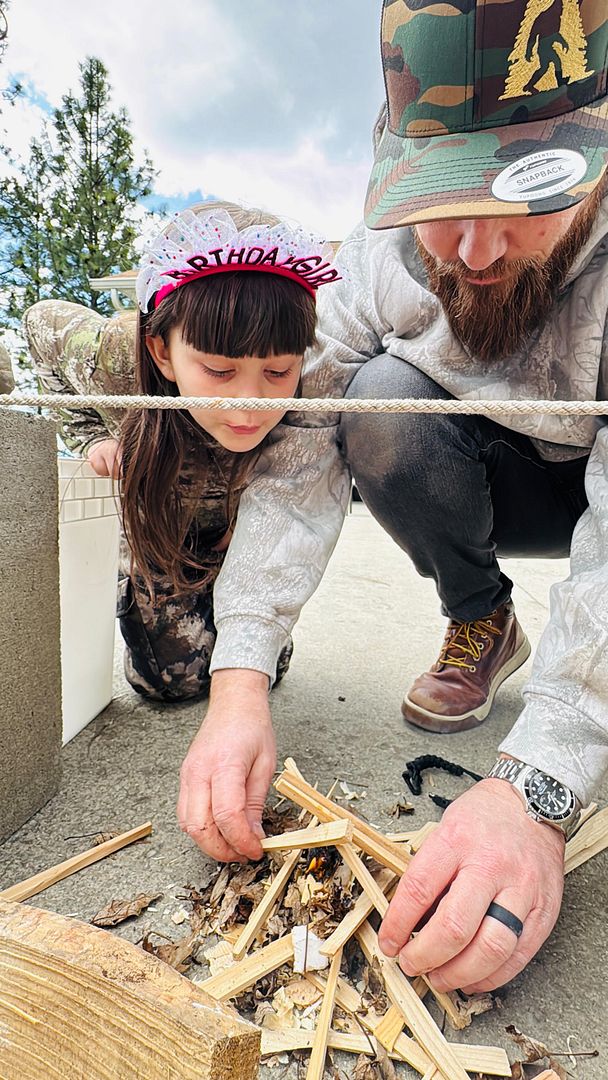
We got a flame!!!
It was a windy afternoon and we had that challenge to deal with, too.
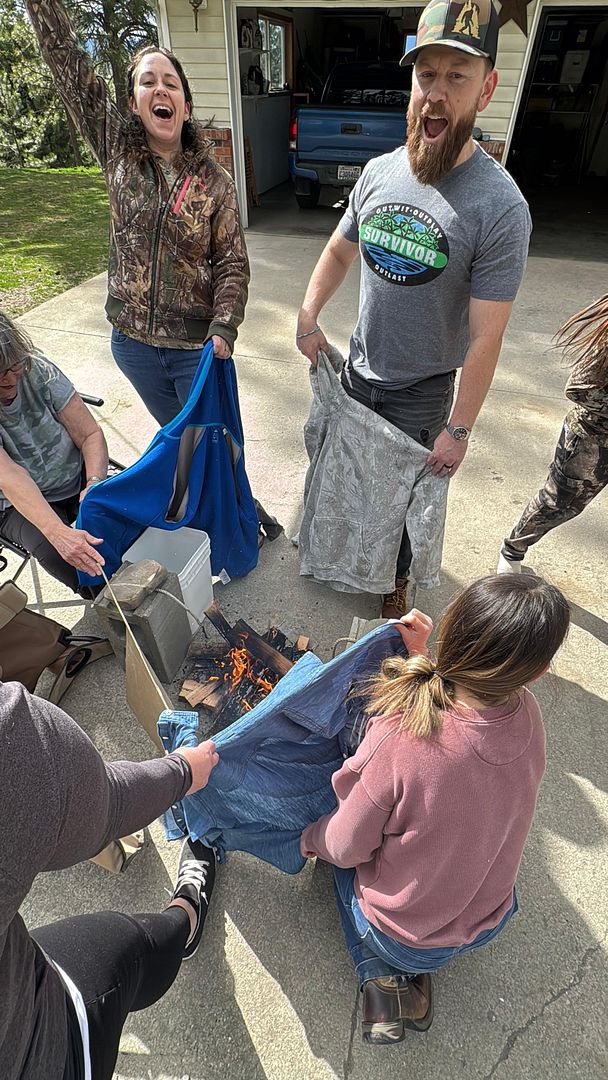
Team Addy for the fire making win! What an intense and fun challenge this was!
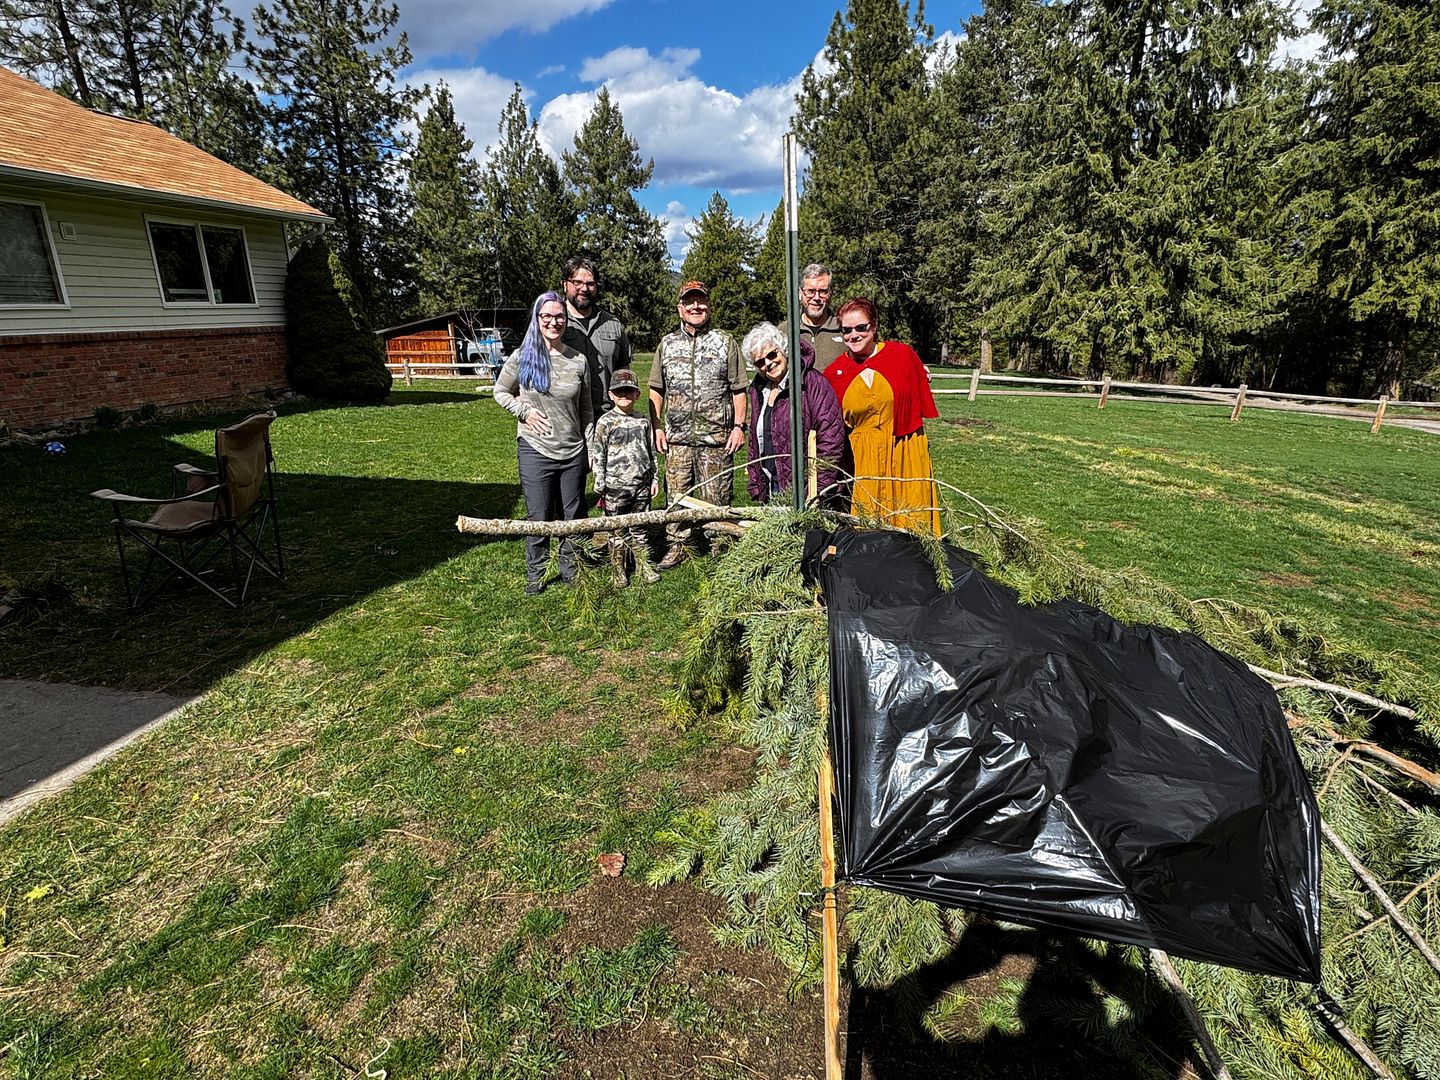
The final test was to see if team Addy or team JJ would stay dry in their shelter.
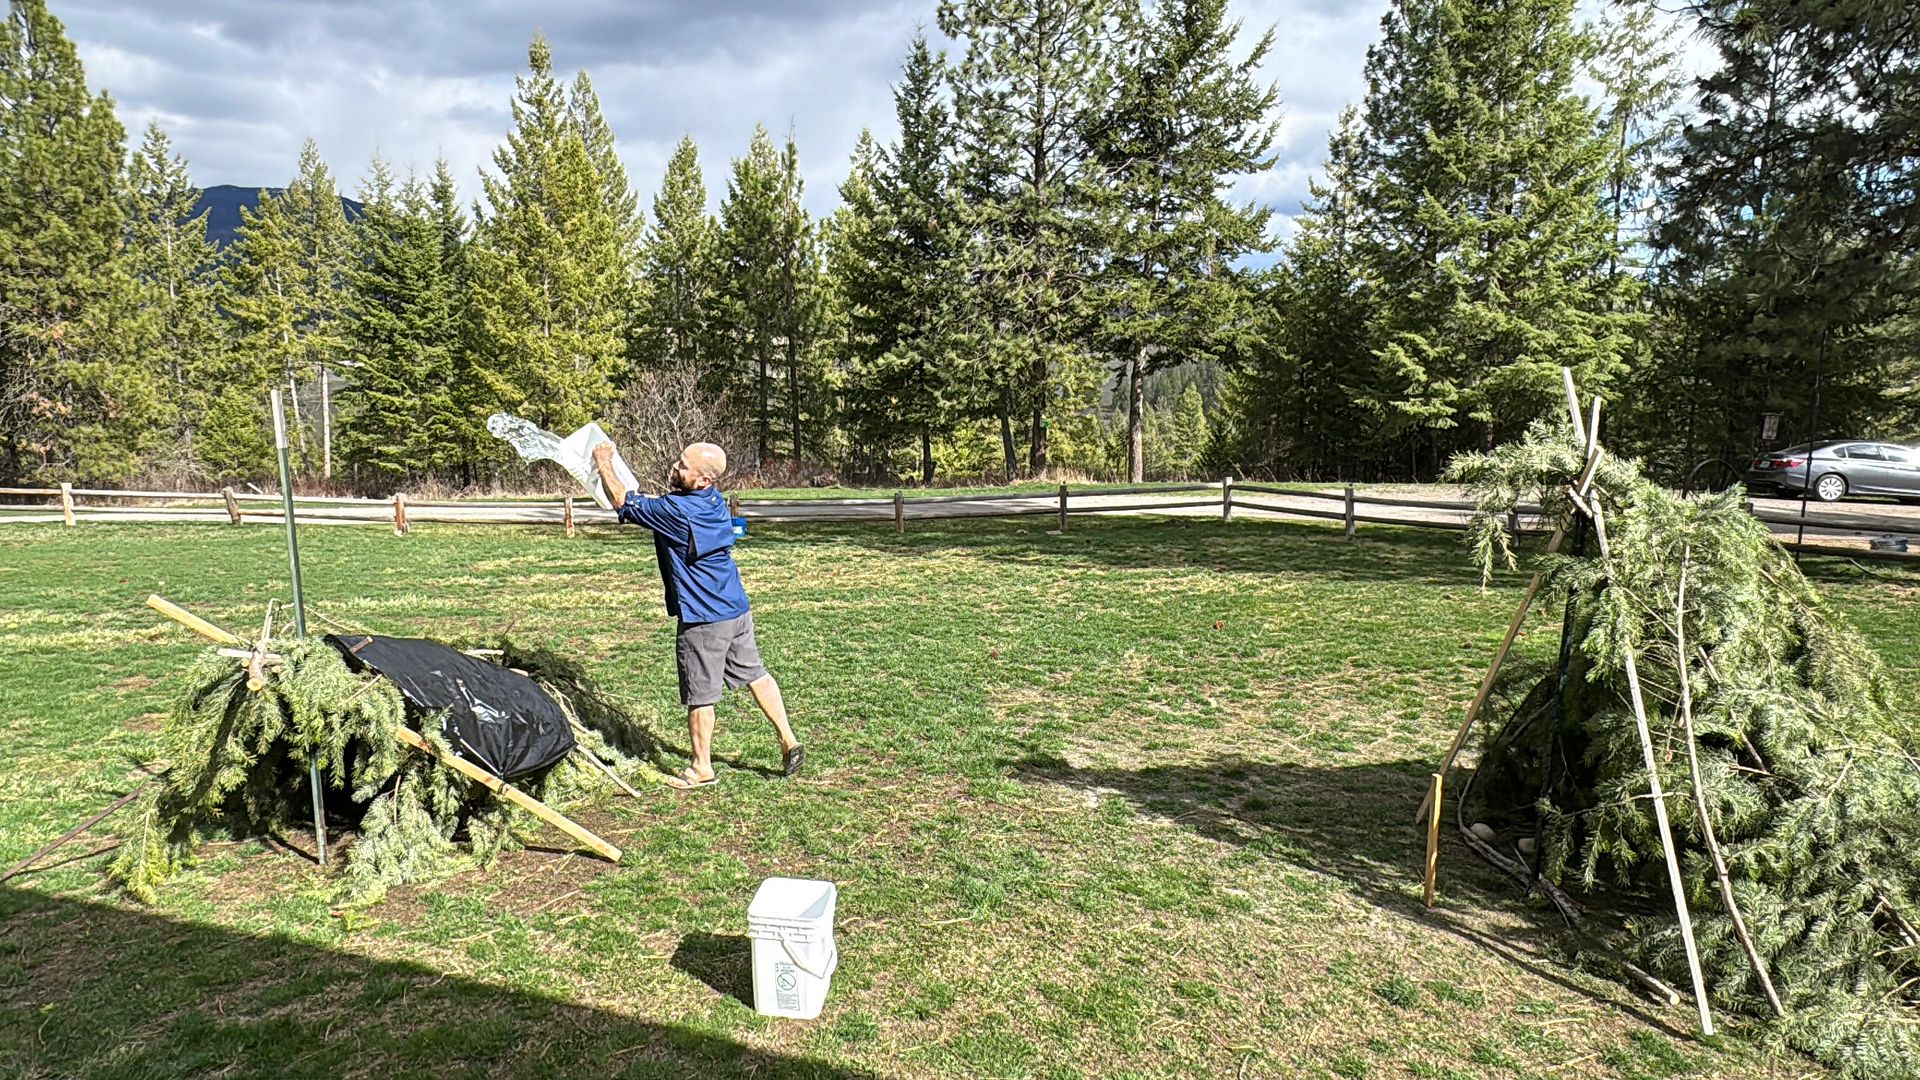
Team JJ won this event. Addy got the wet end of this challenge! Well done on your shelter, team JJ!
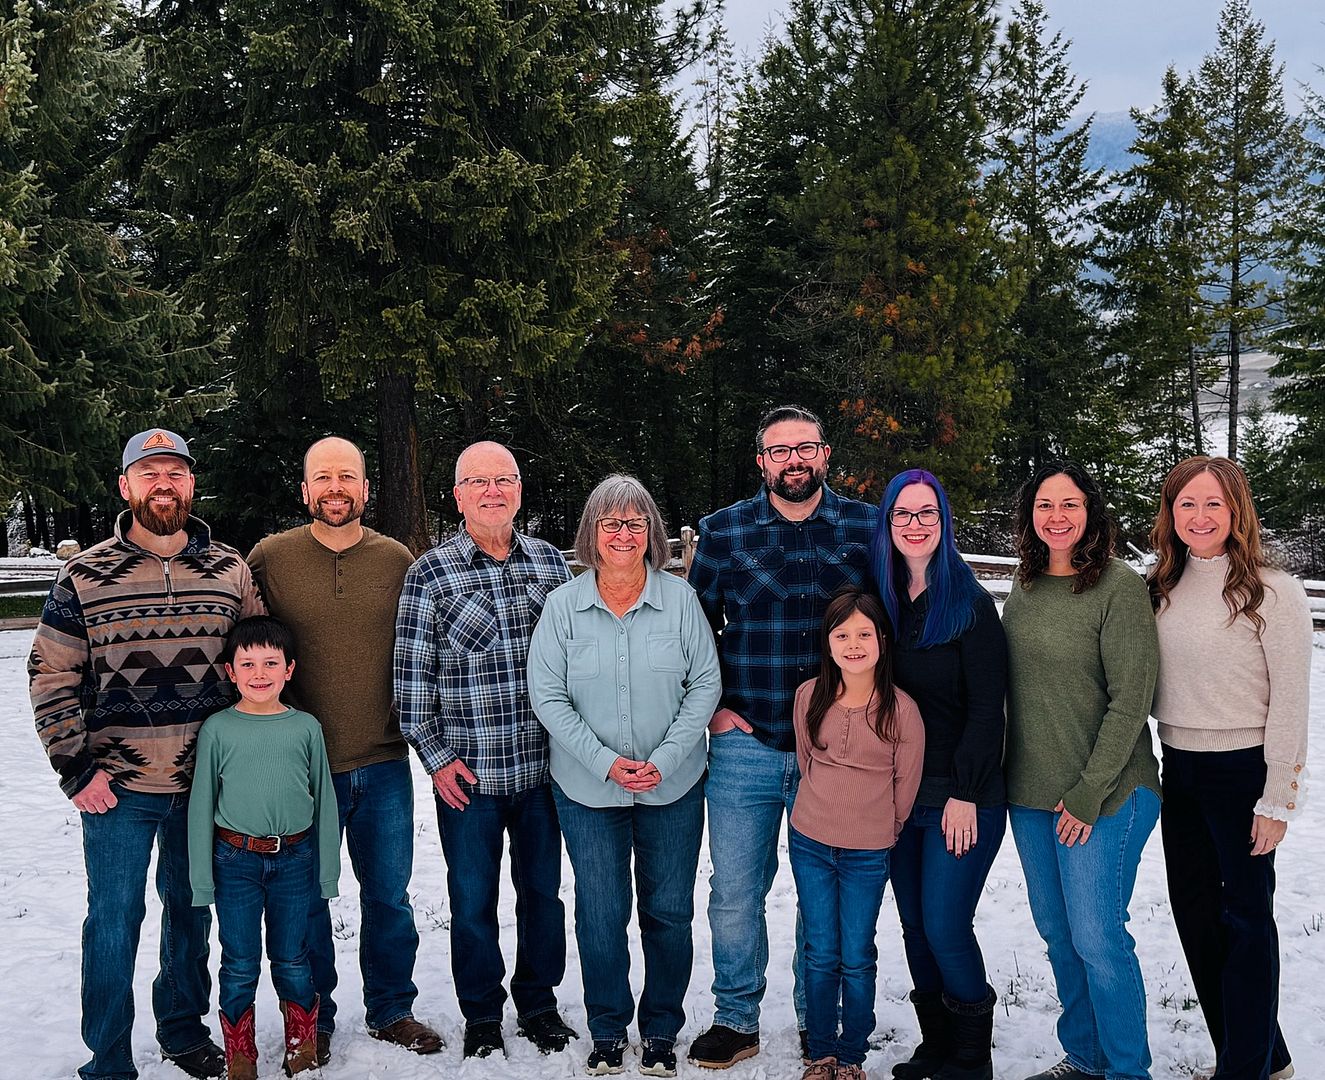
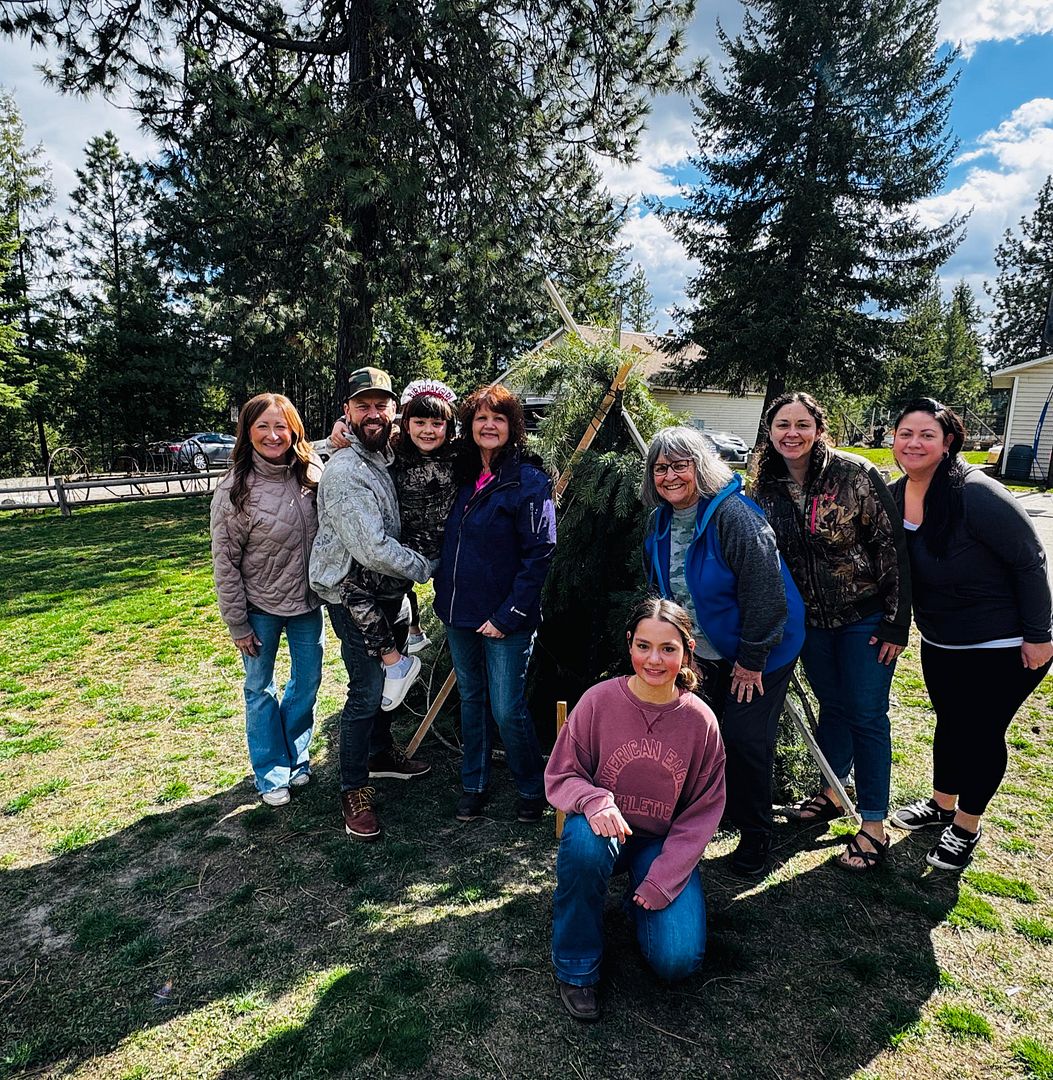
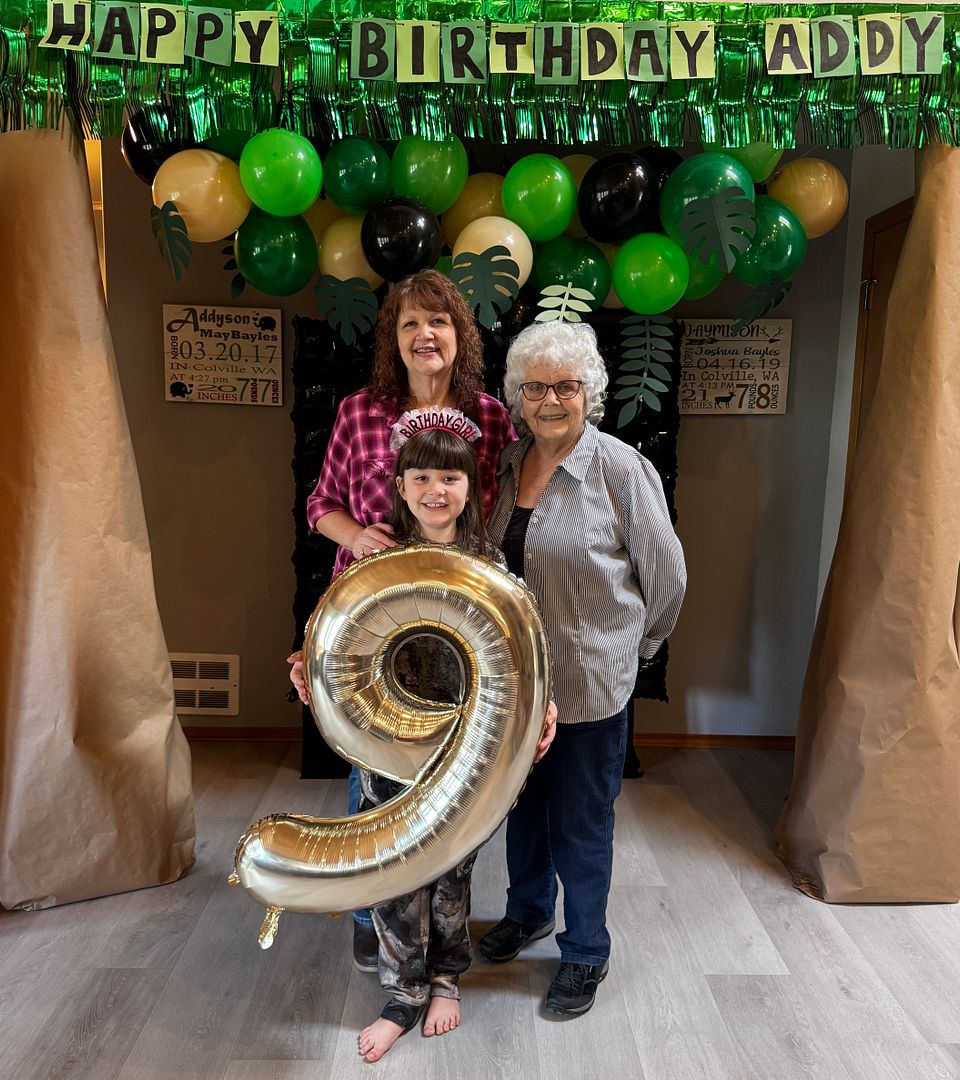
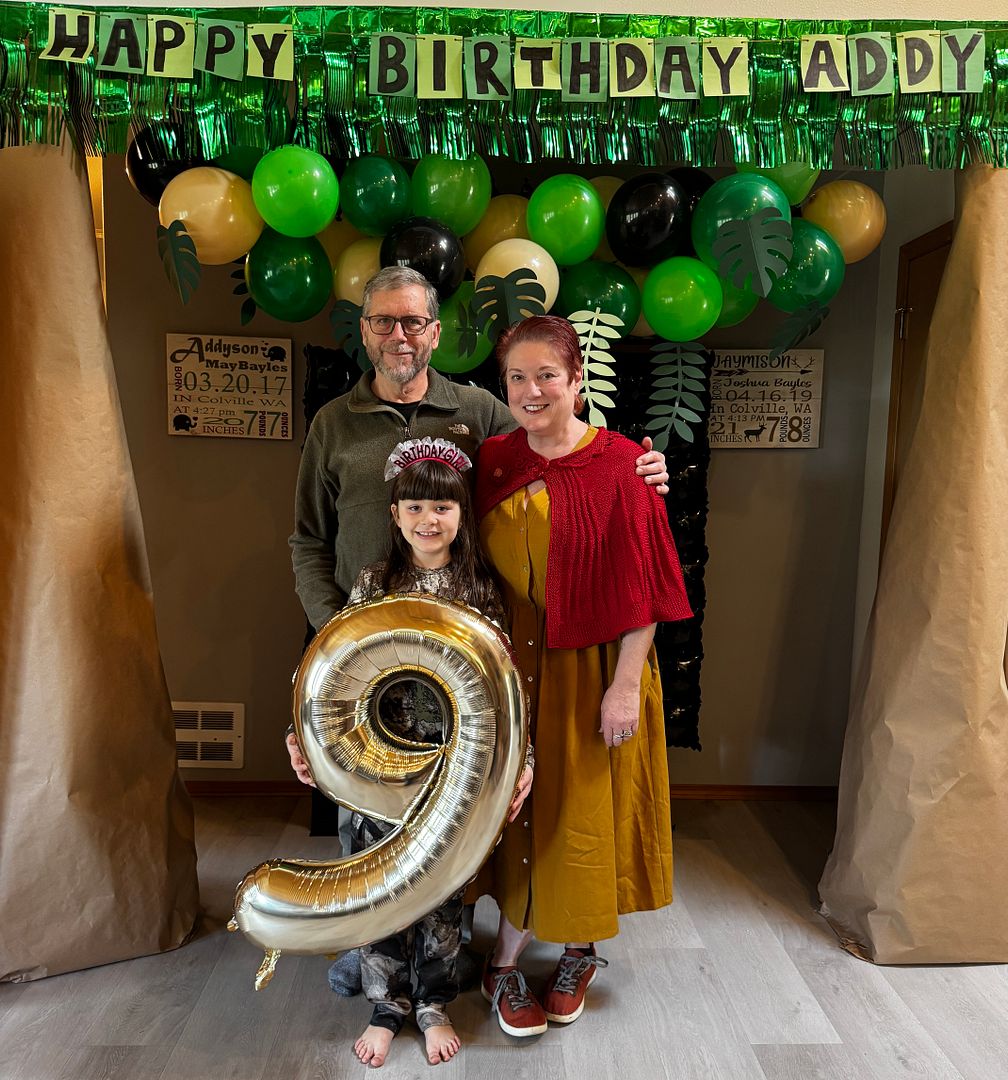
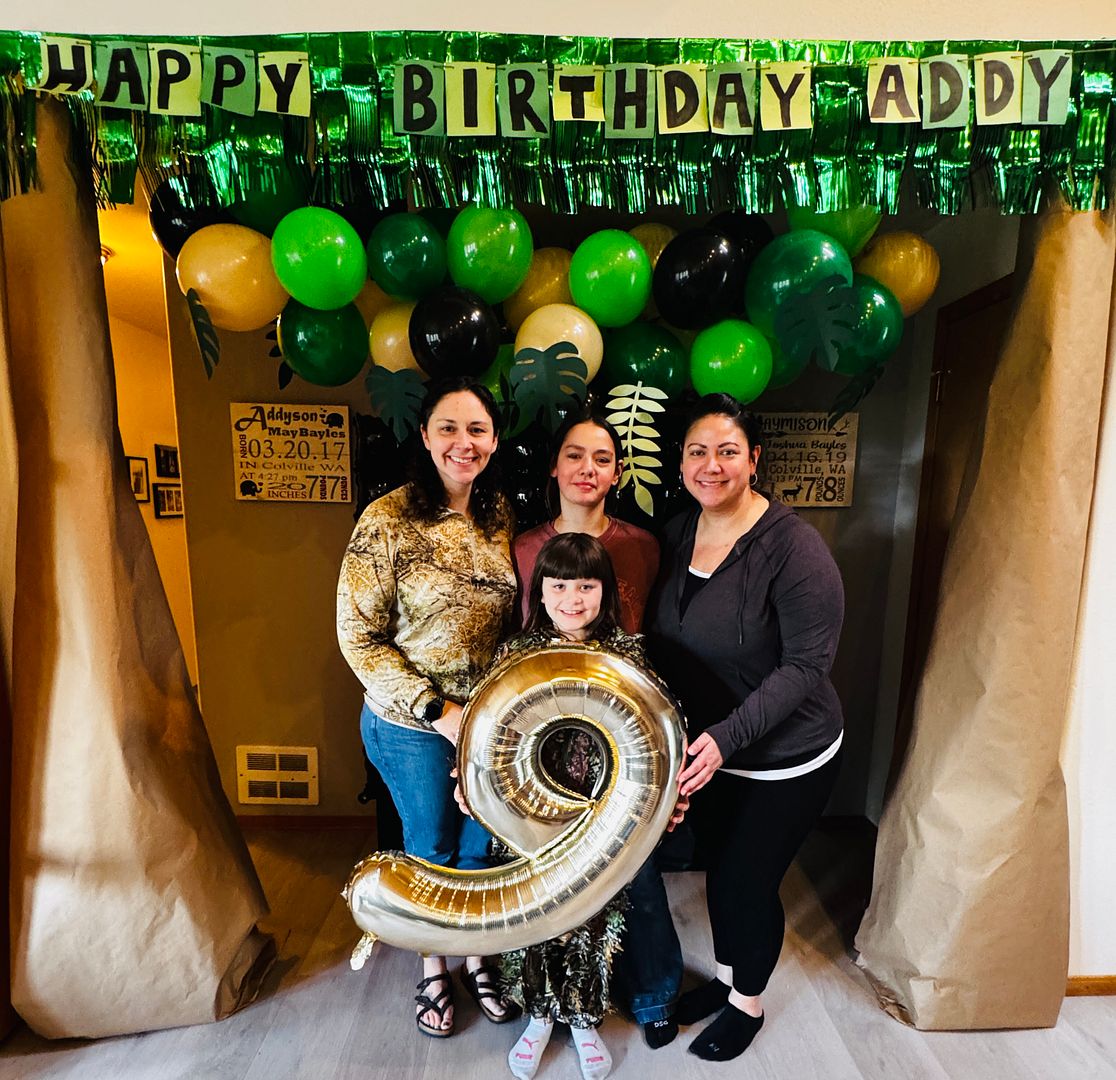
Thanks to Addy’s mom and dad for hosting such a fun 9th birthday for Addy and guests!

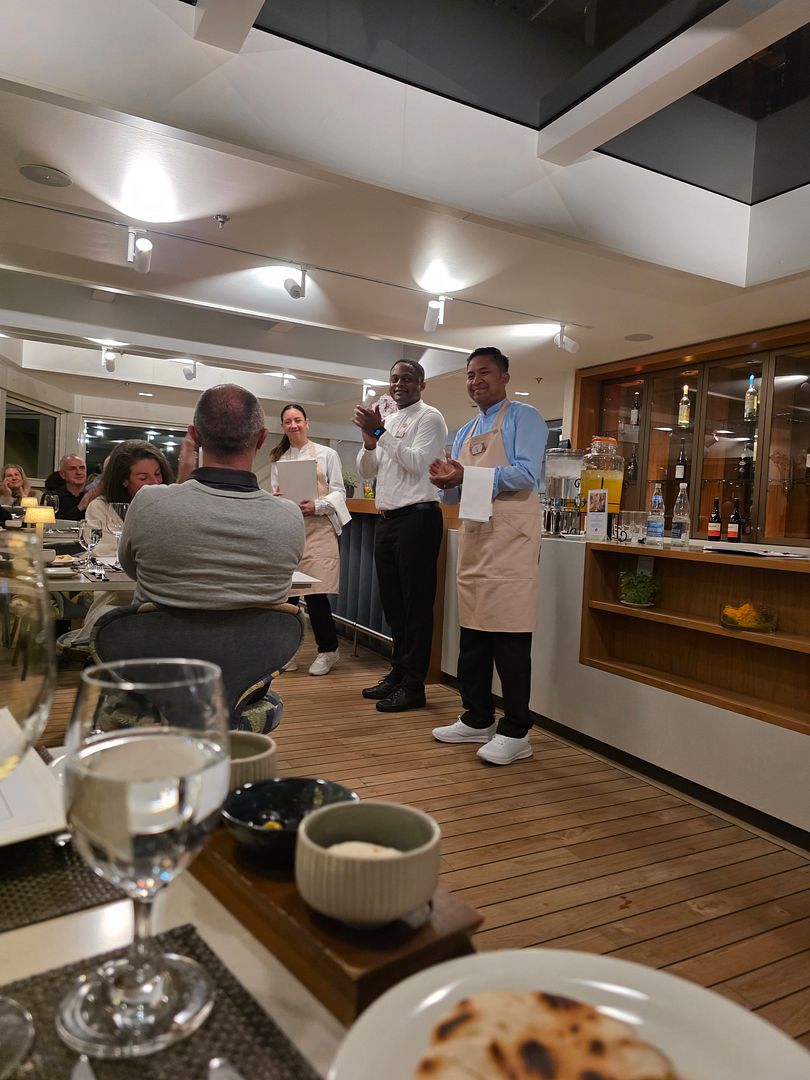
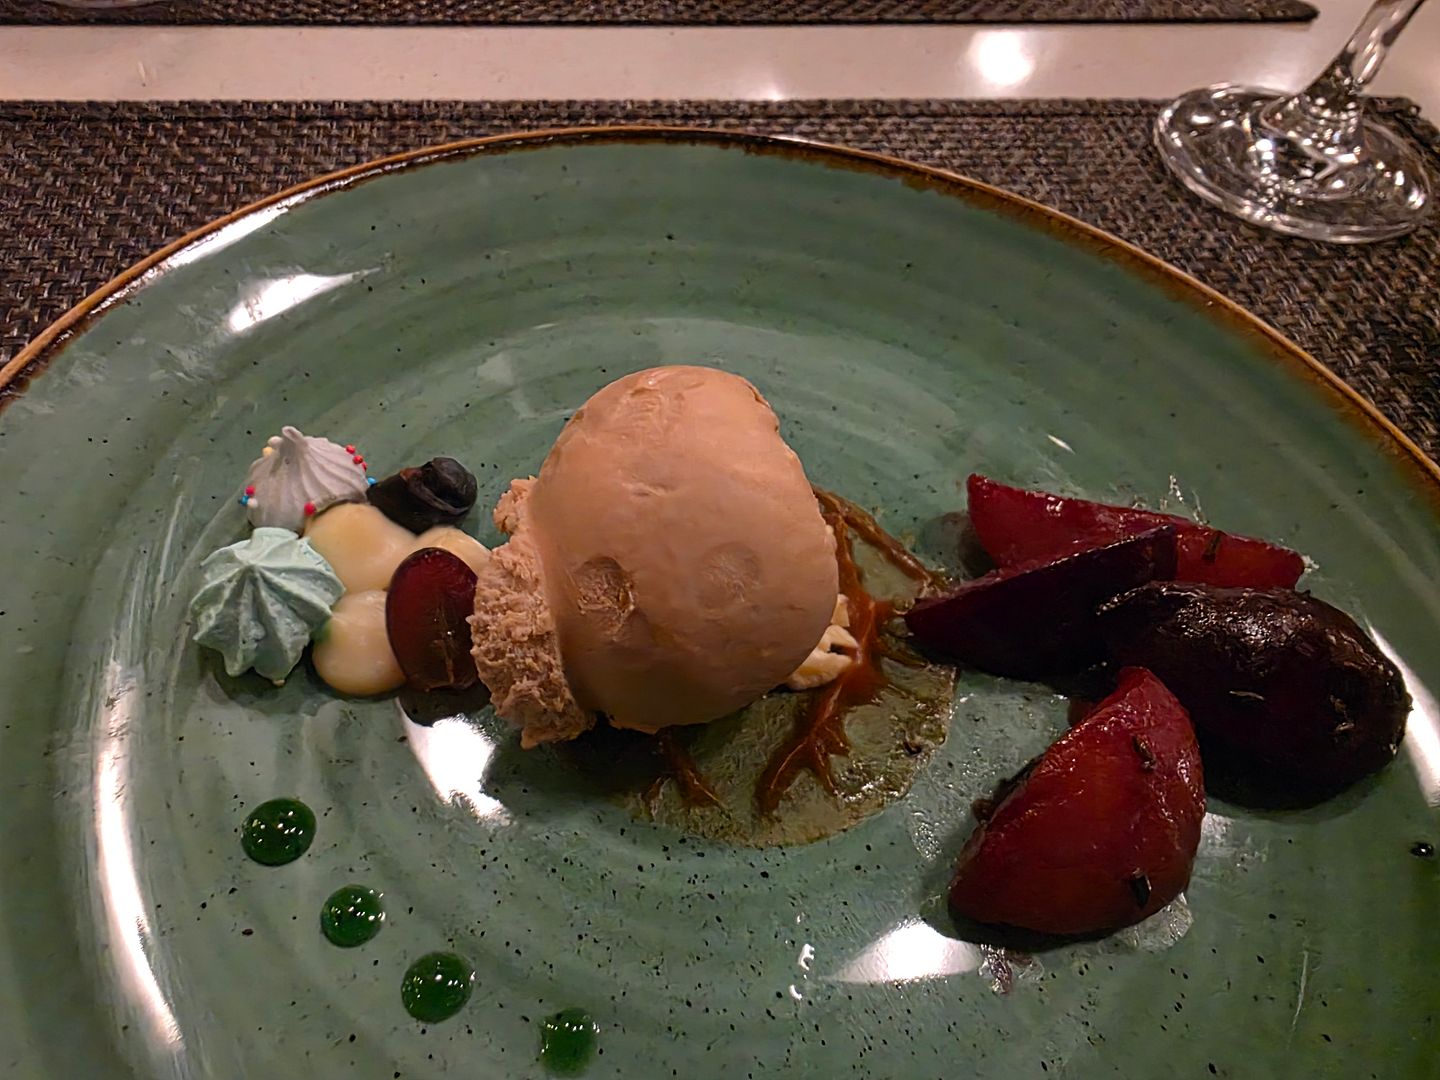
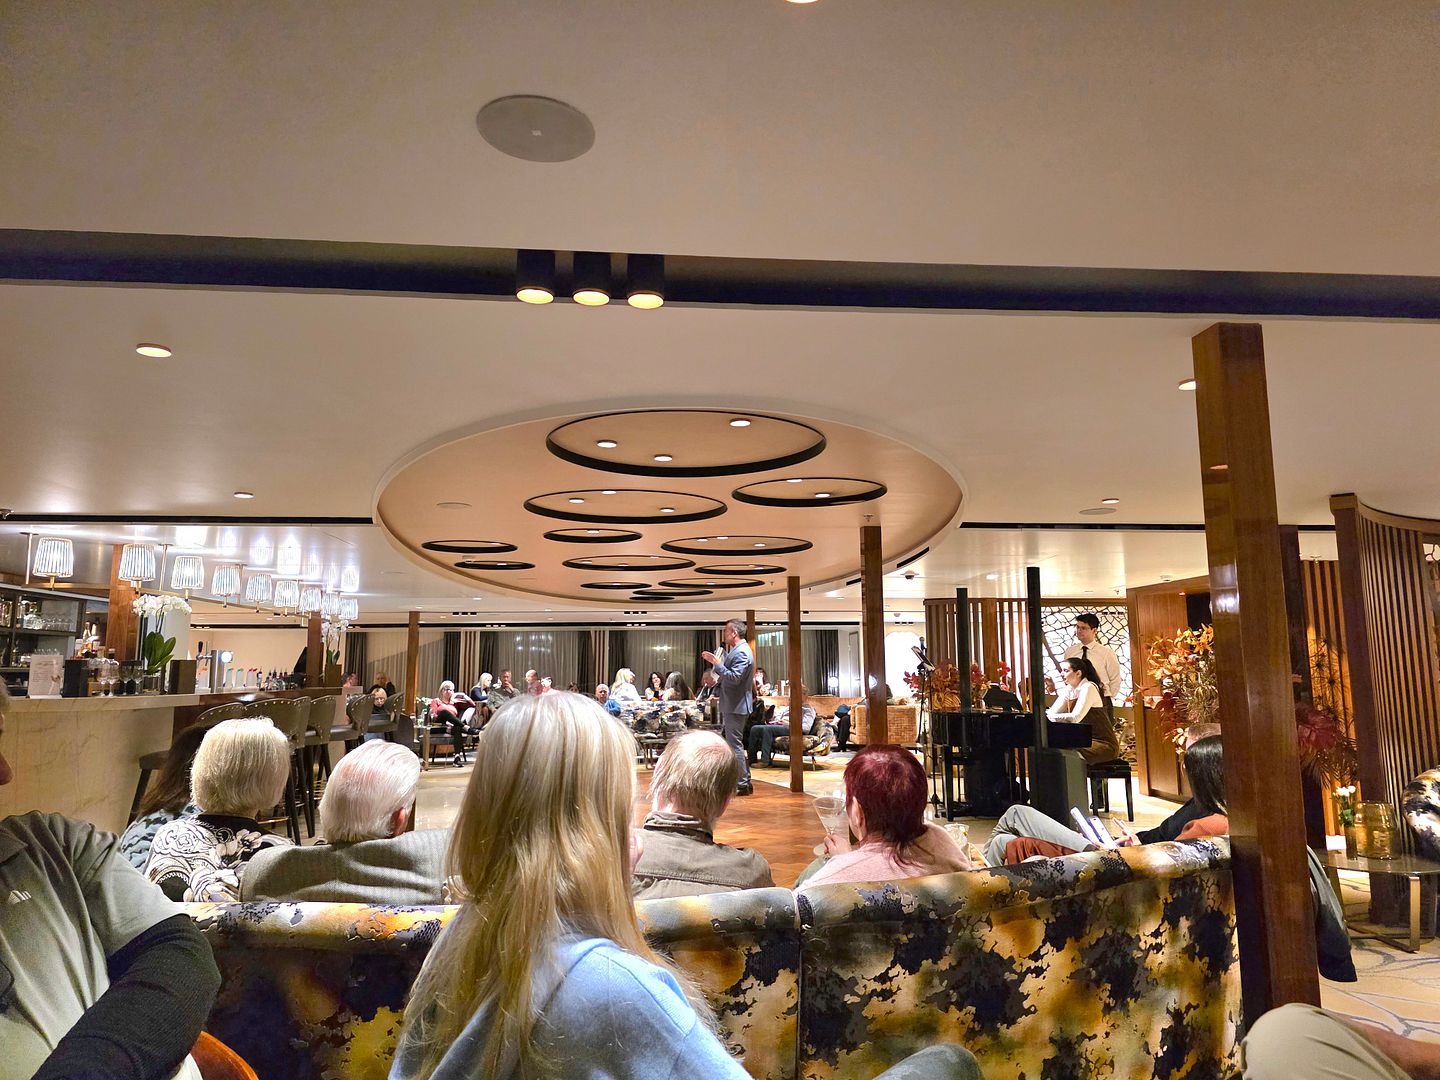
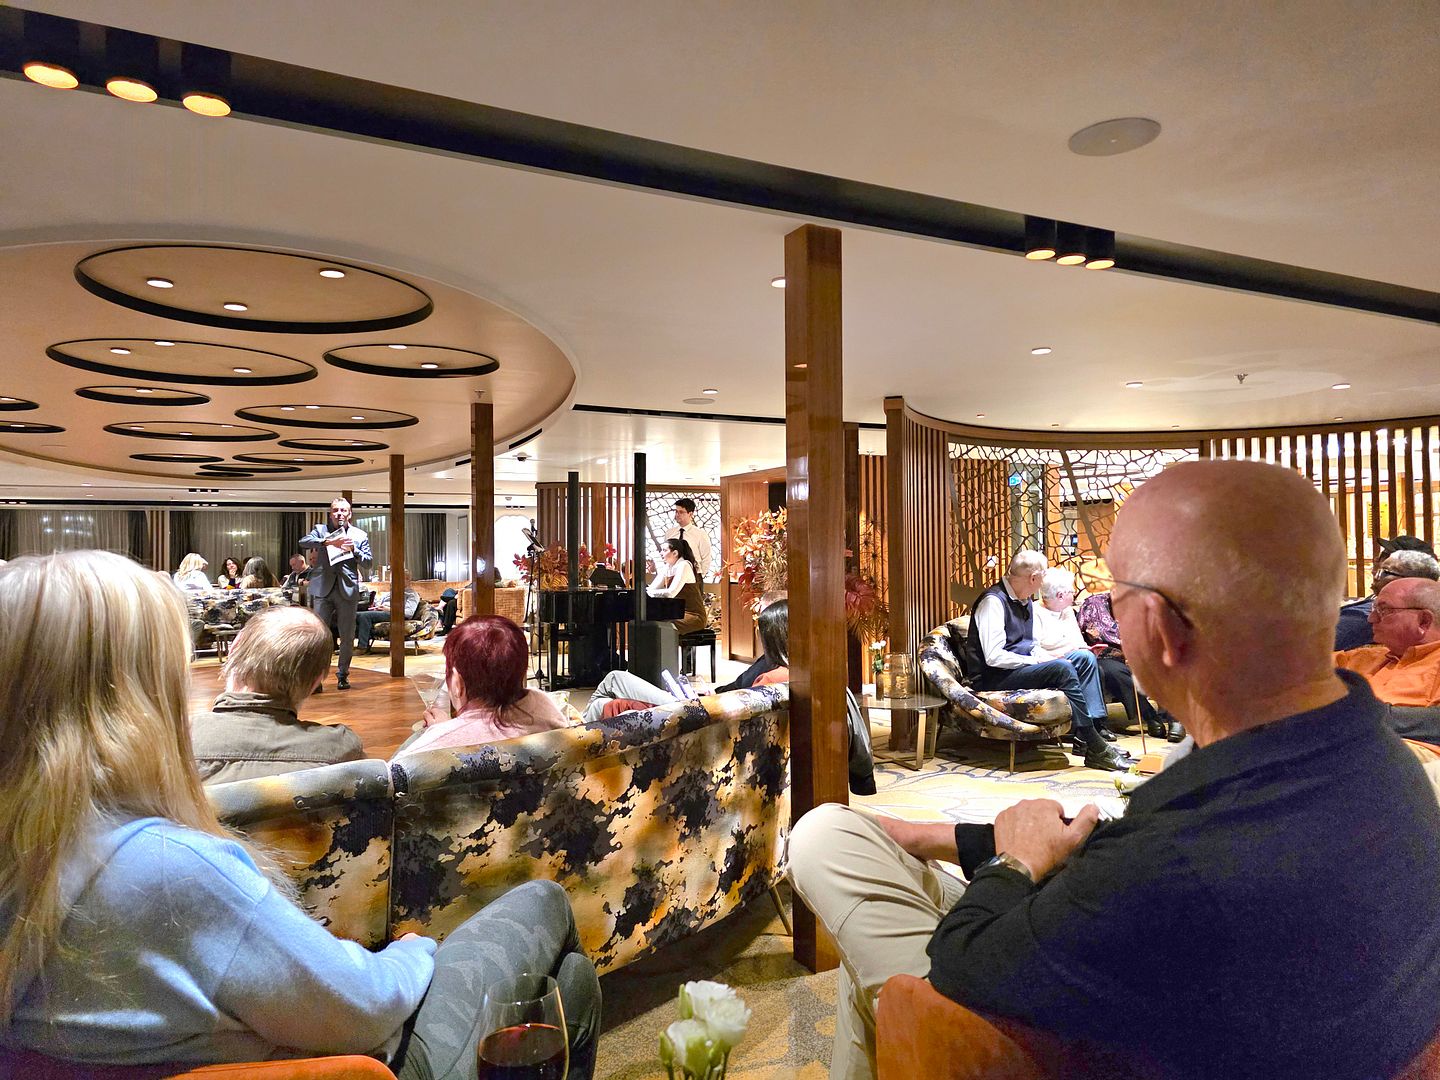
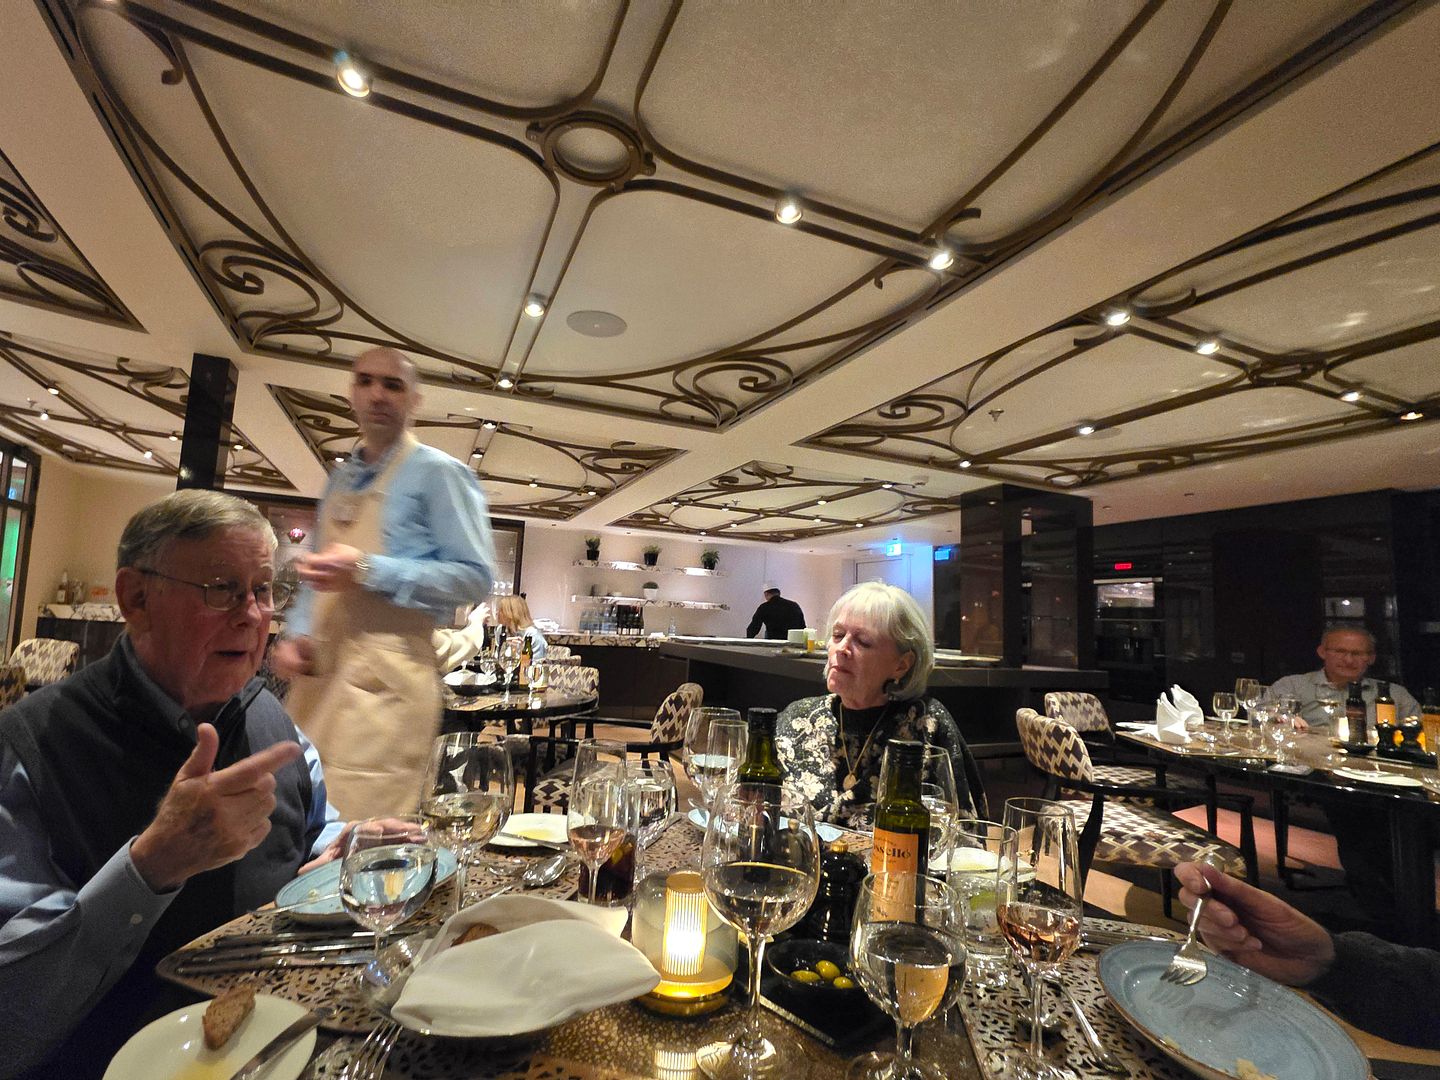
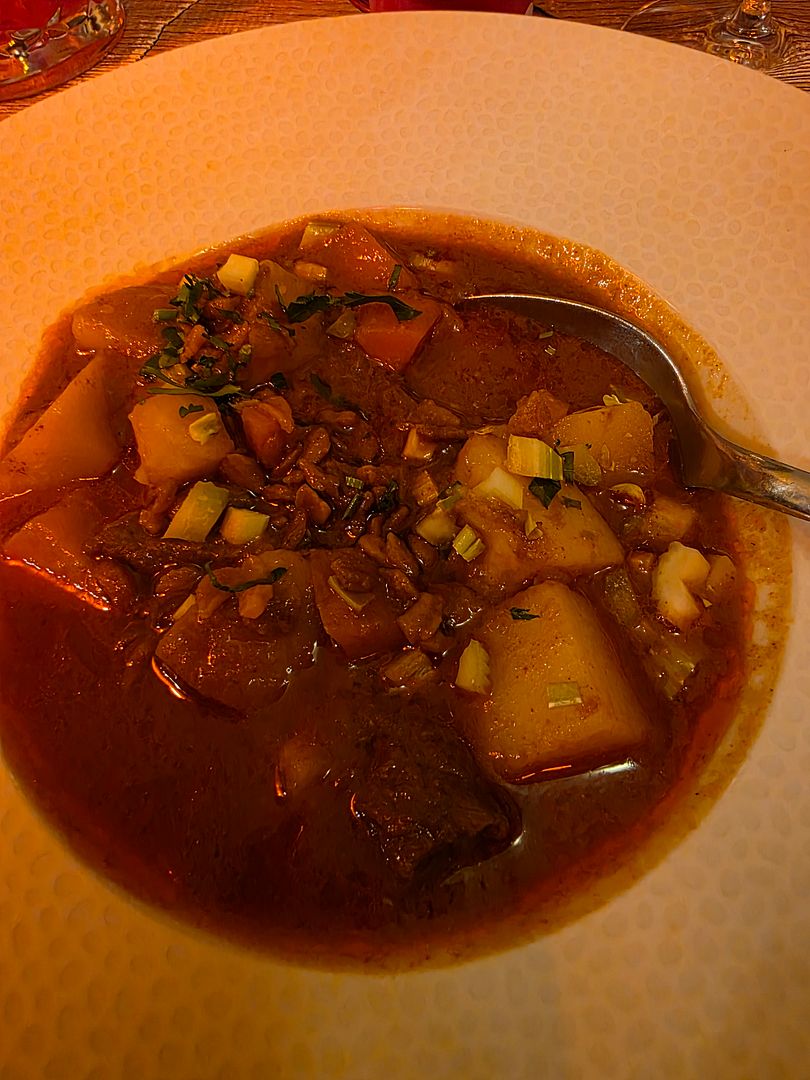
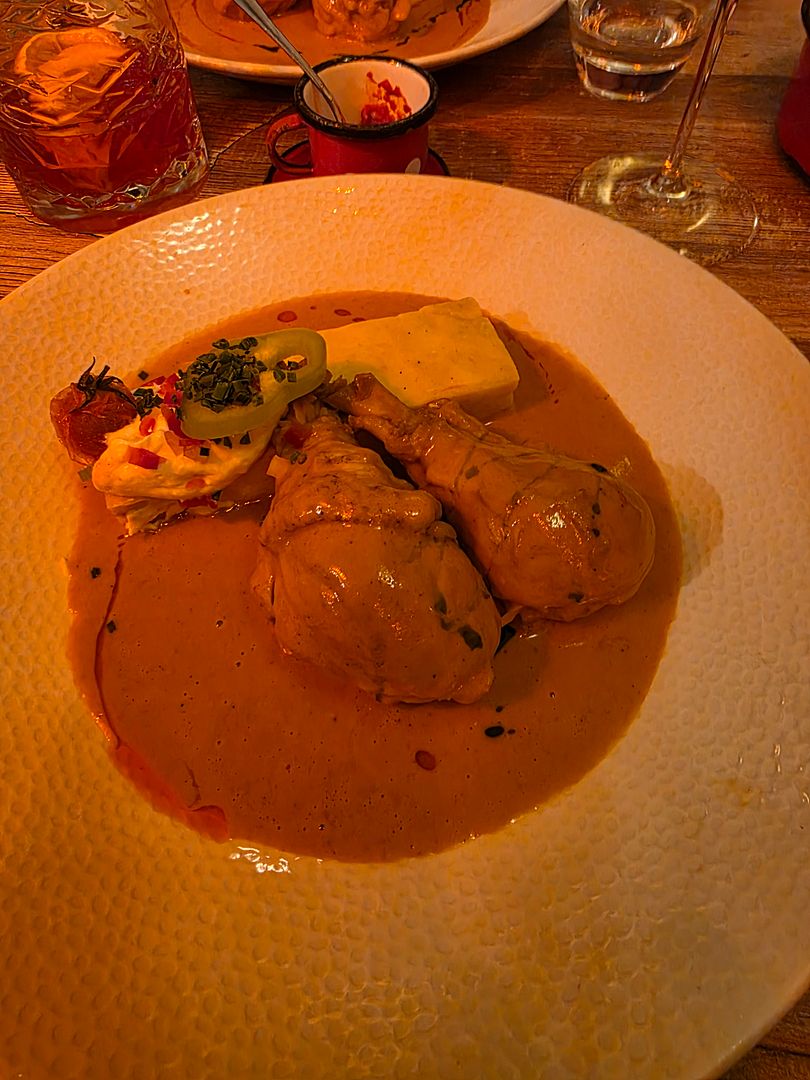
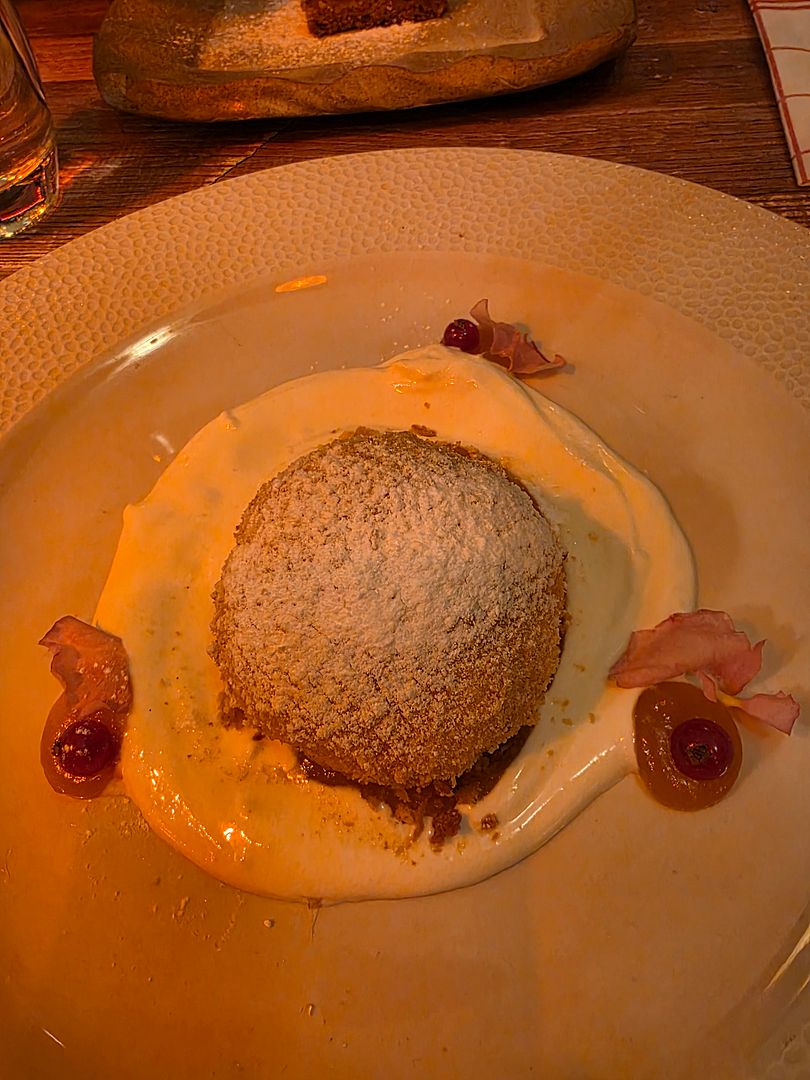
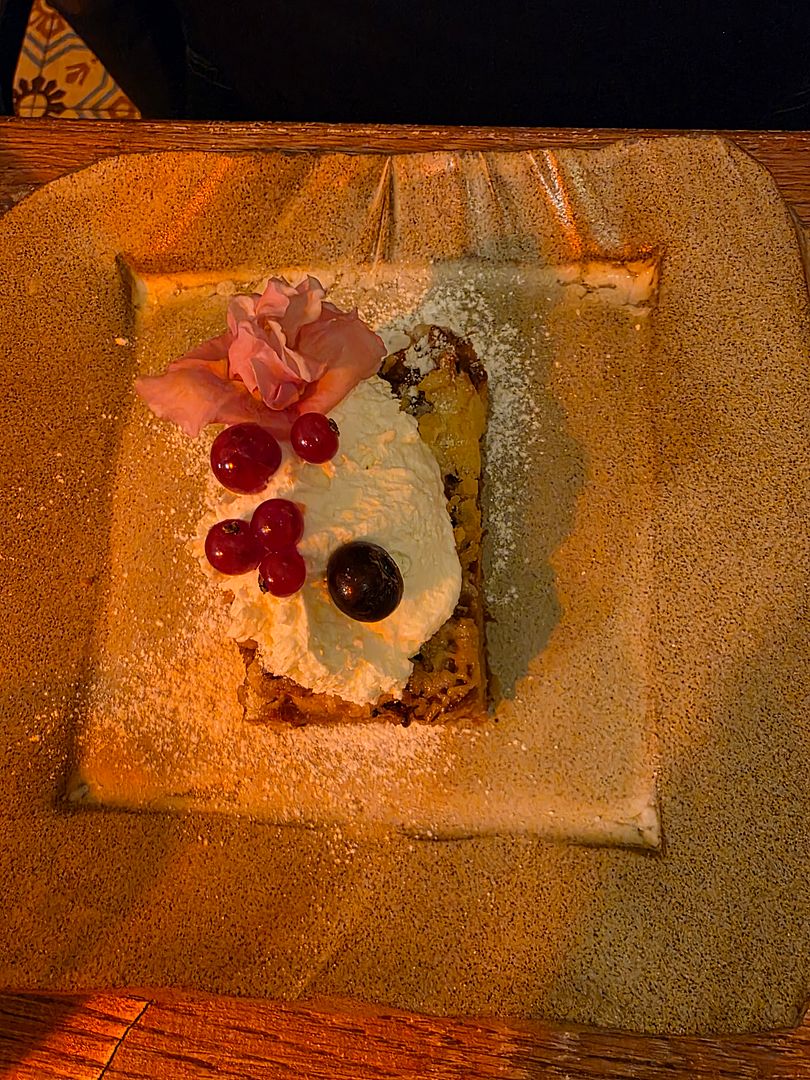
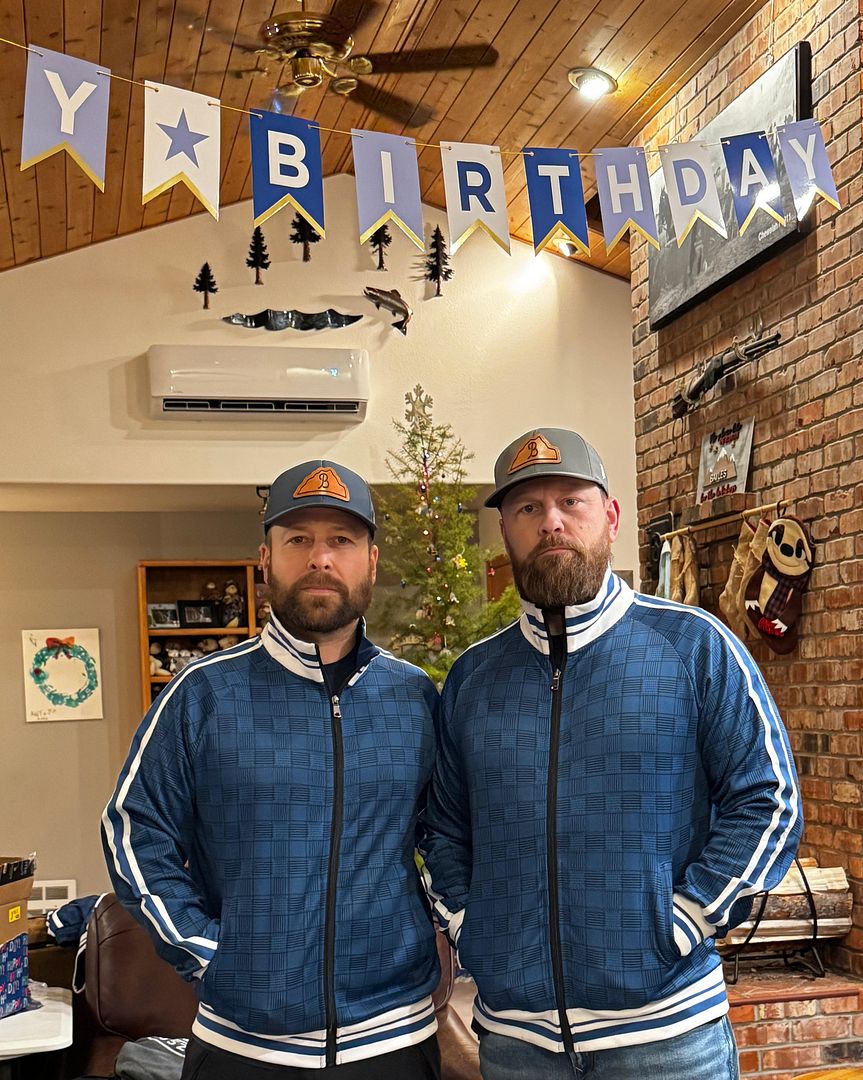
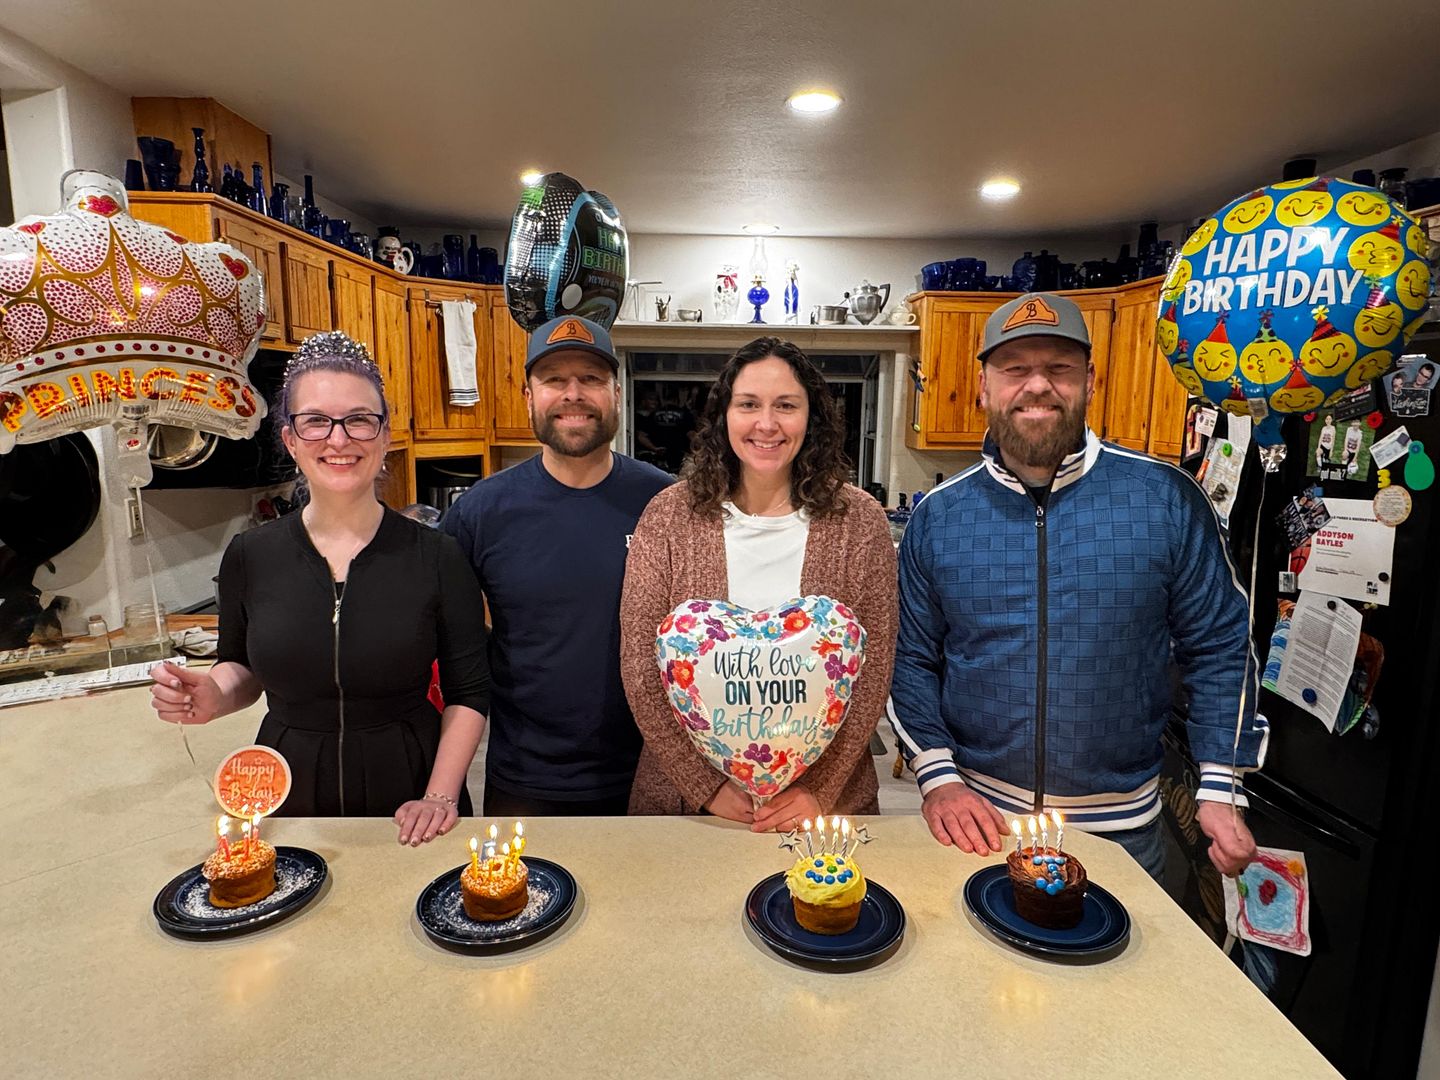
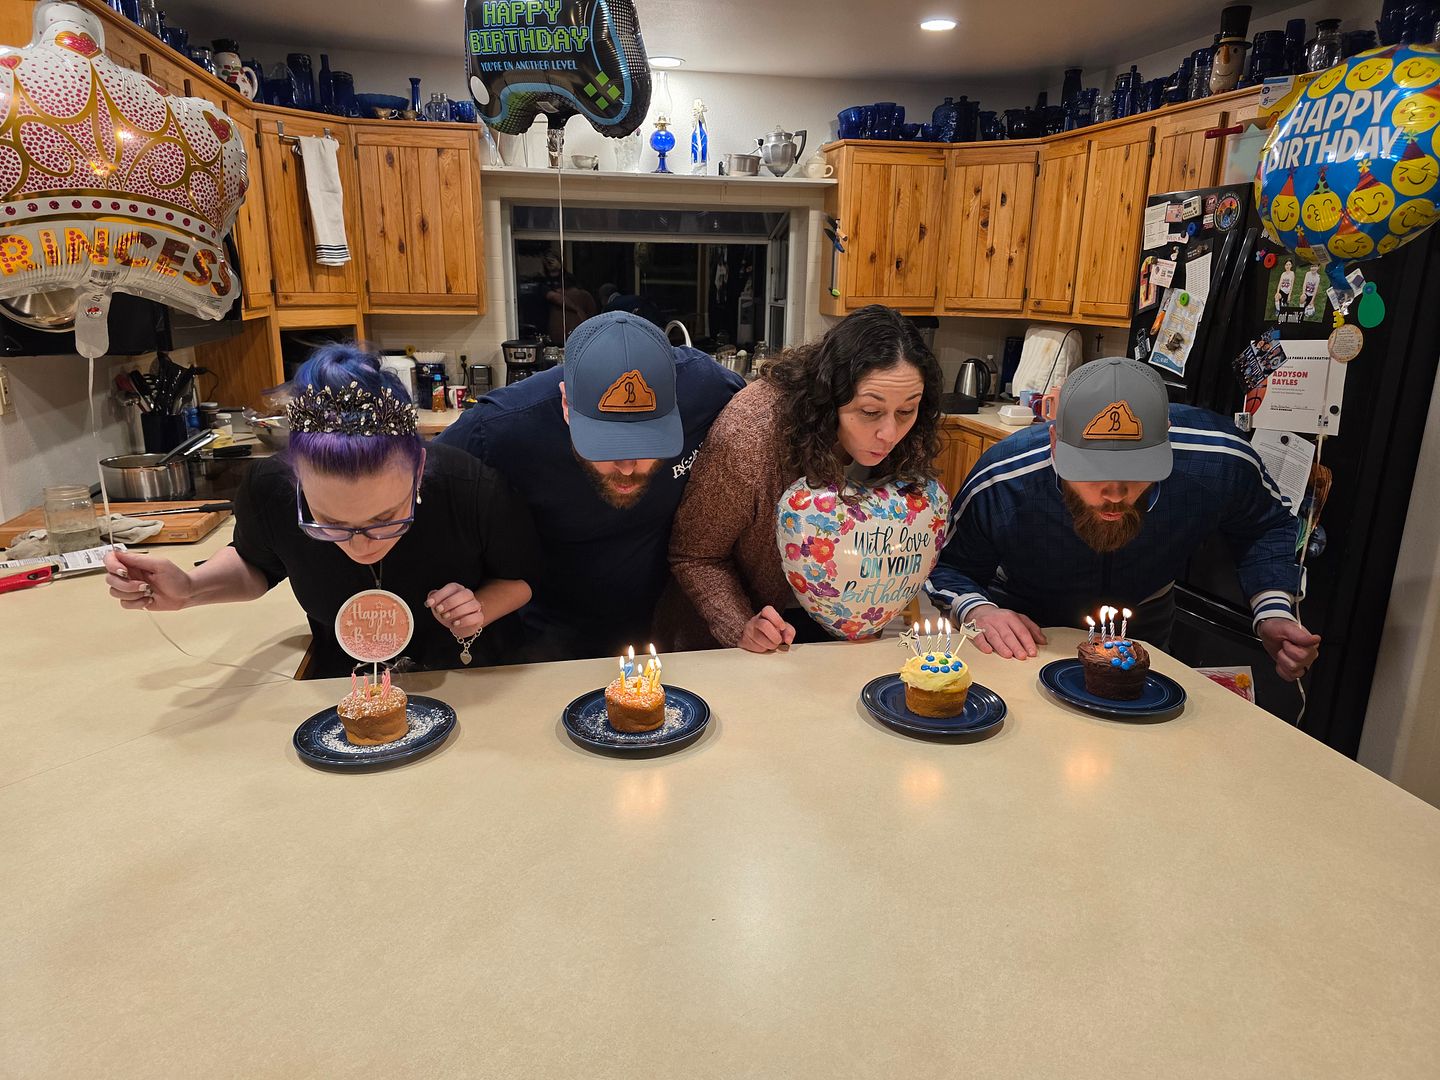
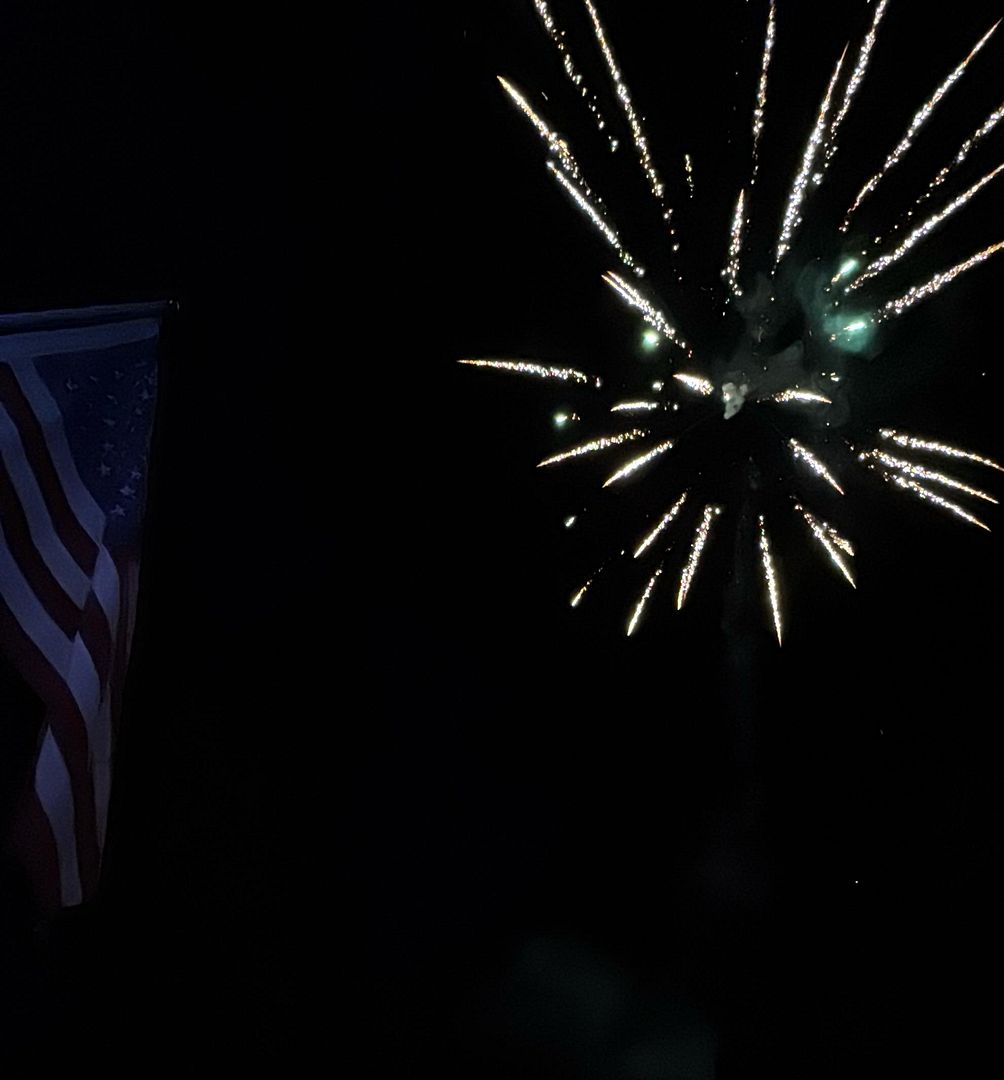
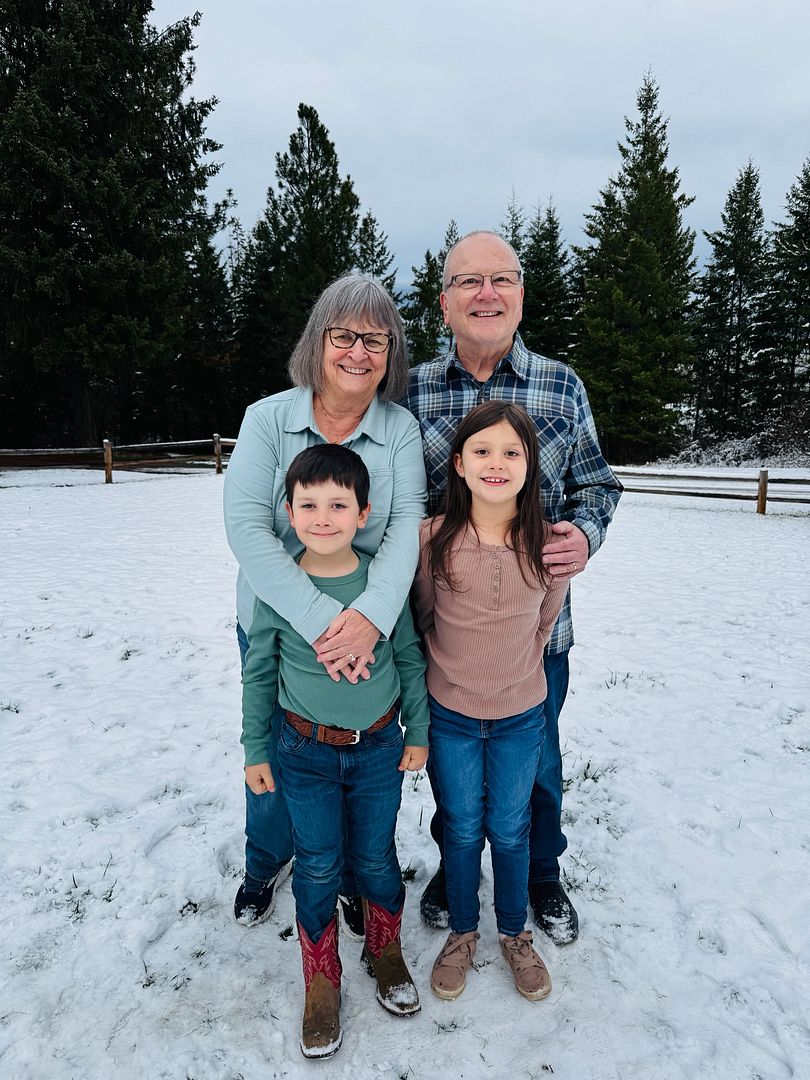
After all the excitement of Addy’s birthday party there were more gatherings for dinner and cake and presents for my belated birthday.
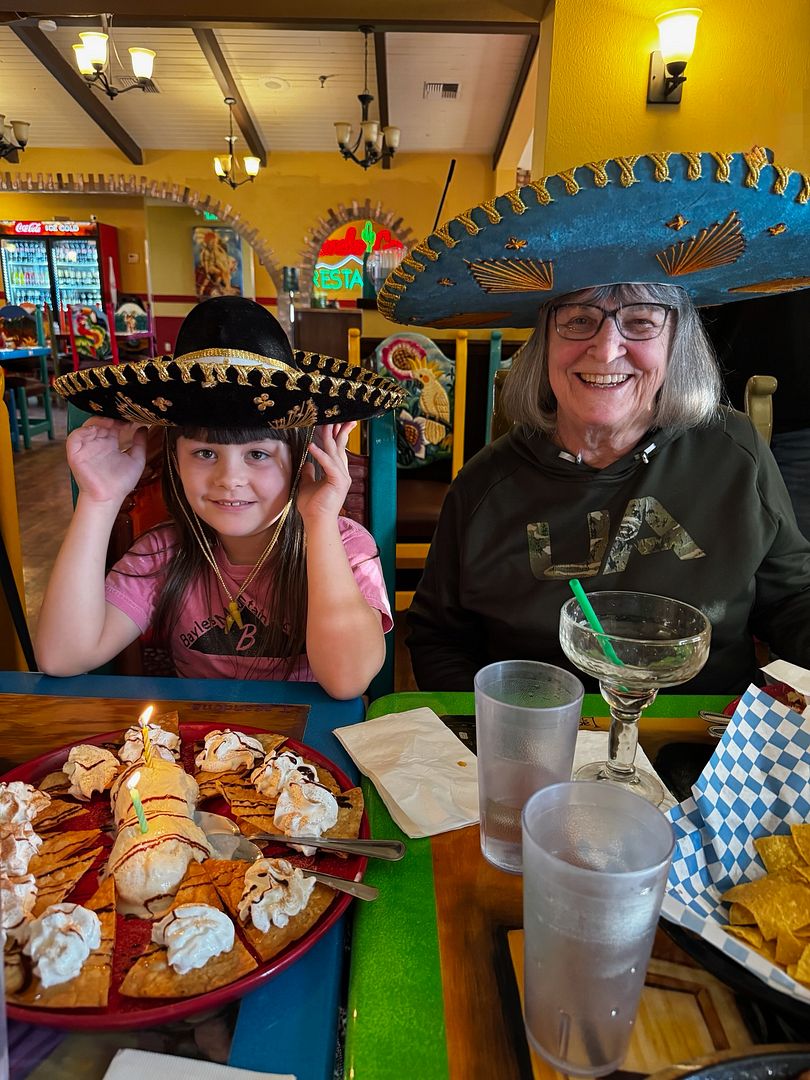
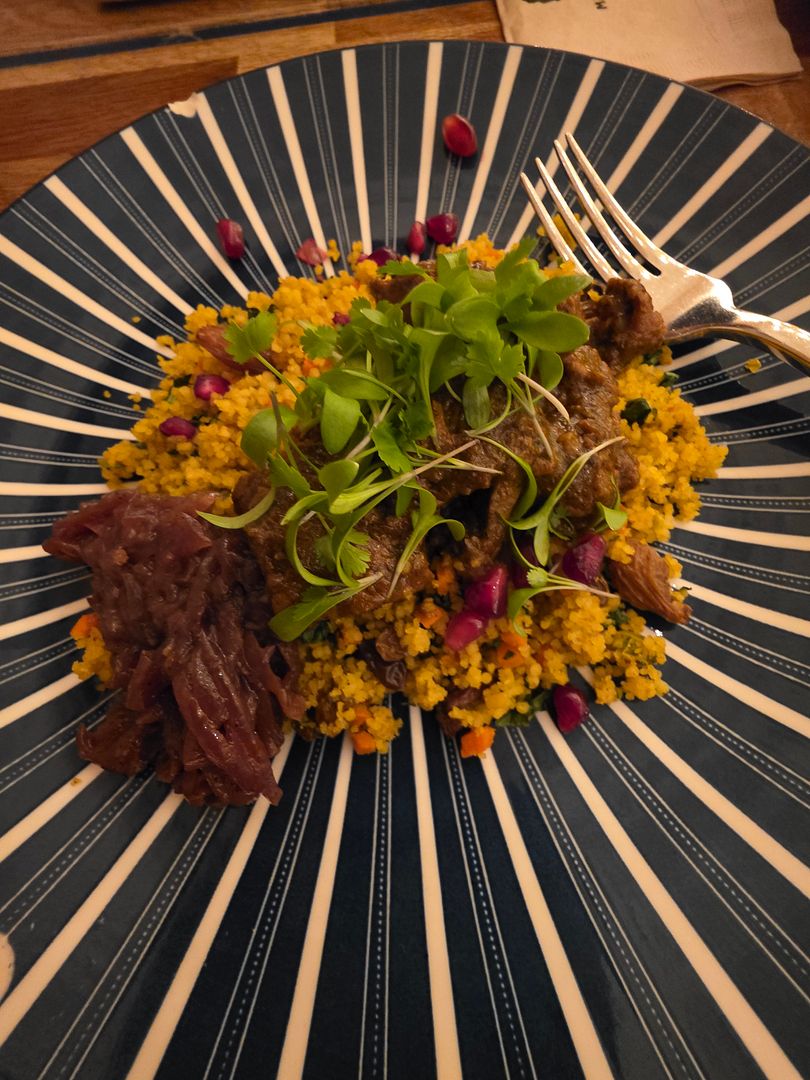
The March birthday girls got the hats and songs at the Mexican restaurant.
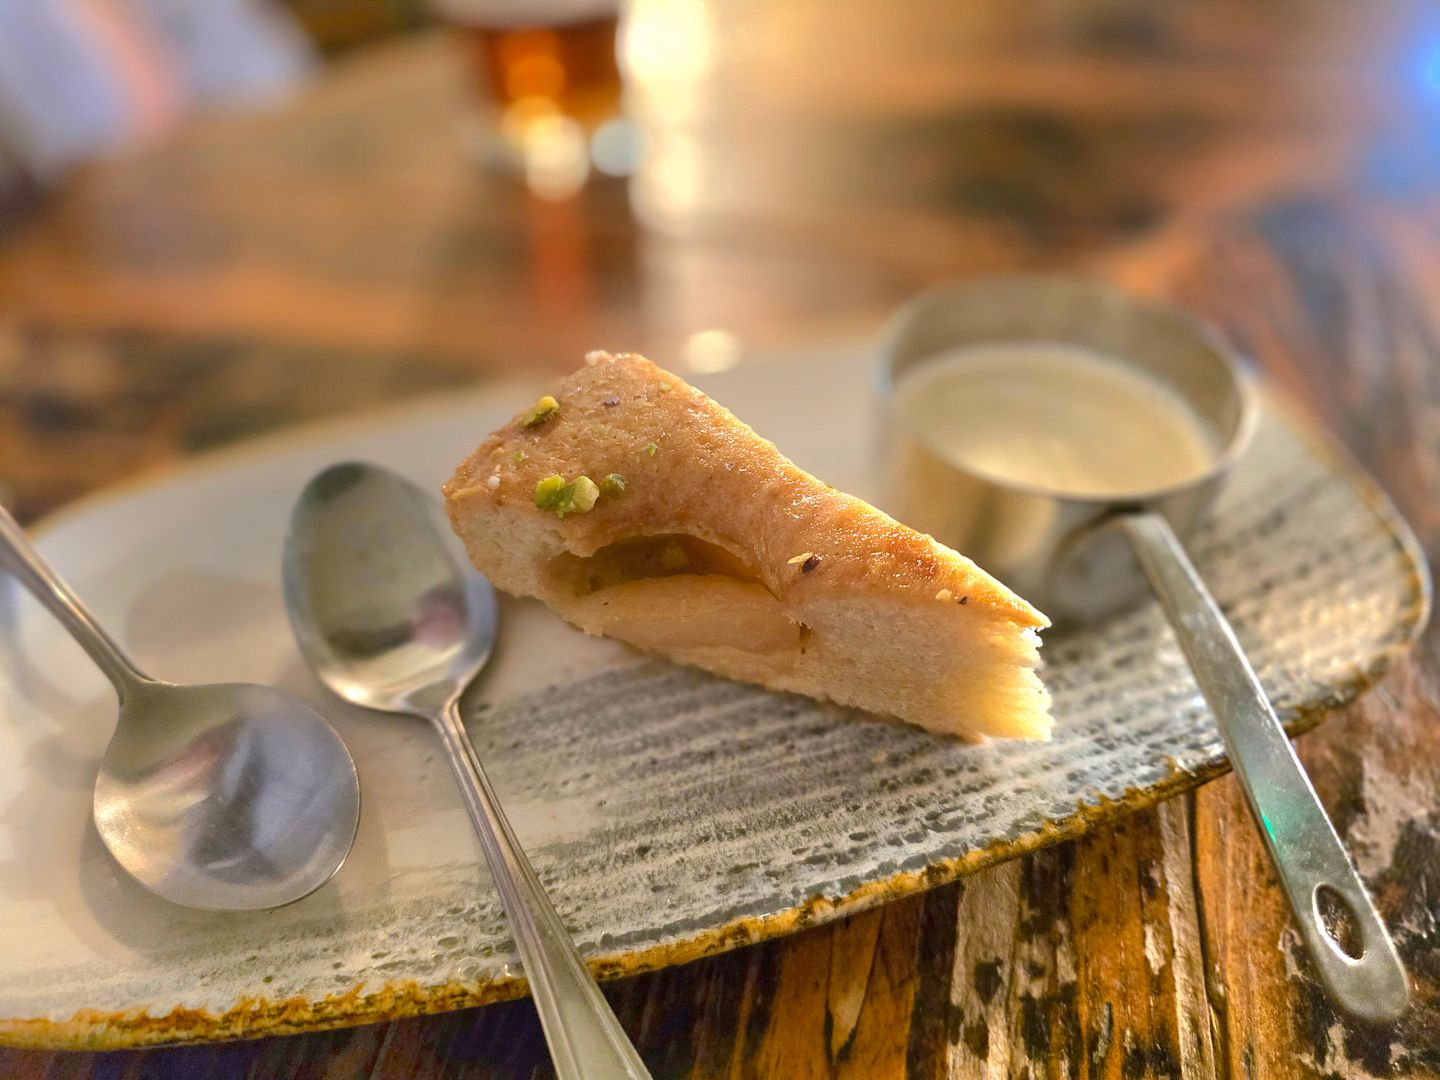
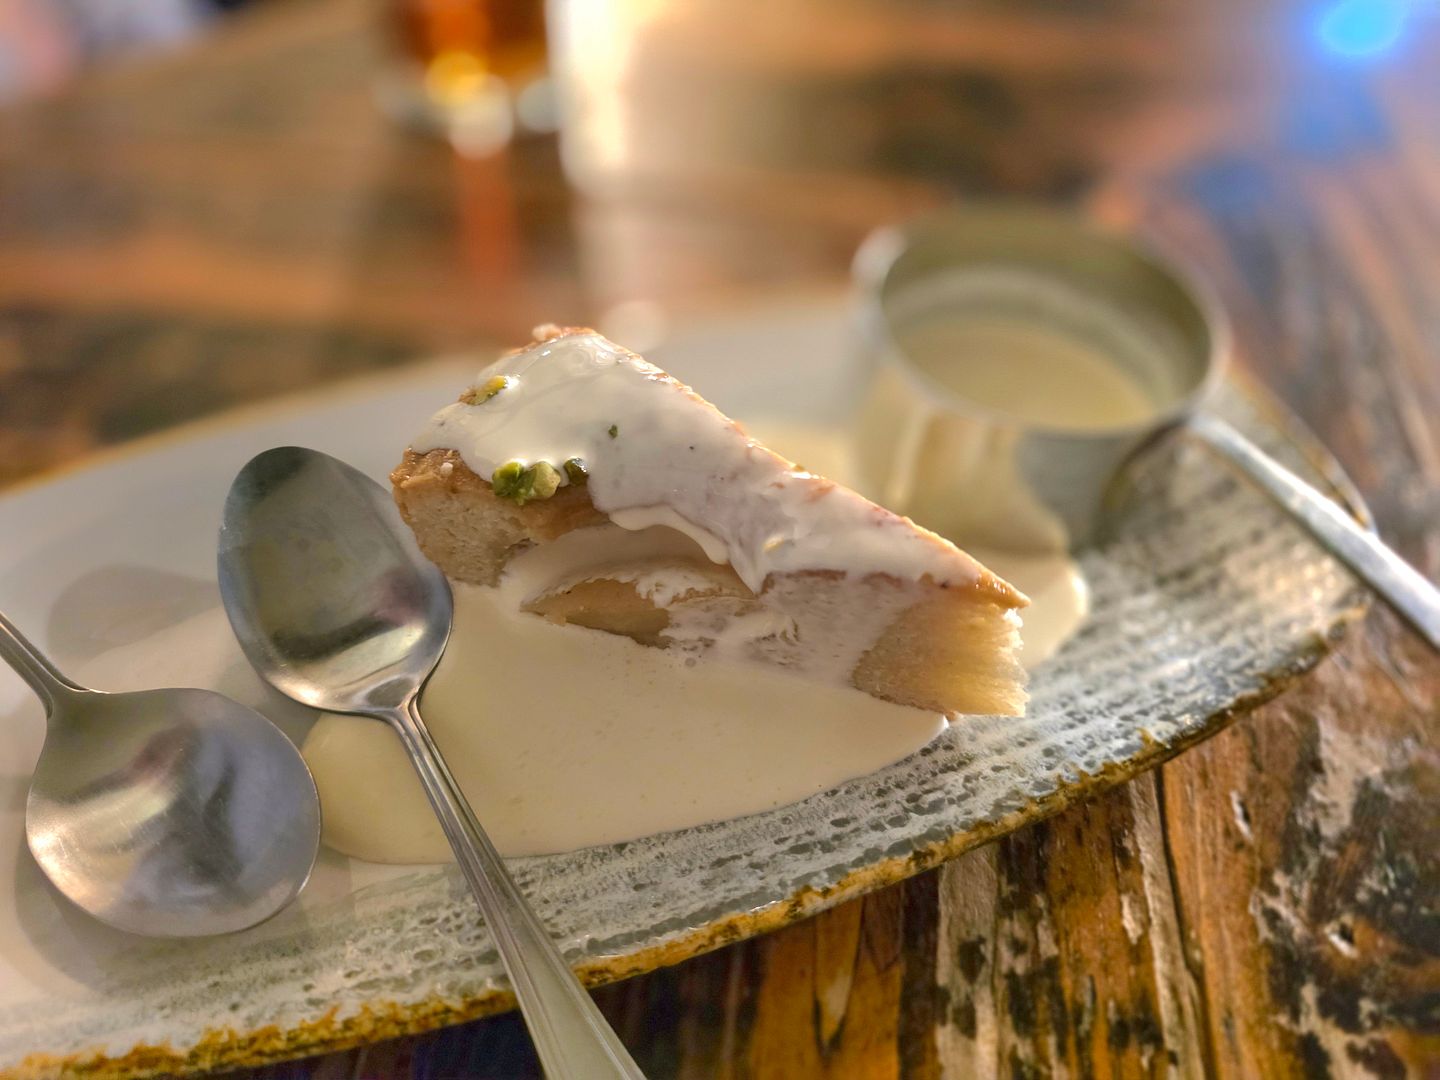
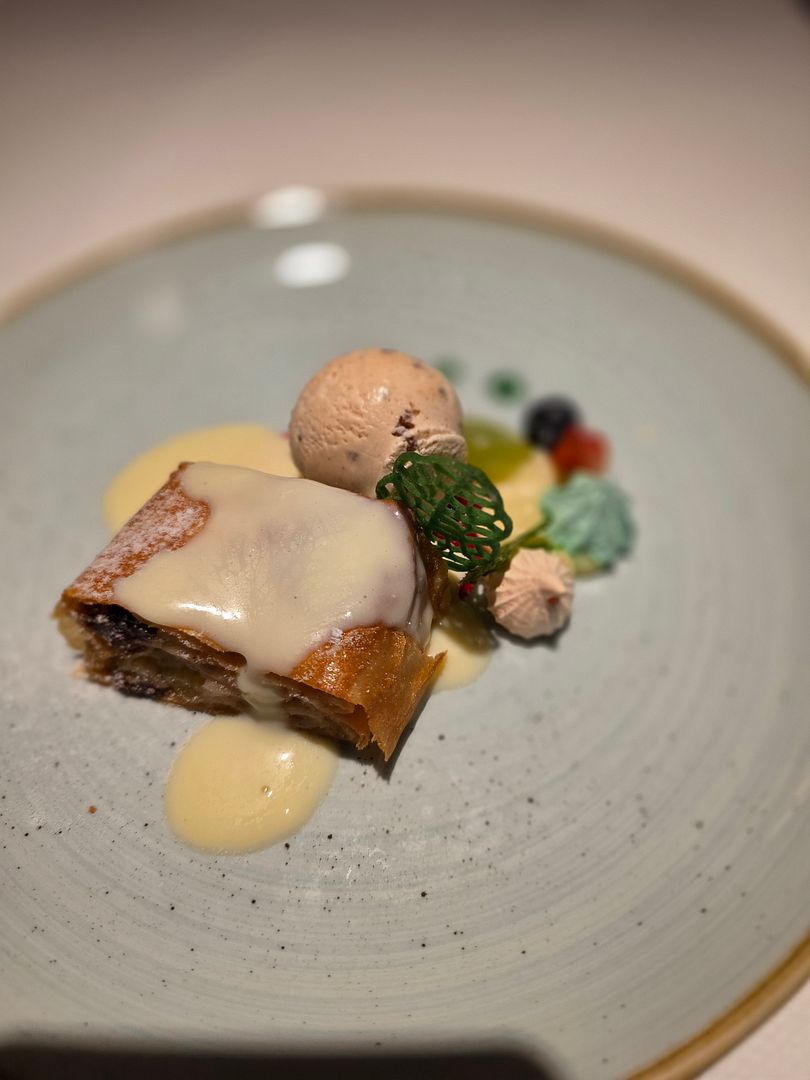
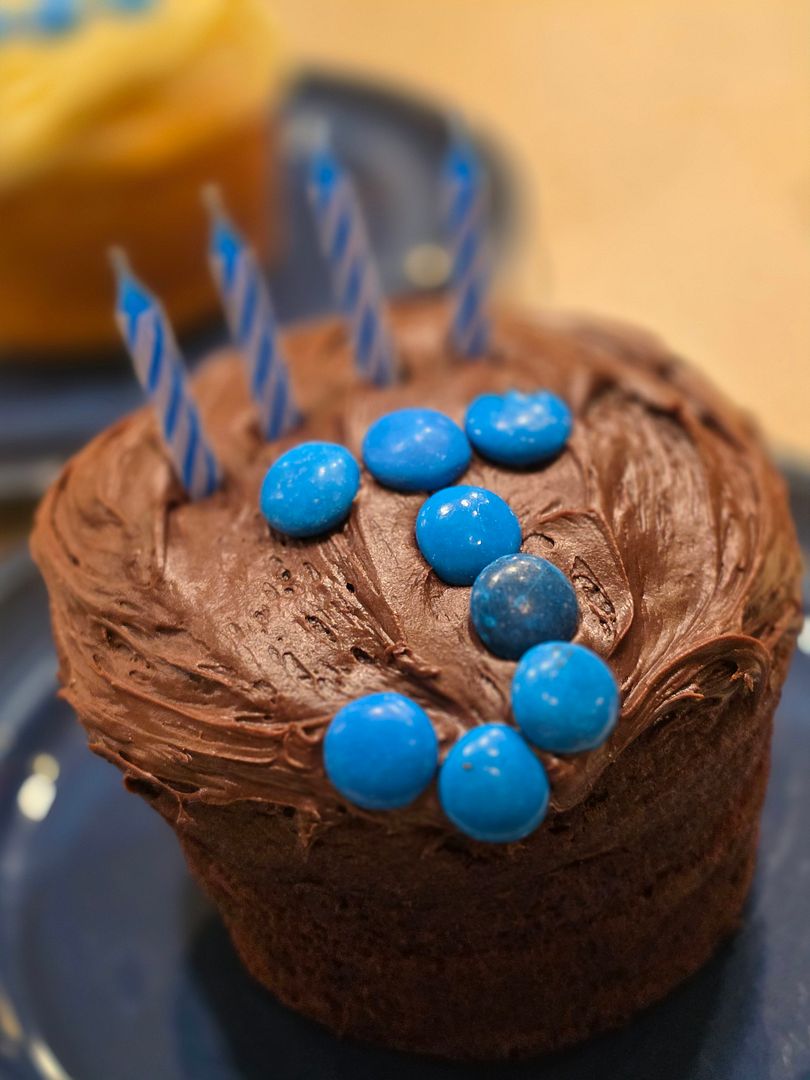
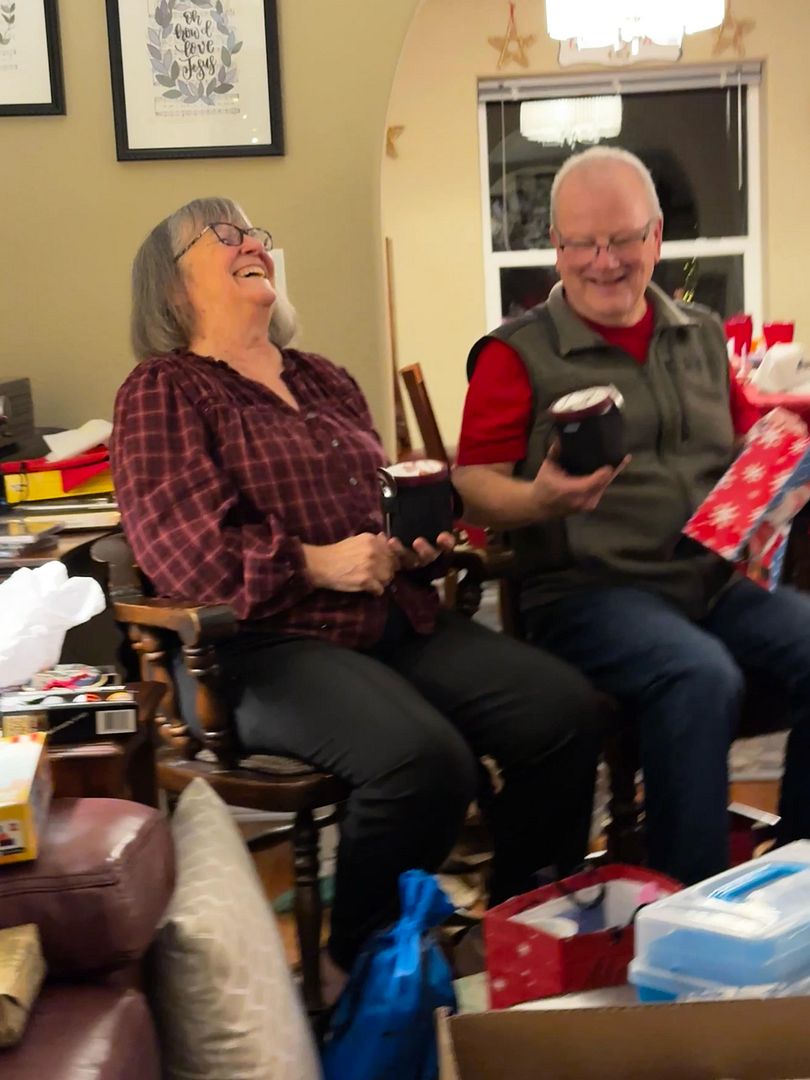
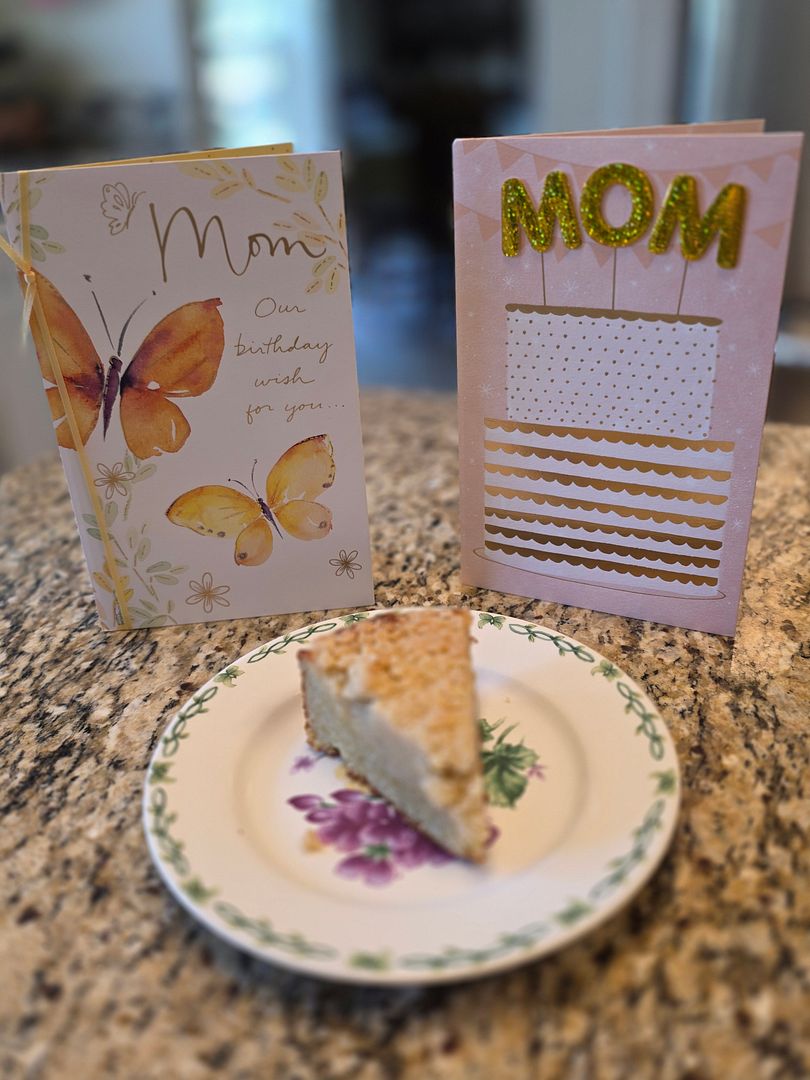
We then all gathered at our home. We enjoyed another cake that Addy’s mom made, a Persian cake, for my belated birthday celebration. I was showered with presents and kind words of encouragement.
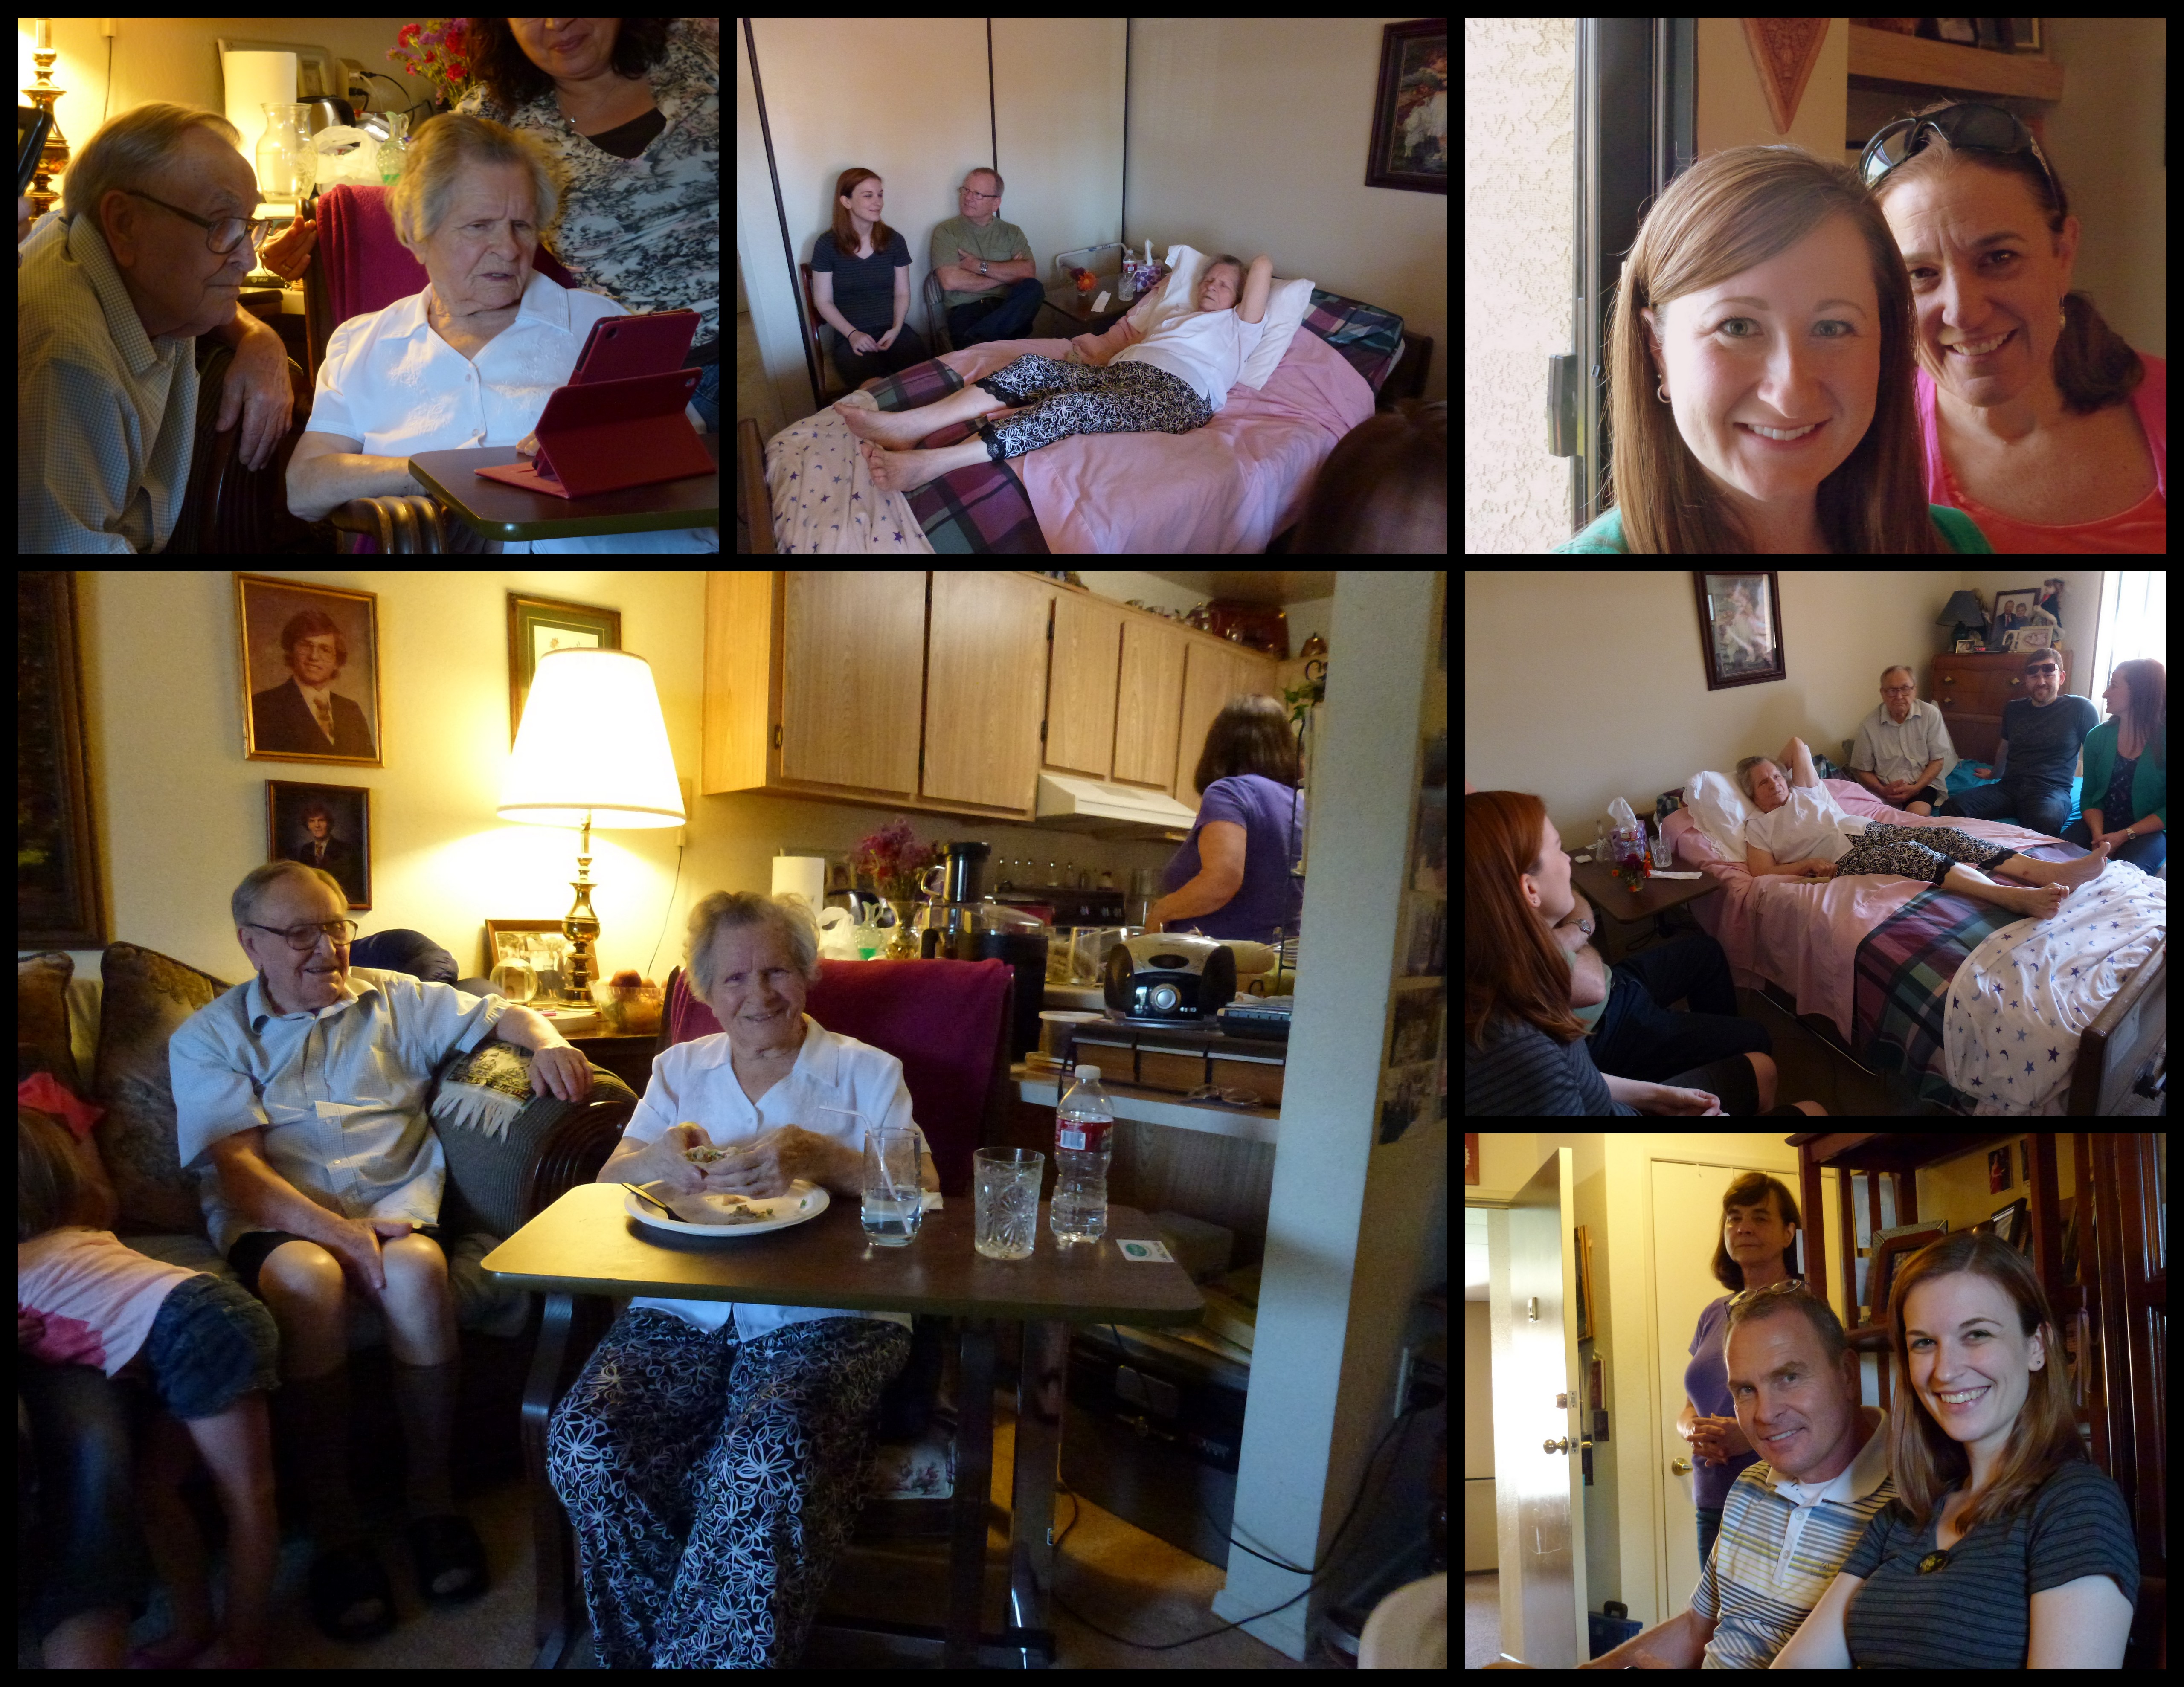
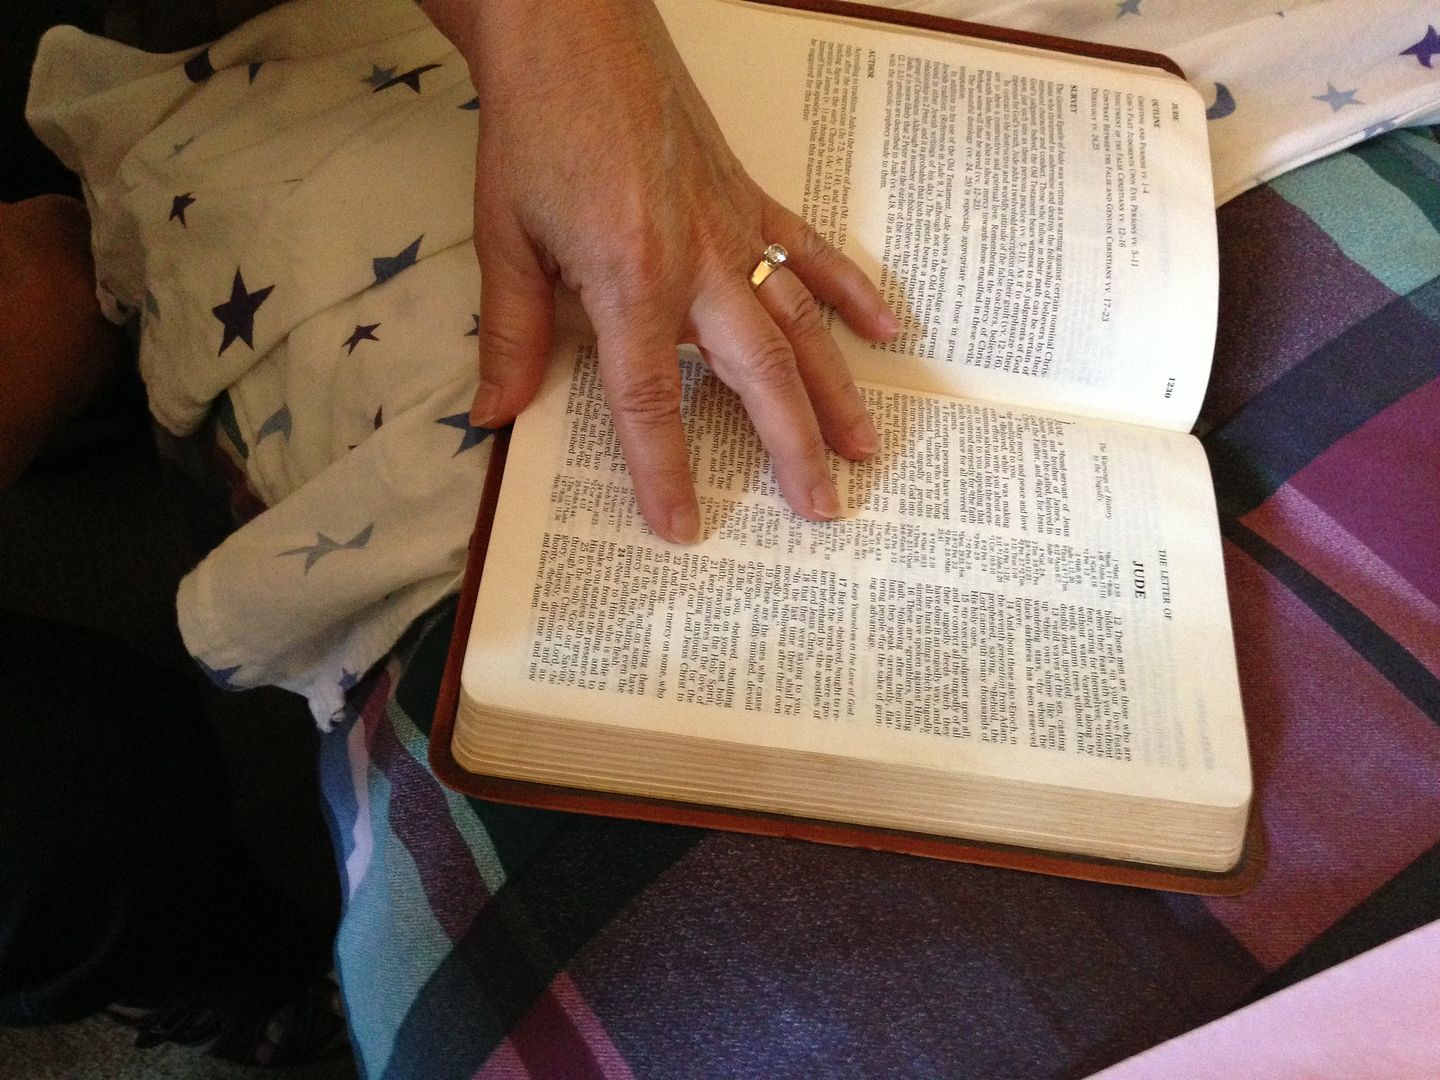
It was an evening of reminiscing about years gone by and we talked about my mom’s last days and how we had visited her for the last time in person in August of 2013. Laura remembered she had photos from that day on her phone and quickly found this next photo which brought back the memories of our mom wanting to share this portion of Jude with all of us. This is my hand next to the verses that were important to our mom to share.
Here is part of the post that I published on my blog in August of 2013, after our visit with our mom/Baba. Our mom was received in heaven by her Savior on September 13, 2013.
 After the beautiful wedding on Saturday we packed up and headed to my mom and pop’s apartment for a short visit before our flight home. We had a wonderful time around my mom’s hospital bed where she shared her favorite verses from the Bible with us with some added words of counsel. She was able to walk into the living area for a while to eat and watch the video of the wedding of grandson Caleb and sweet Marie that was recorded with my sister’s IPad during the wedding ceremony. By this point she had to go back to her bed and rest. Dear, Josh, Laura, Katie and I said our goodbyes knowing this would be the last time we would see her alive. Heavy…
Jude 17-25:
But you must remember, beloved, the predictions of the apostles of our Lord Jesus Christ. They said to you, “In the last time there will be scoffers, following their own ungodly passions.” It is these who cause divisions, worldly people, devoid of the Spirit.
But you, beloved, building yourselves up in your most holy faith and praying in the Holy Spirit, keep yourselves in the love of God, waiting for the mercy of our Lord Jesus Christ that leads to eternal life. and have mercy on those who doubt, save others by snatching them out of the fire; to others show mercy with fear, hating even the garment stained by flesh.
Now to him who is able to keep you from stumbling and to present you blameless before the presence of his glory with great joy, to the only God, our Savior, through Jesus Christ our Lord, be glory, majesty, dominion, and authority, before all time and now and forever, Amen.
It was a lovely way to end a day of joy celebrating our dear granddaughter and being celebrated by my dear family.
Thanks for surviving our 9th and 75th celebration!!