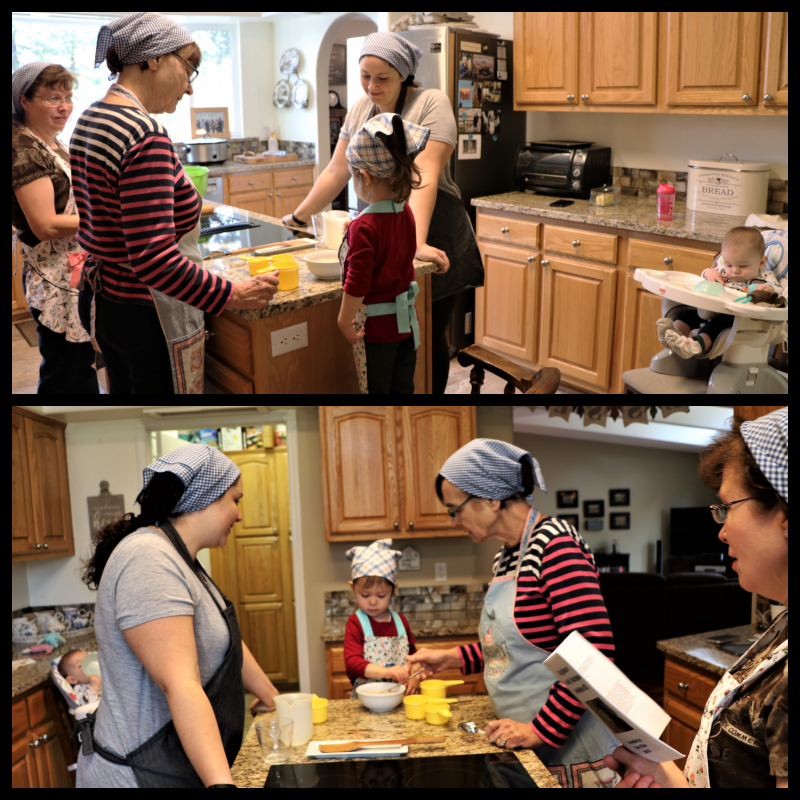
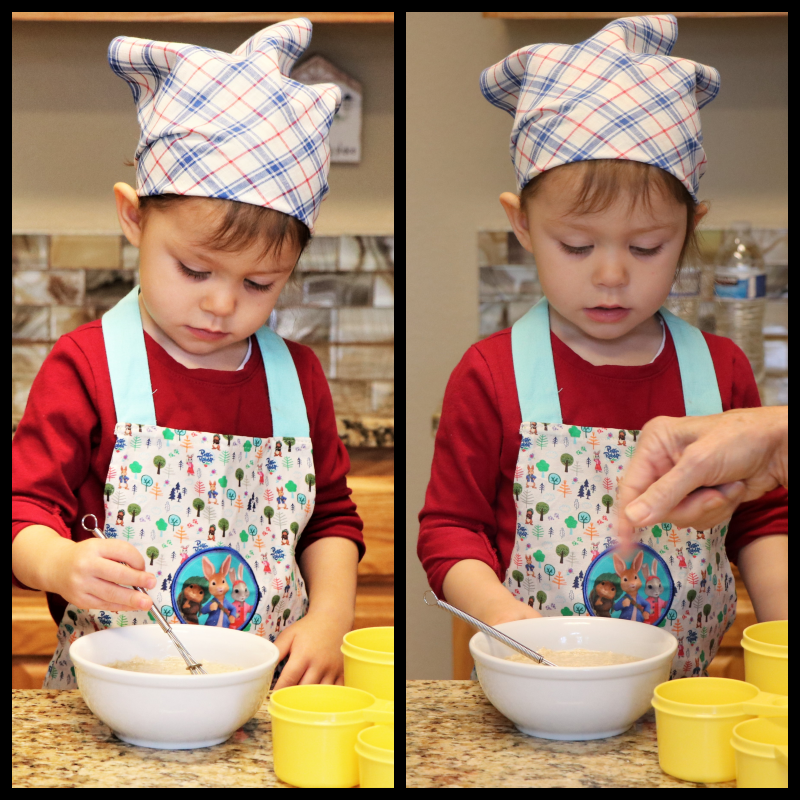
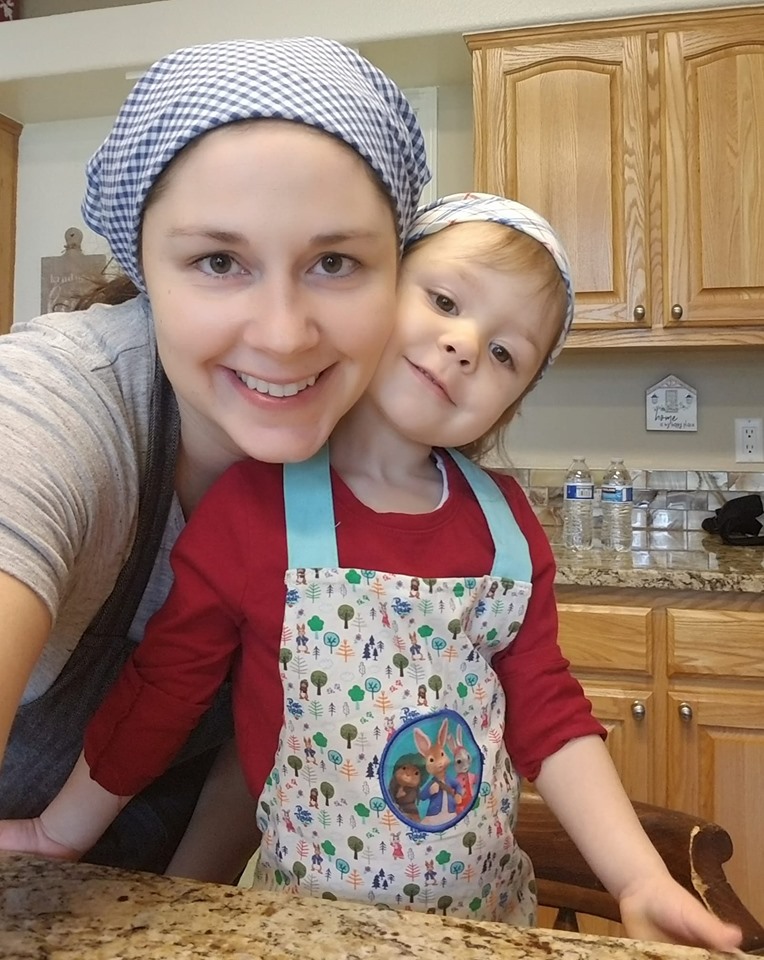
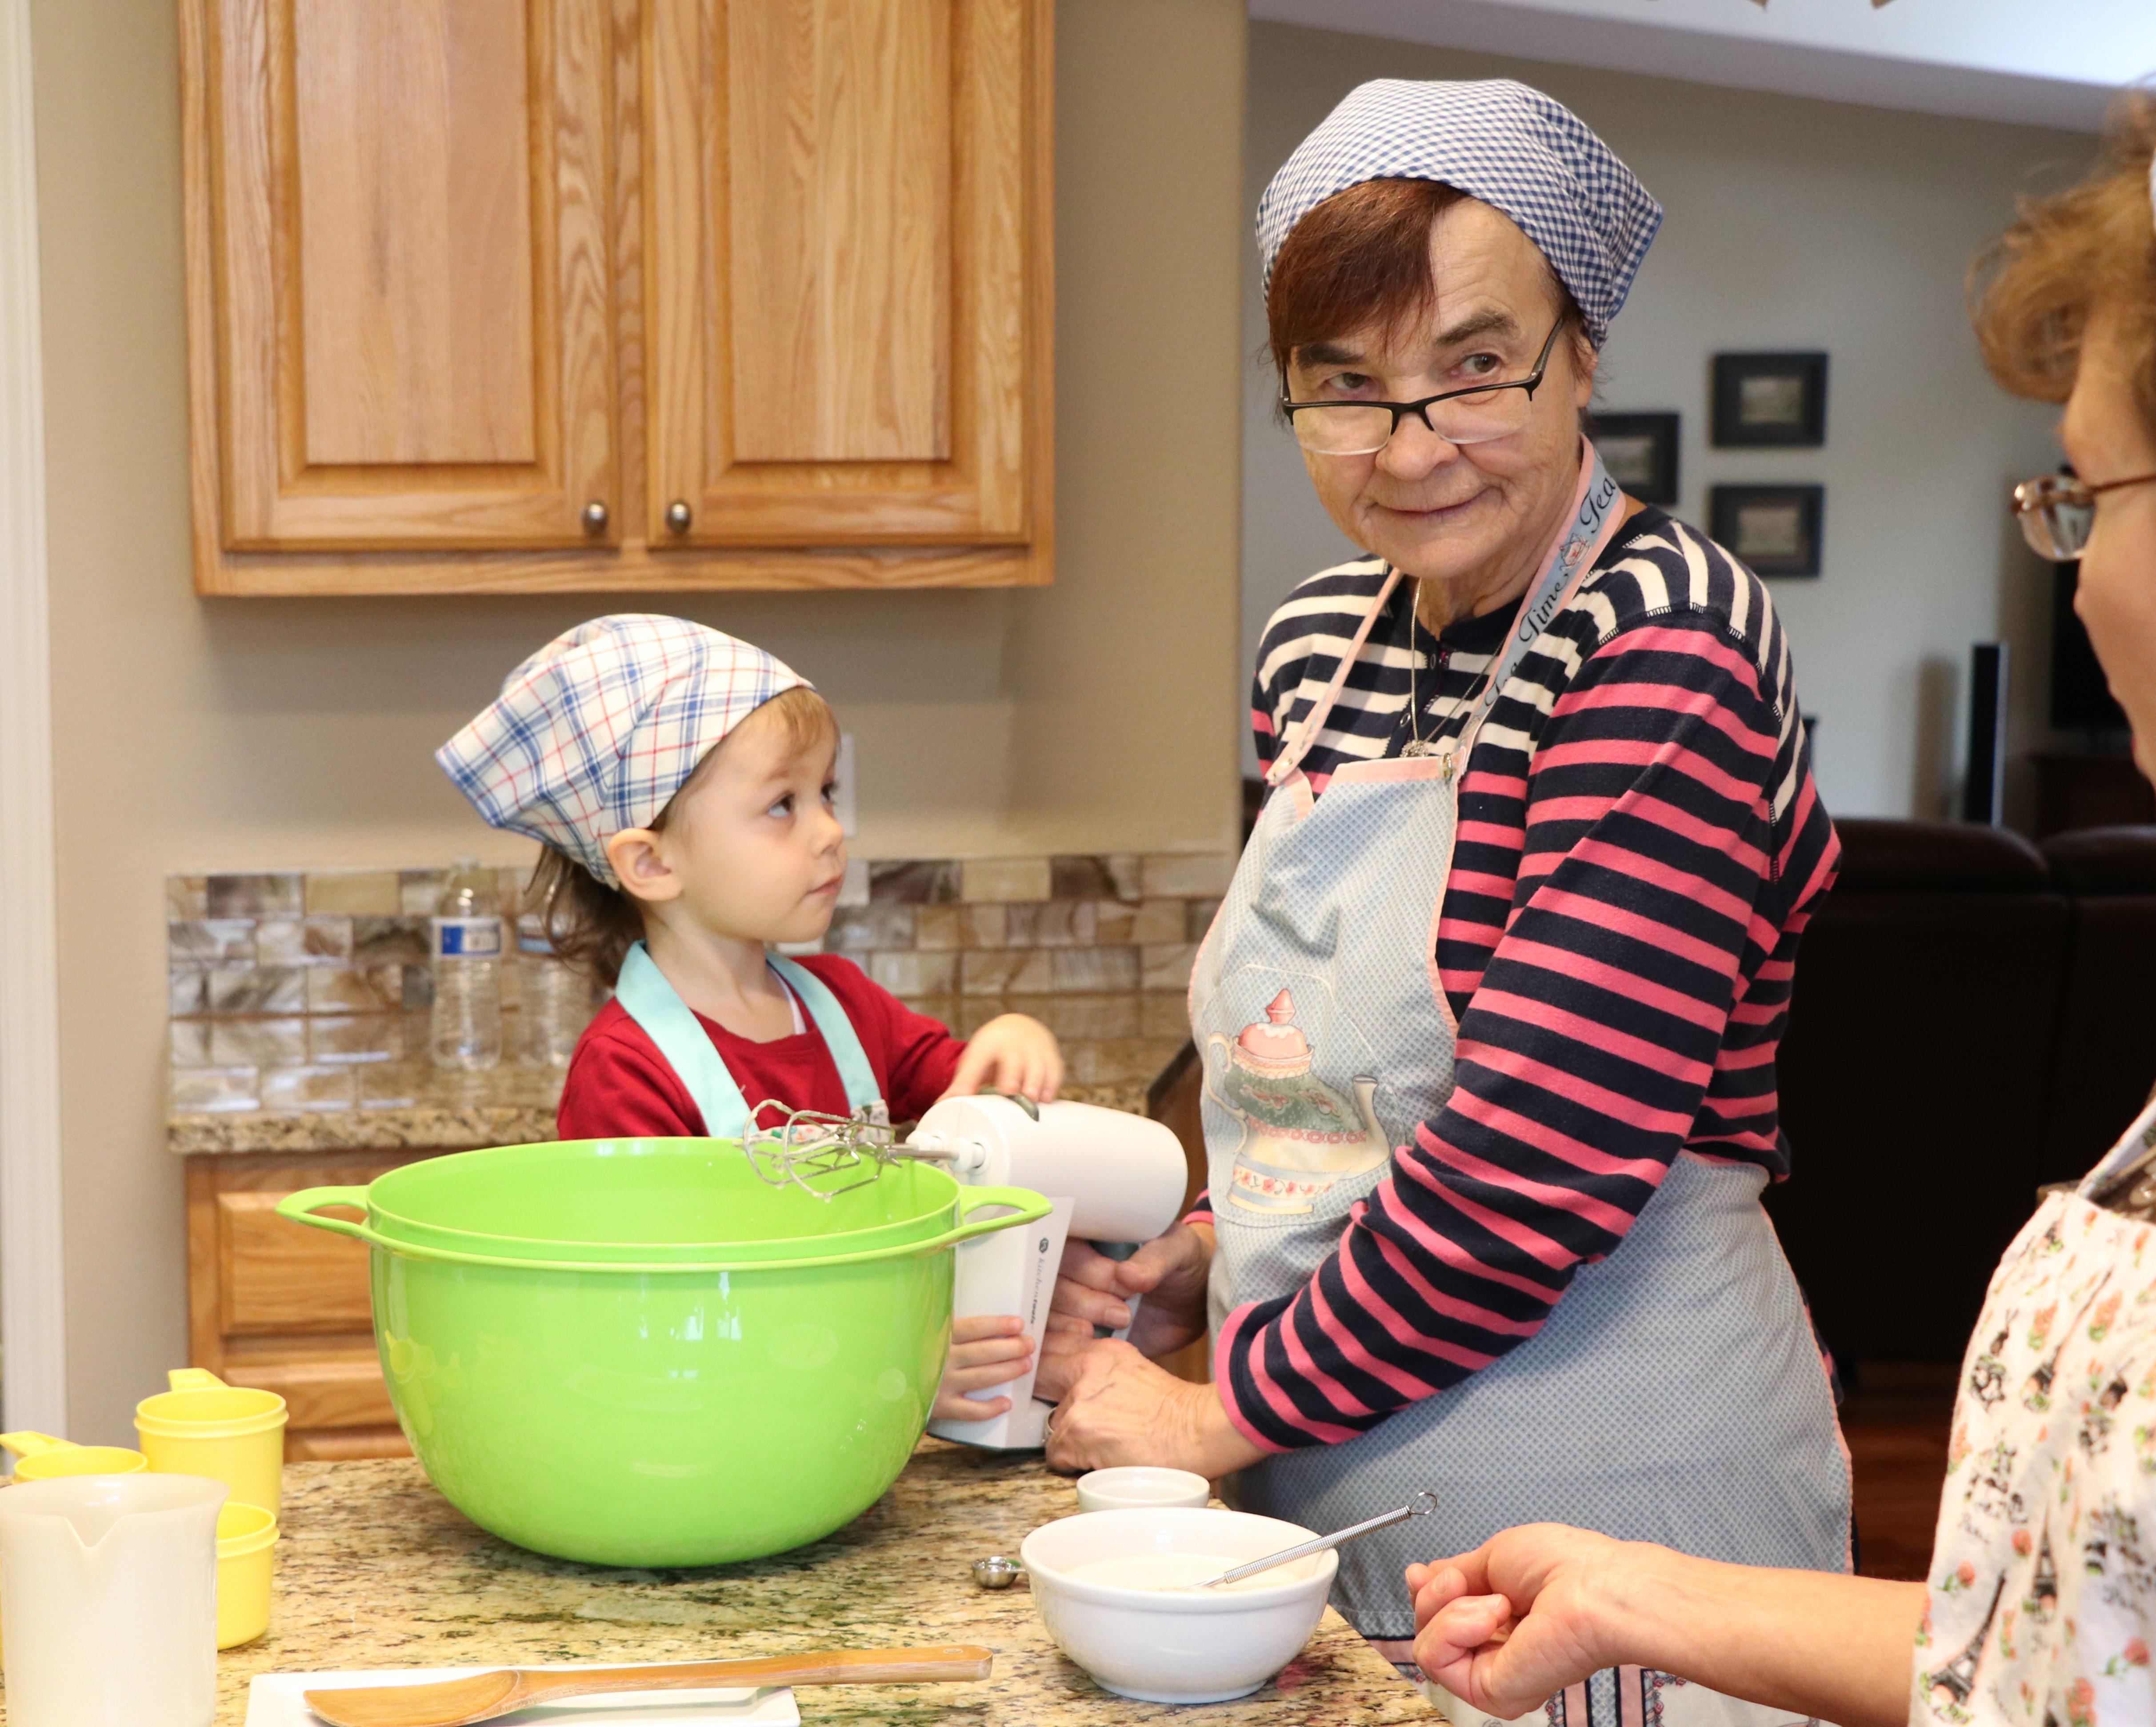
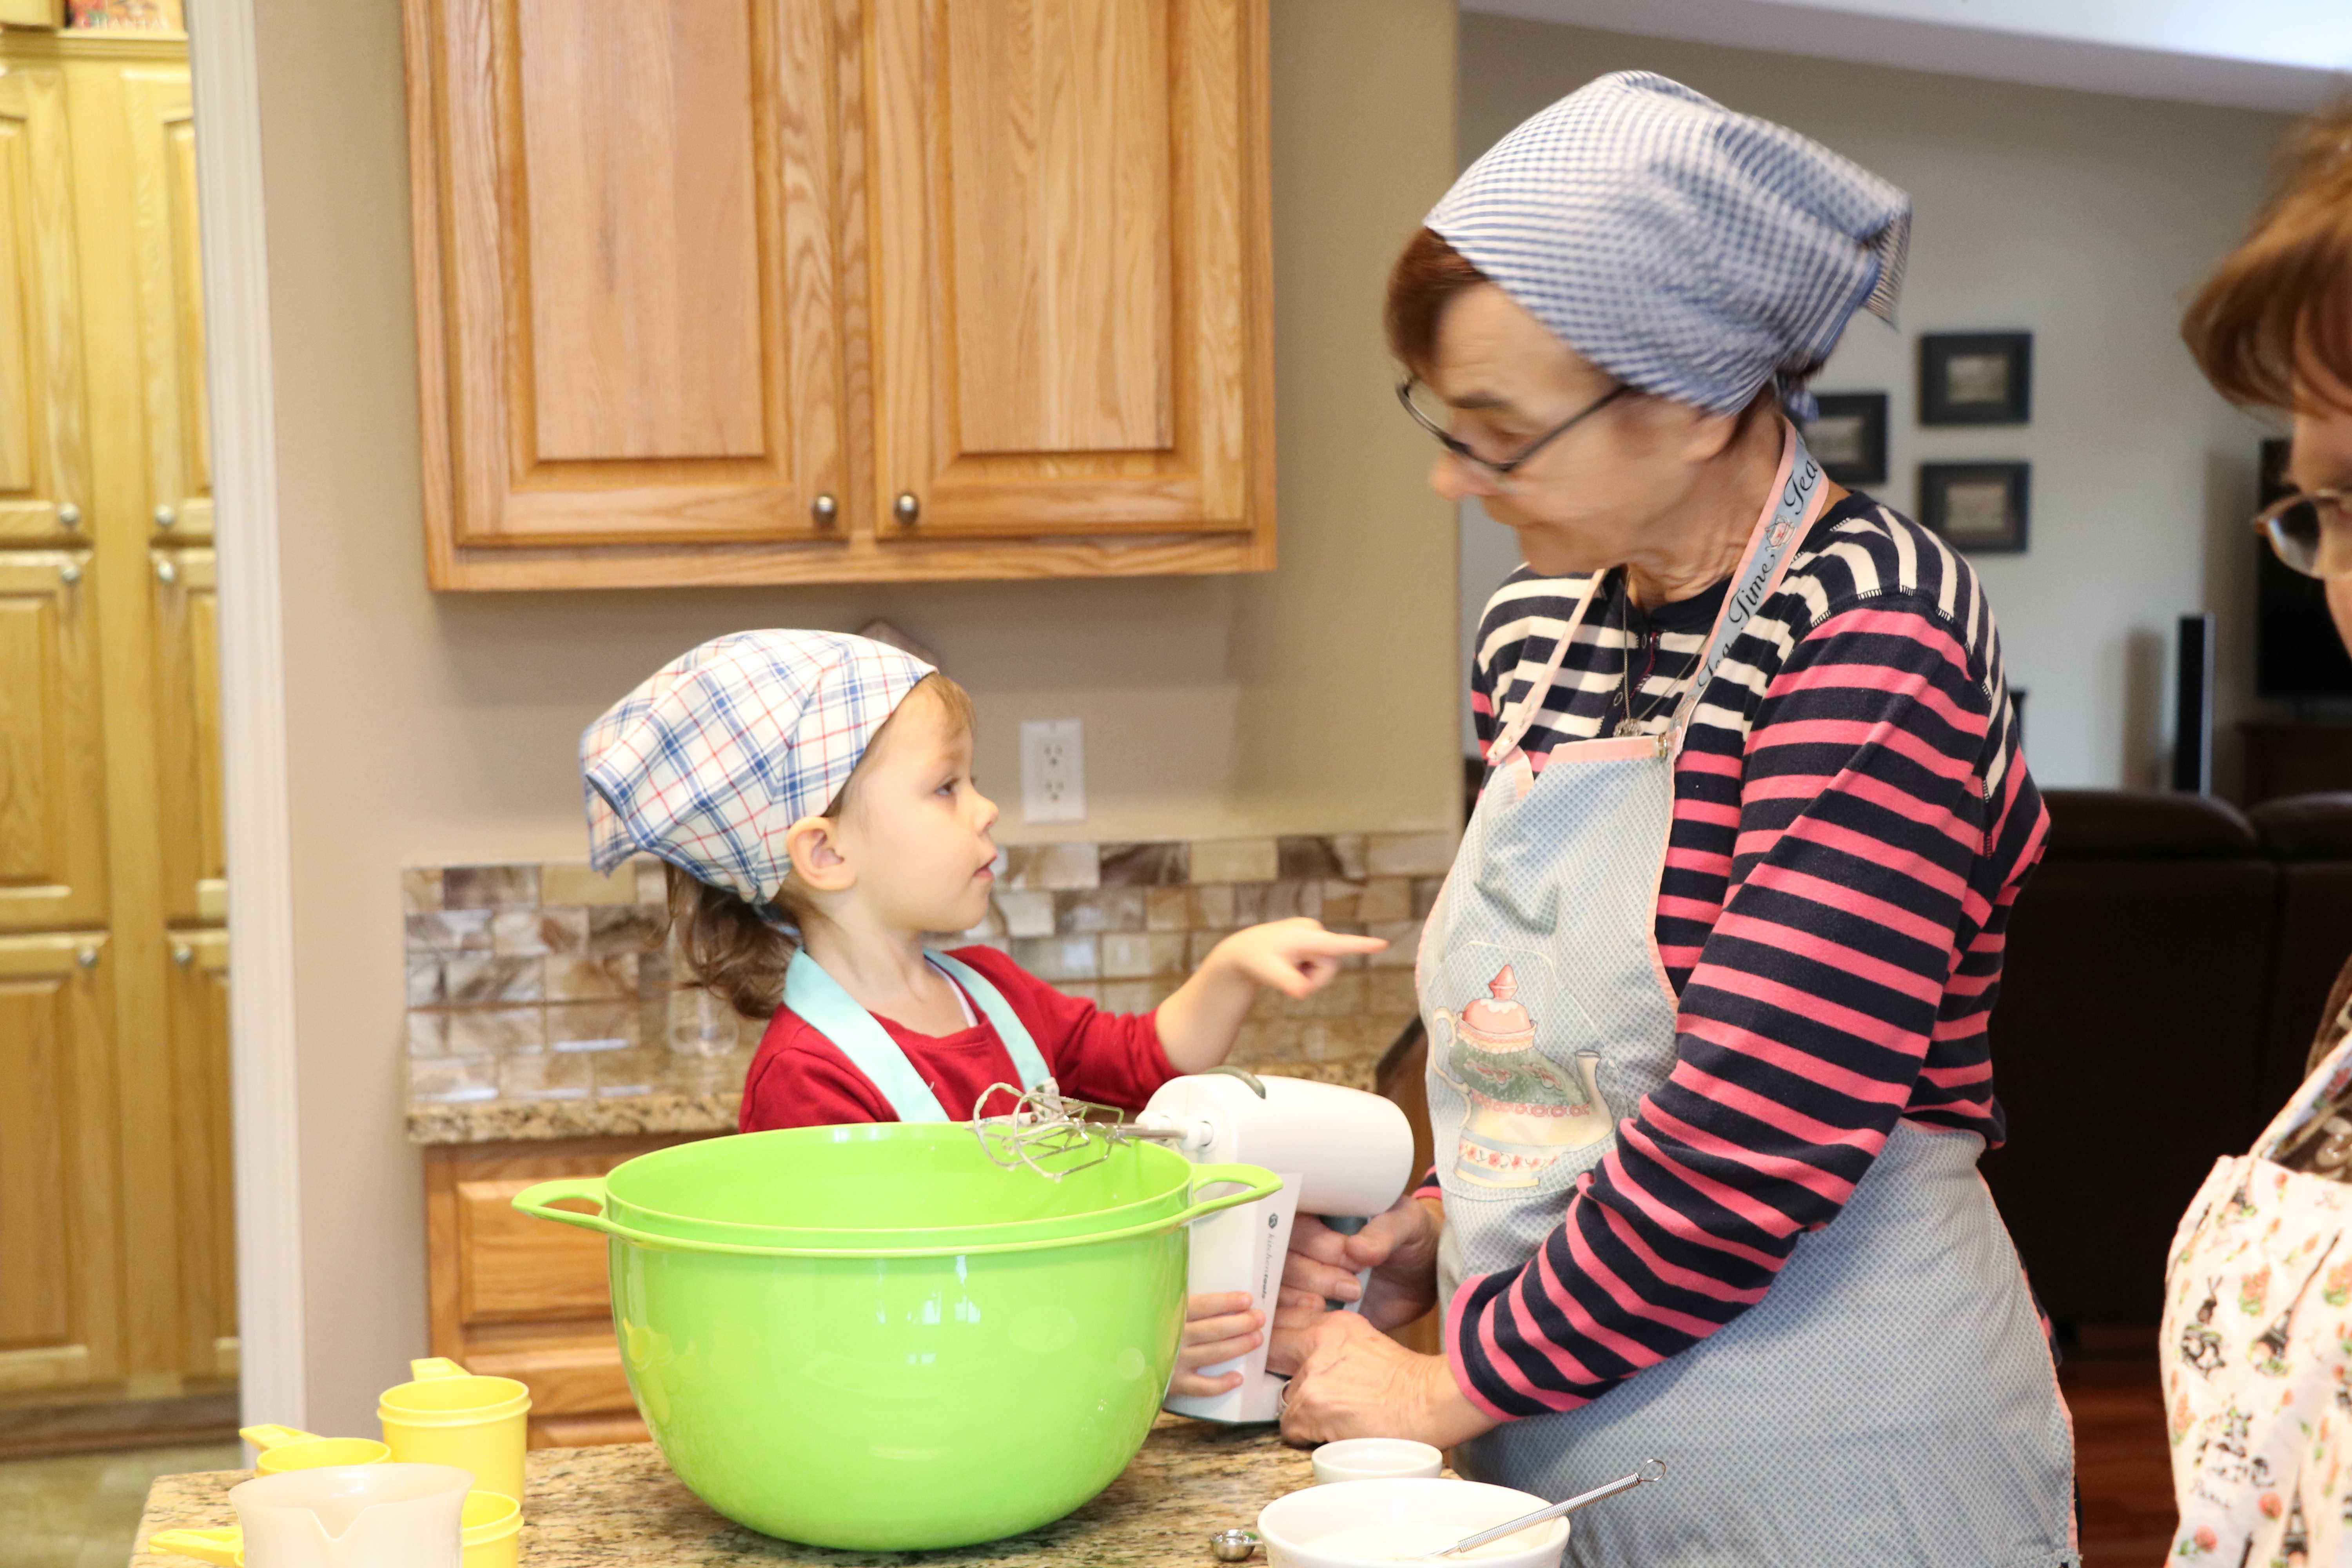
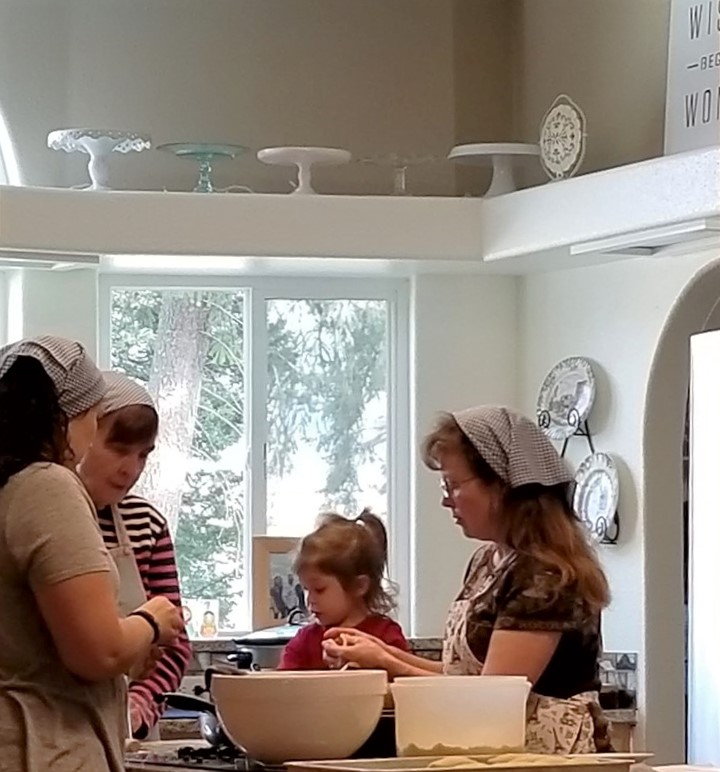
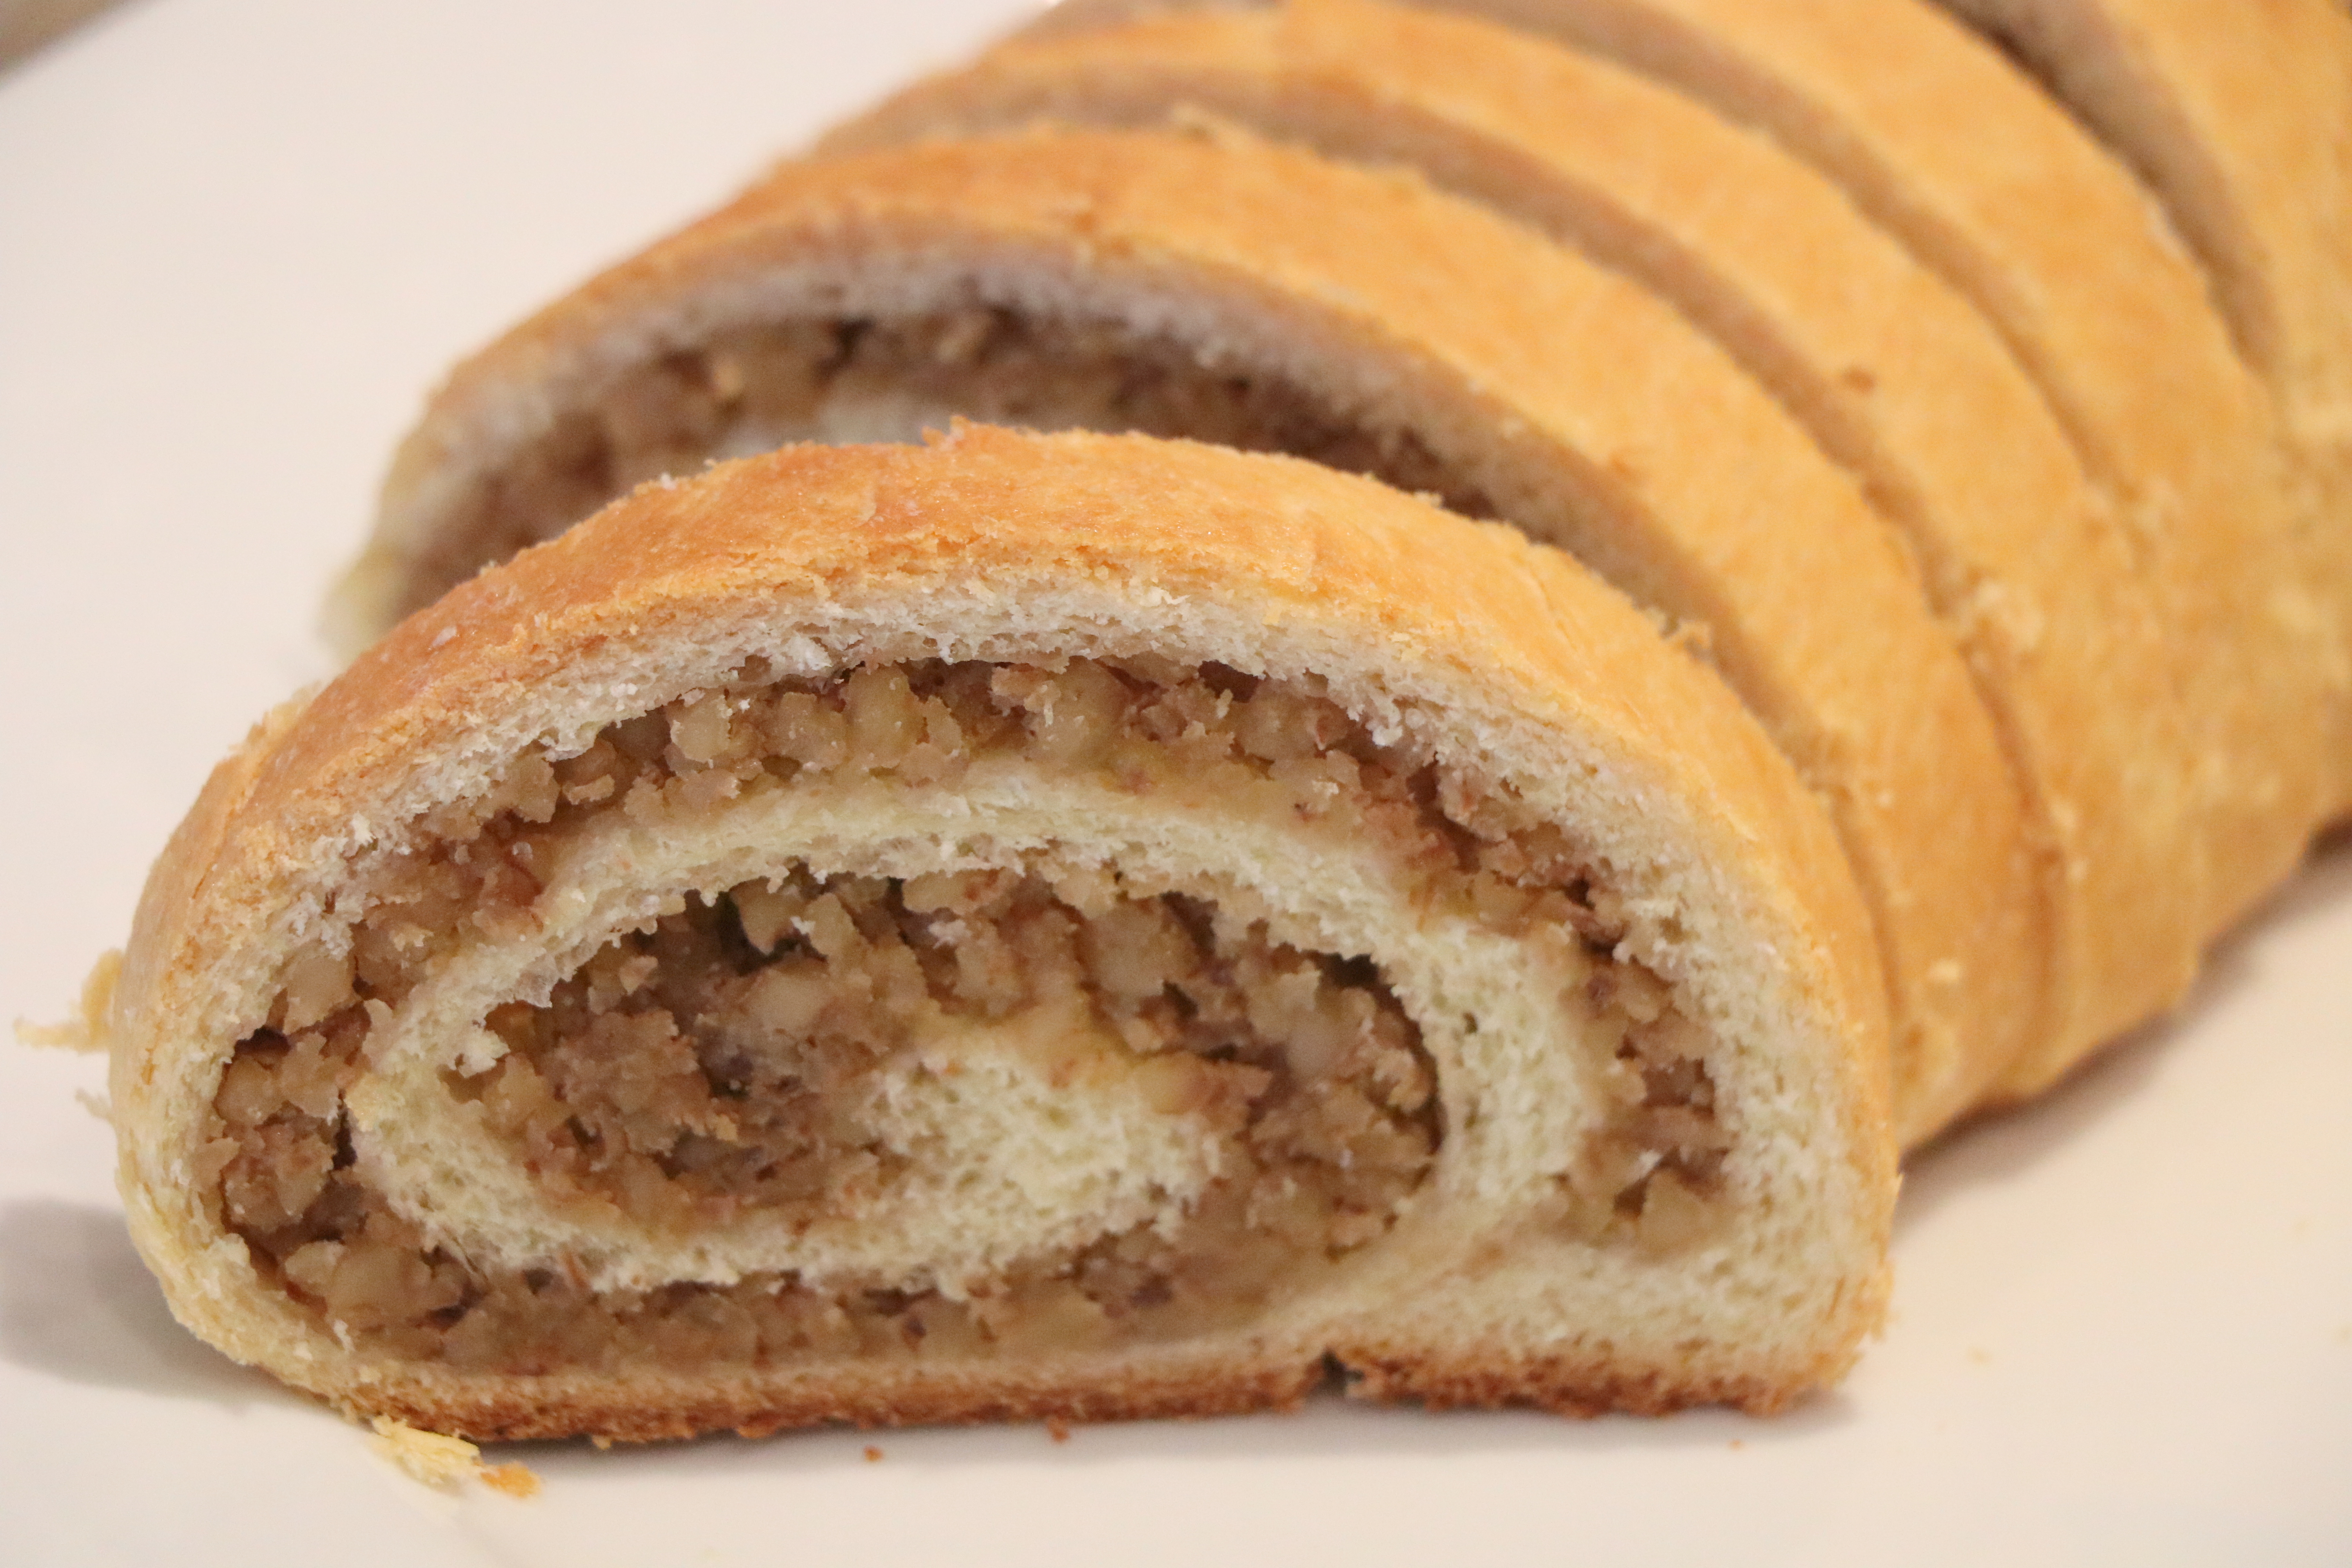
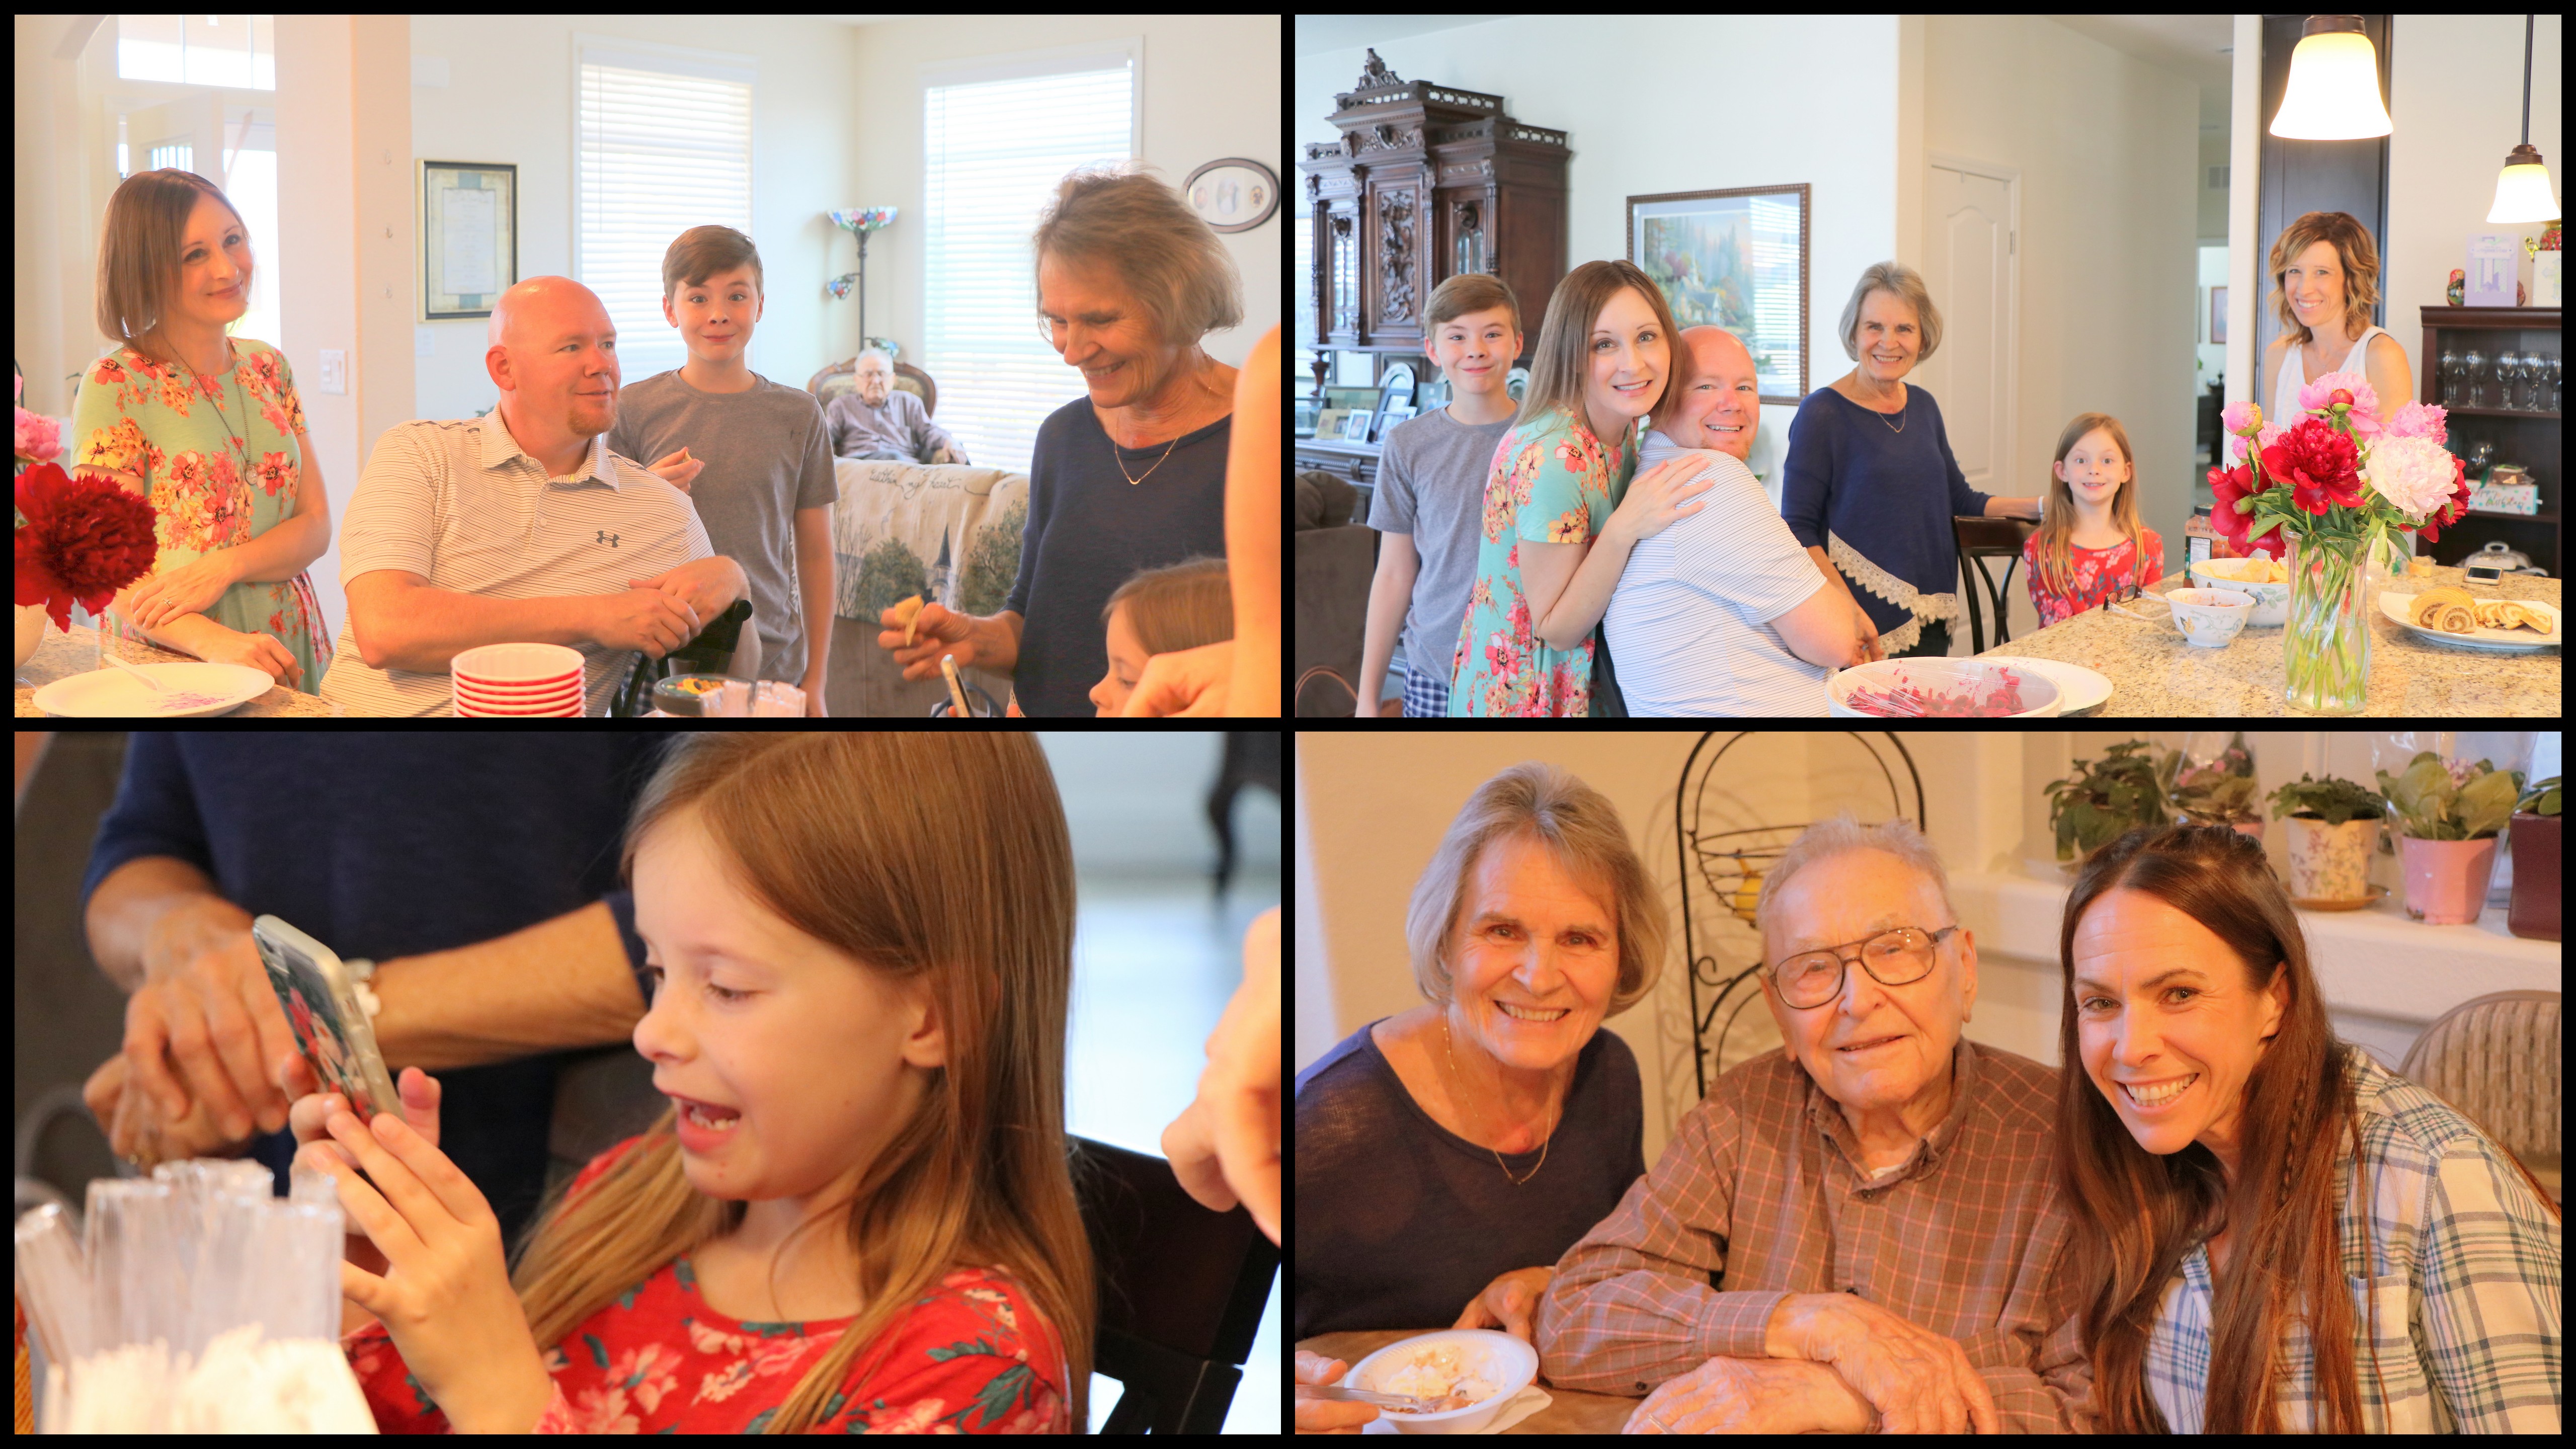
Piroshky are a Russian version of small hand held savory pies. They can also be filled with sweet fillings. Thank you to our sister Vera for watching our mom make these and writing down her recipe and then sharing it with all of us. Enjoy this Bagdanov Family Recipe.
Dough:
- 1 cup warm water
- 2 packages dry yeast
- 1 tablespoon sugar
- 2-1/2 cups buttermilk at room temperature
- 3 eggs
- 1/3 cup melted butter
- 1-1/2 teaspoons salt
- 1 cup sugar
- 10 cups flour (approximately)
Method:
- Dissolve yeast in the warm water and add the tablespoon of sugar, mixing well.
- Beat buttermilk, eggs, butter, salt, and 1 cup sugar in an extra large mixing bowl.
- Add yeast mixture that has proofed to the liquids and incorporate.
- Add flour a little at a time beating constantly until dough forms a ball and comes away from the bowl.
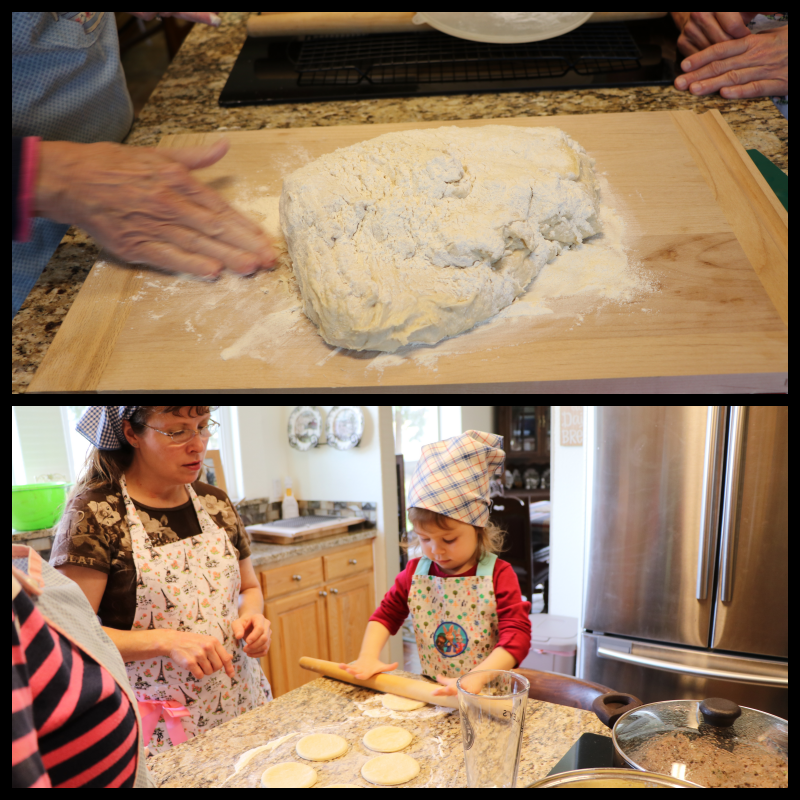
- Turn out dough onto a floured surface and knead well adding flour as needed until dough is smooth and not sticky, this can take 10 minutes.
- Form the dough into a dome and spread vegetable oil lightly on the surface of the dough and set the dough in a large bowl.
- Cover the bowl with a dishcloth and let it rise in a warm oven or warm spot away from drafts until it doubles in size.
- While dough is rising start preparing your fillings, filling ingredients are listed below.
- When the dough doubles in size punch down the dough and then let it rise again to about twice it’s size.
- Preheat oven to 350 degrees.
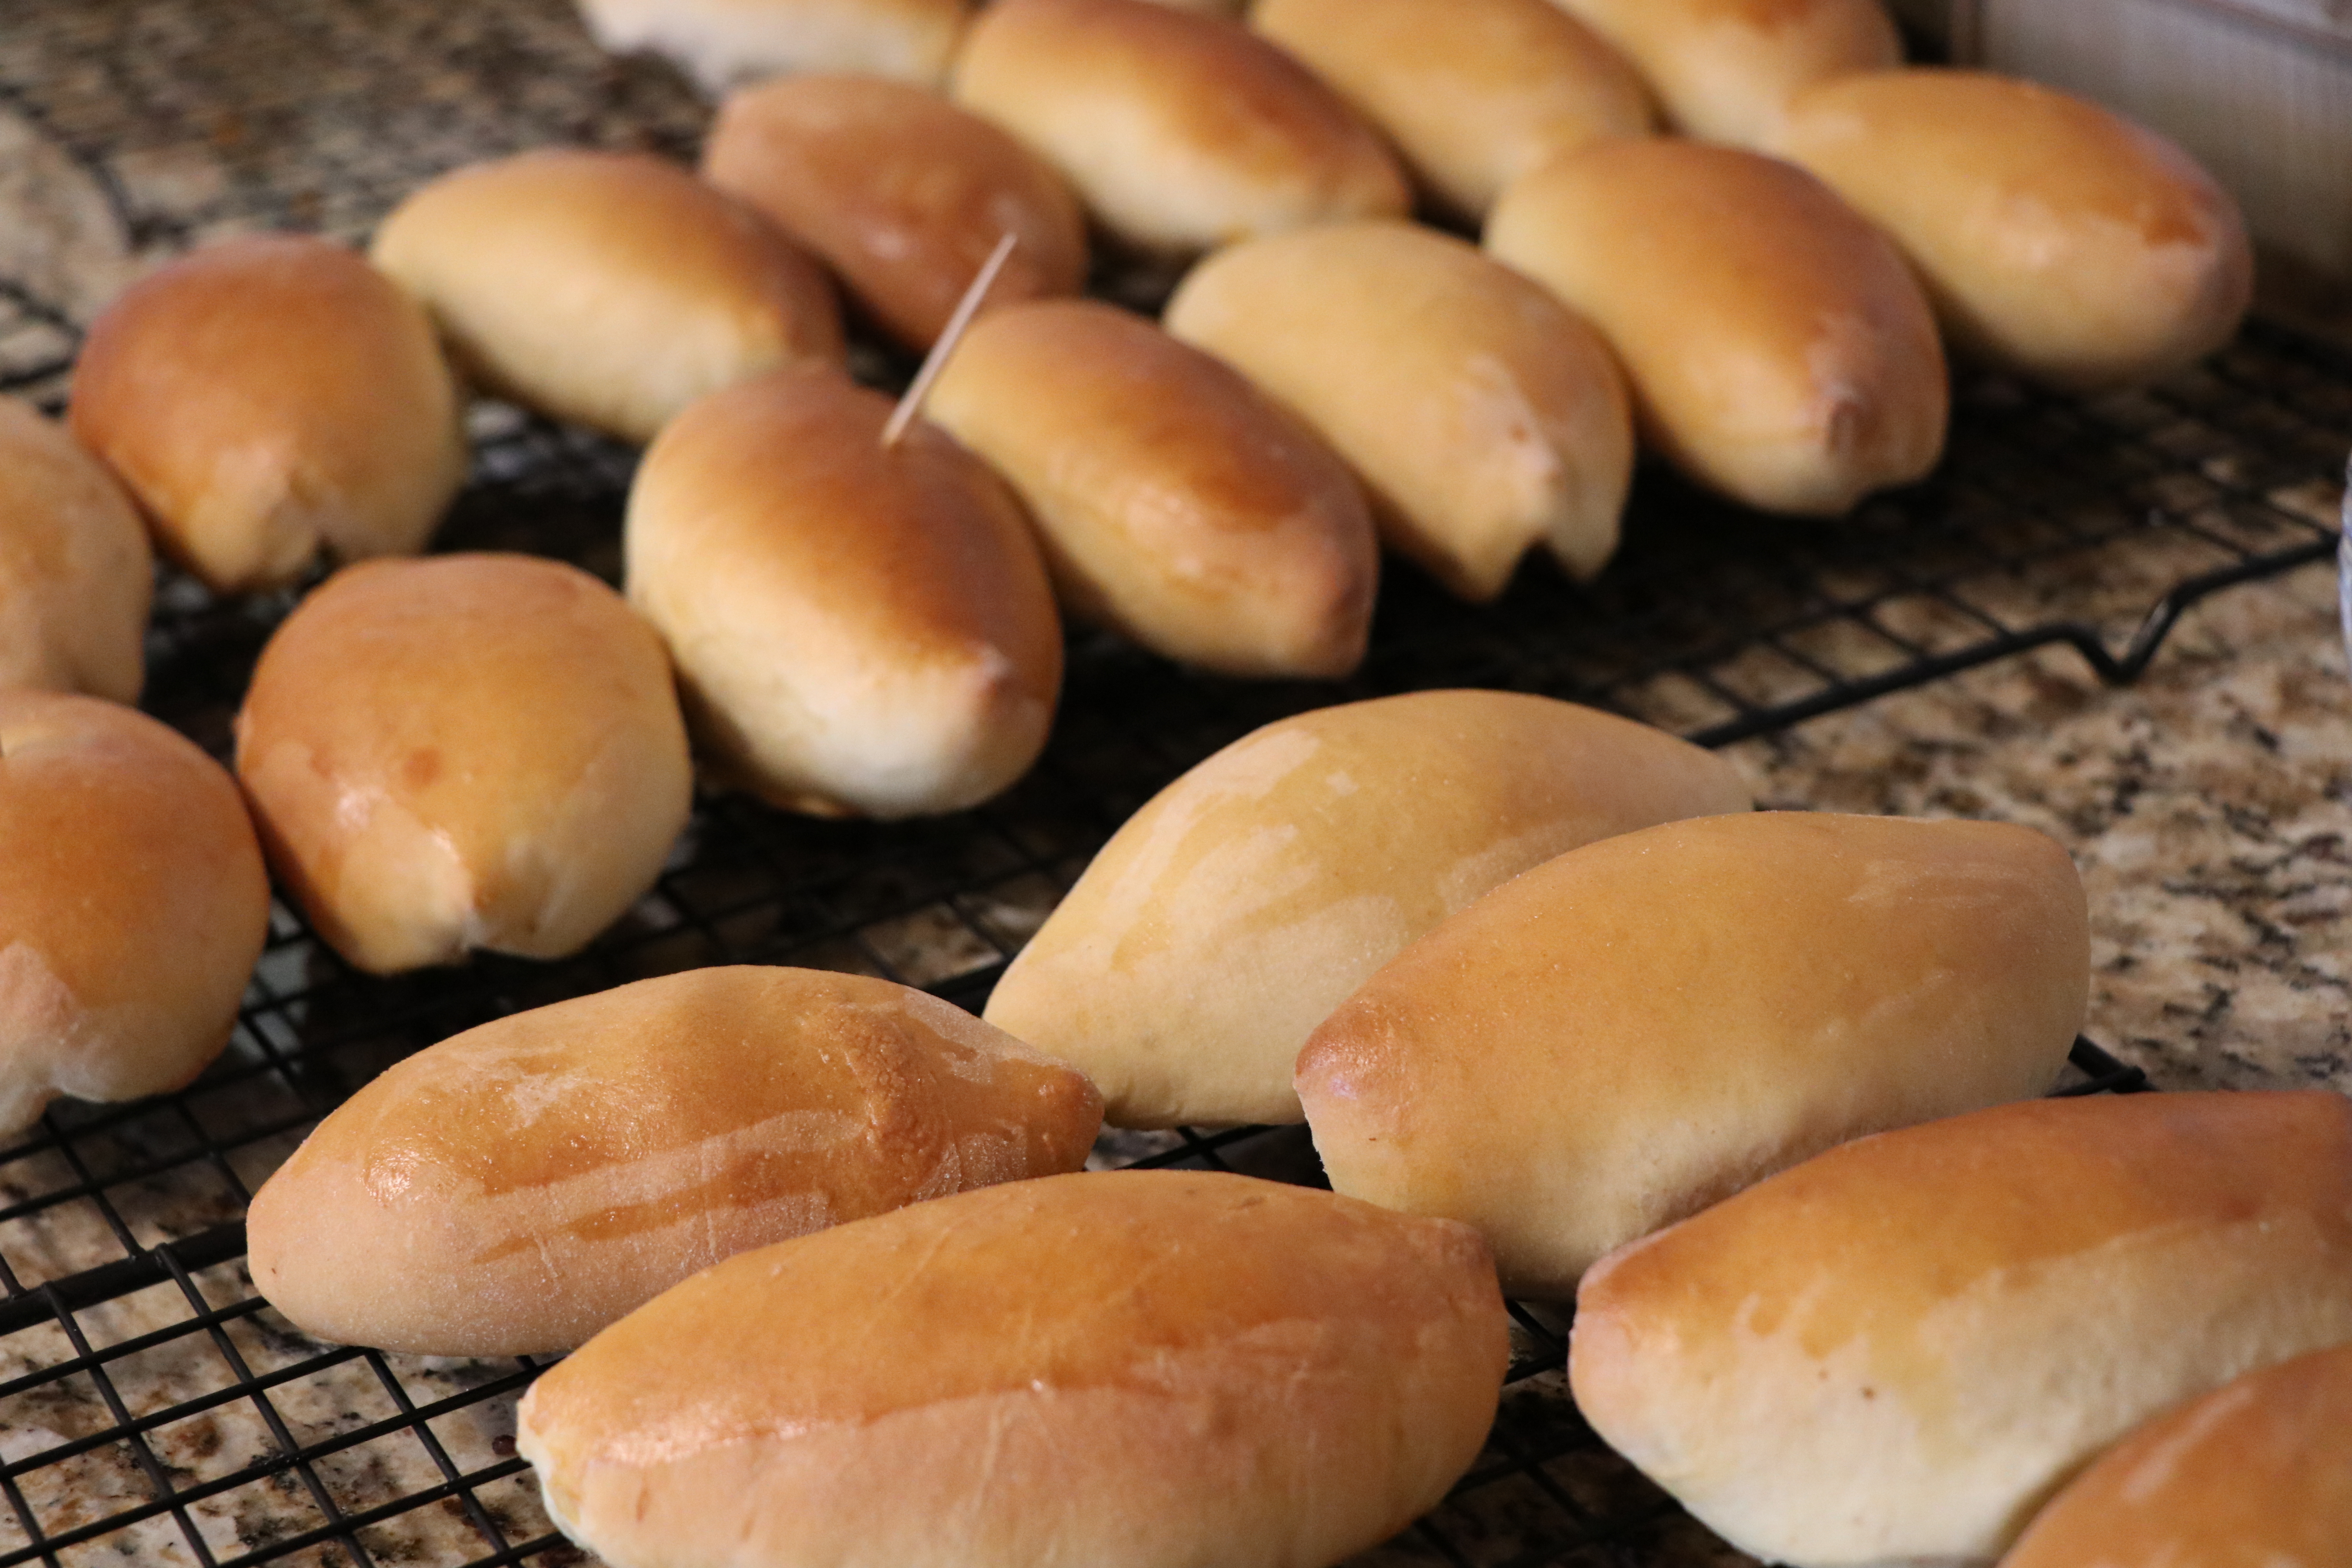
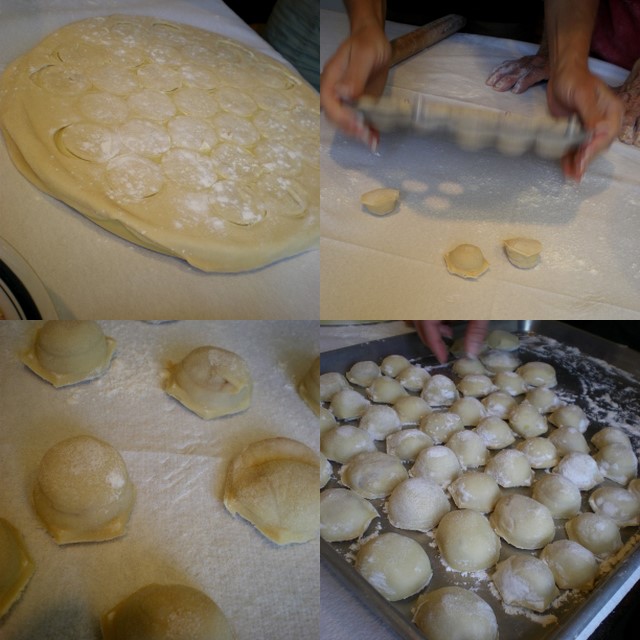
- Pull off small portions of the dough and on a floured surface roll the dough out to about 1/4 inch thickness.
- Cut 3 inch diameter circles of the dough, we used a large drinking glass with a 3 inch diameter as our dough cutter.
- Fill each circle of dough with about 1 tablespoon of filling in the center of the circle.
- Fold the circle over the filling and pinch the whole edge securely and firmly so the dough does not separate in the baking process.
- Place each filled portion sealed side down on a prepared baking sheet (prepared with cooking spray).
- Brush the tops evenly with a mixture of 1 beaten egg and 1 tablespoon of water.
- Let the filled Piroshky rise on the baking sheets another time for about 20 minutes before putting them in the oven.
- Bake at 350 degrees until golden brown (approximately 30-40 minutes).
Yield: Approximately 60-64 Piroshky
Fillings:
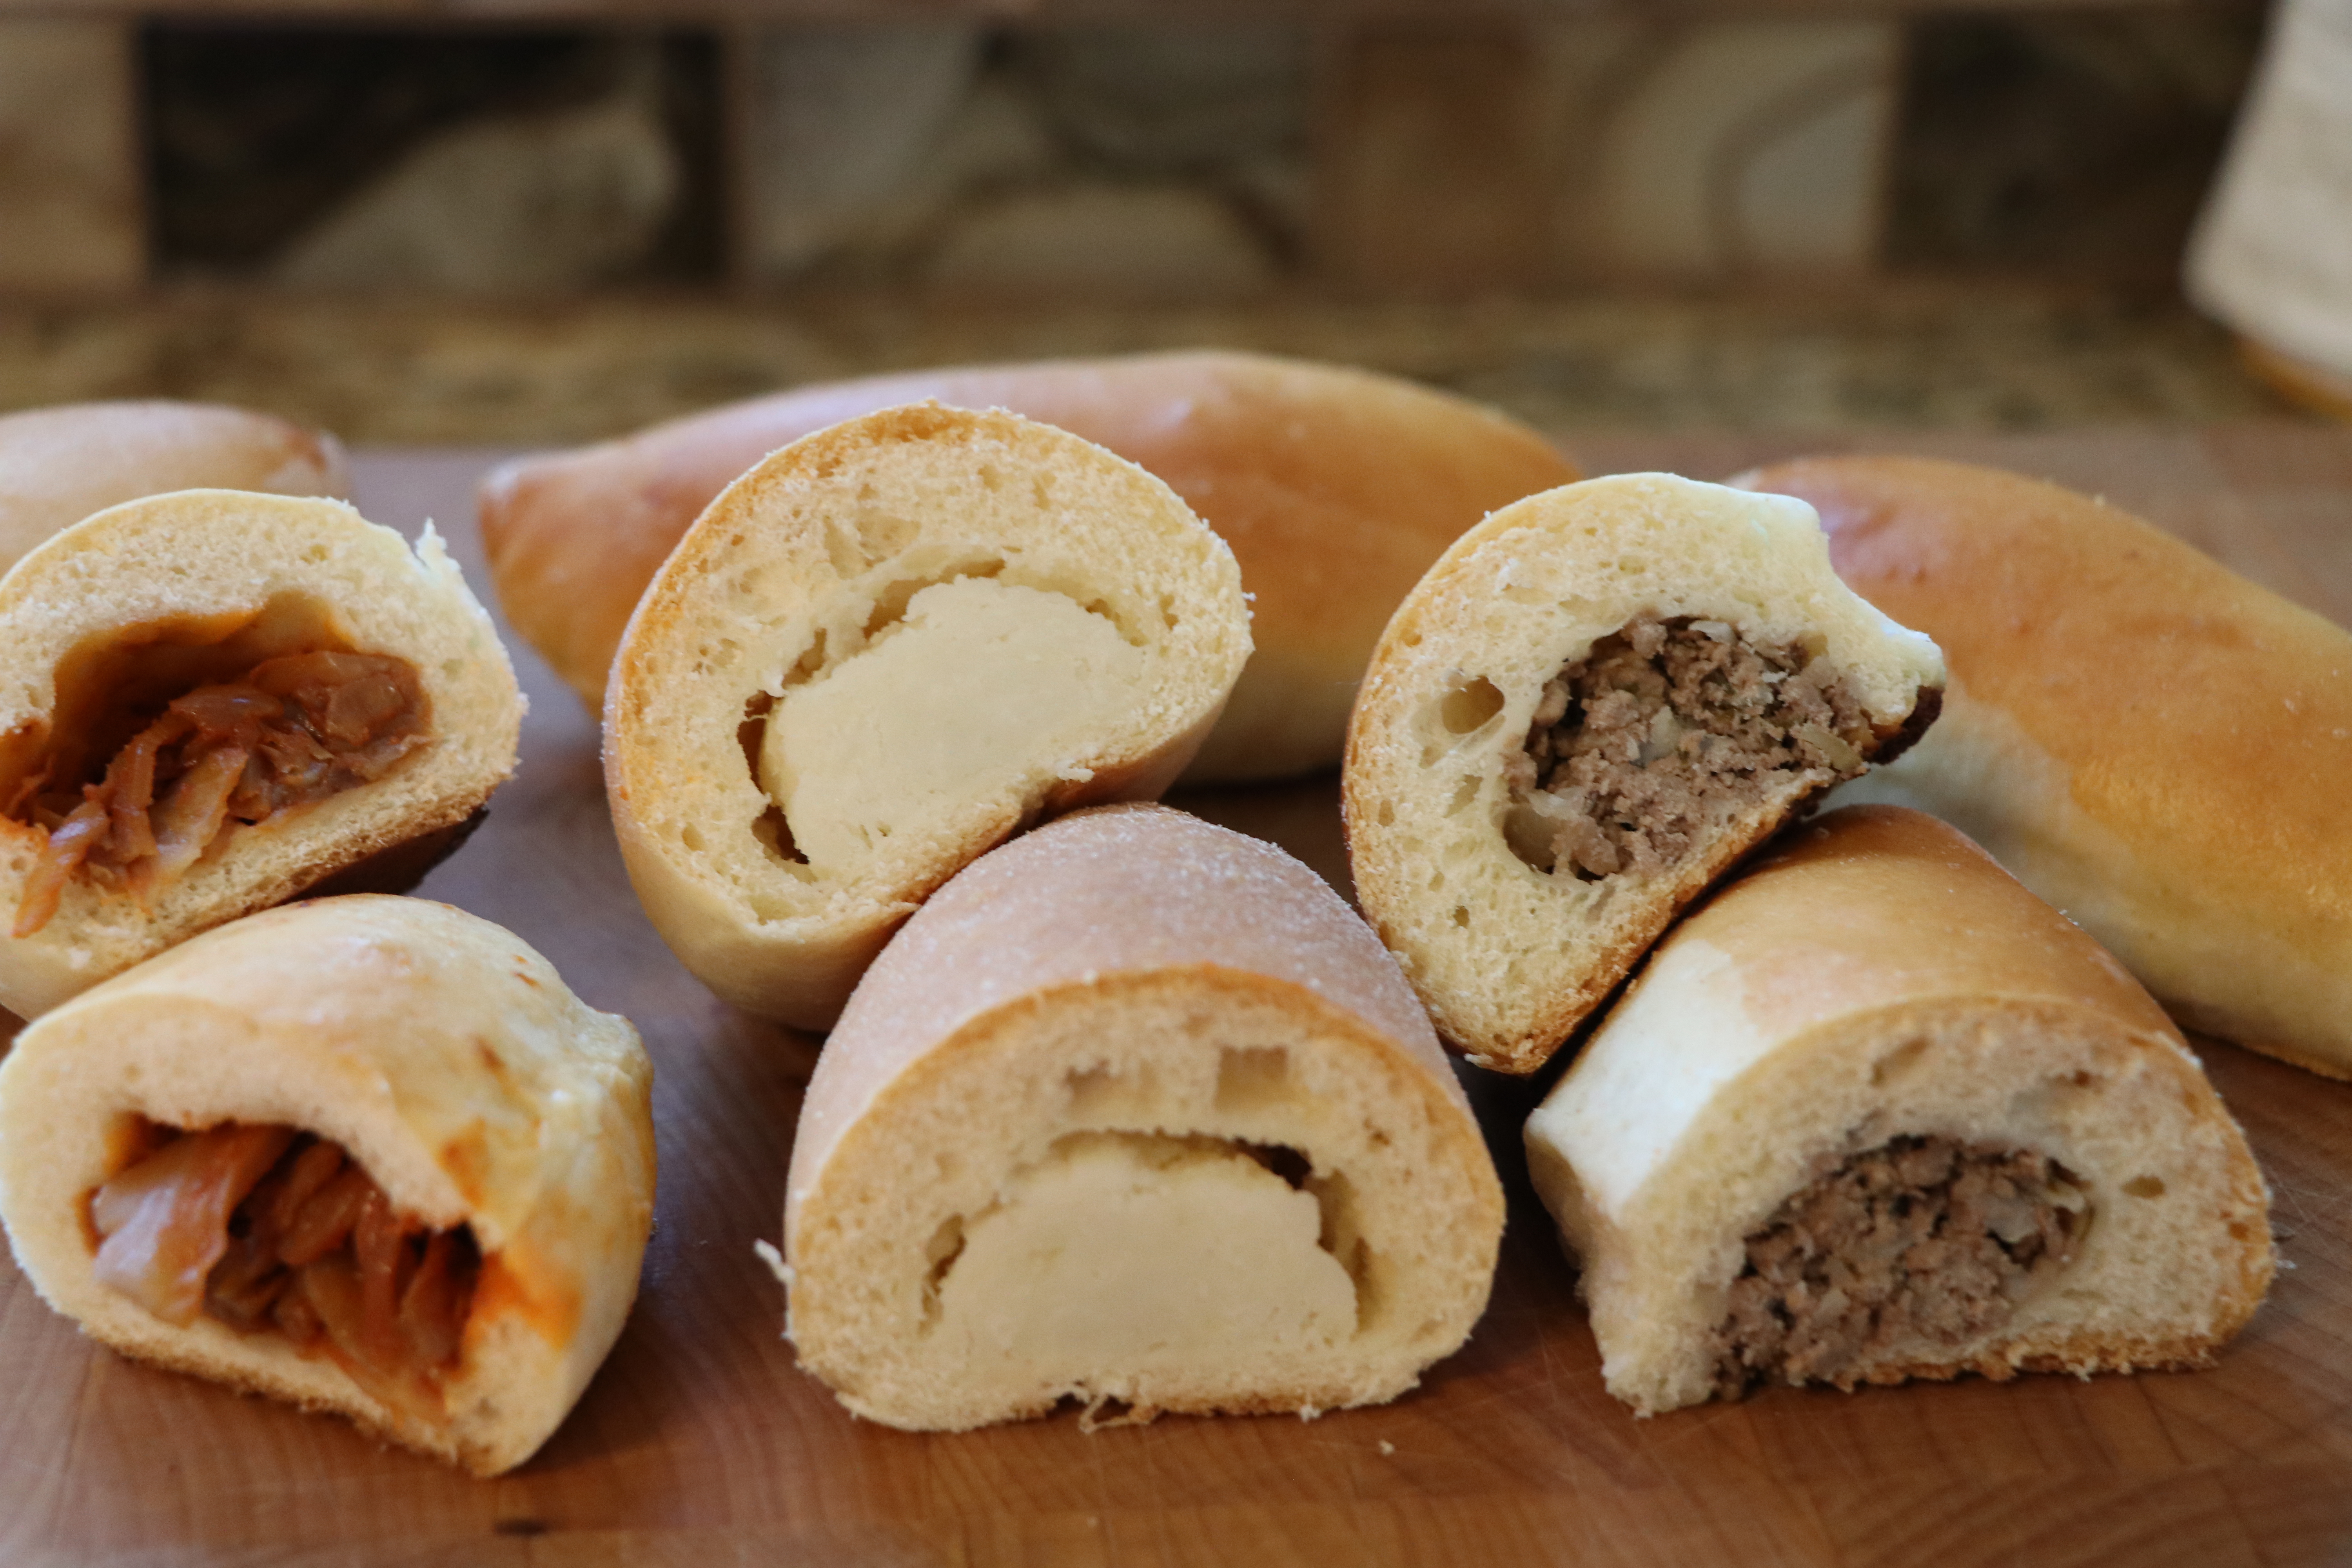
Ground Beef Filling:
- 2 pounds ground beef 15% to 20% fat content
- 1/2 onion diced
- 1 medium potato grated
- 1/2 package dry onion soup mix or substitute Montreal Steak Seasoning to taste
- 2 tablespoons fresh dill chopped
- salt and pepper to taste
- Saute onion and potato in vegetable oil until onion is translucent.
- Add remaining ingredients and cook until beef is fully cooked.
- Set aside until ready to fill dough circles.
Potato Filling:
- 2-4 russet potatoes, peeled and quartered
- Salt
- 1/2 onion grated
- 1 tablespoon vegetable oil
- 1 teaspoon onion salt
- Cook potatoes in salted water until soft.
- Saute onion in oil.
- Mash the potatoes with the onion salt.
- Add the sauteed onion to the potatoes and mix well.
- Set Aside.
Cabbage Filling:
- I head of cabbage, shredded
- 1 onion diced
- Vegetable Oil (approx 1 tablespoon)
- 1 teaspoon salt
- Tomato Paste (approximately 6 oz)
- 1 bay leaf
- Salt and Pepper to taste
- Saute onion until translucent in vegetable oil.
- Add cabbage, salt, pepper and bay leaf.
- Add enough tomato paste to get a good orange color to the mixture.
- Saute until the cabbage is cooked to a soft state.
- Taste and add seasonings if needed.
- Set aside until ready to fill dough circles.
Promise made and promise kept.
To see all the photos from our baking day click here.
Some of our family prefer the meat filled pies and the portion for the meat filling could fill 30 Piroshky. Because we used 3 fillings for this dough recipe we had enough of the hamburger filling left over to make easy noodle Stroganoff.


