Vinegrette ~ Russian Potato Salad

Although the Russian name for this salad is Vinegrette it shouldn’t be confused with the salad dressings called Vinaigrette. This was a traditional salad that we enjoyed growing up. It could be our version of potato salad. I’m sharing an easier version using canned beets but you can also cook and julienne your own beets. The photo is my sister Lana’s.

Ingredients:

  • 2 cans (15oz.) julienne beets (partly drained)
  • 2 cans (15oz.) kidney beans (drained well)
  • 3/4 – 1 cup sauerkraut (drained and squeezed)
  • 3 boiled potatoes
  • 3 large kosher dill pickles, diced
  • 1/4 onion, grated
  • vegetable oil
  • salt and pepper to taste
  • pickle juice from the jarred dill pickles

Method:

  1. Dice potatoes while warm then salt and coat with oil and chill.
  2. Once the potatoes are chilled add the remaining ingredients and toss to combine, add enough pickle juice to taste.
  3. Chill until ready to serve.
  4. Serves 8-16

Our family prefers using the Clausen Dill Pickles found in the refrigerator section. You will find some versions of this Russian salad using carrots and not kidney beans. This is the version our family has always enjoyed.

I’m making this salad for an event here on Sunday for our vegetarian friends who will be attending.

Taking Time for the Hodgepodge

This past weekend we celebrated Addy’s 5th birthday on Saturday and my belated birthday on Sunday since our whole family was together. Addy loaned me her birthday crown for my celebration. She’s wearing her queenly outfit that her Granny bought her for her birthday. Her favorite color right now is yellow.

Jo From This Side of the Pond has some timely questions for the Hodgpodge this week. Click over to join in the fun.

1. What’s something you never seem to have enough time for? 

Being retired, I have a lot of time to do a lot of things. It’s a lie that convinces me I don’t have time. It’s an excuse. Getting my heart behind something I need to do is the struggle. The thing that is the biggest struggle for me is consistency with exercise. I should be getting my heart rate up everyday with a 30 minute cardio workout. That ‘not enough time’ excuse is really time I wasted away doing something else that isn’t as important.

I’ve done a simple exercise in the past to show just how much I can accomplish in 15-20 minutes time. Set a timer for 15 or 20 minutes and get after a task you have been putting off. You’ll be amazed at how much you can accomplish in that time. Do that once an hour for 8 hours in a day and you’ll really be impressed with your accomplishments.

2. If you could turn back time and relive just one day in your life, which day would you choose and why? 

Truthfully I wouldn’t want to relive any day just as it was. I’d want to go back with what I know now and improve on the day by being totally there, relaxed, aware of what was going on around me, engaged and content.

3. Something you enjoy making that takes a long time to prepare/cook? 

Blintzes or what some call crepes. First we make the blintzes and then we fill them, roll them with either savory or sweet fillings and bake them to enjoy, with a crowd.

You can see the process and recipe by clicking here.

4. A time recently where you needed/gave yourself a ‘time out’? How do you do that? 

I give myself a ‘time out’ at least once a week. I choose a day that is event free and stay in my robe for most of the morning. When there isn’t a scheduled event in a day it is a most relaxing day for me even if I end up doing a project or two or three with no time limits or deadlines.

5. Something you’ve done recently that you’d describe as a ‘good time’? 

This past weekend all of our kids were together and that’s always a good time. We ate together, partied together, went to church together, listened to each other commiserating with one another, laughed together, and prayed everyone back home safely.

6. Insert your own random thought here. 

Our dear granddaughter Addy turned 5 this past weekend and we celebrated her with a wonderful Tea Party that her mom put together.

Addy’s mommy made the cake and in the next photo you’ll see the teapot pinata she made with Addy getting the first blows in to try and break it open for all the treats that were inside!

Full Tea Party post is here.

Happy Hodgepodge everyone. Thank you for taking the time to stop by and scroll through my post. I appreciate it!


Apple Pirog

In the Russian community I grew up in we called our sweet and savory sheets of yeast dough baked and filled with fruit or cabbage or meat, Pirog пиро́г (make sure to roll the r when you pronounce it).

This recipe will make enough dough for 2 small cookie sheet sized pastries. You can cut the recipe in half if you aren’t feeding a crowd or giving some away.

Dough Ingredients:

1/2 cup warm water
2 packages yeast (each packet is approx. 2-1/4 teaspoons yeast)
1 tablespoon sugar
2 cups sour cream
1/2 cup soft butter
1 cup sugar
2 eggs
2 teaspoons salt
Approx. 6 cups flour

Method:

Preheat oven to 350 degrees.
Dissolve yeast in warm water with the 1 tablespoon sugar.
Warm the sour cream carefully to lukewarm.
Mix the sour cream, butter, sugar, eggs, salt, and yeast mixture.
Start adding the flour 1 cup at a time till all mixed in and your dough comes away from the bowl and starts to form a ball. You might need a little more than 6 cups of flour.
Knead the dough on a floured surface.
Place the dough in a bowl in a warm place away from draft and let it rise twice punching in between rises, this could take up to 2 hours.
Divide the dough in half. Work with one half at a time if you are filling 2 small cookie sheets.
On a floured board or surface roll the dough out to the size of your small cookie sheet (approx. 15-1/2 x 10-1/2 x 1) The dough should be 1/4-1/2 inch thickness.
Carefully transfer the dough to the prepared cookie sheet (greased) and pat the dough down to fit to the edges and up the edges.
Fill the prepared dough with your choice of filling.
Bake in 350 degree oven for 40 minutes or until dough is a golden brown.
Cool before cutting in small portions and serving.

Filling:
4 cups fruit – fresh, previously frozen, or canned
1 cup sugar
4 Tablespoons corn starch

Bring all the ingredients to a boil and then let cool before spreading evenly over the dough.
I added nuts on top of the filling but that is optional.
I used apple slices that I chopped into bite sized pieces.
*This filling recipe was enough for one cookie sheet of the dough. Double it if making 2 cookie sheets.

*If your canned fruit has sugar added you could omit the 1 cup of sugar and just add the corn starch.


I had some roasted pecans and decided to sprinkle them on top before baking the Pirog пиро́г.

 The finished product. I’m a novice at baking with yeast doughs and kneading dough but slowly but surely I’m practicing my way into a comfort zone to try these recipes my mom made for larger gatherings. I’ll share some of her savory Pirog recipes in the future using a slightly different dough recipe. My mom’s Pirog usually had another layer of dough on top of the filling that was pinched to the bottom layer of dough. Then you would cut decorative slits on the upper dough before baking. She also made more decorative tops like you would on a pie with zig zag designs. 

I’m sorry that I never took photos of our mom’s creations.

My sister Vera sent me this photo of her pirog that she added the top to. Thank you Vera! This sheet pie/pirog was made with Apricot filling. Vera also made the apricot filling.

Common Cents Hodgepodge

Bible 002

Wednesday has popped up again so time for the Hodgepodge. Jo From This Side of the Pond asks the timely questions and we take a stab at answering them. Thank you Jo!

1. This week’s Hodgepodge lands on Ash Wednesday which signals the beginning of Lent. Do you mark this season in some way? If so tell us more.

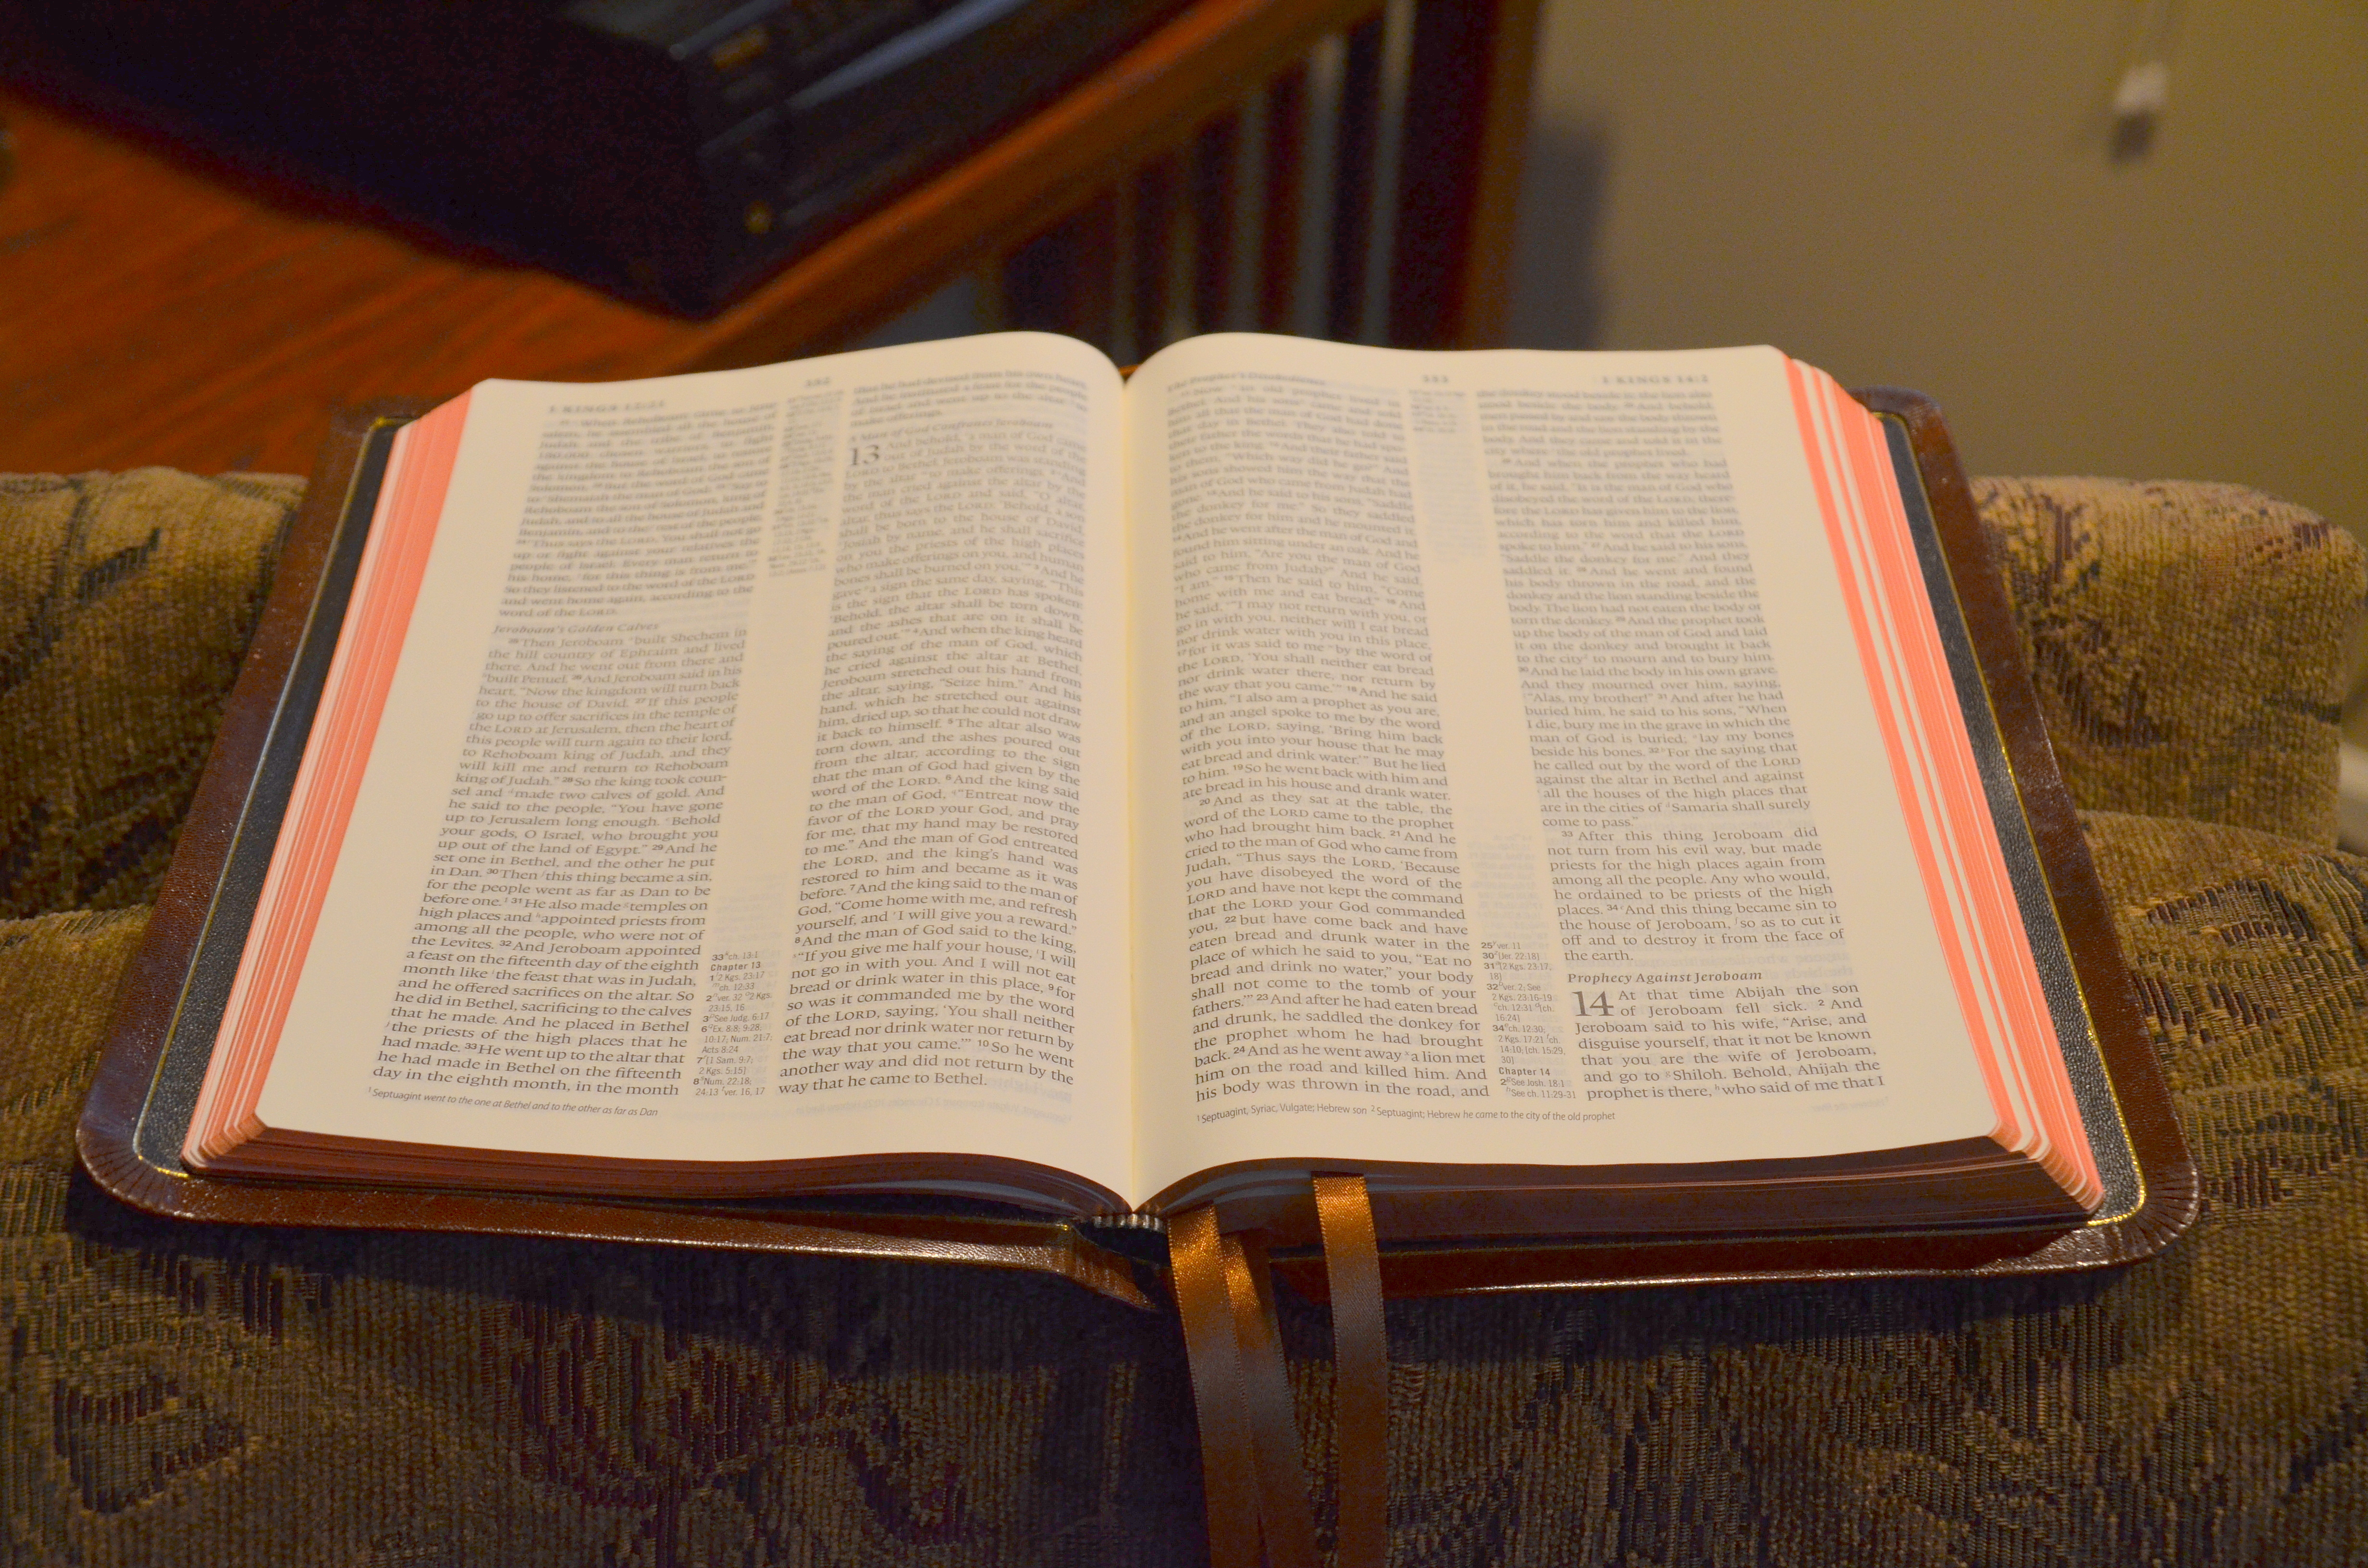
We are aware of the season of Lent but we typically do not mark this season with ash on our foreheads or choosing something to give up for 40days. In the last few years I have used a few Lenten devotionals during the season but mostly stick to my daily Bible reading and meditation on what I’ve read in the Bible. 

Did you grow up ‘celebrating’ Lent?

My first exposure to Lent was at the schools I attended in Southern California. There was a high population of Catholics and I was intrigued when I first saw some of my classmates come to school on Ash Wednesday with ash marks on their foreheads. Then to hear they couldn’t have gum or candy or cuss for 40 days gave me pause.  The religion I grew up in distanced themselves from liturgical and Catholic traditions. 

Is attending church part of your weekly routine?

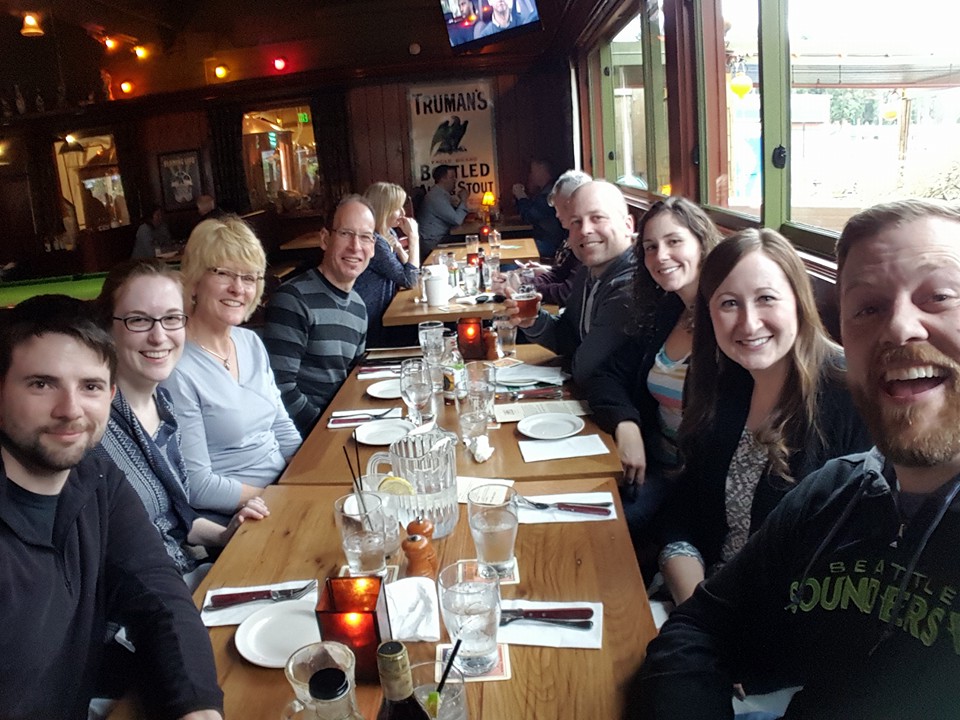
 Meeting together with fellow born again believers of Jesus Christ has been both my husbands and my practice since childhood which we have continued into our married life. The fellowship with other believers is an encouragement that we don’t want to miss. Worshipping God together corporately is a very important dimension of the Christian life. 

Are churches open for in-person worship where you live? 

Our church has been meeting since June of 2020. We still offer online services and we have a ‘mask only’ room at the church during services and we have a ‘social distancing’ room available, too. In our main sanctuary you will find those who wear masks and those who don’t. 

We ceased meeting together from March until June of 2020 when the first mandates were instituted. When we returned to meeting again in June you could feel the corporate joy. It was overwhelming and good. 

2. When is the last time you sat beside a ‘real’ fire?
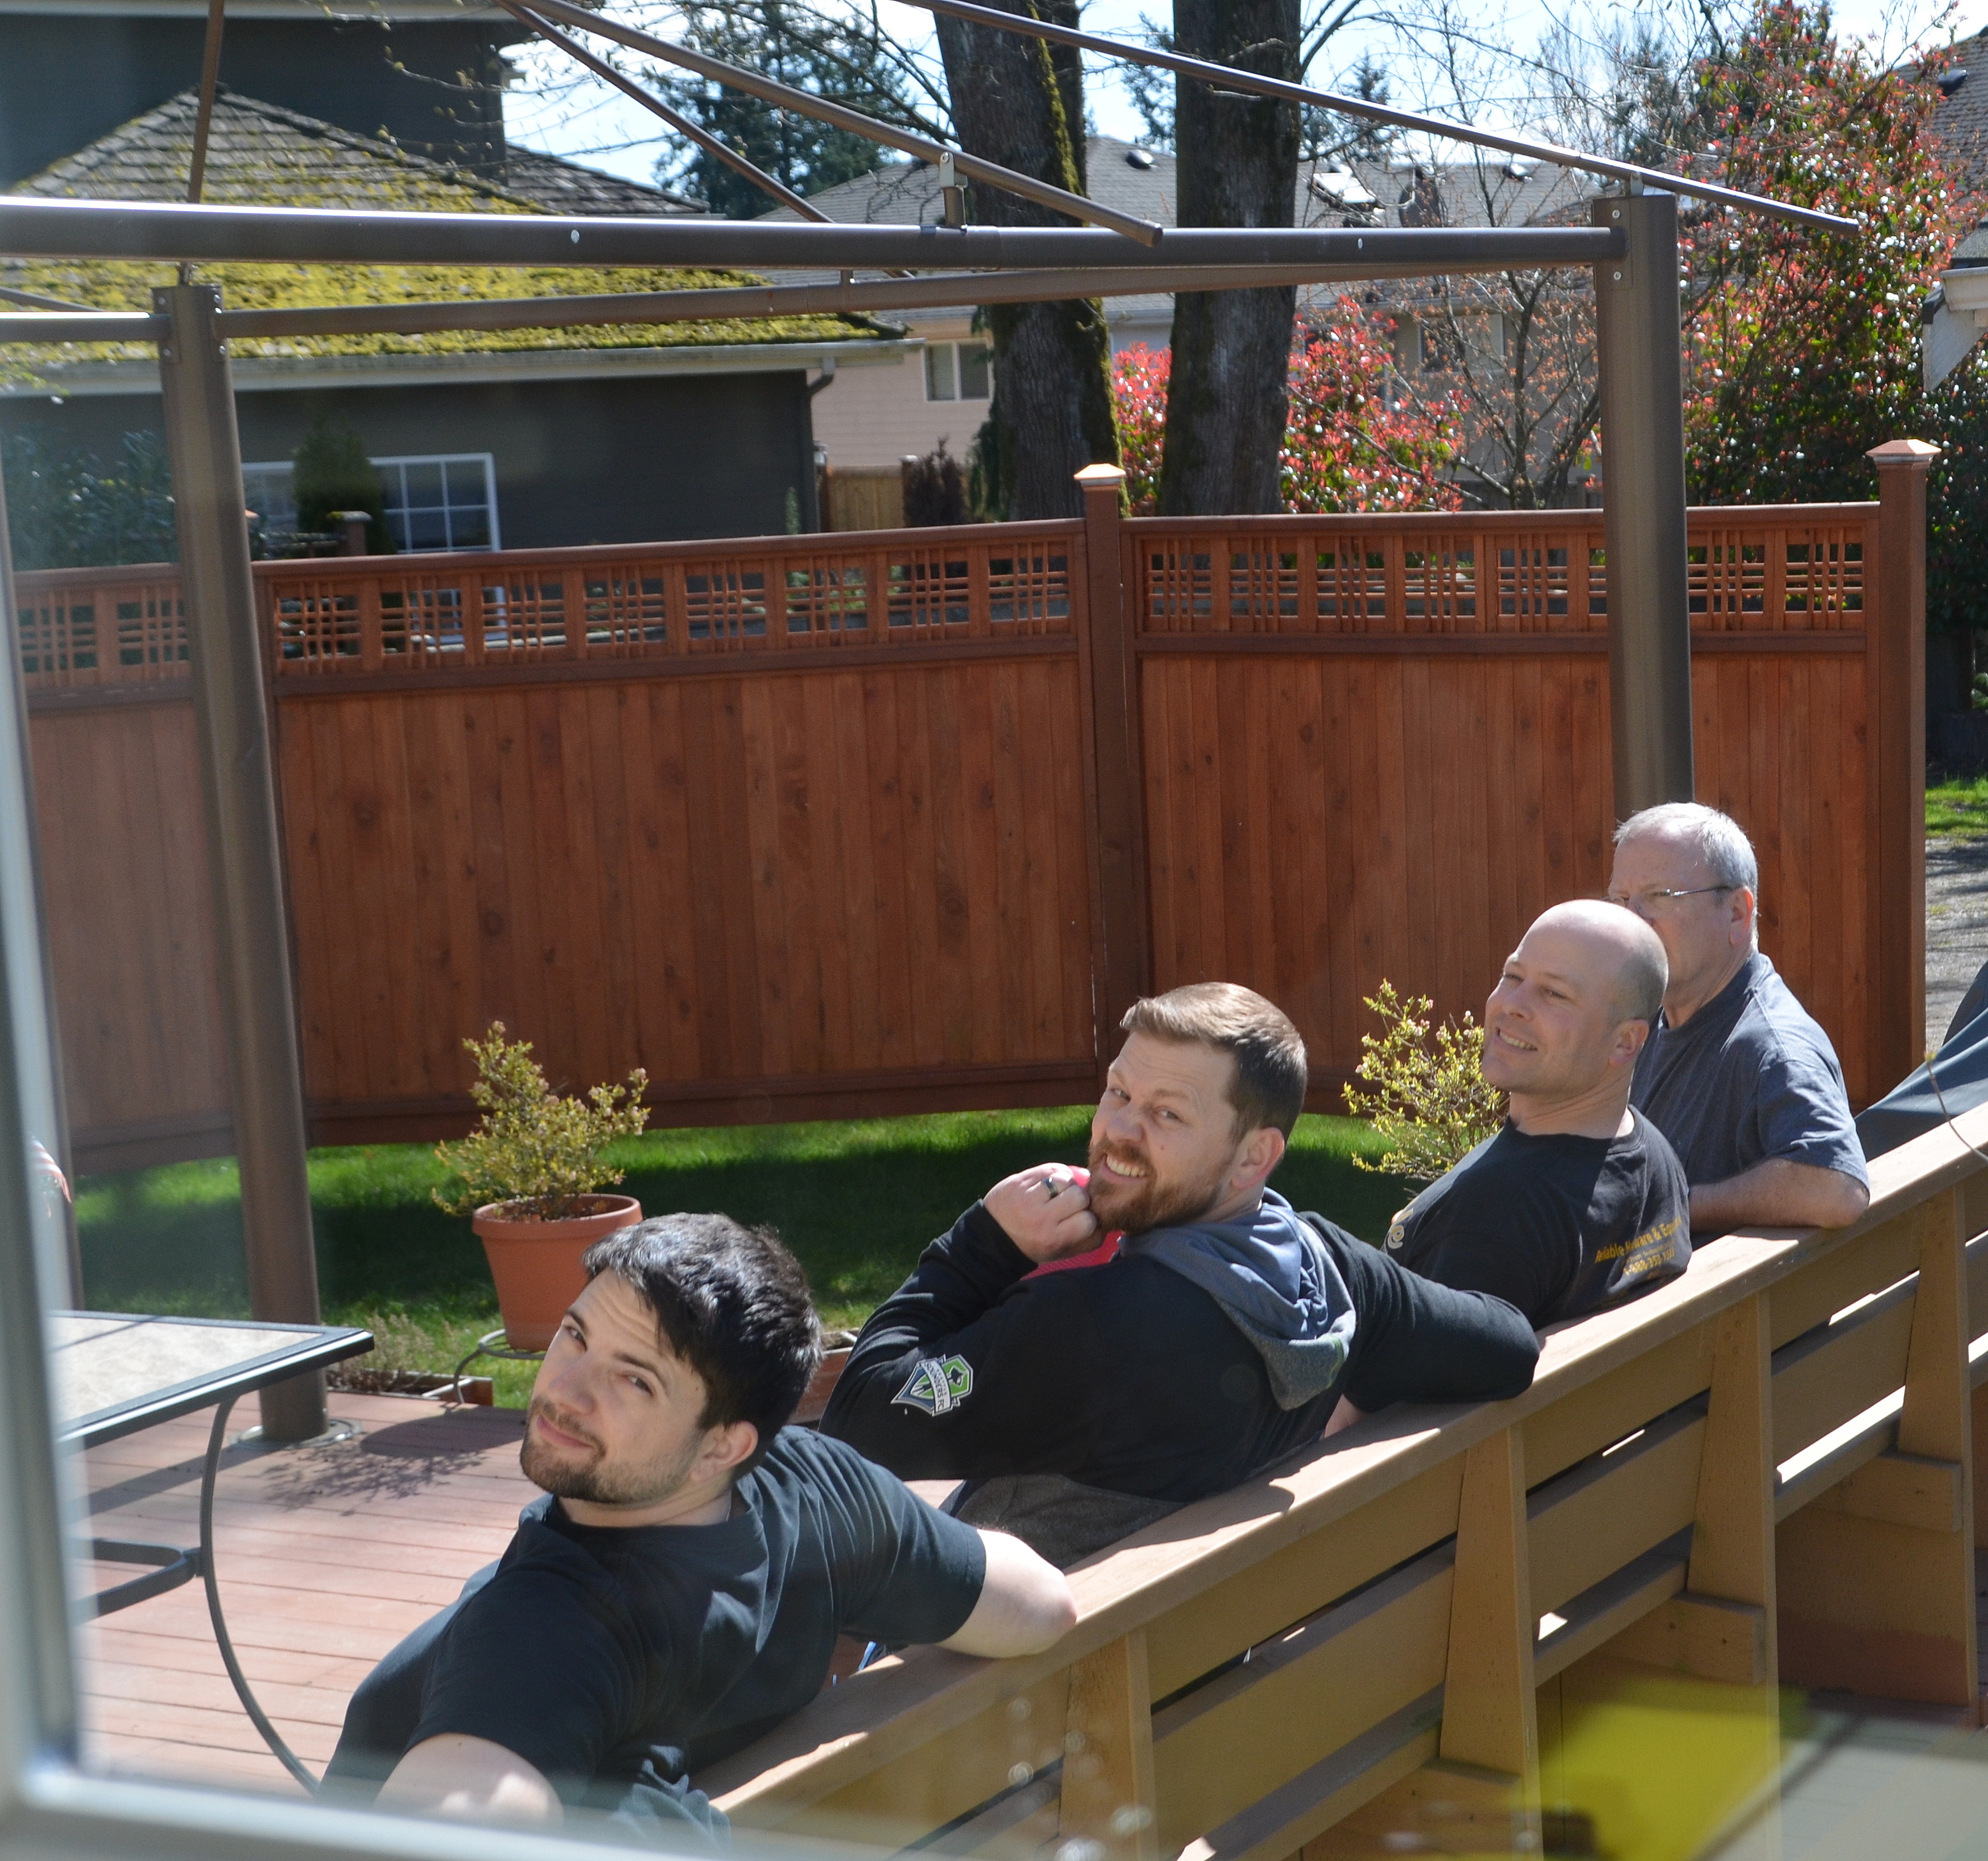
In our son’s backyard sometime in the last year? Most of our fire experience since we moved to the country has been tending our burn piles in Spring and when the local fire danger is low and burning is permitted. 
Do you have a fireplace in your home? Wood or gas logs?
Our country bungalow does not have a fireplace. 
Favorite thing cooked over a fire? 
I’m not a fan of smores so I’m going to say a hot dog.
3. Something that’s currently got you fired up? 
All forms of wickedness. I’ll leave it at that because I don’t want to get anyone else fired up. 
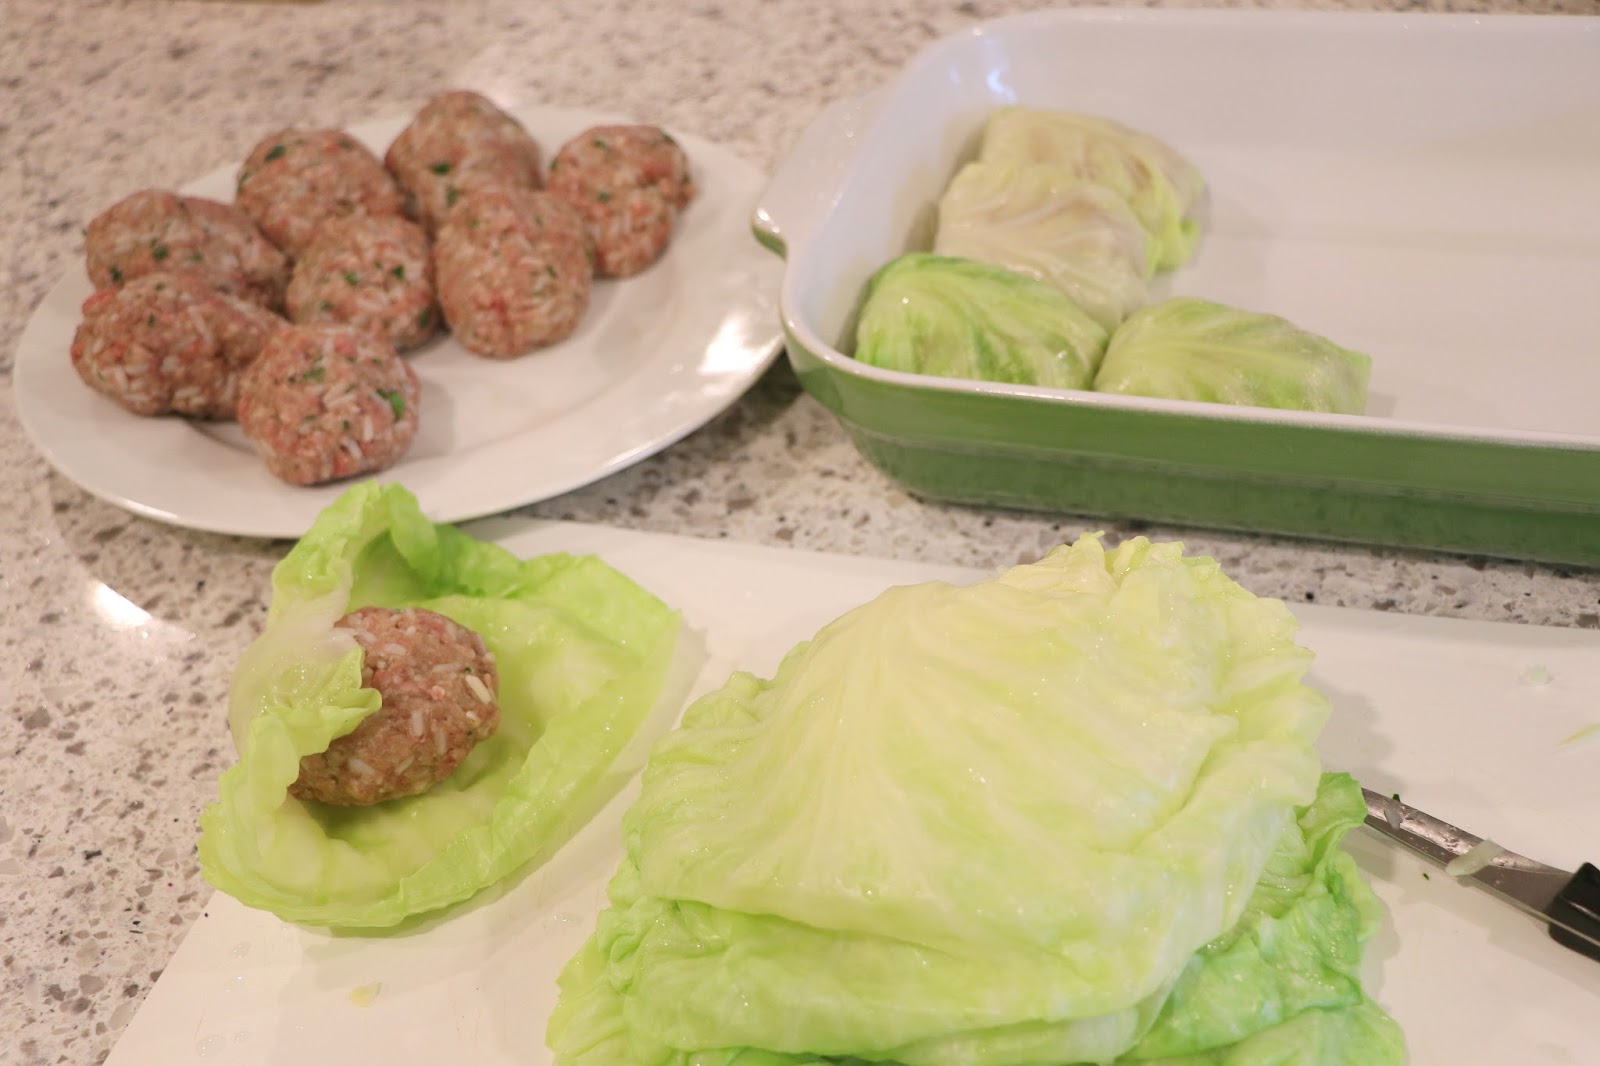
4. February 17th also happens to be National Cabbage Day. Who knew? Do you like cabbage?
Is cabbage on your menu Wednesday? Of the following cabbage dishes which is your favorite-coleslaw (mayo or vinegar?), sauerkraut, cabbage rolls, cabbage soup, kielbasa and cabbage, grilled cabbage, bubble and squeak, kimchi, or haluski? 
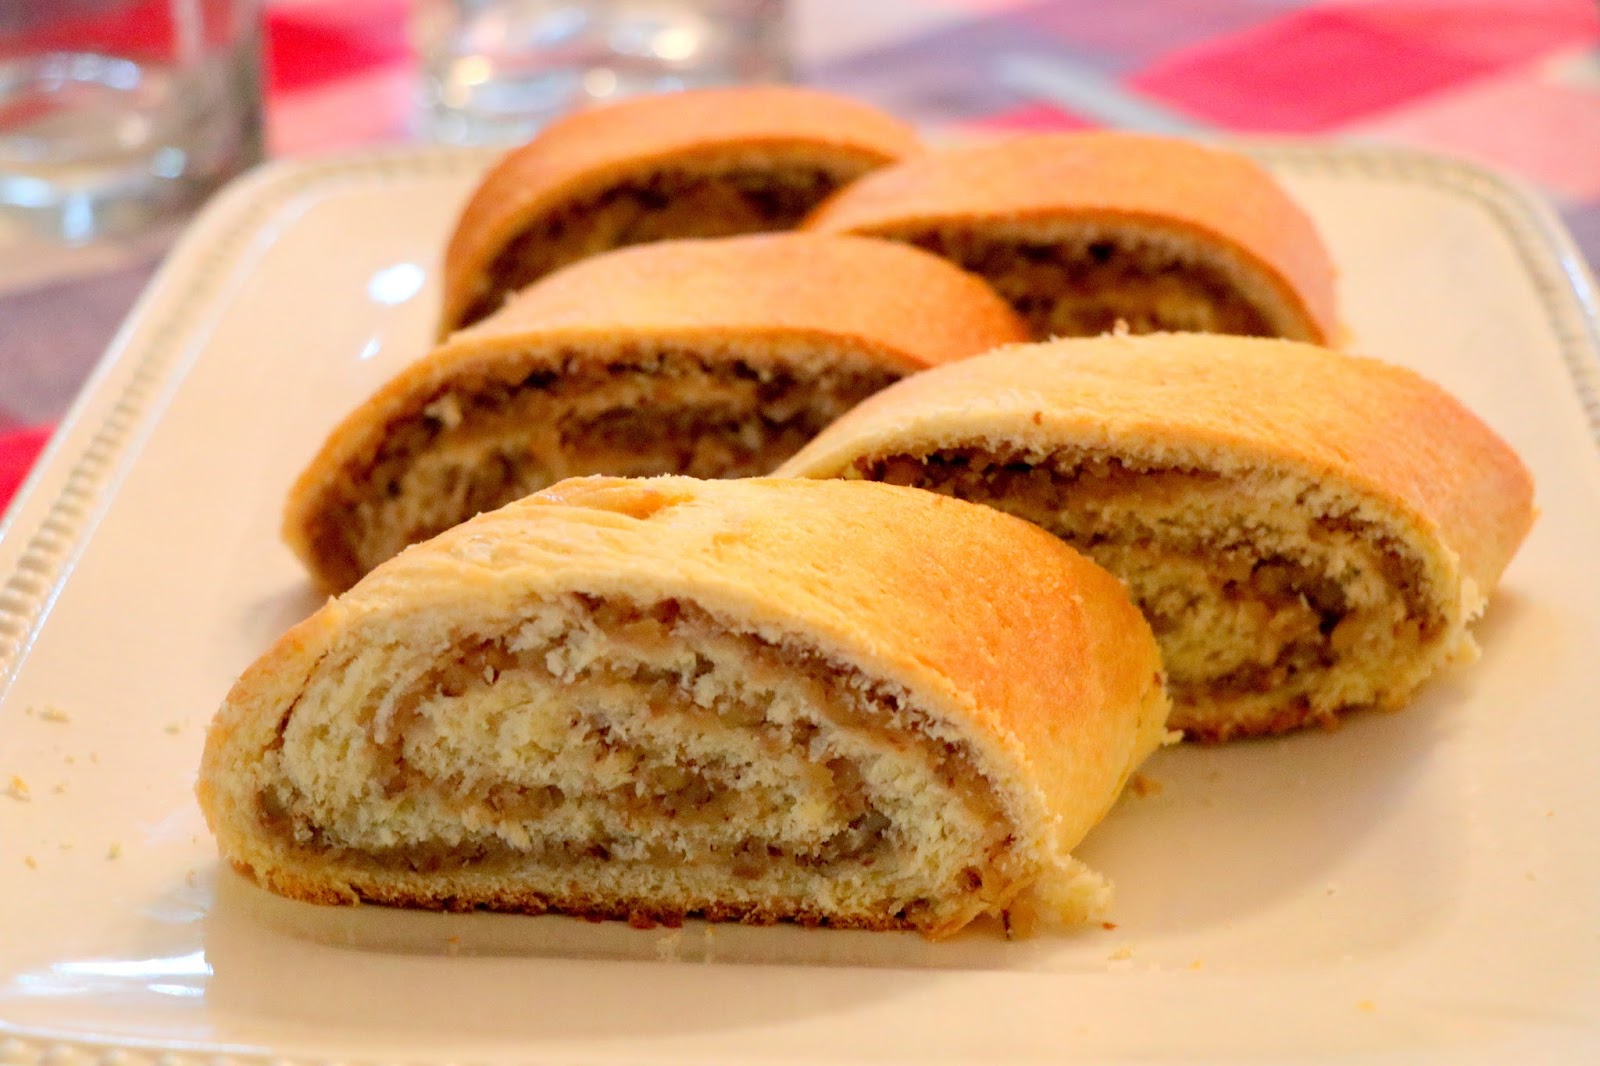
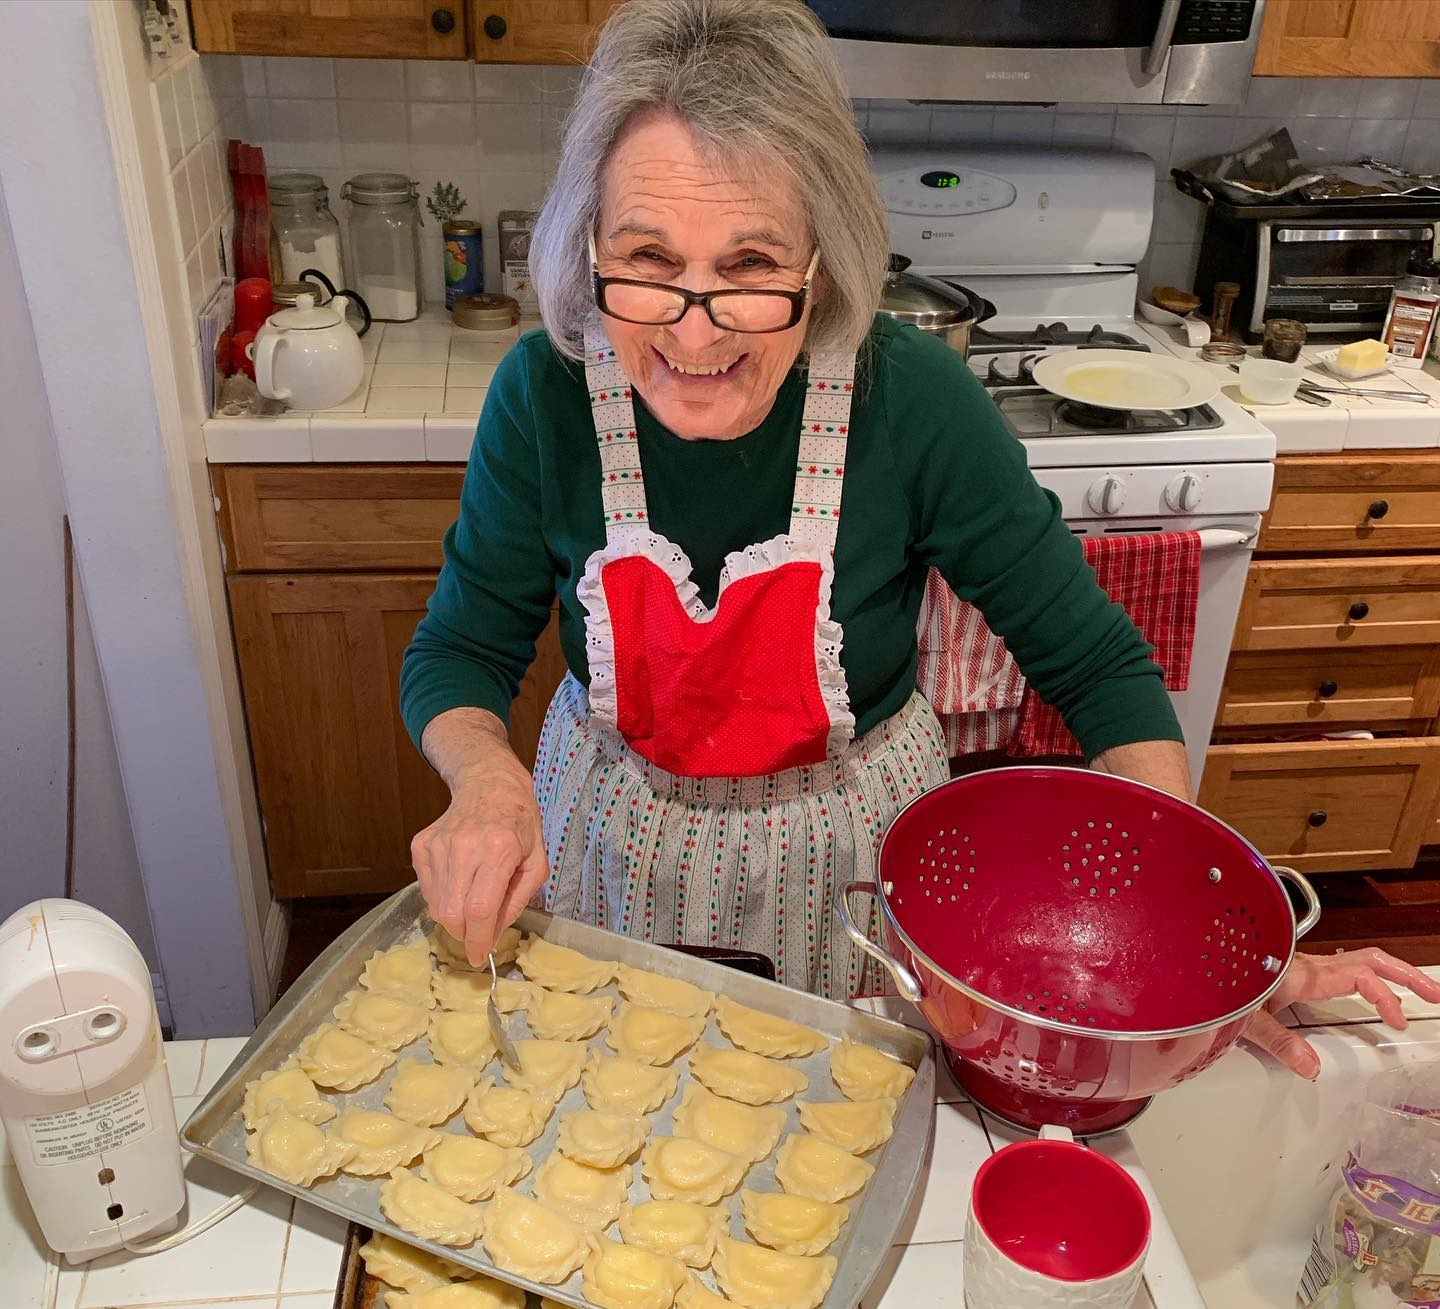
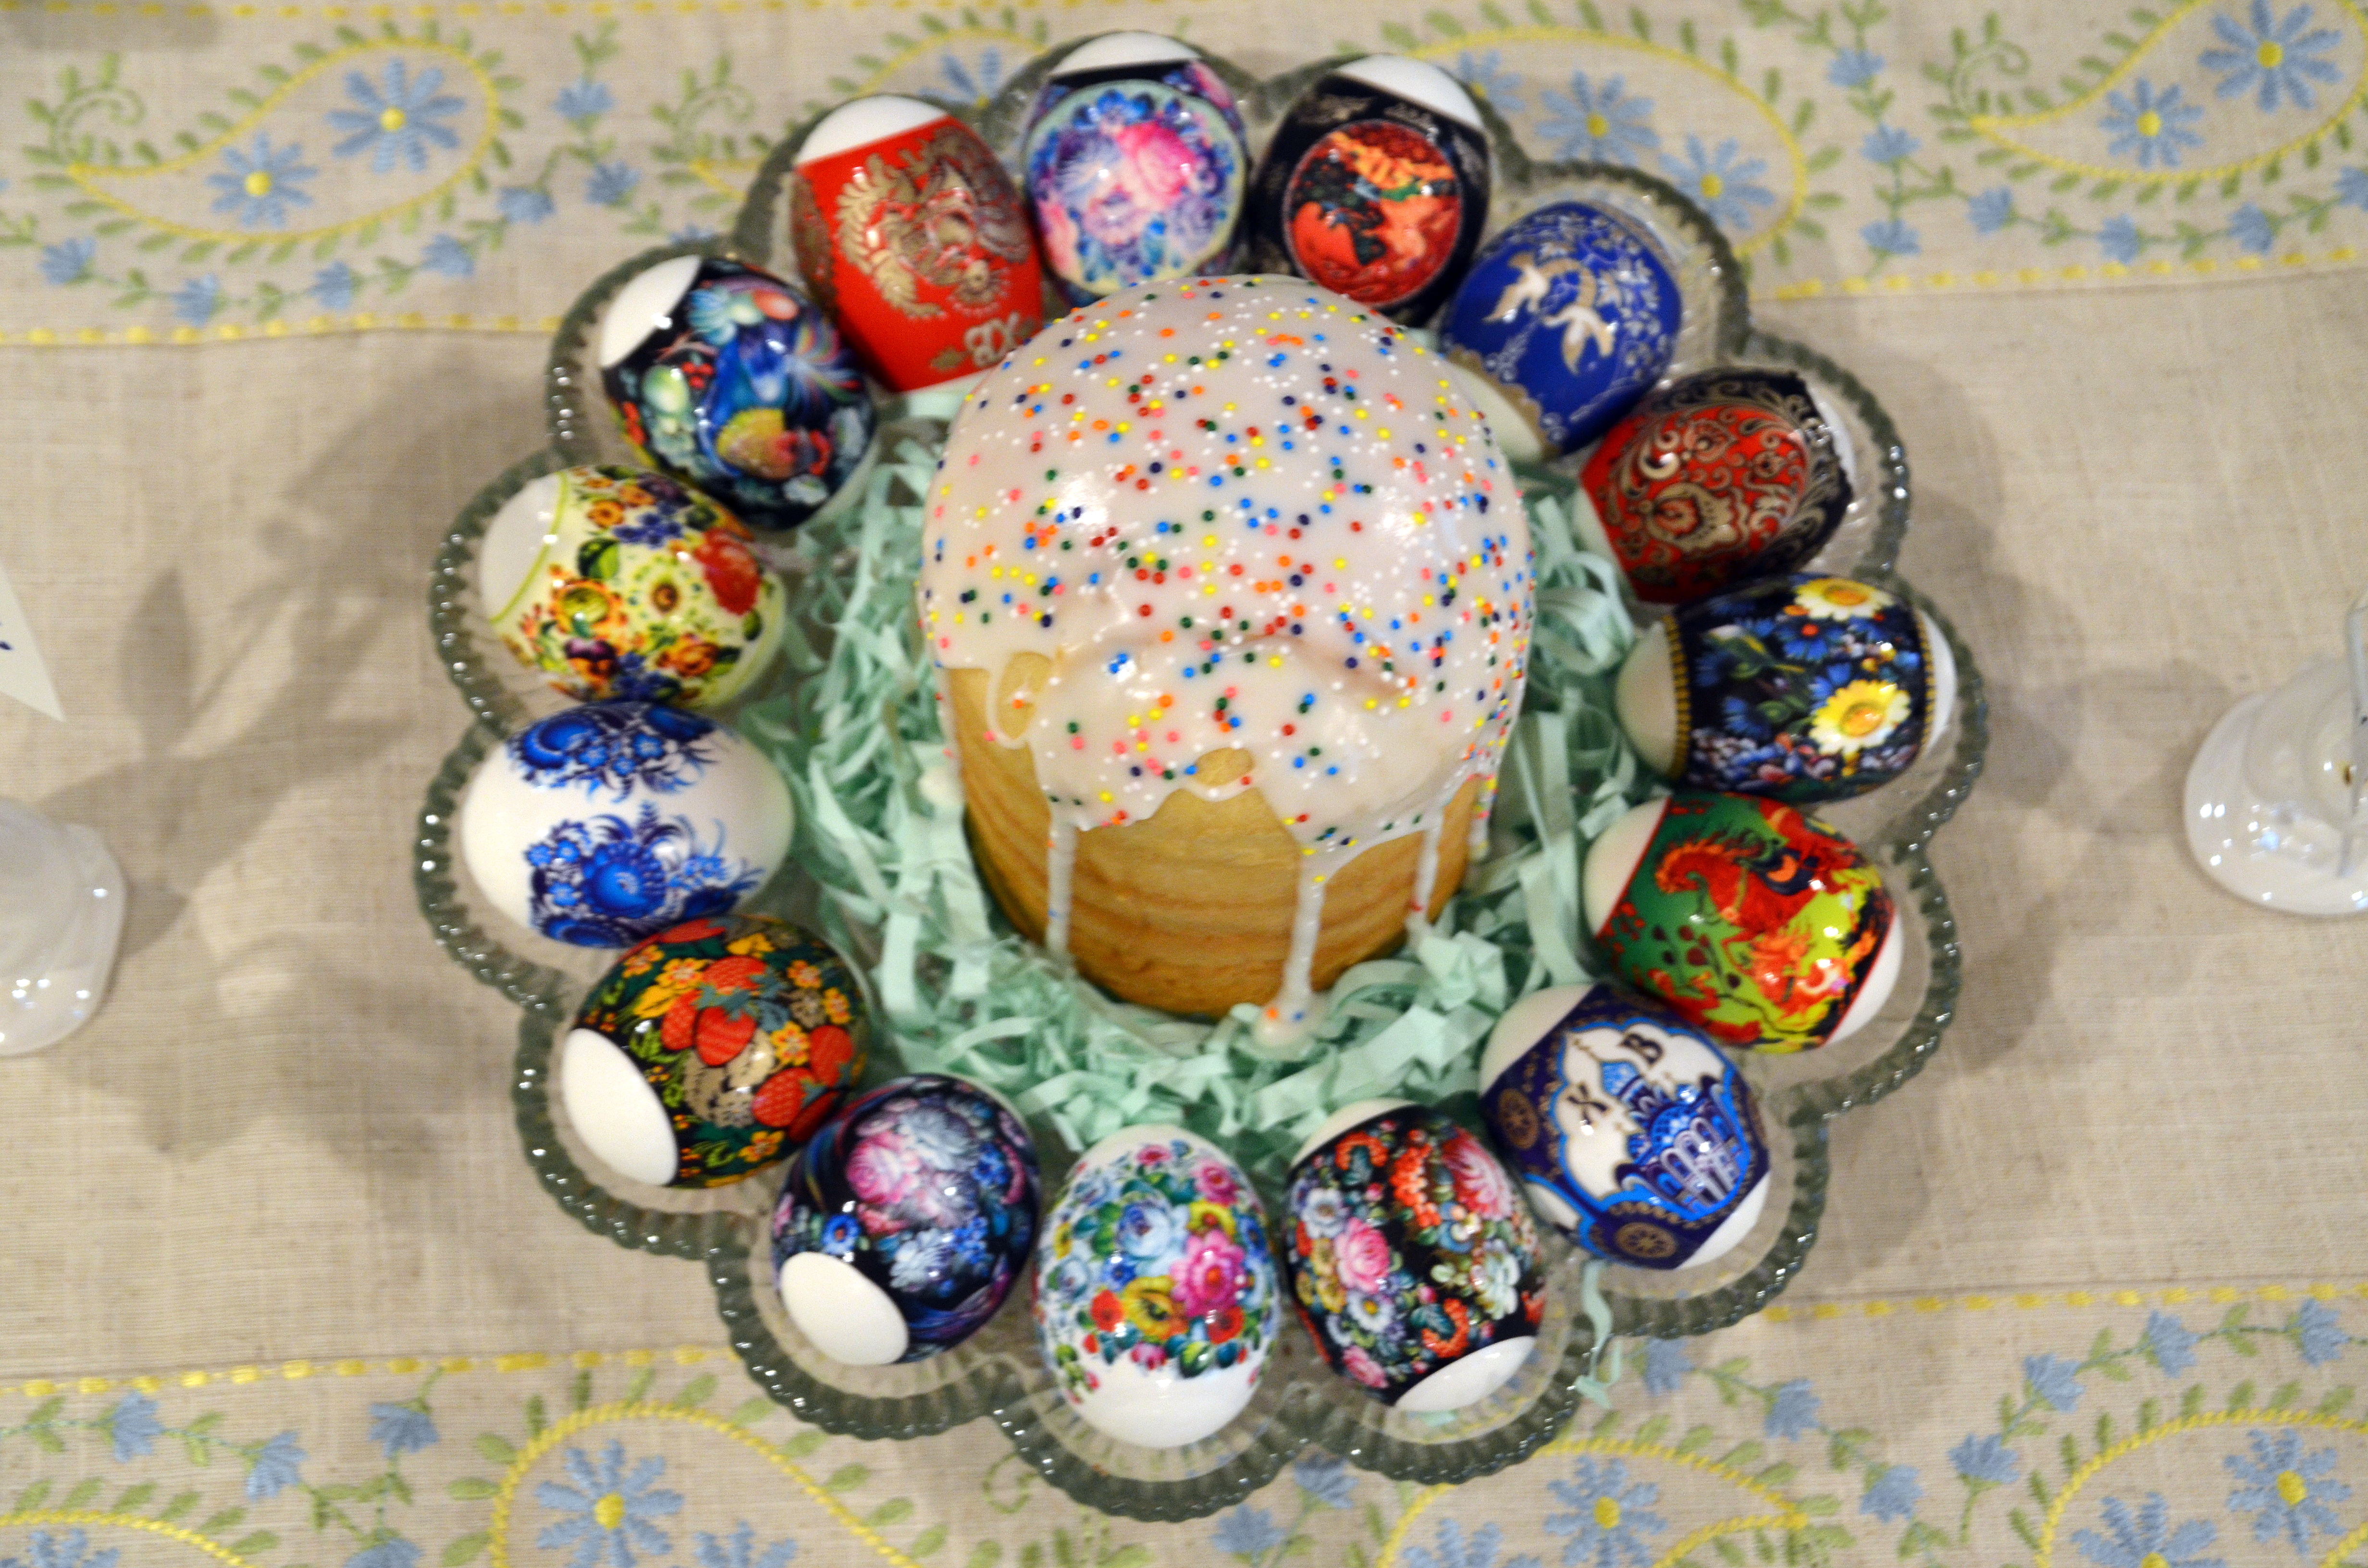
Cabbage is not on the menu but if it was it would be Golupstzi (Russian Cabbage Rolls), or Borsch (Russian Cabbage Soup). I love these dishes now but growing up I’d pull the cabbage off the cabbage rolls and I hated the cabbage part of Borsch. 
  • borsch-snoqualmie-001
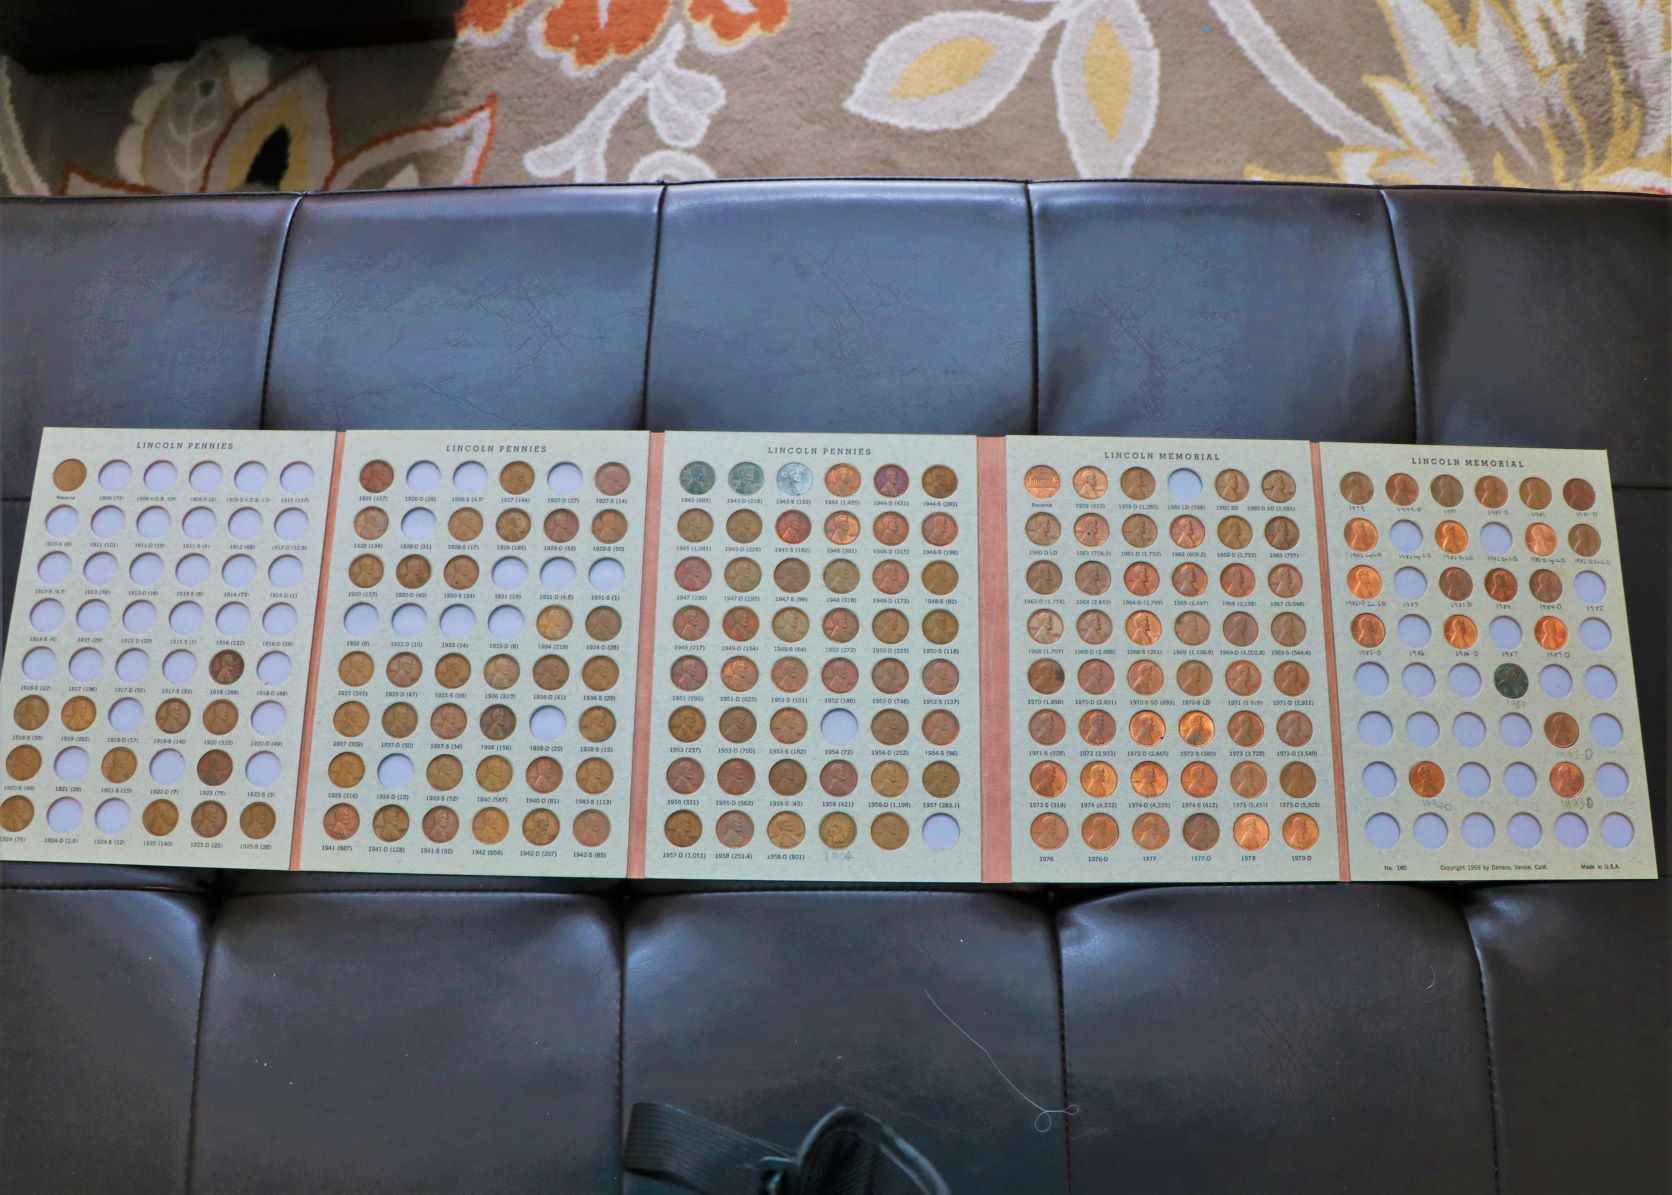
5. Do you hang on to pennies?
Not recently but back in Dear’s early years he started coin collections and we still have those.
He has pennies from 1918 to 1993 in this collection.
What do you do with them?
Nothing. Funny coincidence is that we just retrieved Dear’s coin folders from the filing cabinet in the garage on Monday before these hodgepodge questions were posted on Tuesday. 
Last thing you purchased for $1.00?
A Valentine’s day card at the Dollar Store.
Last thing you purchased for $5.00? 
A Costco rotisserie chicken for $4.99 last Thursday. One cent shy of the $5. 
6. Insert your own random thought here. 

GOTW-practice035

It was just before the Passover Feast. Jesus knew that the time had come for him to leave this world and go to the Father. Having loved his own who were in the world, he now showed them the full extent of his love.

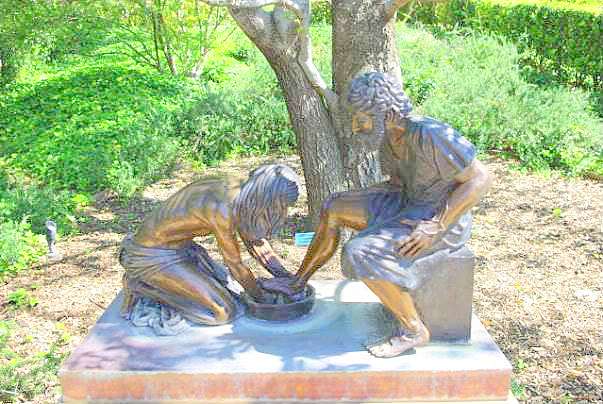
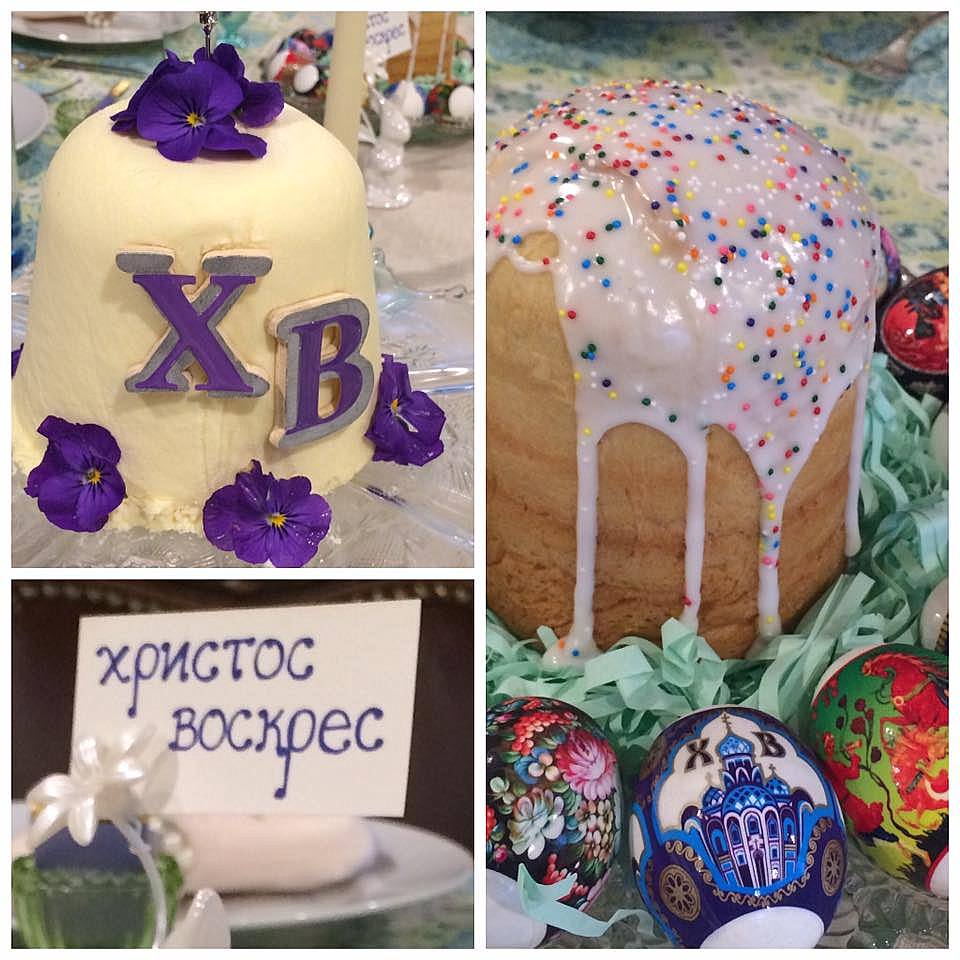
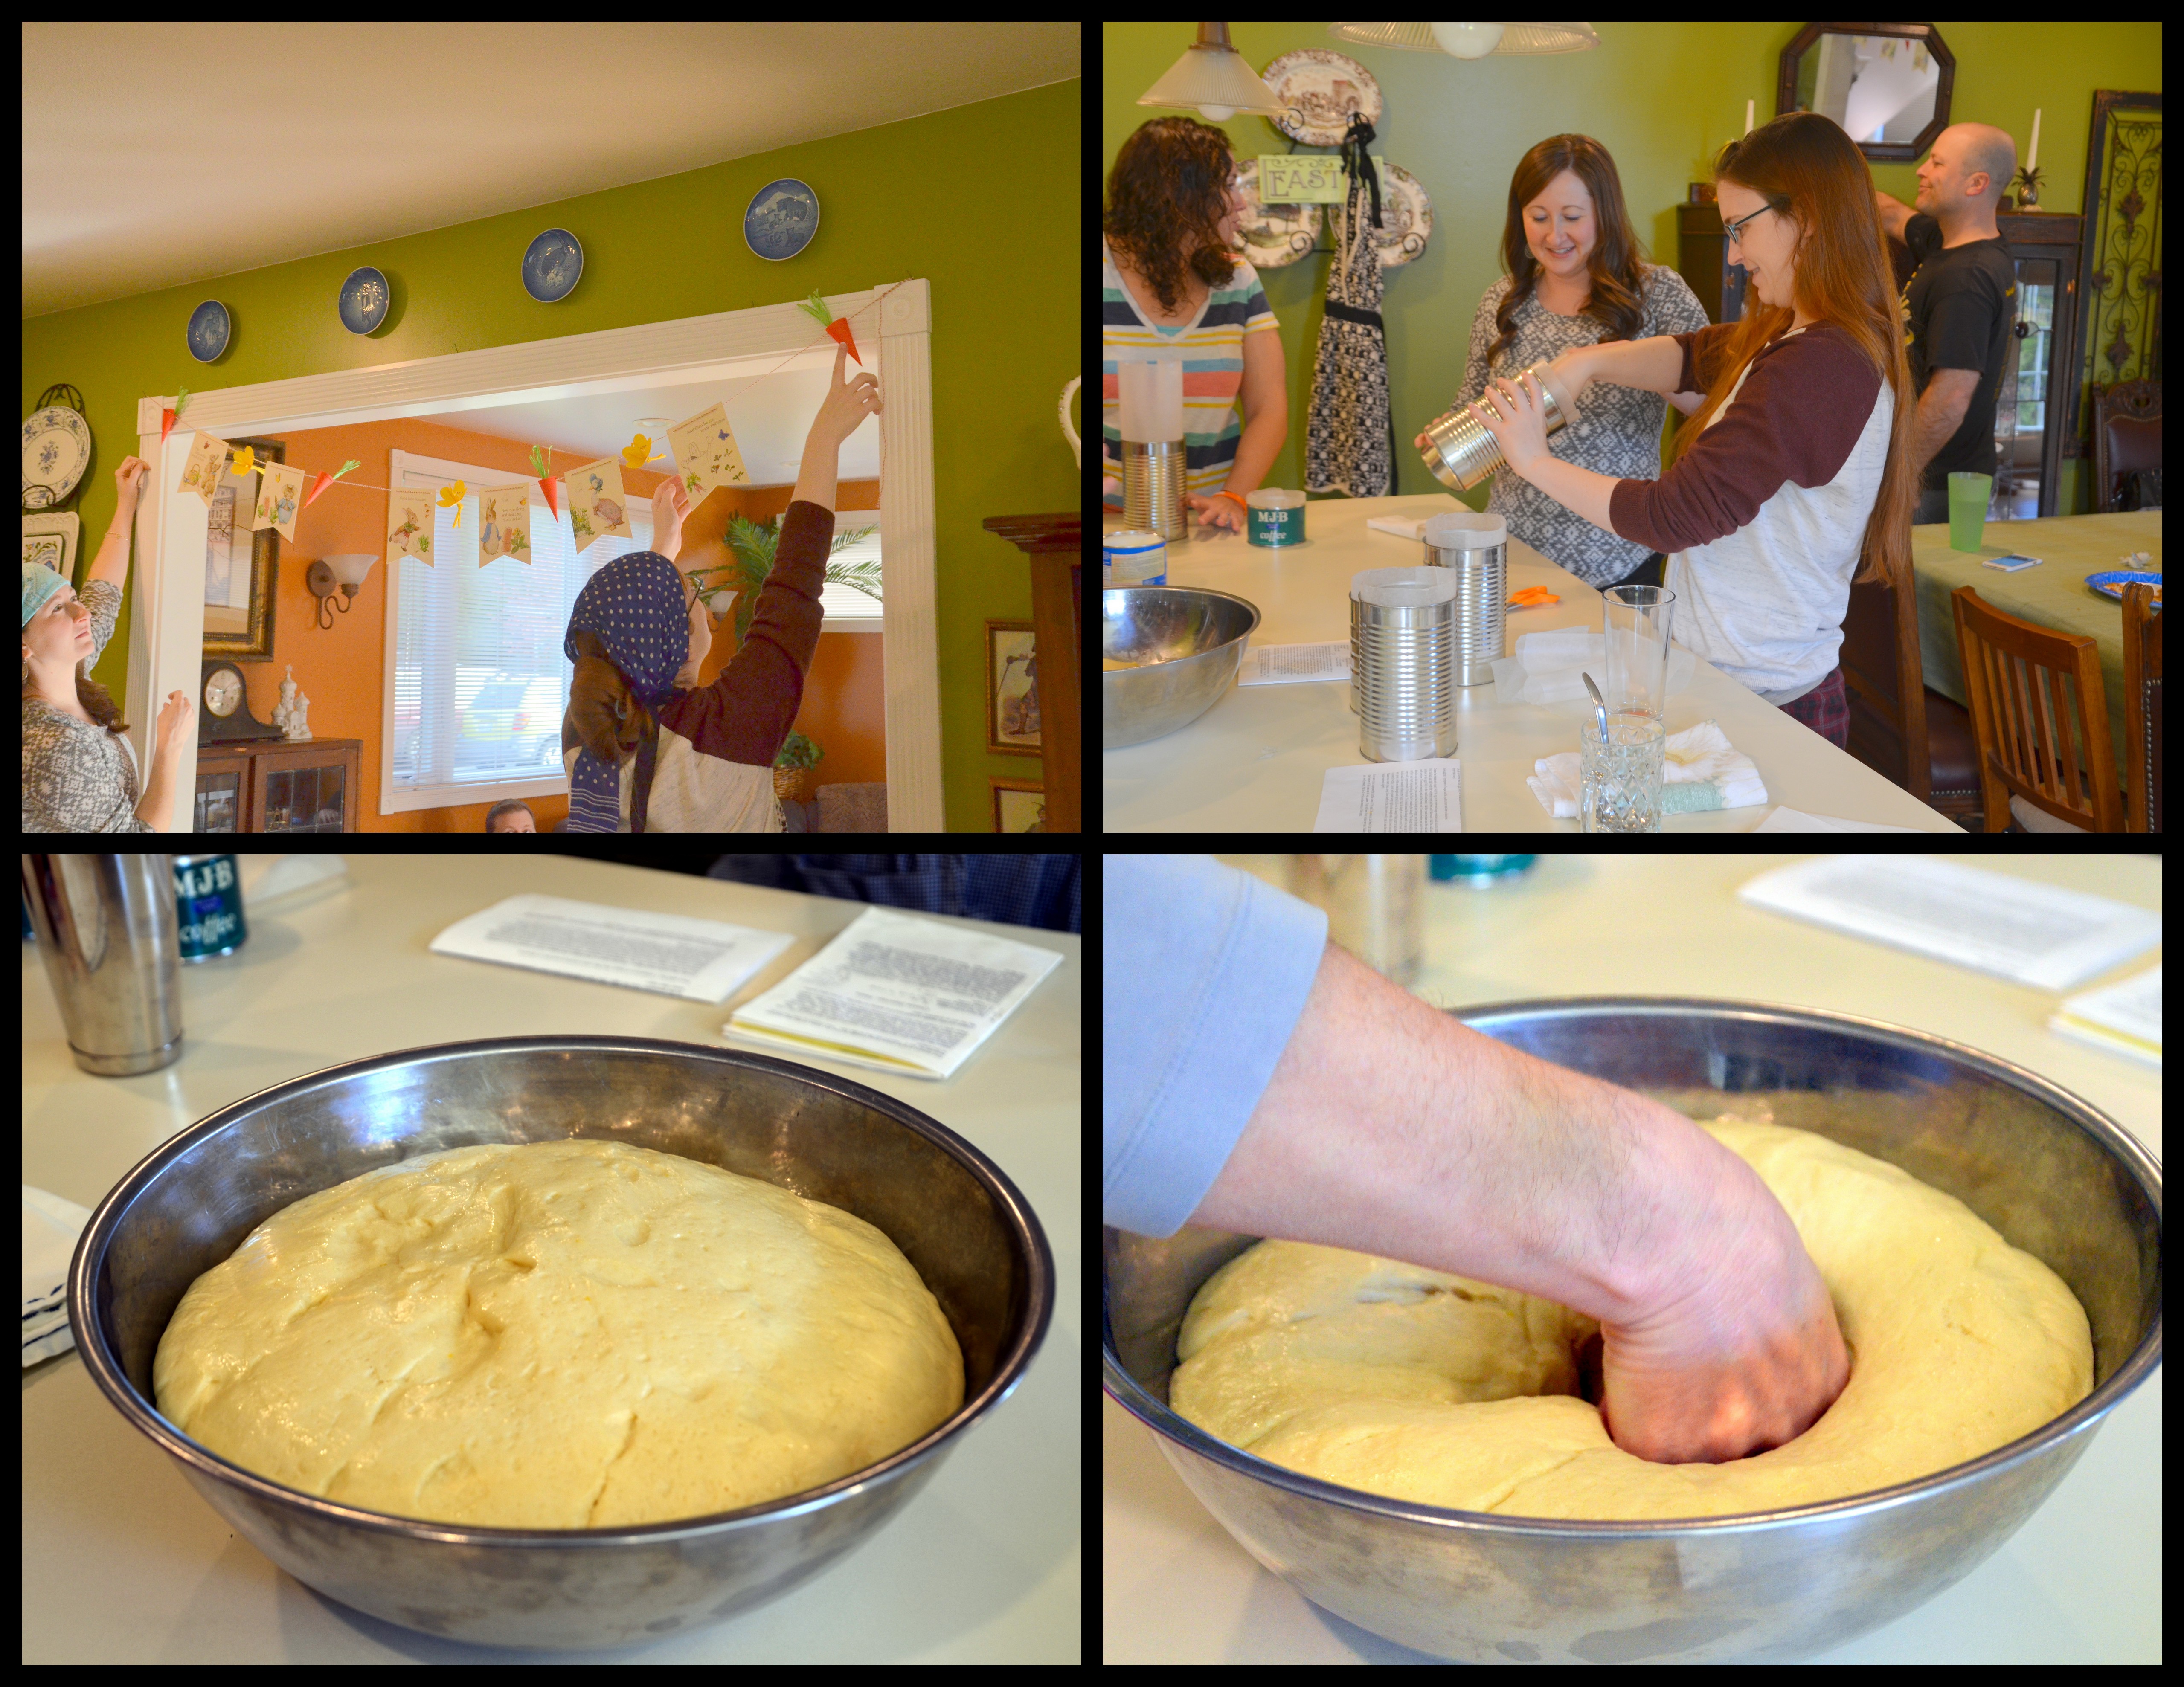
Even though we don’t observe Lent with ashes or fasting we do read and meditate on God’s Word and read sections of scripture that lead up to the Crucifixion and Resurrection of Jesus to fix our minds on what Jesus did for us and why we celebrate Easter, Christ’s Resurrection Day. Our Easter celebration is one of our grandest along with Christmas. 
My photograph of the sculpture above (Jesus washing Peter’s feet) was taken at the Gardens of the World in Thousand Oaks, California back in 2011. 

Nadia’s Pishky (Russian Rollkuchen)

I’m posting two versions of my mother Nadia’s Pishky that my family grew up with. Mennonites call them Rollkuchen. There are some variations in the ingredients. I’m gathering more of our family heritage recipes on my blog.

Ingredients:

  • 4 cups flour
  • 2 cups sour cream
  • 3 eggs (beaten)
  • 1 teaspoon salt
  • 3/4 cup sugar
  • 1 teaspoon baking soda
  • 1/4 cup orange juice
  • vegetable oil to fry the Pishky in

Method:

  1. Make well in center of flour. Mix sour cream, beaten eggs, salt, sugar, and orange juice.
  2.  First blend the soda in a tablespoon of hot water then add it to the wet ingredients. Mix into flour and knead the dough.
  3.  Roll out the dough on a floured surface. Cut in strips. Then cut strips on the diagonal about 4″ long and cut a slit in the center of the 4″ length.
  4. Fold the top of the piece through the hole and up again. Fry in oil until golden brown on both sides.
  5.  Before serving sprinkle with powdered sugar.

My kids loved to have these hot out of the pan when they would come in from playing in the snow.

These are great right out of the pan and for a few hours but after that, they aren’t as wonderful. Make small batches that you’ll gobble up quickly is my recommendation. The other thing you can do if you have more than you want to eat right away is to make a french toast casserole for breakfast with the leftovers.

This recipe is still easy to make and a nice treat similar to Rollkuchen.
I made a small batch using the following recipe.

Ingredients:

  • 1 1/4 cups sifted flour
  • 1/4 teaspoon salt
  • 1/8 cup powdered sugar (frosting sugar)
  • 1 tablespoon soft butter
  • 1/2 tablespoon brandy
  • 2 eggs
  • vegetable oil for frying
  • powered sugar for dusting

Method:

  1. Sift flour, sugar and salt together. Cut in butter.
  2. Beat eggs and brandy together well.
  3. Add egg mixture to flour and mix well. Knead thoroughly.
  4. Divide into two portions keeping one portion covered while working on the first portion.
  5. Roll out thin.
  6. Cut strips approx. 2 inches wide and 3 inches long.
  7. Make a slit in the middle of each strip, pulling one end through the slit.
  8. Continue with the second portion and following the same steps.
  9. Fry in hot vegetable oil turning until both sides are light brown.
  10. Drain on paper towels.
  11. Dust with powdered sugar.

Yield: 20 Pishkey

Our Mom’s Roolyet (Russian Nut Roll)

Roll the “R” when you try to pronounce the name of this nut roll that is a family favorite from my childhood and adult life, too. Our mom’s Roolyet was the best. We’ve just managed to perfect a recipe that brings back the memory of our mom’s roll. I think she would give us at least an A maybe not an A+ yet. Our pop got teary eyed when he bit into his piece because it reminded him of his beloved bride who died four years ago. (Since I published this post back in 2017 our dear Pop was called up to heaven in June of 2018.)

My sister Vera and I perfected this in 2017 while I was visiting in Southern California. I posted this recipe on the Mennonite Girls Can Cook Blog but decided now to add it here for my own easy access.

Ingredients:

For the Dough:

  • 2 teaspoons sugar
  • 1/8 cup milk, scalded
  • 2 1/4 teaspoons active dry yeast (1 packet)
  • 1/2 cup milk
  • 2 egg yolks (set aside egg whites)
  • 1/2 cup unsalted butter melted and cooled slightly, reserve 1 tablespoon
  • 3 tablespoons sugar
  • 1/2 teaspoon vanilla
  • 1/2 teaspoon salt
  • 1 3/4 cups flour
  • 1/4 cup flour

For Rolling Surface:

  • 1/4 cup powdered/icing sugar

For Filling:

  • 2 1/2 cups ground walnuts
  • 1/2 cup sugar
  • 1/2 teaspoon vanilla
  • 2 egg whites

Method:

  1. In a small bowl dissolve the 2 teaspoons sugar with the scalded milk, add the yeast and mix well.
  2. In medium bowl mix the 1/2 cup milk, egg yolks, melted butter minus the tablespoon you set aside, and vanilla then add in the yeast mixture and mix well.
  3. Sift the 1 3/4 cup flour, salt, and 3 tablespoons sugar together.
  4. Add sifted ingredients to the wet ingredients slowly while mixing, the dough will be sticky.
  5. Prepare kneading surface with a light dusting of flour.
  6. Knead the dough adding as much of the 1/4 cup of flour needed during this process to make the dough less sticky, knead the dough for 10 minutes then form into a ball.
  7. Place the dough into a lightly greased stainless bowl that is 3 times the size of the dough and cover the bowl with a kitchen towel and place in a warm spot without drafts.
  8. Leave the dough to rise to double its size, 1-2 hours.
  9. While dough is rising prepare the filling by mixing the 2 1/2 cups ground walnuts, egg whites, 1/2 cup sugar and 1/2 teaspoon vanilla, mixing well.
  10. Divide the filling into two equal portions.
  11. Once the dough is doubled in size prepare the work surface where you will be rolling out the dough, dusting it with the powdered/icing sugar.
  12. Preheat the oven to 350 degrees.
  13. Punch down the dough and divide it into 2 equal portions.
  14. Roll each portion of the dough separately into a rectangle approximately 1/4 inch thick.
  15. Spread the filling evenly over the rectangle of dough leaving 1/2 inch free of filling along the edges.
  16. Starting at the long edge fold over the dough carefully and keep rolling into a tight roll.
  17. Pinch the seam well and pinch the ends to prevent the filling from leaking.
  18. Place the roll seam-side down on a baking sheet lined with a Silpat or parchment paper.
  19. Repeat the process for the second roll and add it to the baking sheet keeping the rolls at least 3 inches apart.
  20. Use the reserved tablespoon of melted butter to brush the tops and sides of the rolls evenly.
  21. Bake in a 350 degree oven for 25-30 minutes or until golden brown.
  22. Let cool and cut into slices to enjoy.

Yield: 2 twelve inch long rolls

Notes: We found that 3 cups of whole walnuts make 2-1/2 cups of ground walnuts.
We used a slightly warm oven to let the dough rise in.
Use a serrated/bread knife to cut the roll.


Twas a Few Nights Before Christmas…

…and a variety of activities are stirring in and out of houses. No sitting on Santa’s lap this year for photos but Santa flew into the Colville airport to hand out gifts to kids. Our grands were there on Saturday morning.

Also on Saturday Dear and our son Dan started installing the siding on the back side of the shop. Earlier in the week Dear installed the back pull up door.

I missed getting outside to get the final photo. They have 3 panels left to go on this side and all the siding will be done. We are so thankful for the help!

Our daughter in law sent us these next photos of Addy and JJ enjoying each other on Sunday. Sibling times like these make our hearts glad!

We had a good trip to Spokane yesterday and found all the things on our list and more.

One of our stops was at the Kiev Market where we load up our freezer with Pelemeni, a family favorite that I’d rather buy than make. While there we bought these lovely Piroshky, two cabbage and one cheese…delicious.

At Costco we filled up our cart with other goodies, some necessaries and a few un-necessaries. I was going to go into TJMaxx but the people line-up outside the store because of “you know what” wasn’t appealing to me and we carried on. Our refrigerators and freezers are full now so no more shopping until after Christmas!

Way down south in California my family was having their annual Christmas Vareniki making day. Vareniki are a Russian treat we’ve enjoyed at Christmas for many years. This year the crew included my two older sisters, one sister-in-law, 4 of our nieces and one grandniece. My mom would be so proud of them all!

My oldest sister Kathy with the finished product which is first boiled and then ready to freeze and then bake in half and half and butter on Christmas Eve. Our family tradition is to stuff these dumplings with a sweet cheese mixture and serve them as a dessert or for breakfast in place of pancakes. We serve them with a dollop of sour cream and maple syrup.

Pierogi and vareniki are actually the same thing. Again, stuffed dumplings, they are common throughout Central and Eastern Europe and most of the old Eastern Bloc states. While vareniki is the more commonly used term in Russia, pierogi are the national dish of Poland, Ukraine and Slovakia.

Today I’ll continue on some cleaning and cooking up some things I can make ahead for all the Christmas meals.

I forgot to mention that for the next two weeks the Thursday Bible Verse Challenge will not be happening. We will resume the challenge the first Thursday in January, January 7th on the letter O.

Friday Finale

While I was back in Colville recuperating from my solo drive home from the “Coast” it was Russian cooking day in Bothell. (October 9th, 2020)

The gals had fun cooking up a big pot of Borsch and making Blintzes in sister Lana’s kitchen.

Later in the evening the crew gathered for this classic Russian meal at Steve and Lana’s.

The night before was Italian night at Josh and Laura’s and these family shots were taken.

The oldest in our family and the youngest, twins.

Our Father’s dying wish…“Stay together, love each other.”

Labors of Love

L is the letter for the day and my bandwith is low, low, low so I can’t upload any new photos right now. I’ll have to look to my archives and decide on a subject for the letter L. I chose my Labors of Love post from 2016.

I love Easter and all that it holds and all that it means. I like the idea of new Life, a resurrected Life. The greatest Love that was demonstrated on Good Friday and the Life that was resurrected on Easter Sunday.

Here are photos of our Easter weekend labors of love and celebrations 2016.

12523956_10209342418103300_869908340961820747_n

This was the end result of our labors on Easter Saturday 2016. Top left an Russian Easter sweet cheese spread called Seernaya Paska. The X and the B stand for Christ is Risen. On the right is the finished and frosted Russian Easter Bread called Kulich or Paska surrounded by Russian shrink wrapped eggs. The sign in Russian on the bottom left says Christ is Risen so you see where the X and B comes from.  Now I’ll show you some of the process of getting here.

944673_10209325700205363_8556436750134116980_n

First you gather your labor force. This is my sister Lana who arrived early so that we could get the Russian Easter Bread (Kulich/Paska) started.

12670500_10209025541021643_6688122367162299089_n

The rest of the laborers arrived and donned their aprons and head scarves.

kulich-16

At one point in the process of mixing the dough I thought I made a big boo boo so we prayed over the dough and Lana and I laid hands on the KitchenAid.  I didn’t want to start over again. All turned out well…

2016-03-27 easter 2016

Lana showing how her slippers match her apron.

The other photos in the collage are of kneading the dough and shrink wrapping the boiled eggs. While the dough was rising we enjoyed lunch together. Home made tamales and beans with guacamole, chips, and Dan and Jamie’s home made salsa.

2016-03-27 easter 20161

After lunch it was time to prepare the cans and to punch down the dough after it’s first rise. The Peter Rabbit bunting was completed by Katie and hung by Laura and Katie. Josh and Laura gifted me the bunting kit for my birthday last week.

easter 2016 013

2016-03-27 easter 20162

After the second rise we punched again and prepared the dough by hand for the cans pinching off enough or almost enough for each can we picked for this time around. Short, medium and tall.

easter 2016 028

The guys were busy outside in the sunshine solving several world problems.

easter 2016 041

The finished eggs and kulich on Easter day. I’ll show more from our Easter table in another post.

When the baking was done and the cheese mold was in the refrigerator setting up for our Easter Sunday meal the kids went out to dinner with their aunt and uncle. Dear and I stayed at home and crashed…

1917966_10208999050115371_7055826096728142628_n

All of our kids together enjoying each other and extended family fills us with joy and not having to make dinner for them after a full day in the kitchen was a bonus!

We love and treasure these traditions and hope to carry them on through the years and pass them on to the next generation. I’m happy to report three of our nephews wives took on this labor of love alone in their homes and had very successful outcomes!

Piroshky Recipe

Piroshky are a Russian version of small hand held savory pies. They can also be filled with sweet fillings. Thank you to our sister Vera for watching our mom make these and writing down her recipe and then sharing it with all of us. Enjoy this Bagdanov Family Recipe.

Dough:

  • 1 cup warm water
  • 2 packages dry yeast
  • 1 tablespoon sugar
  • 2-1/2 cups buttermilk at room temperature
  • 3 eggs
  • 1/3 cup melted butter
  • 1-1/2 teaspoons salt
  • 1 cup sugar
  • 10 cups flour (approximately)

Method:

  1. Dissolve yeast in the warm water and add the tablespoon of sugar, mixing well.
  2. Beat buttermilk, eggs, butter, salt, and 1 cup sugar in an extra large mixing bowl.
  3. Add yeast mixture that has proofed to the liquids and incorporate.
  4. Add flour a little at a time beating constantly until dough forms a ball and comes away from the bowl.
  5. Turn out dough onto a floured surface and knead well adding flour as needed until dough is smooth and not sticky, this can take 10 minutes.
  6. Form the dough into a dome and spread vegetable oil lightly on the surface of the dough and set the dough in a large bowl.
  7. Cover the bowl with a dishcloth and let it rise in a warm oven or warm spot away from drafts until it doubles in size.
  8. While dough is rising start preparing your fillings, filling ingredients are listed below.
  9. When the dough doubles in size punch down the dough and then let it rise again to about twice it’s size.
  10. Preheat oven to 350 degrees.
  11. Pull off small portions of the dough and on a floured surface roll the dough out to about 1/4 inch thickness.
  12. Cut 3 inch diameter circles of the dough, we used a large drinking glass with a 3 inch diameter as our dough cutter.
  13. Fill each circle of dough with about 1 tablespoon of filling in the center of the circle.
  14. Fold the circle over the filling and pinch the whole edge securely and firmly so the dough does not separate in the baking process.
  15. Place each filled portion sealed side down on a prepared baking sheet (prepared with cooking spray).
  16. Brush the tops evenly with a mixture of 1 beaten egg and 1 tablespoon of water.
  17. Let the filled Piroshky rise on the baking sheets another time for about 20 minutes before putting them in the oven.
  18. Bake at 350 degrees until golden brown (approximately 30-40 minutes).

Yield: Approximately 60-64 Piroshky

Fillings:

Ground Beef Filling:

  • 2 pounds ground beef 15% to 20% fat content
  • 1/2 onion diced
  • 1 medium potato grated
  • 1/2 package dry onion soup mix  or substitute Montreal Steak Seasoning to taste
  • 2 tablespoons fresh dill chopped
  • salt and pepper to taste
  1. Saute onion and potato in vegetable oil until onion is translucent.
  2. Add remaining ingredients and cook until beef is fully cooked.
  3. Set aside until ready to fill dough circles.

Potato Filling:

  • 2-4 russet potatoes, peeled and quartered
  • Salt
  • 1/2 onion grated
  • 1 tablespoon vegetable oil
  • 1 teaspoon onion salt
  1. Cook potatoes in salted water until soft.
  2. Saute onion in oil.
  3. Mash the potatoes with the onion salt.
  4. Add the sauteed onion to the potatoes and mix well.
  5. Set Aside.

Cabbage Filling:

  • I head of cabbage, shredded
  • 1 onion diced
  • Vegetable Oil (approx 1 tablespoon)
  • 1 teaspoon salt
  • Tomato Paste (approximately 6 oz)
  • 1 bay leaf
  • Salt and Pepper to taste
  1. Saute onion until translucent in vegetable oil.
  2. Add cabbage, salt, pepper and bay leaf.
  3. Add enough tomato paste to get a good orange color to the mixture.
  4. Saute until the cabbage is cooked to a soft state.
  5. Taste and add seasonings if needed.
  6. Set aside until ready to fill dough circles.

Promise made and promise kept.

To see all the photos from our baking day click here.

Some of our family prefer the meat filled pies and the portion for the meat filling could fill 30 Piroshky. Because we used 3 fillings for this dough recipe we had enough of the hamburger filling left over to make easy noodle Stroganoff.