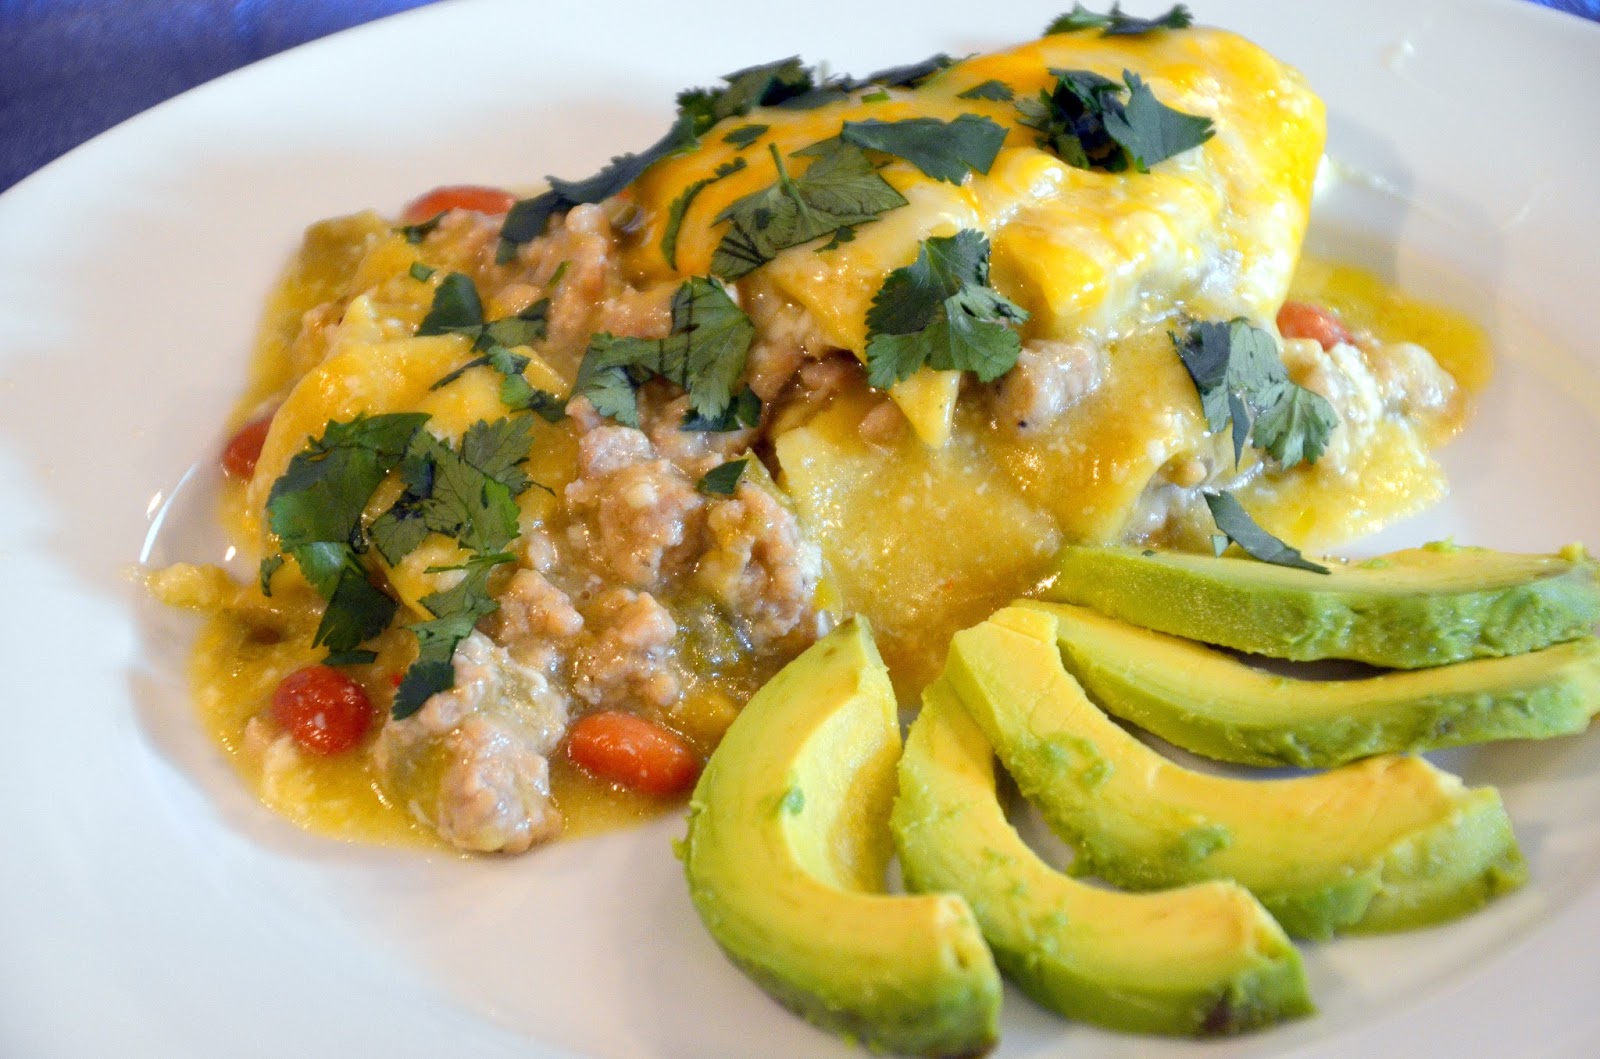
Good Saturday to all of you. Today in my kitchen I wanted to share one of my favorite ways to make a meal. One pot meals are quick and economical and can be real tasty. The clean-up is simple, too. This week in preparation for my post today I made two one pot meals. One was a lasagna pot meal that I saw on My Mother’s Apron Strings blog. With that idea tucked in my head I came up with this one pan chicken enchilada meal. Another great thing about this recipe using these ingredients is that it is Gluten Free!
Ellen’s Chicken Enchiladas One Pot Meal
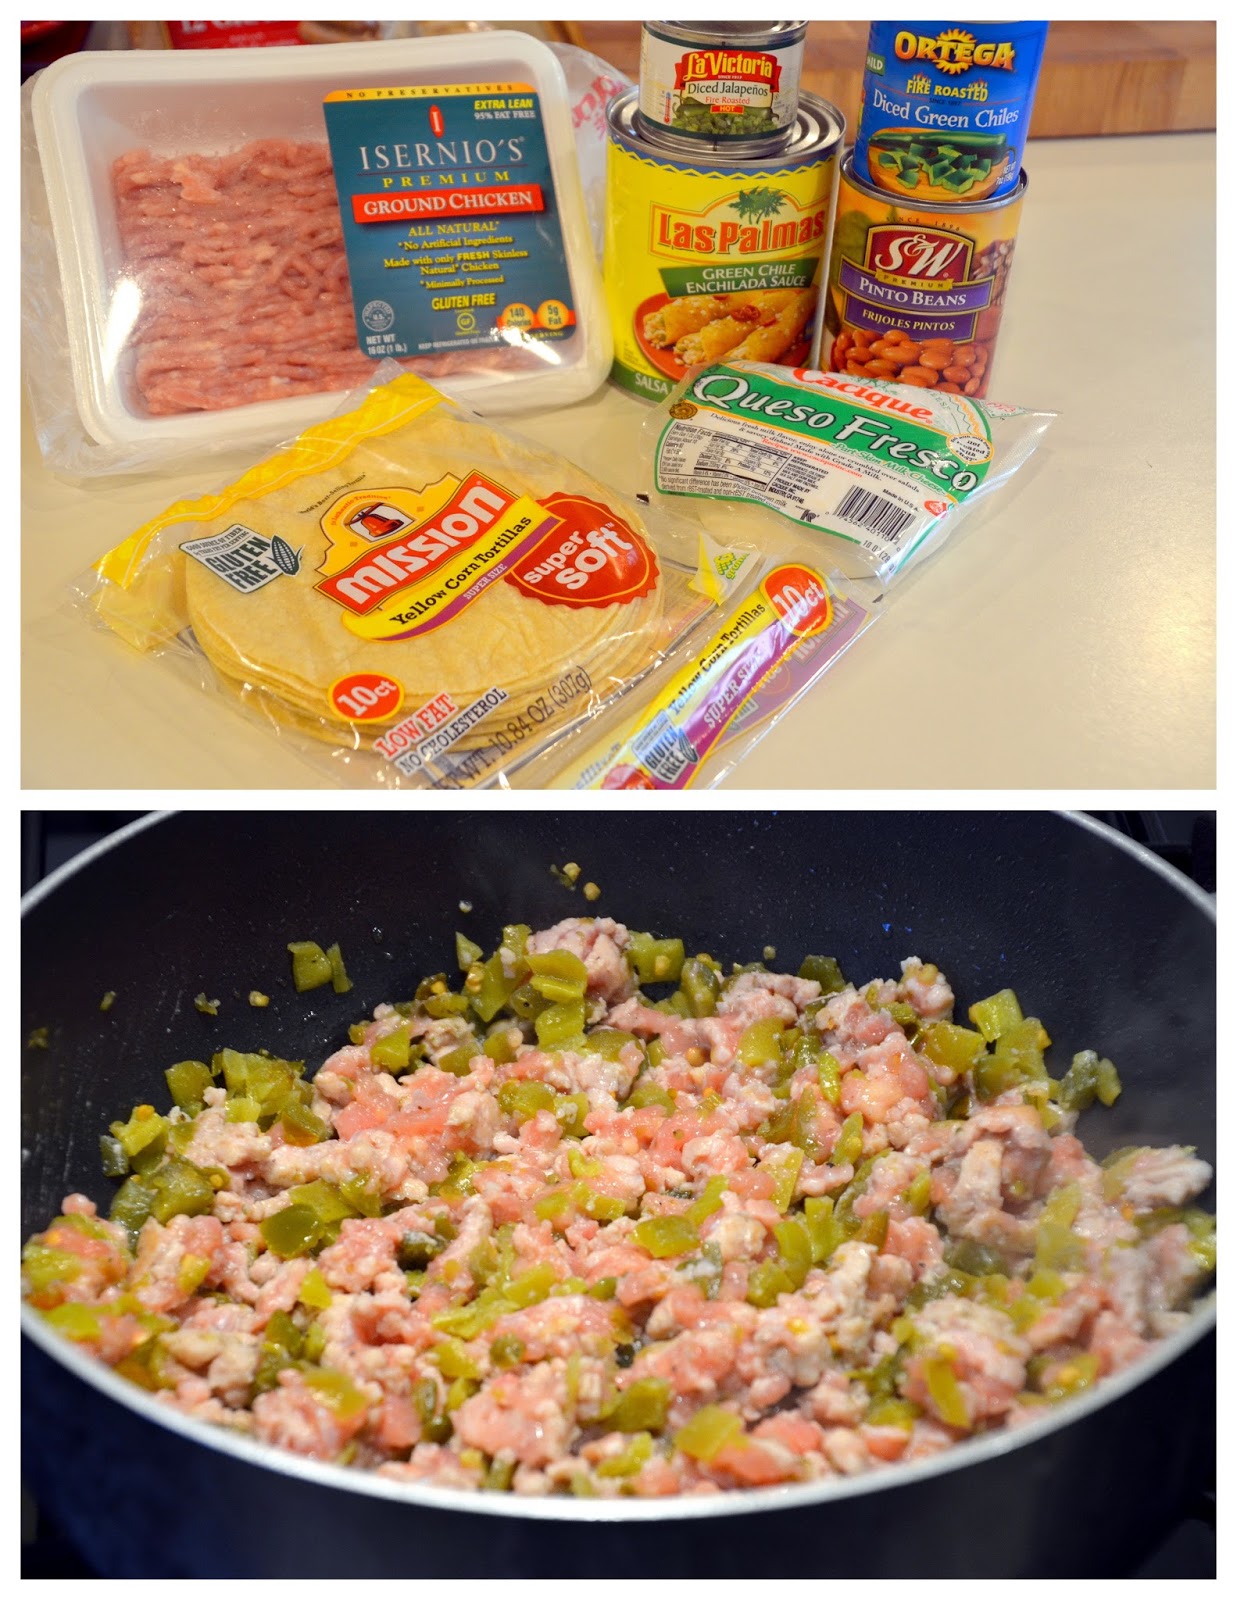
Ingredients:
- 1 pound ground chicken
- 2 tablespoons oil
- 1/2 teaspoon salt
- 1/4 teaspoon pepper
- 1/2 teaspoon onion powder
- 1/2 teaspoon garlic powder
- 1/2 teaspoon oregano leaves
- 1 – 7 oz. can of diced green chilies drained
- 1- 4 oz. can of diced jalapenos drained (optional)
- 10 oz. package of Queso Fresco grated (Mexican cheese)
- 1 – 28oz. can of green enchilada sauce (mild)
- 1 – 15 ounce can of pinto beans drained.
- 10 count package of white or yellow corn tortillas sliced.
- 1 cup Mexican blend grated cheese
Method:
- Use a stove top 4 quart or larger dutch oven to heat the oil.
- Add the chicken, salt, pepper, onion powder, garlic powder, oregano, green chilies and jalapenos (if using).
- Cook until the chicken is no longer pink.
- Remove the chicken mixture to a plate.
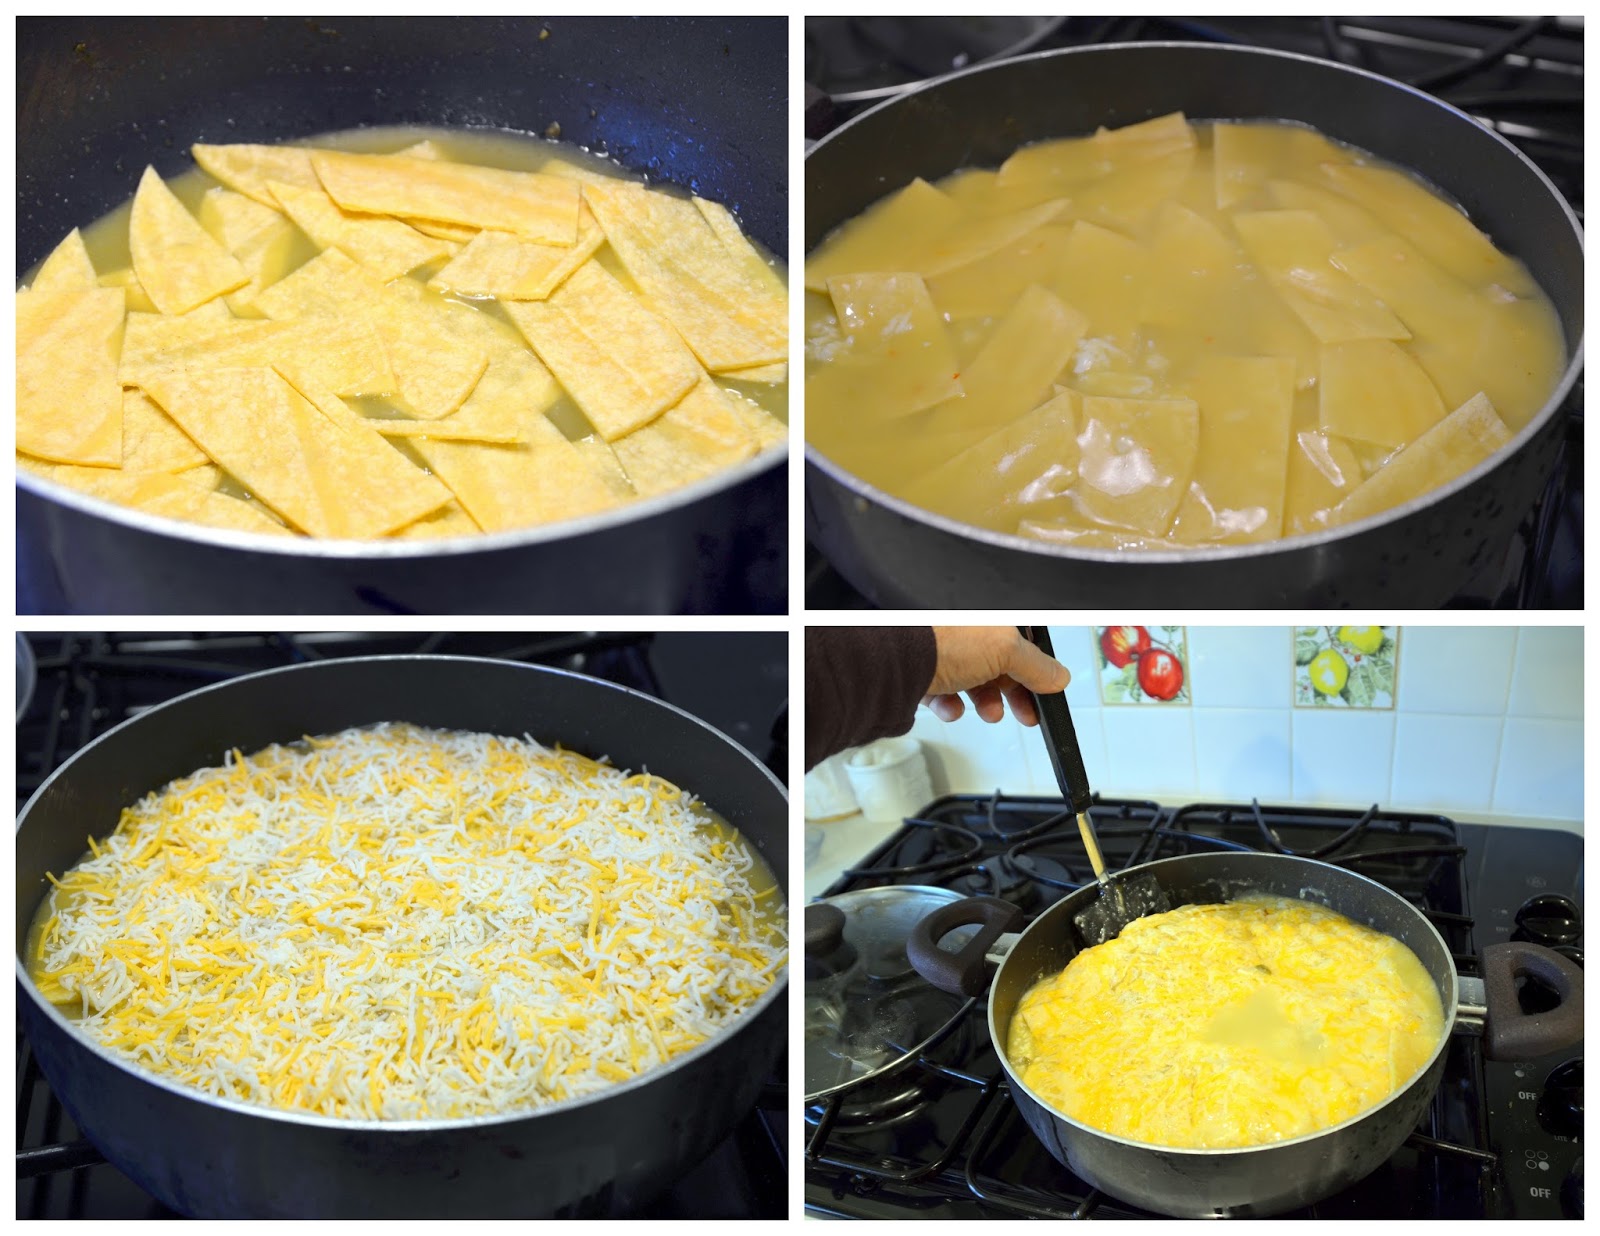
- Now it’s time to layer the ingredients.
- Add to the same dutch oven 1/3 of the enchilada sauce.
- Place one third of the cut up corn tortillas evenly on top.
- Put 1/2 the chicken mixture on top of tortillas.
- Place 1/2 the queso cheese on top.
- Add all the beans on top of the queso.
- Add another layer of the tortillas.
- Add the second 1/2 of the queso cheese on top.
- Add the next 1/3 of the sauce.
- Add the second half of the chicken.
- Place the last portion of tortillas on top of the chicken.
- Pour the last 1/3 of the enchilada sauce on top.
- Sprinkle the top with the Mexican blend grated cheese.
- Cover and cook on medium low for up to 30 minutes. After about 15 minutes use a turner to gently slide down all around the edges to lift up the bottom portion so the bottom doesn’t burn or stick.
- After the 20-30 minutes of cooking take lid off and let it cook off some liquid for 5 minutes longer.
You just want the ingredients to be heated through and for the cheese to melt nicely.
Serve with a salad or veggies.
This can serve 4 to 6 people.
I didn’t get photos of all the layers but these are the first layer and the middle layer and the last topping of the Mexican blend of cheese. The last photo shows the spatula going down the edges of the pan all around to lift the bottom layer gently.
My family really enjoyed this dish with the jalapenos but it did add some good kick to it so if your family is sensitive to spicy meals just delete the jalapenos. They also enjoyed tortilla chips on the side.