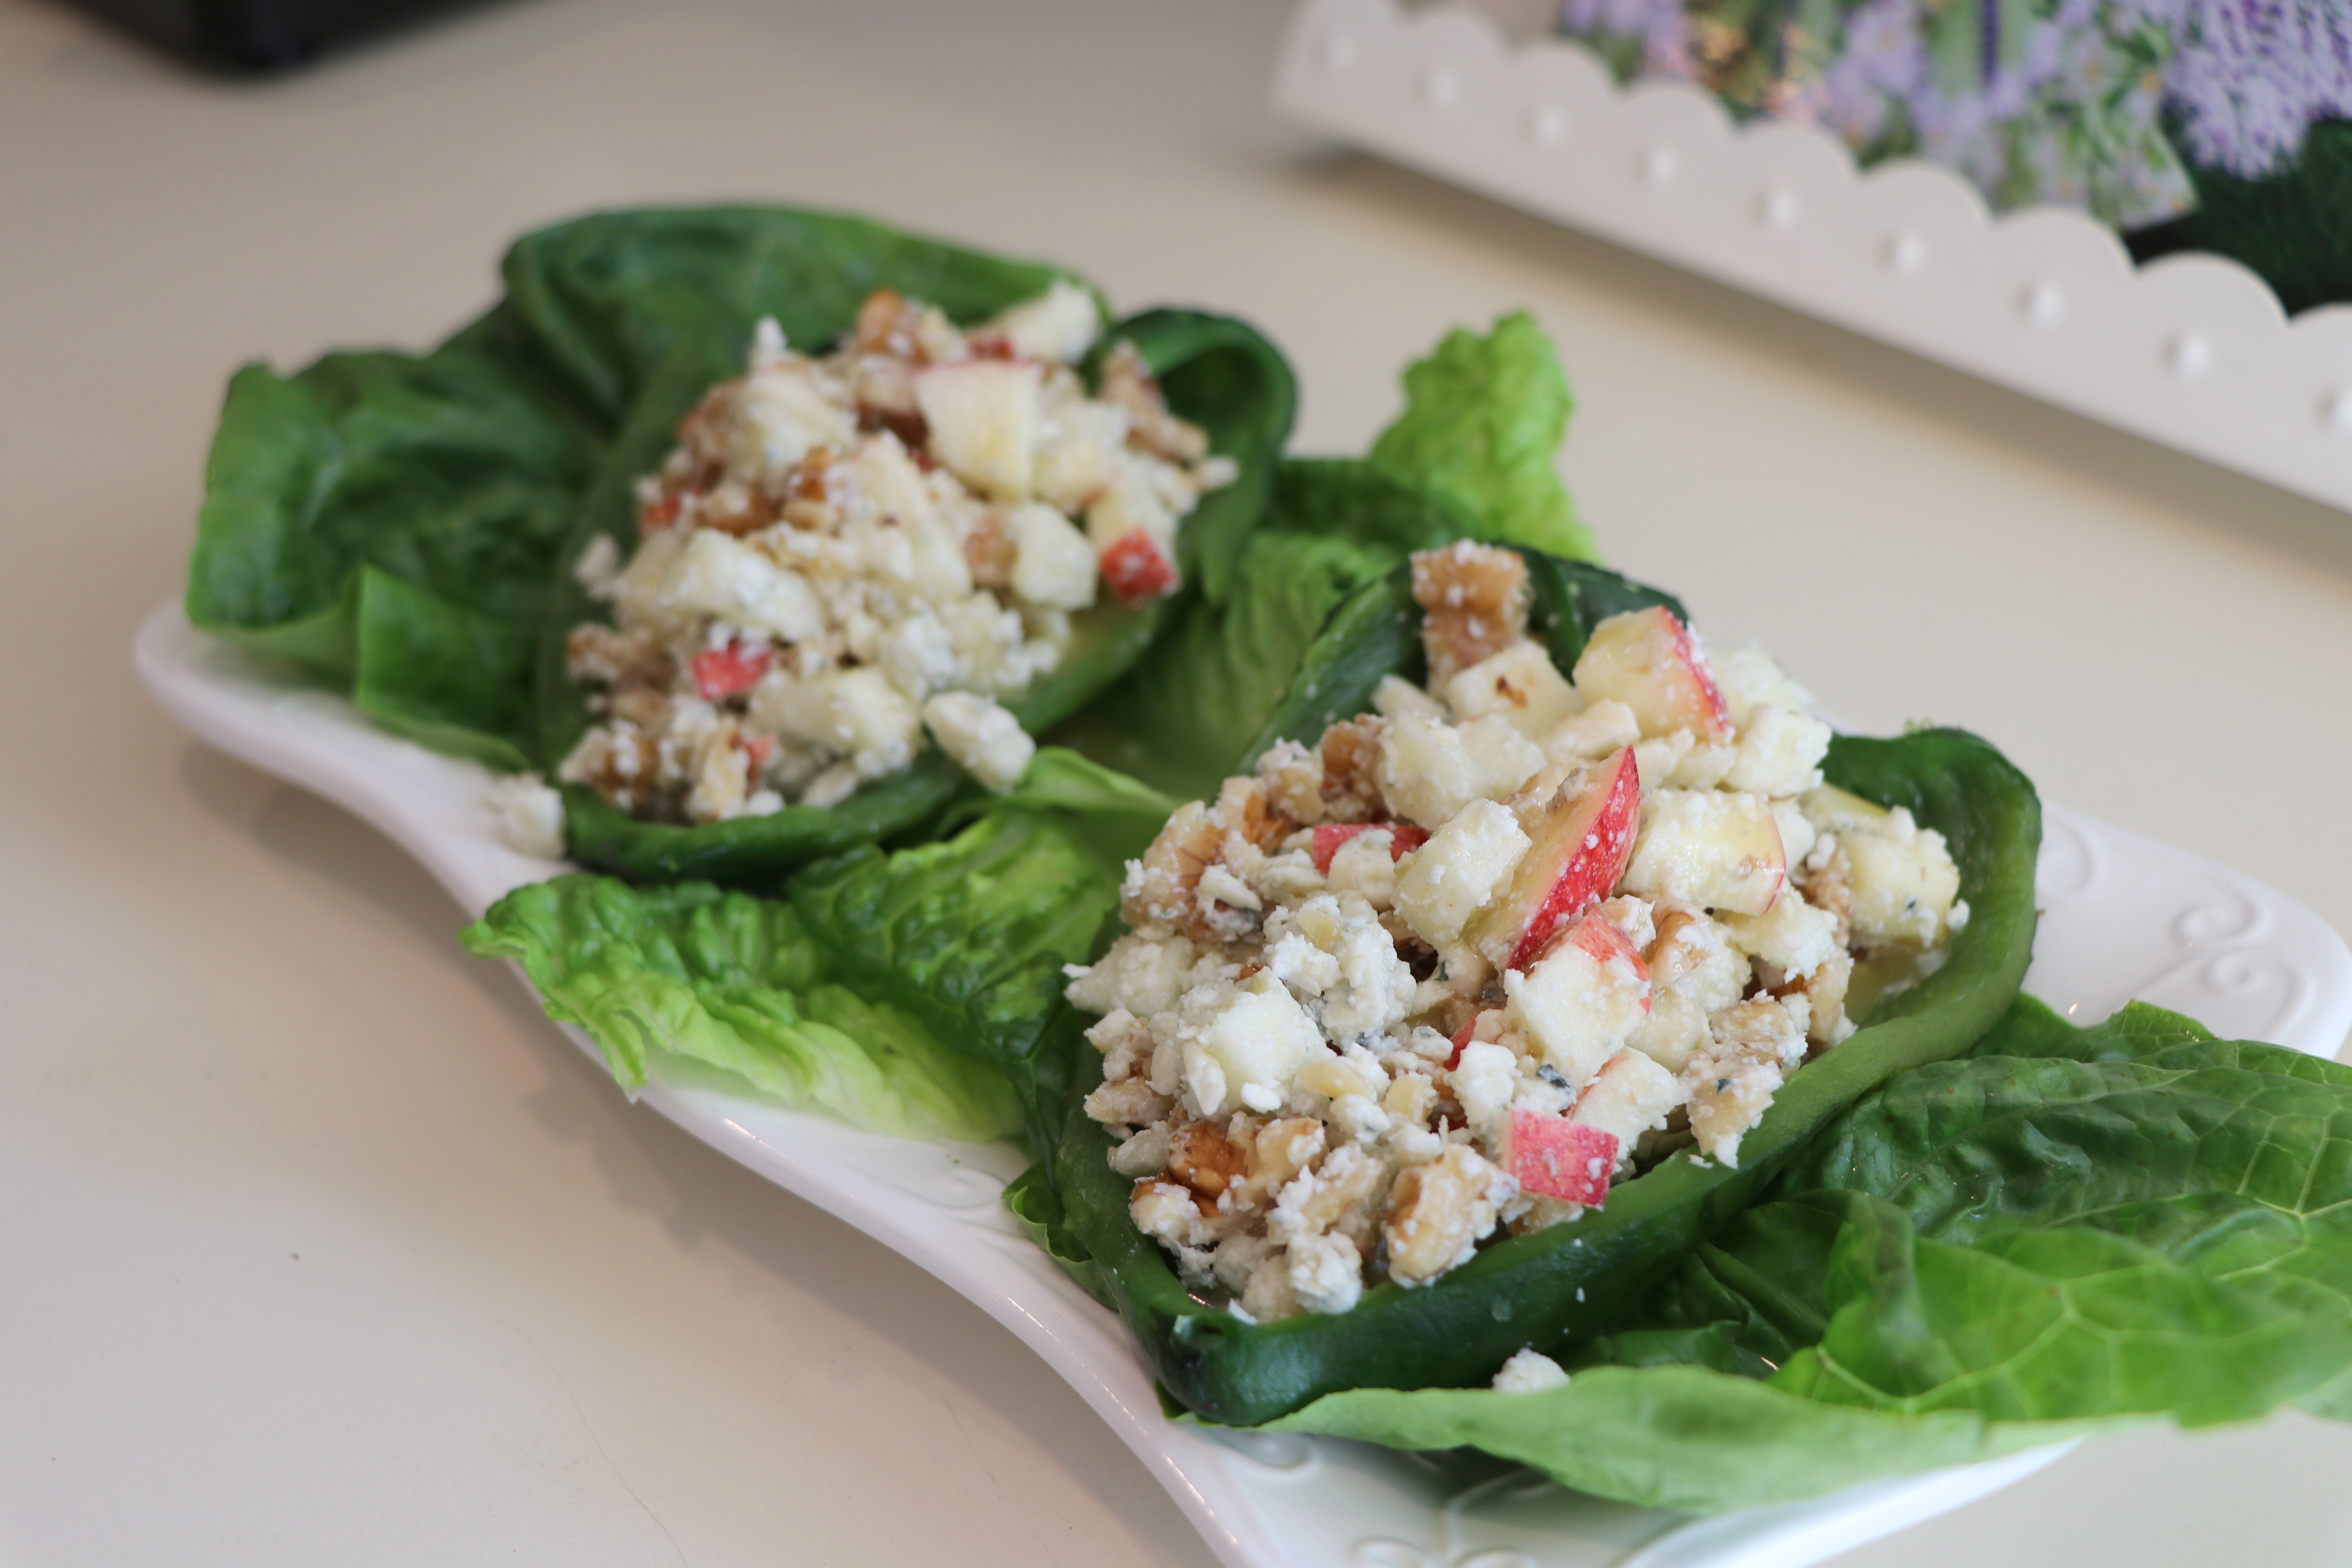
Head over to Mennonite Girls Can Cook to see how to put these Poblano boats together.
My back is a little better today I’m happy to say.
Happy Thanksgiving Day to all our friends in Canada!
Head over to Mennonite Girls Can Cook to see how to put these Poblano boats together.
My back is a little better today I’m happy to say.
Happy Thanksgiving Day to all our friends in Canada!
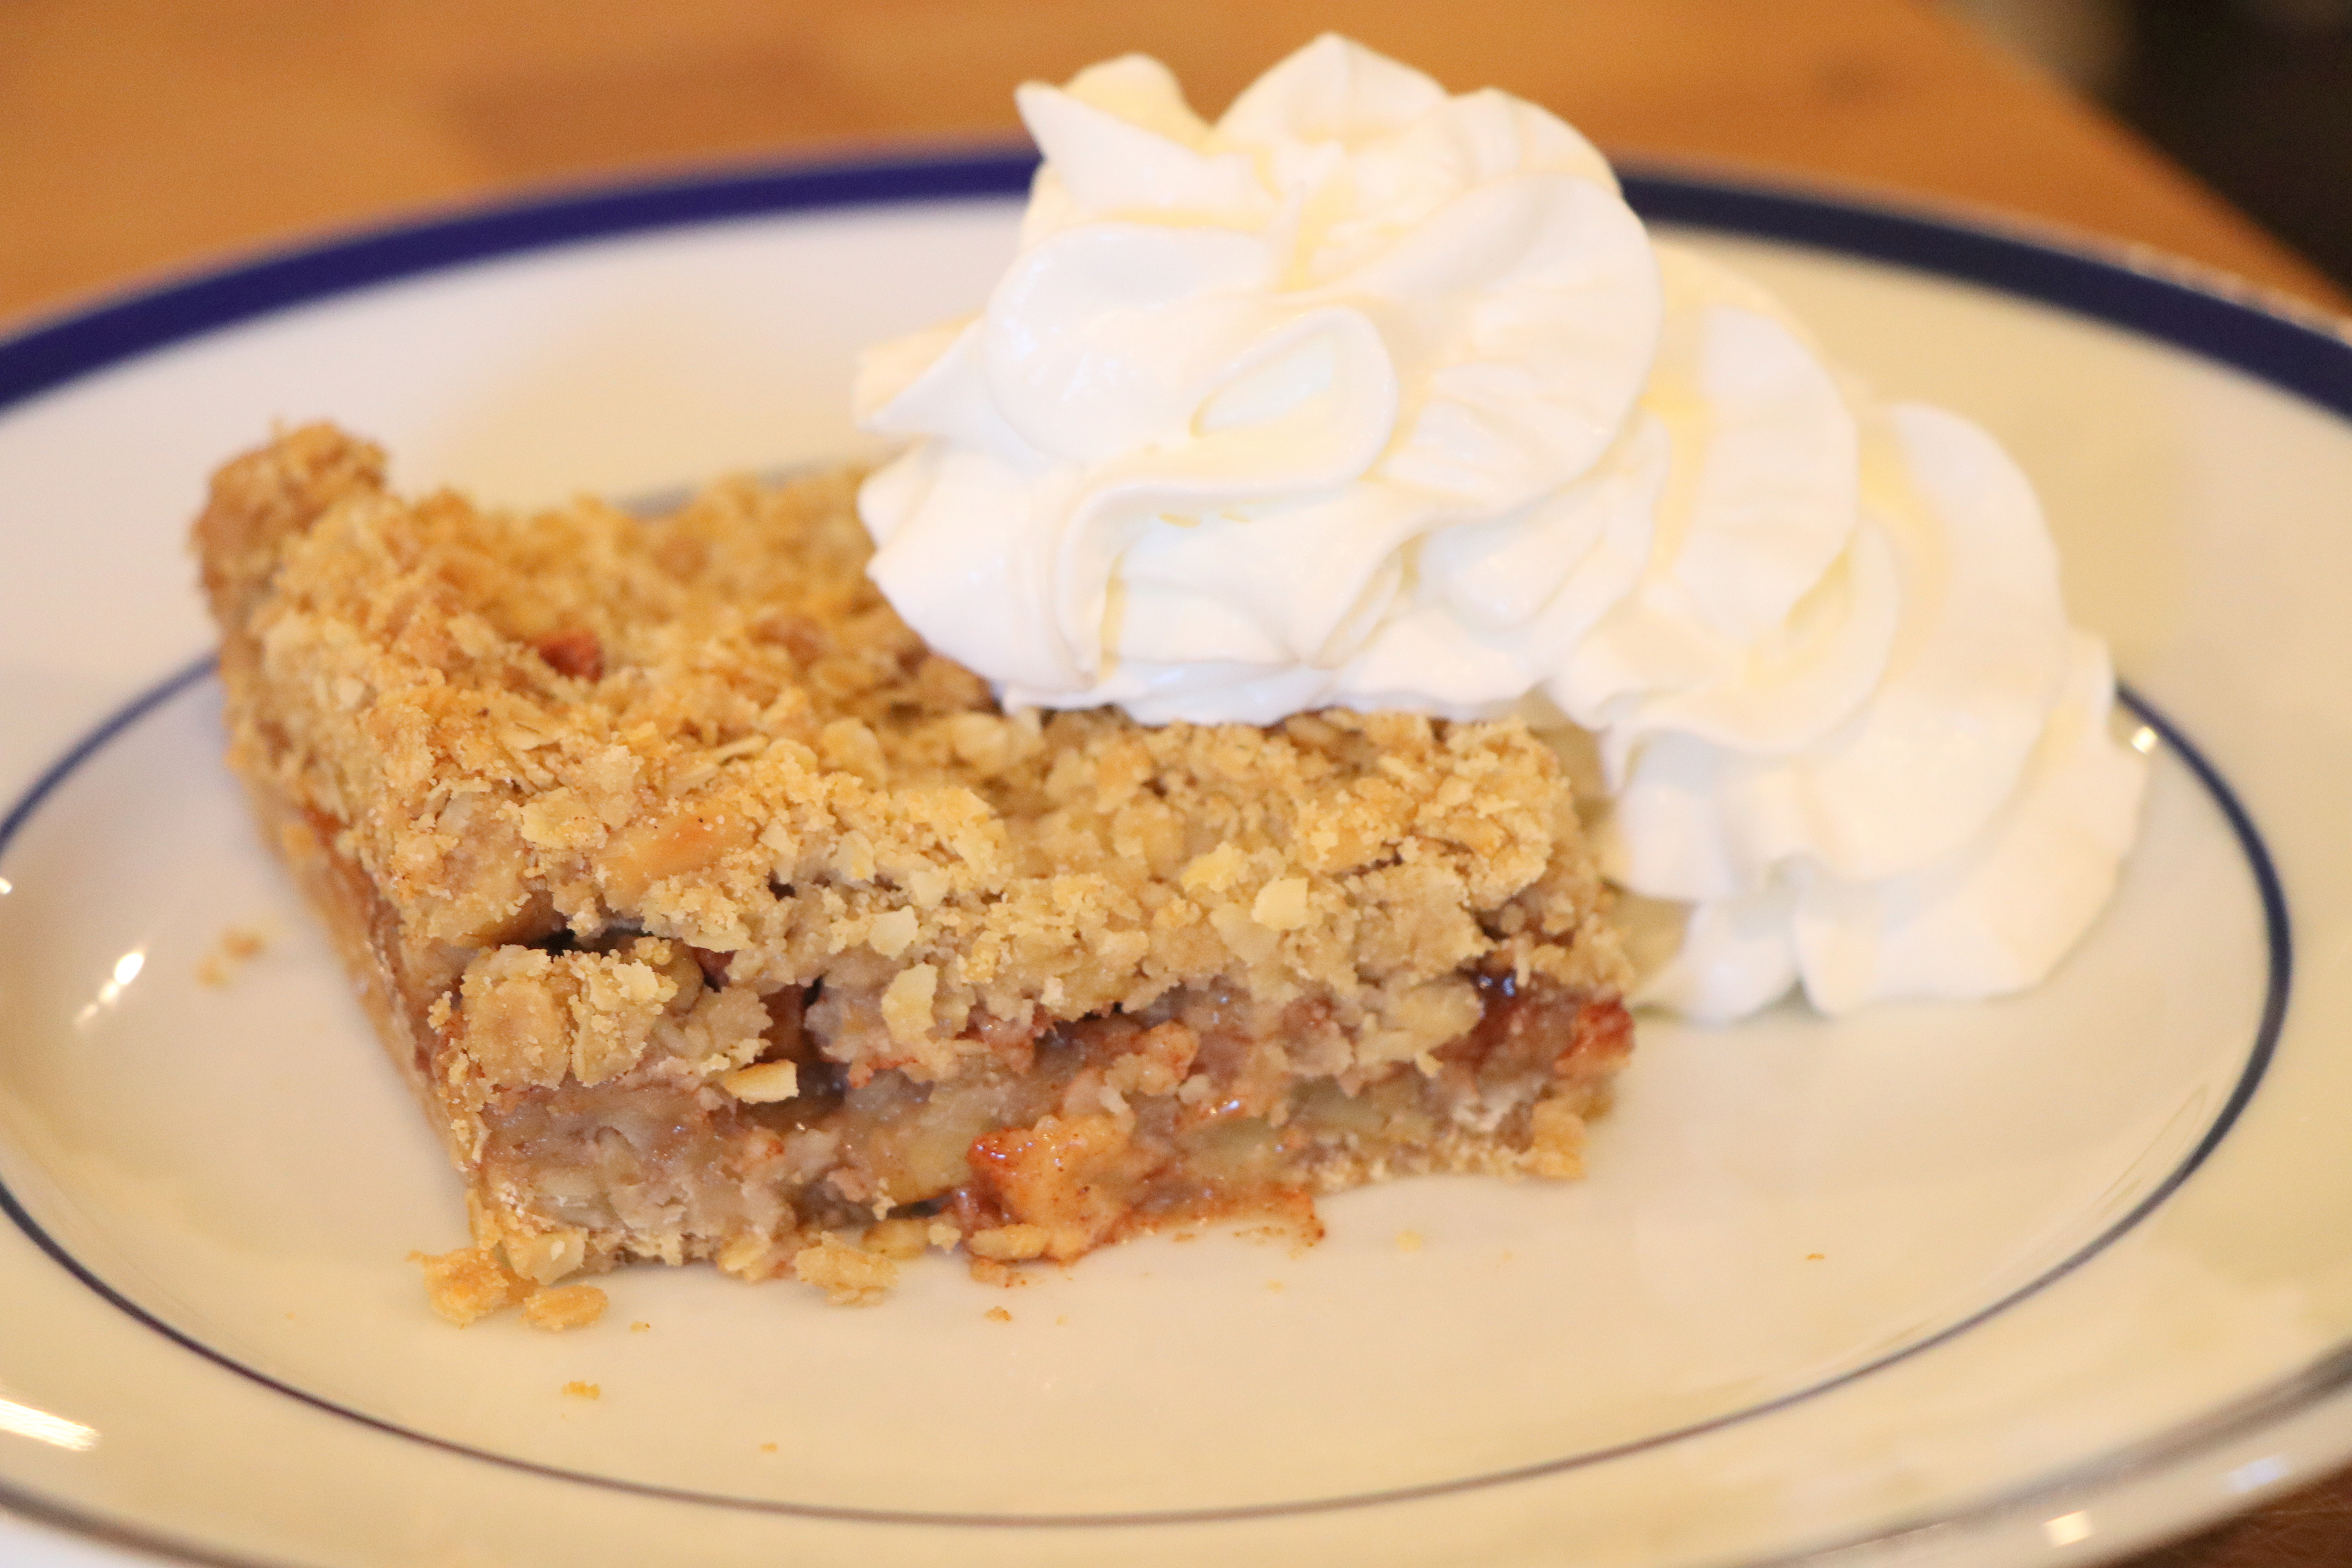
Click over to Mennonite Girls Can Cook for Flashback Friday featuring my Apple Walnut Crisp.
I think I’ll use the same recipe using some of our ripe pears. It’s a recipe we enjoy.
Yesterday Dear and I worked hard for several hours moving things around at this old house and taking some things out to the garage to store. Before I could take photos Dear had things moved about. I’ll share some before and after photos soon.
Hello September! We’ll soon be singing that great Beatles tune with these words in the lyrics, “Will you still need me, will you still feed me”.

Head on over to Mennonite Girls Can Cook to see the recipe for this cobbler. I like it because you can use frozen or fresh fruit and the cake topping doesn’t get soggy. I made a larger one with a mix of apples and blueberries, too. Serve it cake side up or cake side down.
They say we are finally going to get some relief from our dry days and heat and smoke filled skies soon. I hope so.
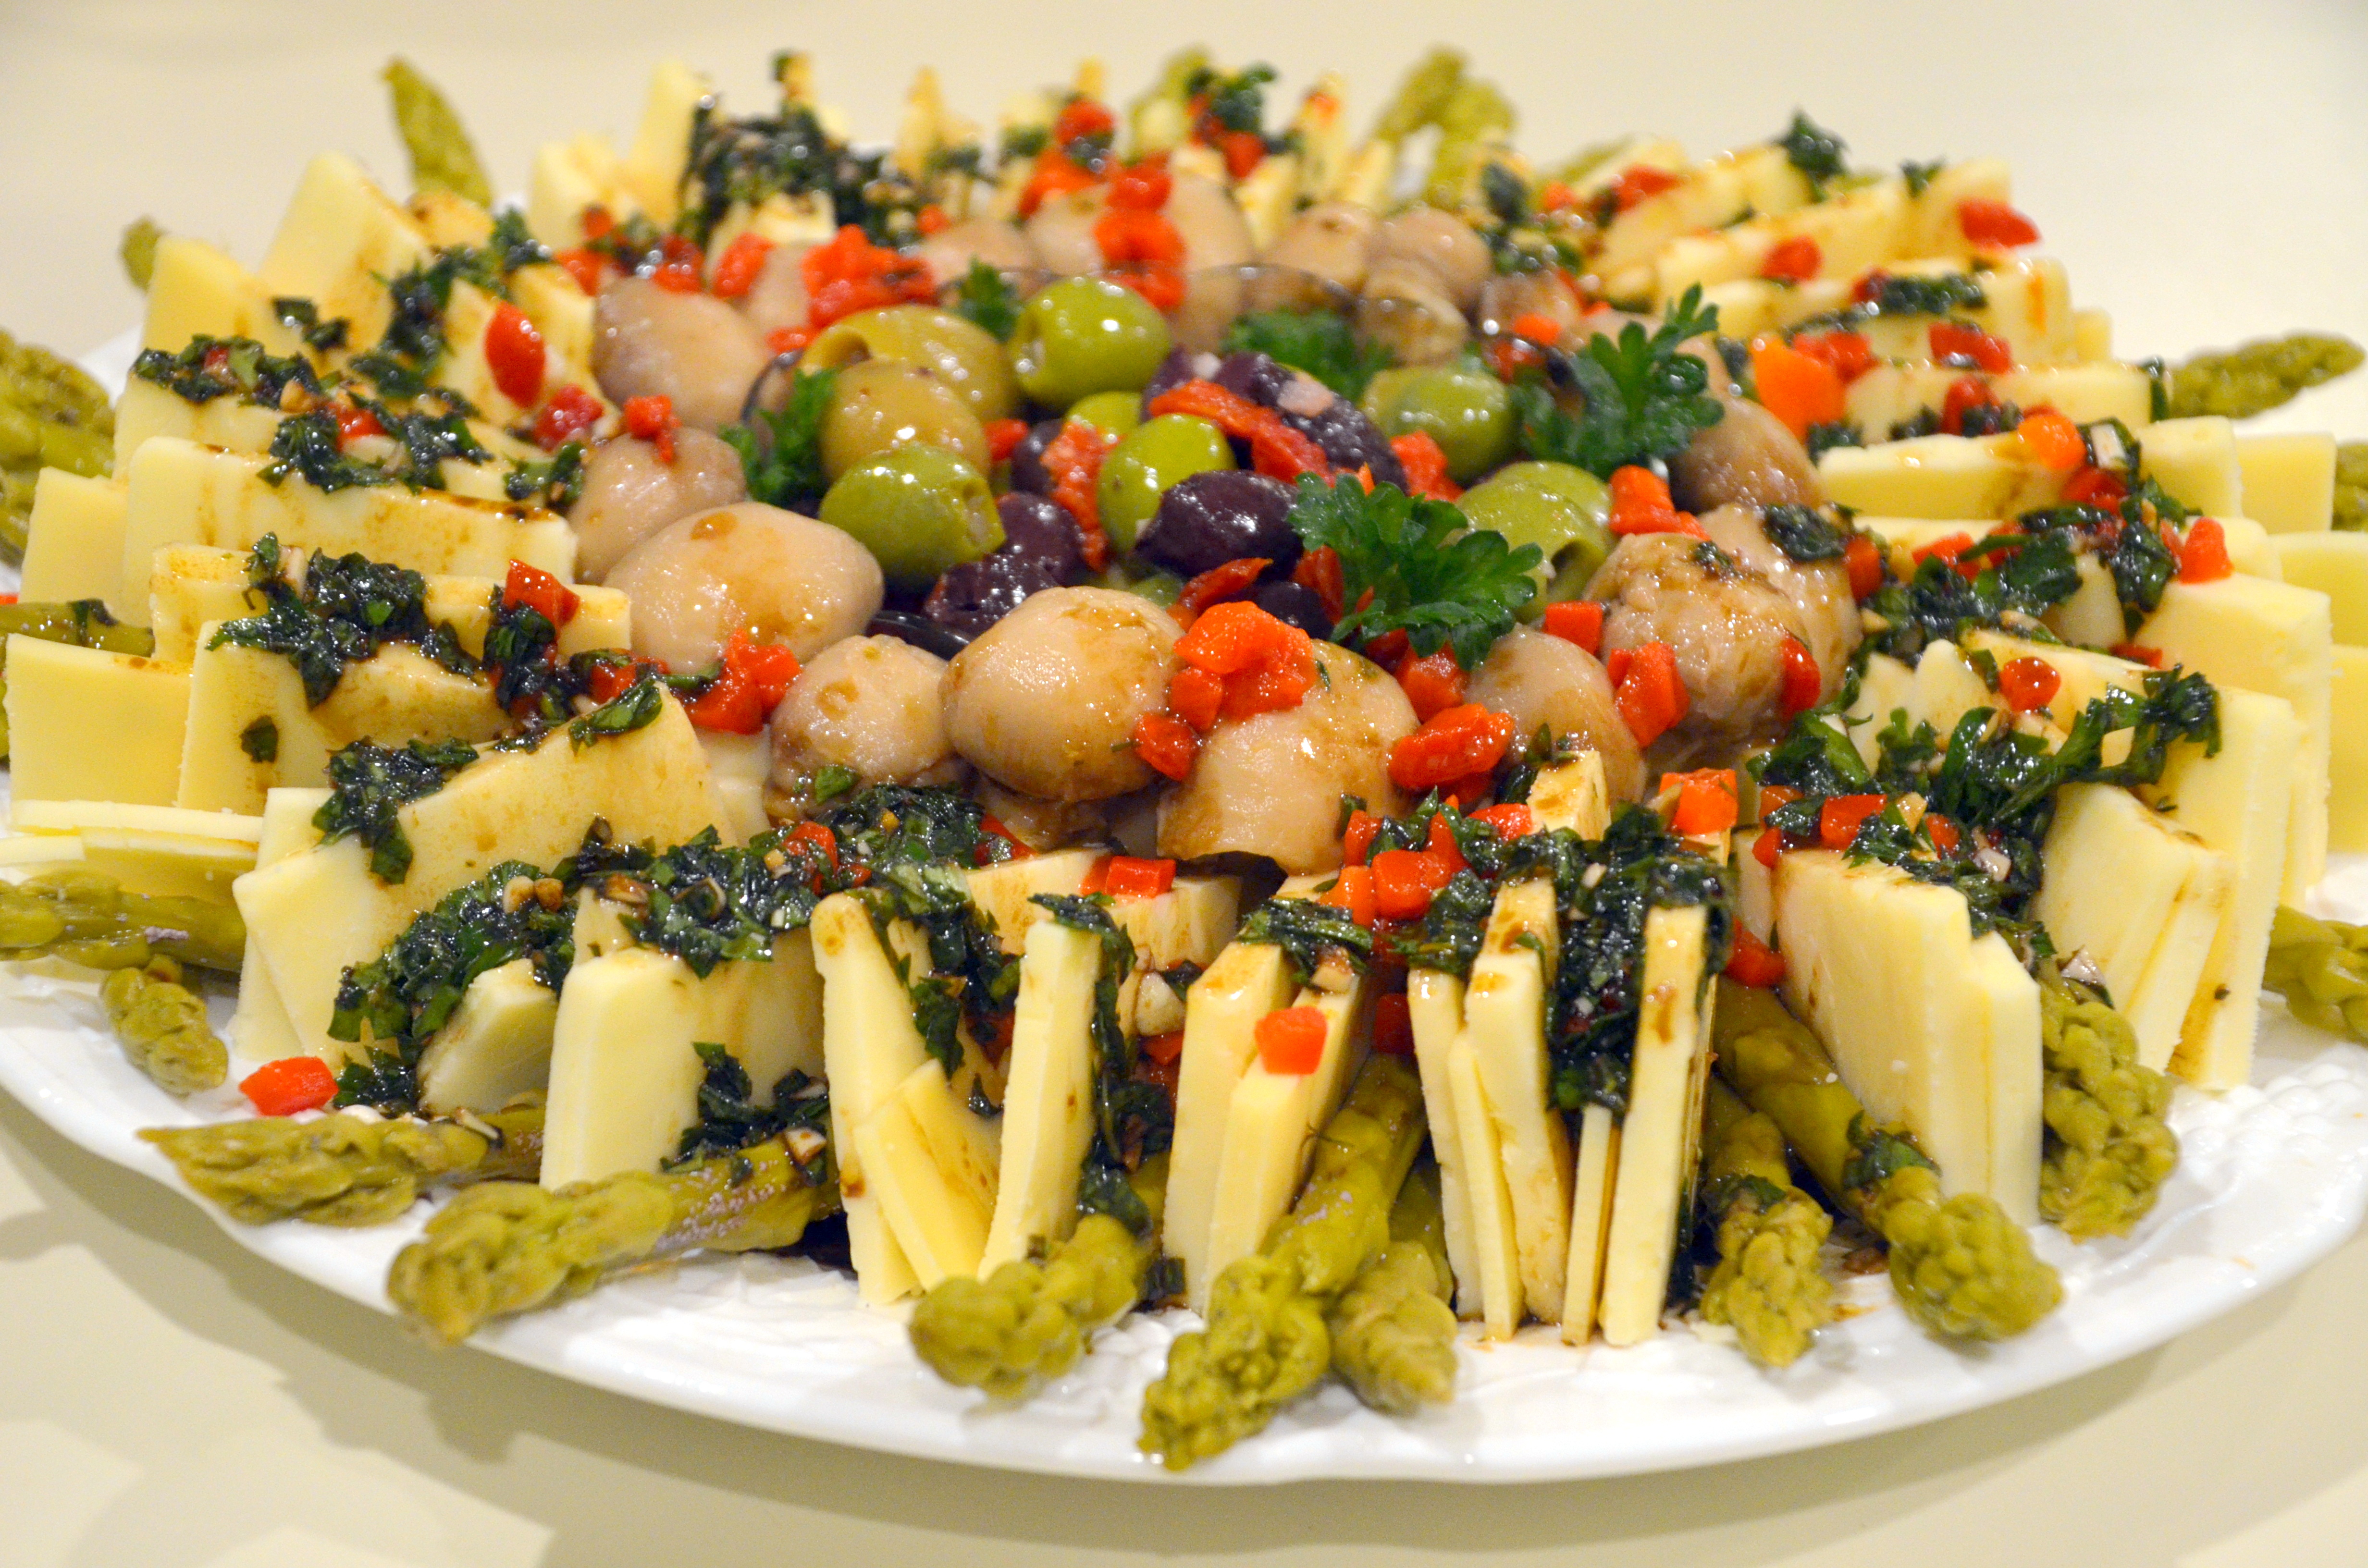
Click on over to Mennonite Girls Can Cook for the instructions to put together this Marinated Cheese Platter. It’s easy and great for a crowd.
Hope your last day of 2016 is filled with good things and here’s a prayer for 2017…
A New Year’s Prayer
May God make your year a happy one!
Not by shielding you from all sorrows and pain,
But by strengthening you to bear it, as it comes;
Not by making your path easy,
But by making you sturdy to travel any path;
Not by taking hardships from you,
But by taking fear from your heart;
Not by granting you unbroken sunshine,
But by keeping your face bright, even in the shadows;
Not by making your life always pleasant,
But by showing you when people and their causes need you most,
and by making you anxious to be there to help.
God’s love, peace, hope and joy to you for the year ahead.
Anon.
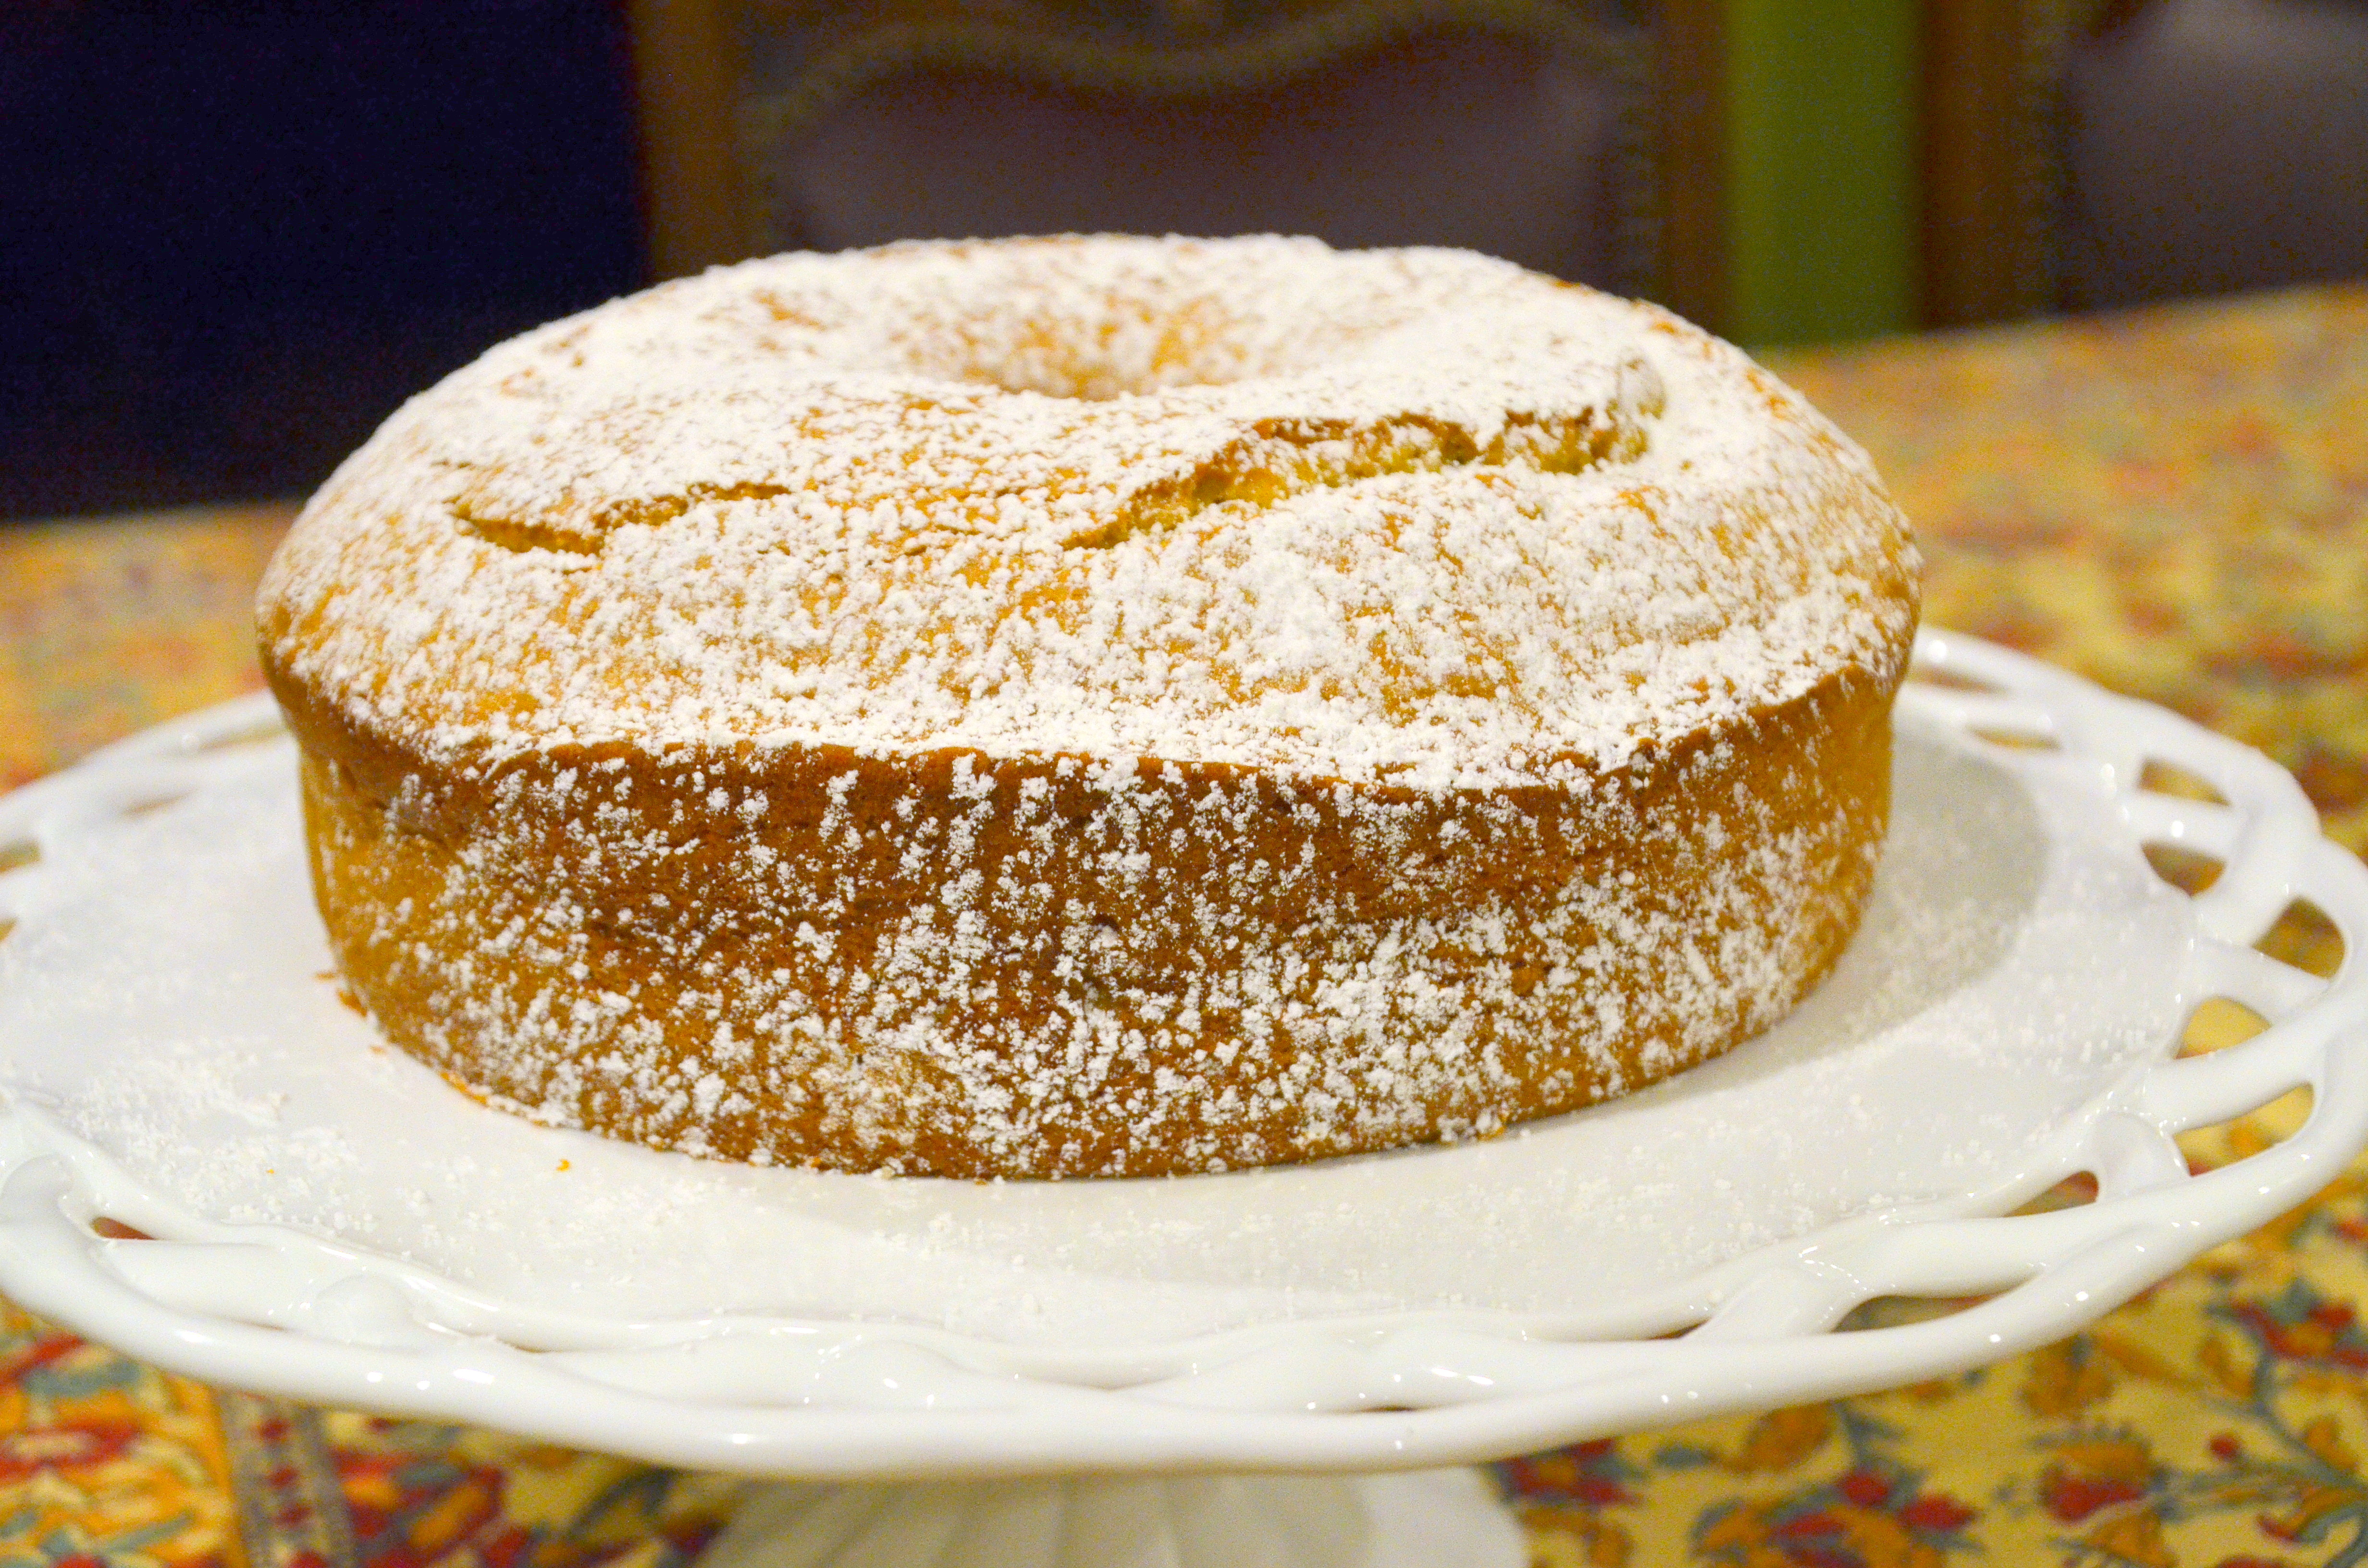
1. For my Sugar, Spice and Everything Nice Friday post I’ll start with this Pumpkin Spice Cake that’s easy to make. I posted it on the Mennonite Girls Can Cook blog this week and you can click HERE to get the recipe.
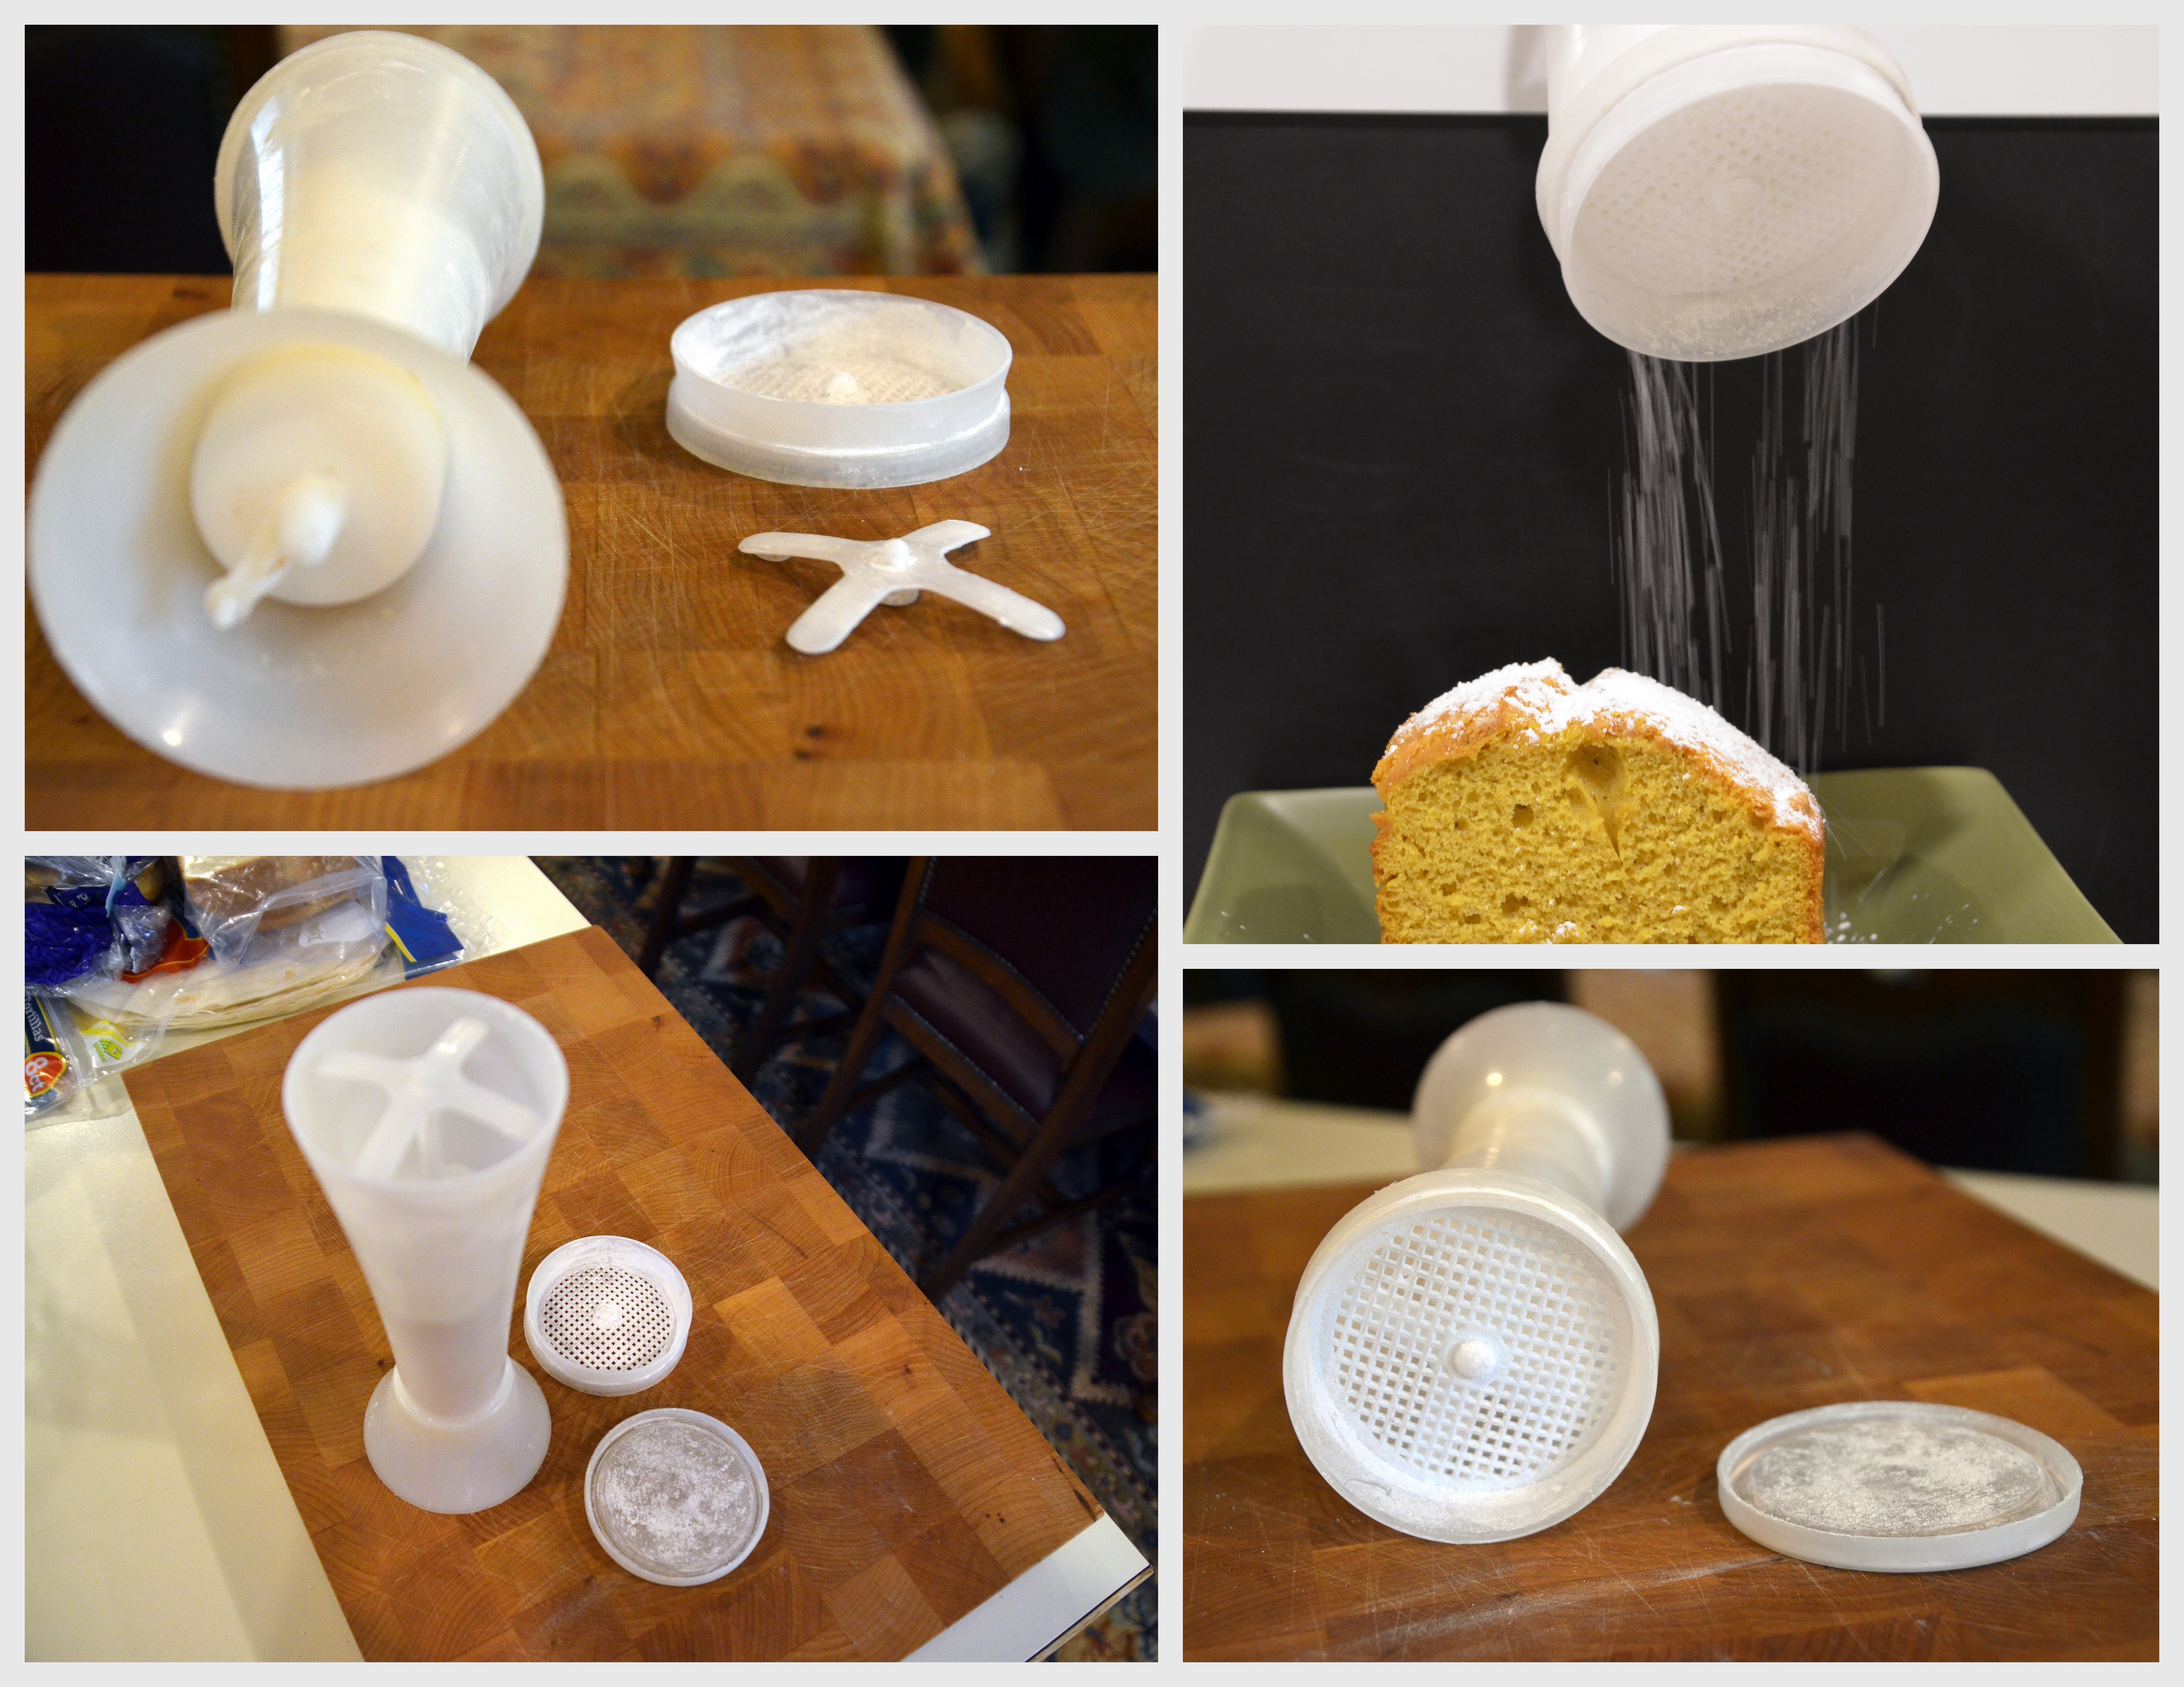
In tandem with my cake above is this collage. Do you have a Jiffi-Sift? We’ve never given ours a name but everyone in the family knows what to grab when you want to lightly dust powdered sugar on anything like French Toast and Spice Cake. I have a post about my Tupperware Jiffi-Sift here. Some of you call powdered sugar icing sugar.
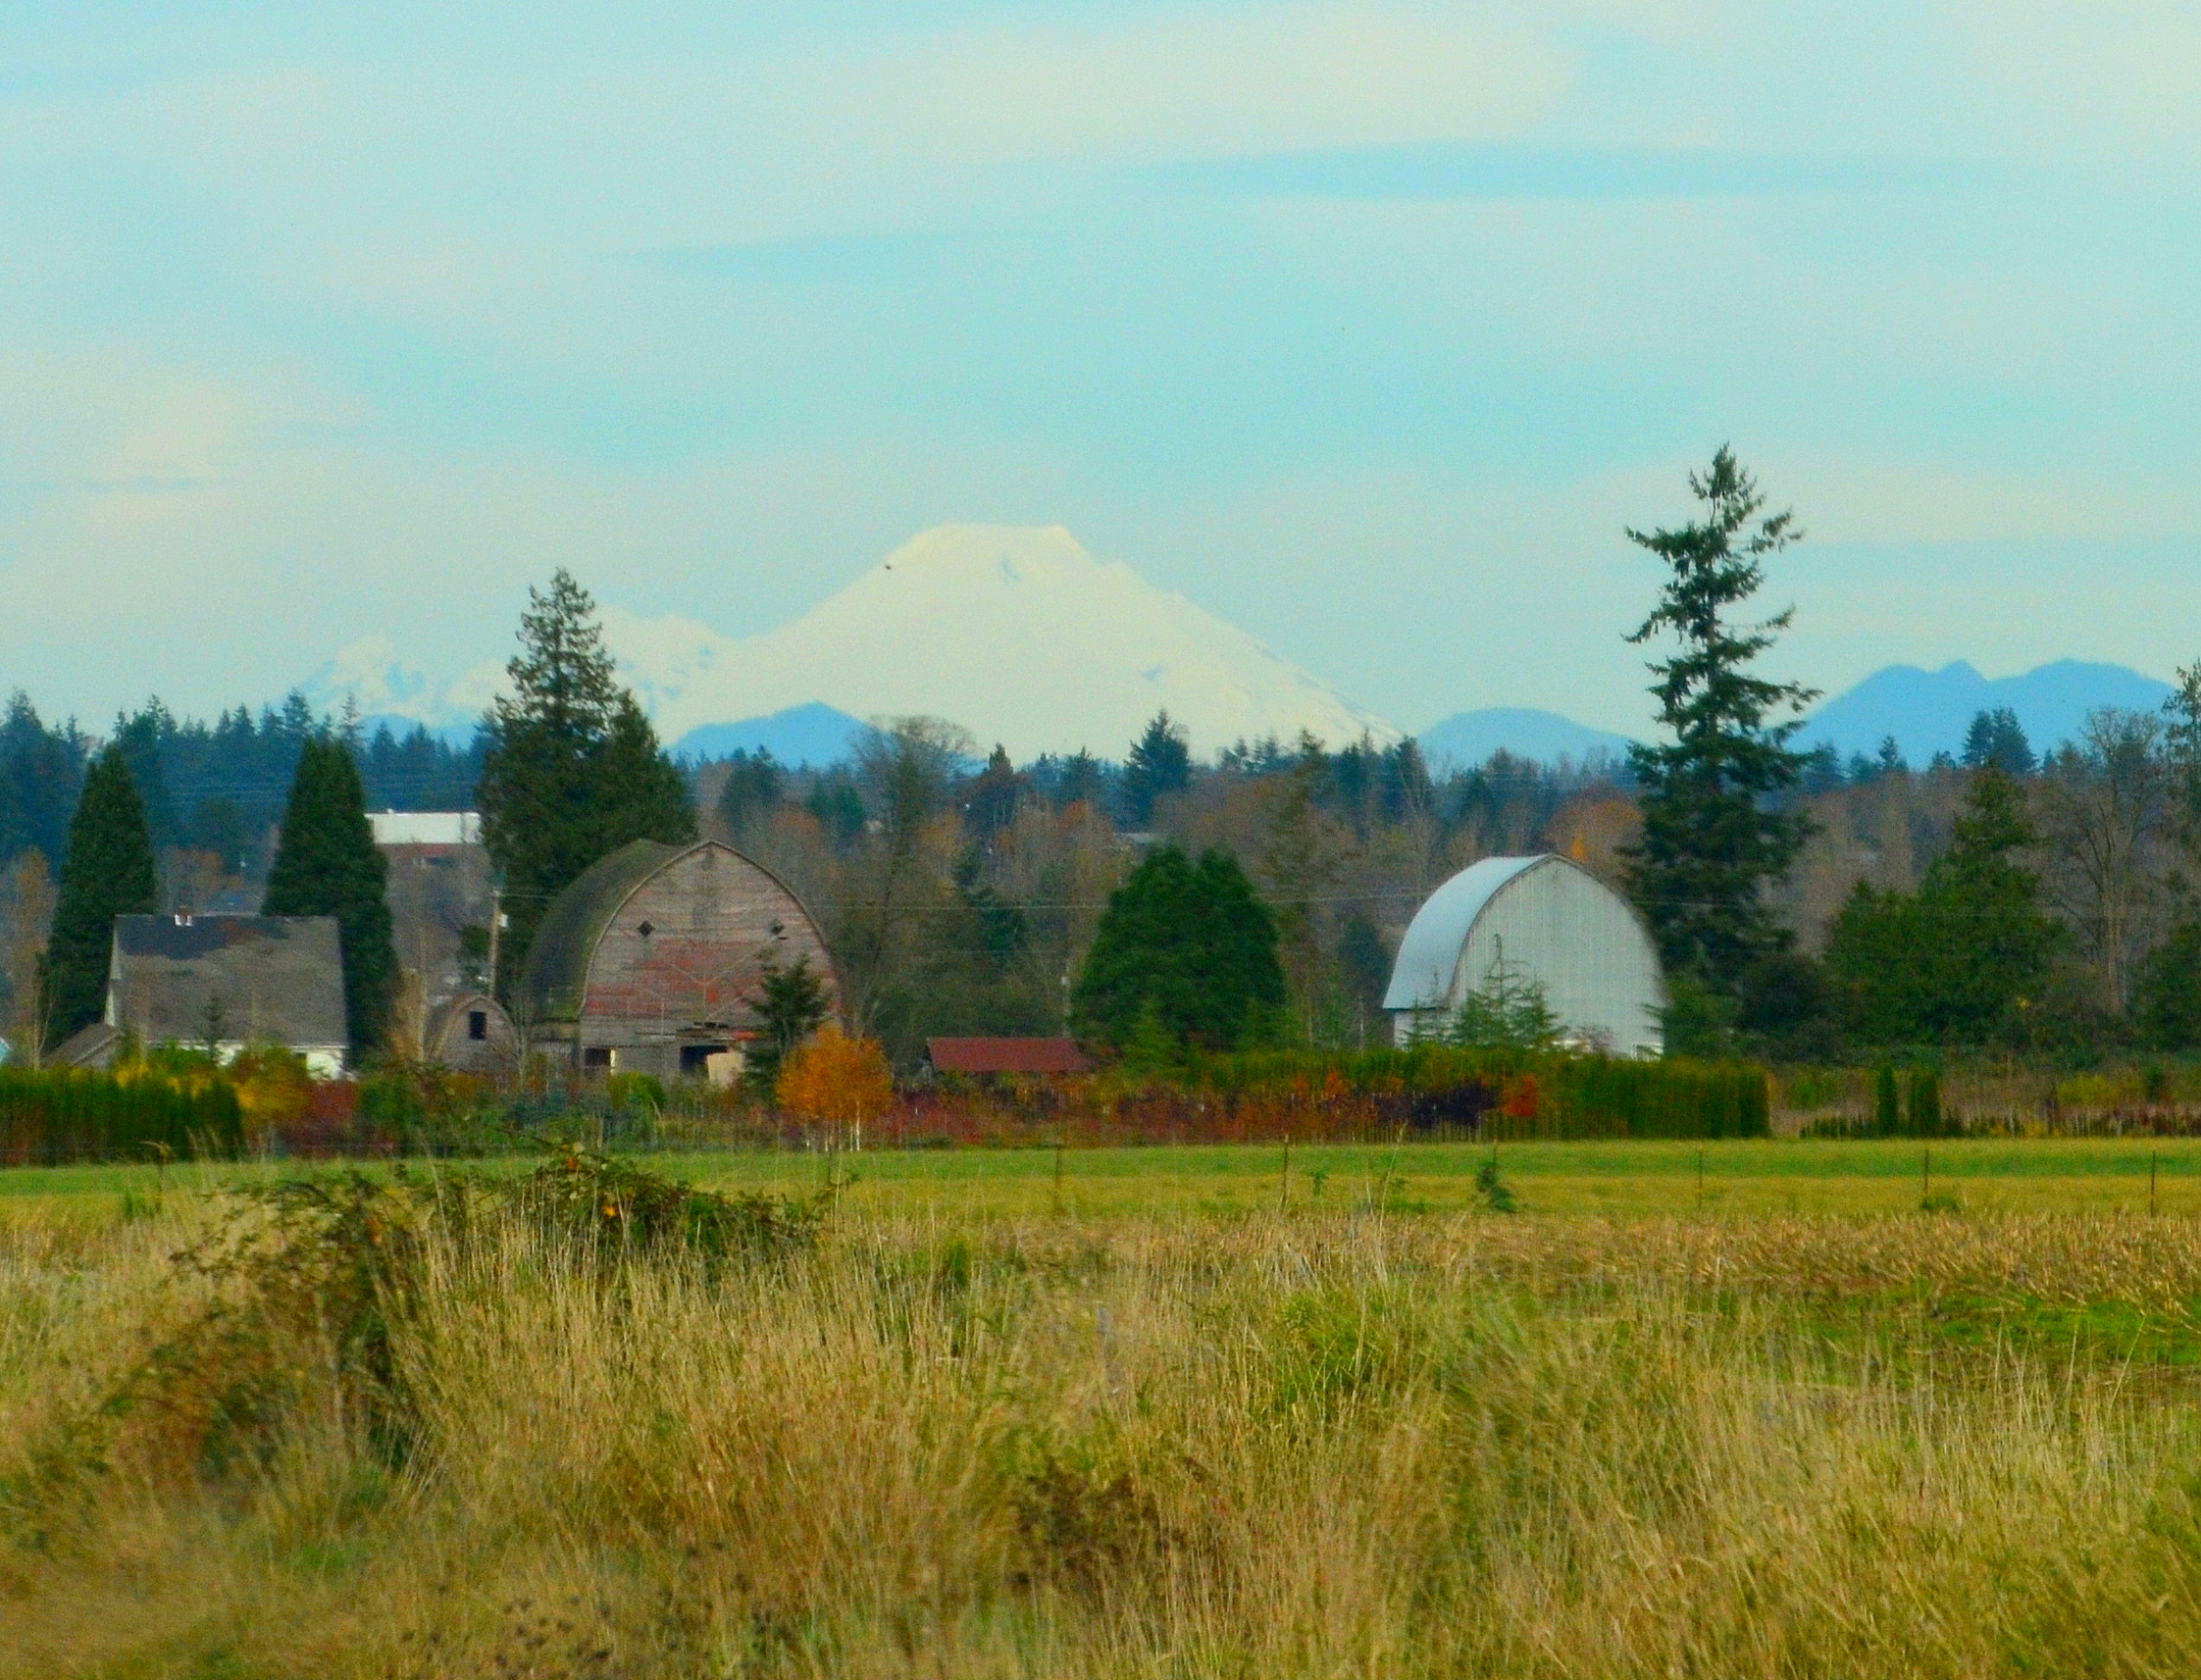
2. On a nice day it’s good to take a little drive to see something different from your regular views. This was taken from the car while we traveled on Highway 9 north past Snohomish. That’s Mount Baker covered with snow and just beyond are our Canadian neighbors.

3. Never stop singing! That’s my motto amongst a few others. This is our little girl (sweet and sassy) singing at her wedding. Photo credit to Jeremy Leffel.

4. Sugar, Spice and Everything Nice that’s what little girls are made of. Continuing on with my Friday theme this week I’m sharing this news again because it’s worthy of repeating. We are grandparents for the first time and our granddaughter should be born sometime in late March or early April if she decides to be late. We are praying for a healthy babe and uncomplicated delivery.
5. And here is this next photo my sister took of my dear old pop who is 93 and is carrying on. Still enjoying his recliner and making jigsaw puzzles. When I call him he says “I’m getting weaker, but I’m okay dochenka”. Dochenka is an endearing word for daughter in Russian. Then he always asks us to pray for him.
 Thankful for these nice things in my life: Cake and other sweet treats, views to enjoy, daughters that delight, new life to anticipate with joy, old Pop to cherish.
What are some of your favorite things that you are thankful for?
Linking up to Friday’s Fave Five with Susanne and Foodie Friday and Everything Else at Rattlebridge Farm.
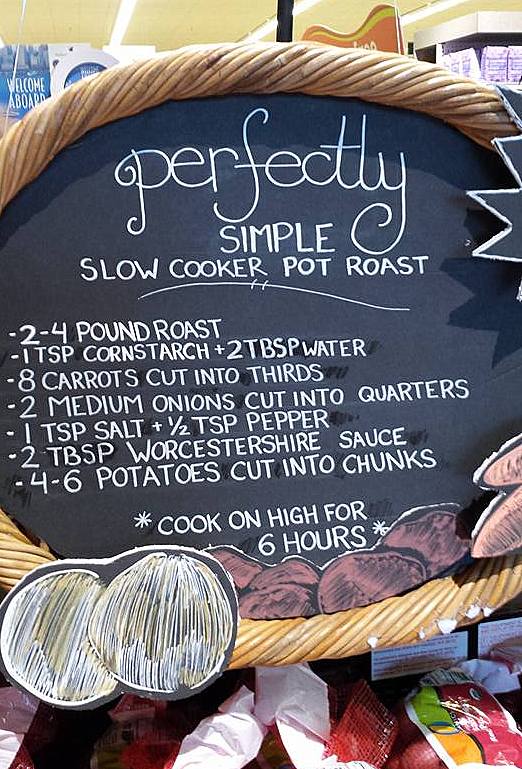
This was a sign at the grocery store I frequent and it was enough to motivate me to buy the ingredients and throw them in the slow cooker the next day. I didn’t go wide enough on my photo to show a little tag sign that said “Take a photo”. I thought this was a smart marketing idea. They also positioned the sign over a case full of the ingredients just as you entered the store.
I changed the method up a bit and added some ingredients and it turned out good. What I did differently…
I seasoned the meat and seared it on all sides. I put all the vegetables including 2 stalks of celery cut into thirds into the pot, set the seared meat on top of the veggies. I mixed 3/4 cups beef broth, 1/4 cup red wine, the Worcestershire, salt and pepper together and used this liquid to de-glaze the pan that I seared the meat in and then poured all this liquid over the beef and veggies in the pot. I left out the cornstarch and water but after 6 hours I took the meat out of the pot and I added a mix of 2 Tablespoons flour and a couple tablespoons of water (mixed well) to the pot mixed it in well and let the pot stay on high for another 30 minutes. Then I put the pot on low and added the meat back to the pot and let it sit till we were ready to eat. We had good crusty bread with the pot roast.
Since this is a food post I’d like to share two other recipes that I posted recently to Mennonite Girls Can Cook Blog.
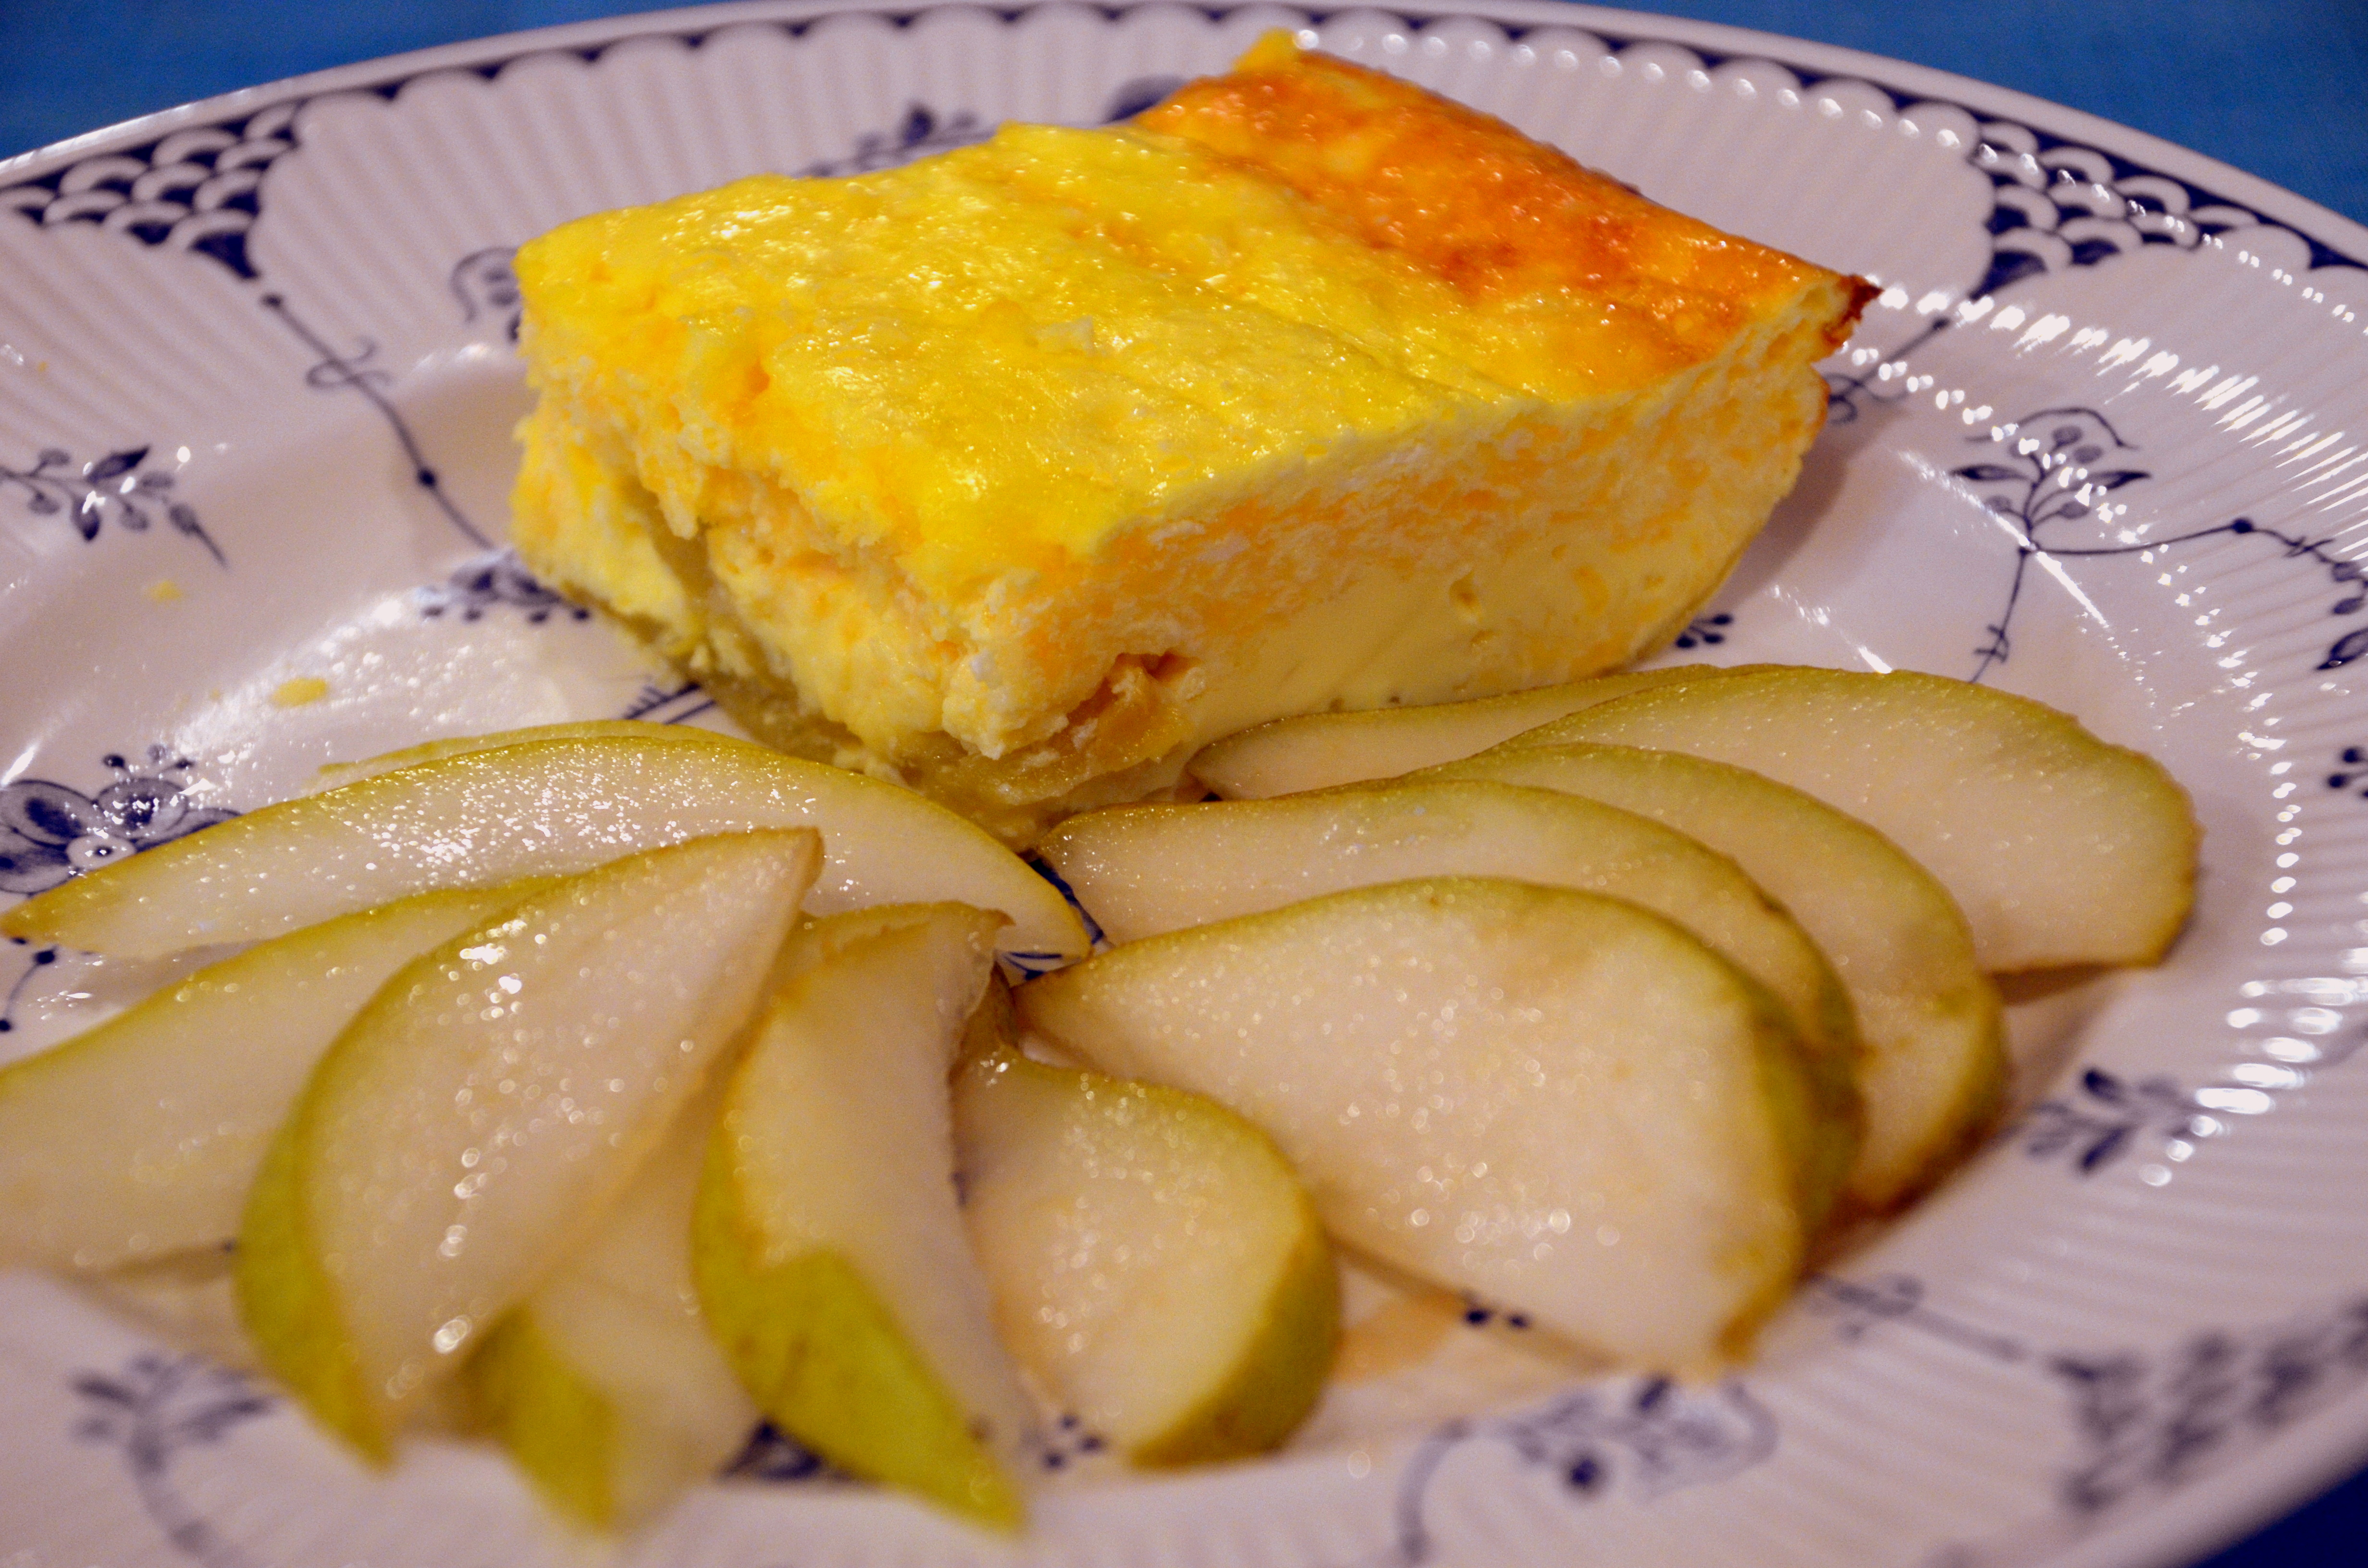
Chile Relleno Breakfast/Brunch bake. Click to see recipe. The second time I made this I added a layer of cooked Chorizo on top of the chilies before baking and that was a nice addition.

Today on the Mennonite Girls Can Cook Blog I posted this simple Tuna Noodle Skillet meal.
Hope you are reading this post on a full stomach!
Thank you to Lesley for signs, signs. Click over to join in!
Do you need a fun idea for a Christmas Appetizer?
I posted the directions on how to make these hummus Christmas Trees on the Mennonite Girls Can Cook Blog.
You can be more creative than me with some diced cucumber and diced red bell pepper to make more ornaments and garland. A yellow pepper star would be cute on top, too.
We’ve had lots of rain here in the Pacific Northwest with many rivers at flood levels. We are getting another round of rain today. It’s great decorating and baking weather if we keep our power! How are things in your neck of the woods?
Photobucket is holding all my photos from 2007-2015 hostage on their site. All my photos that I stored and uploaded from that site are now big ugly black and grey boxes with a message to pay big bucks to get them restored to my blog. It will take me a long time to restore thousands of posts.
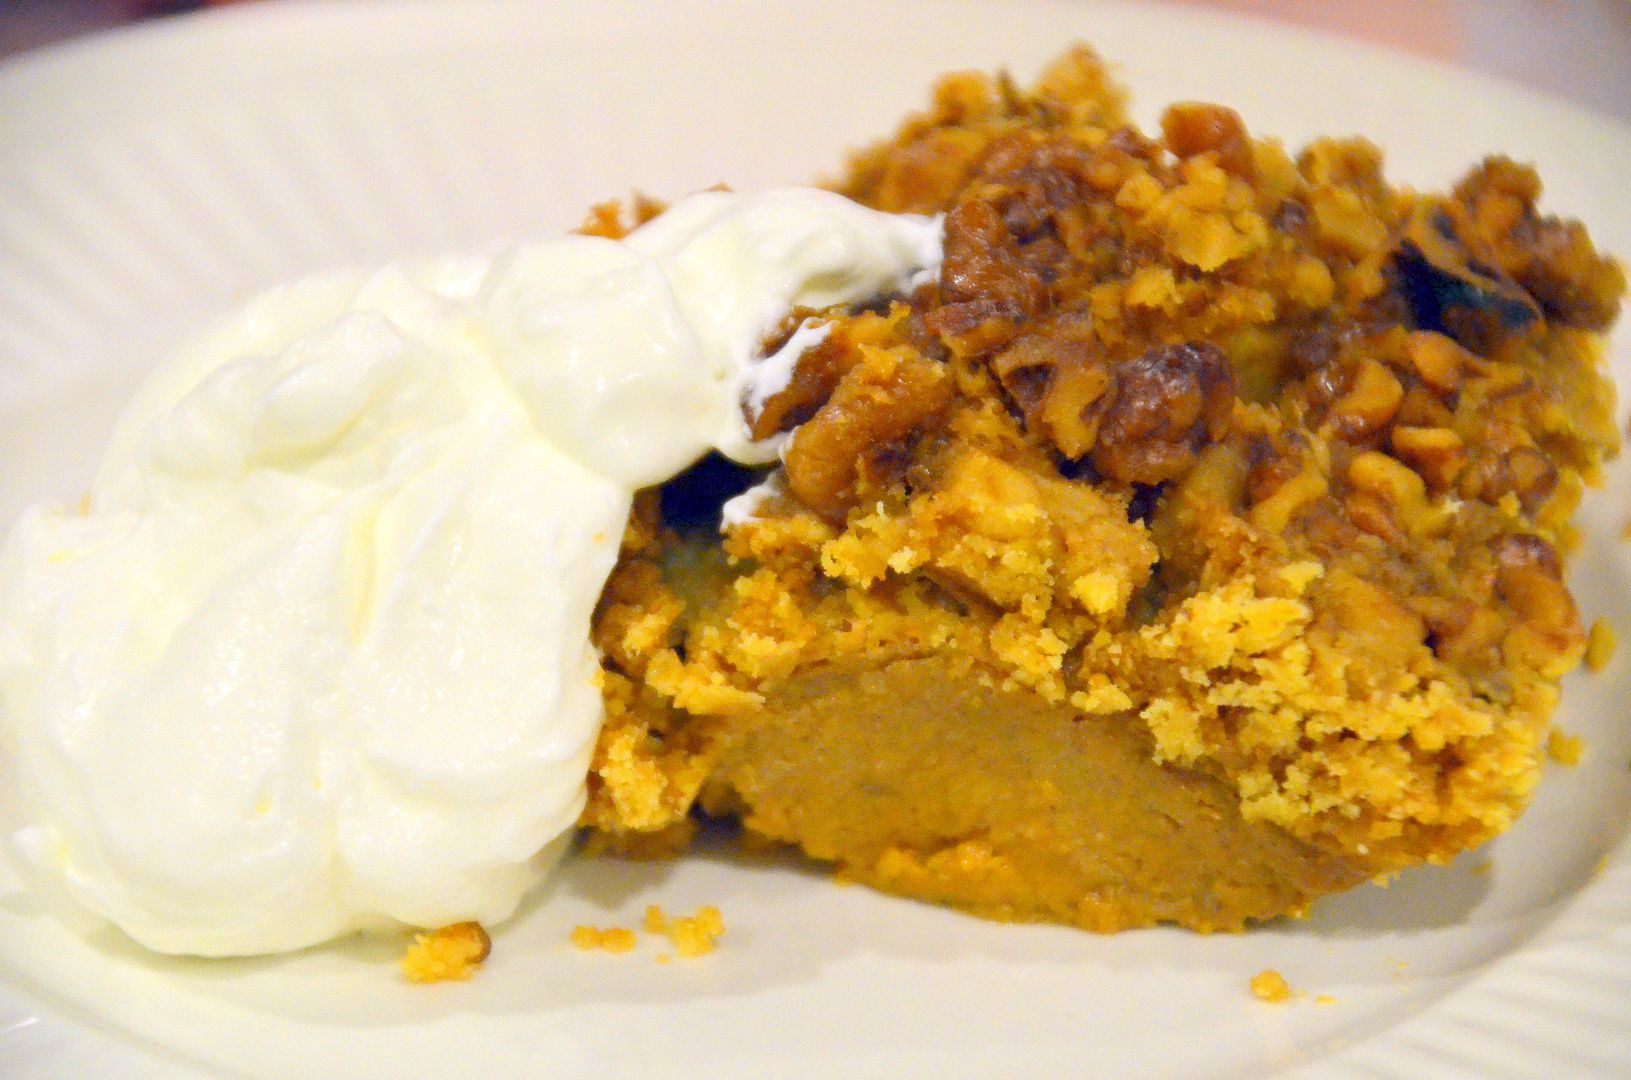
This recipe has been around the block a few times and I finally tried it and served my extended family this for dessert last Friday. I’m not saying who but one of my guests went back for a second serving. This recipe is enough for probably 16 and would be a nice alternative for Pumpkin Pie at Thanksgiving…

The recipe is on the Mennonite Girls Can Cook Blog today. Click over and enjoy. I’d like to wish our Canadian friends a very Happy Thanksgiving weekend coming up!

The card in the background is of a still life Dear’s Aunt put together for this photo card. She’s an artist and usually paints but enjoyed this still life photo shoot. The recipe for the Pumpkin Surprise was on the back of the card and I tweaked the recipe just a bit.
We are a bit foggy and gloomy today. I’m hoping to get out for a wee drive somewhere with Dear since there is no construction going on again today. He did just construct me a breakfast burrito. He’s a keeper for lots of reasons…
Have a wonderful October day!
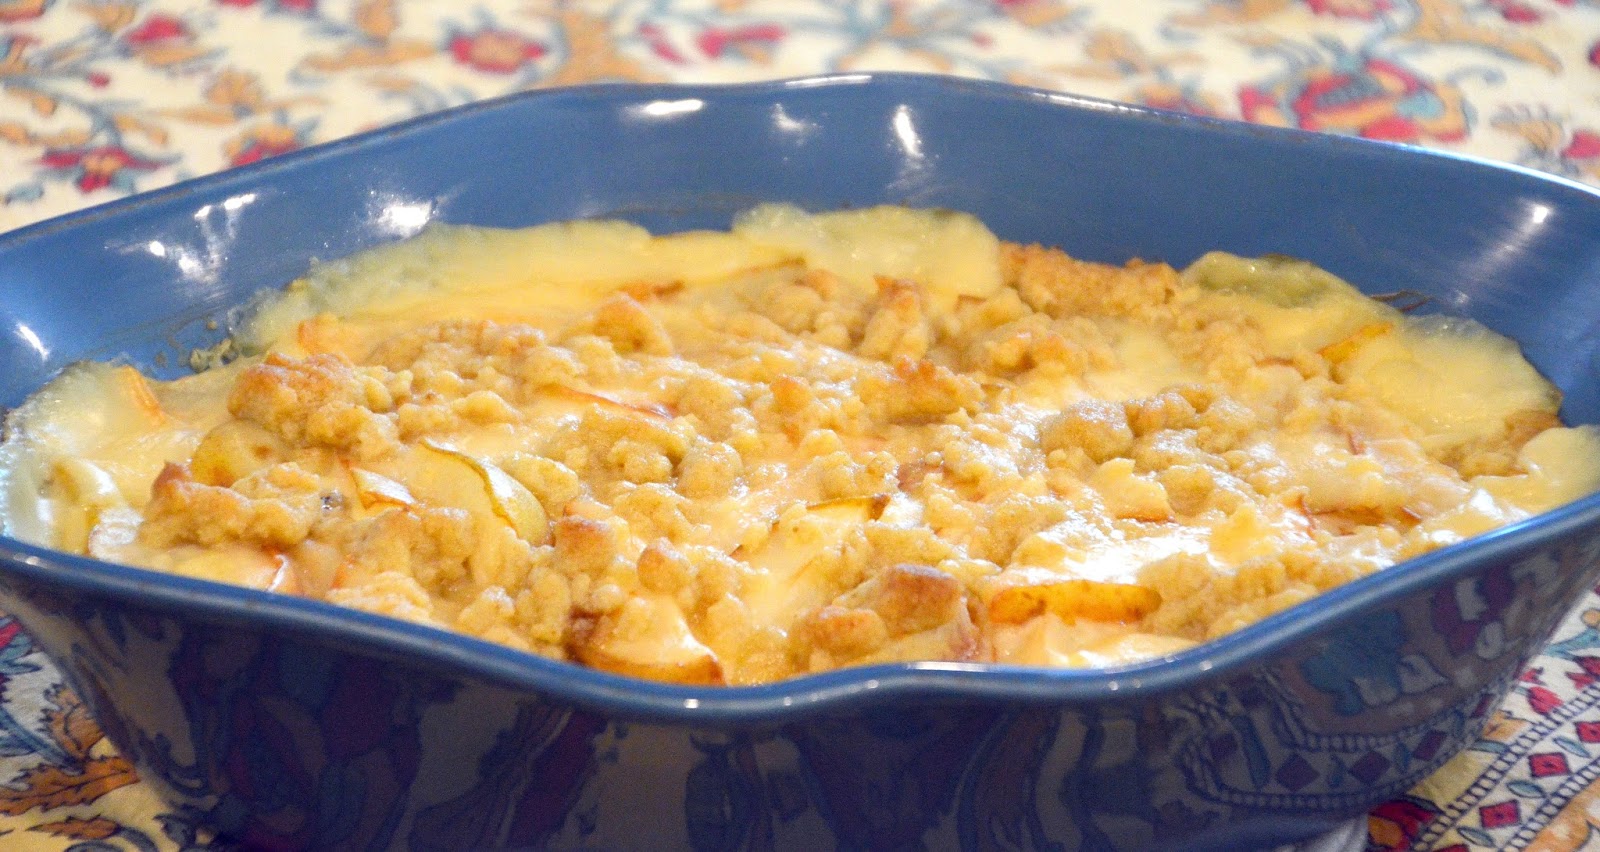


Click on over to the Mennonite Girls Can Cook blog to see the recipe from Pat at Mille Fiori Favoriti let me share of her family favorite Pork Chop Casserole.
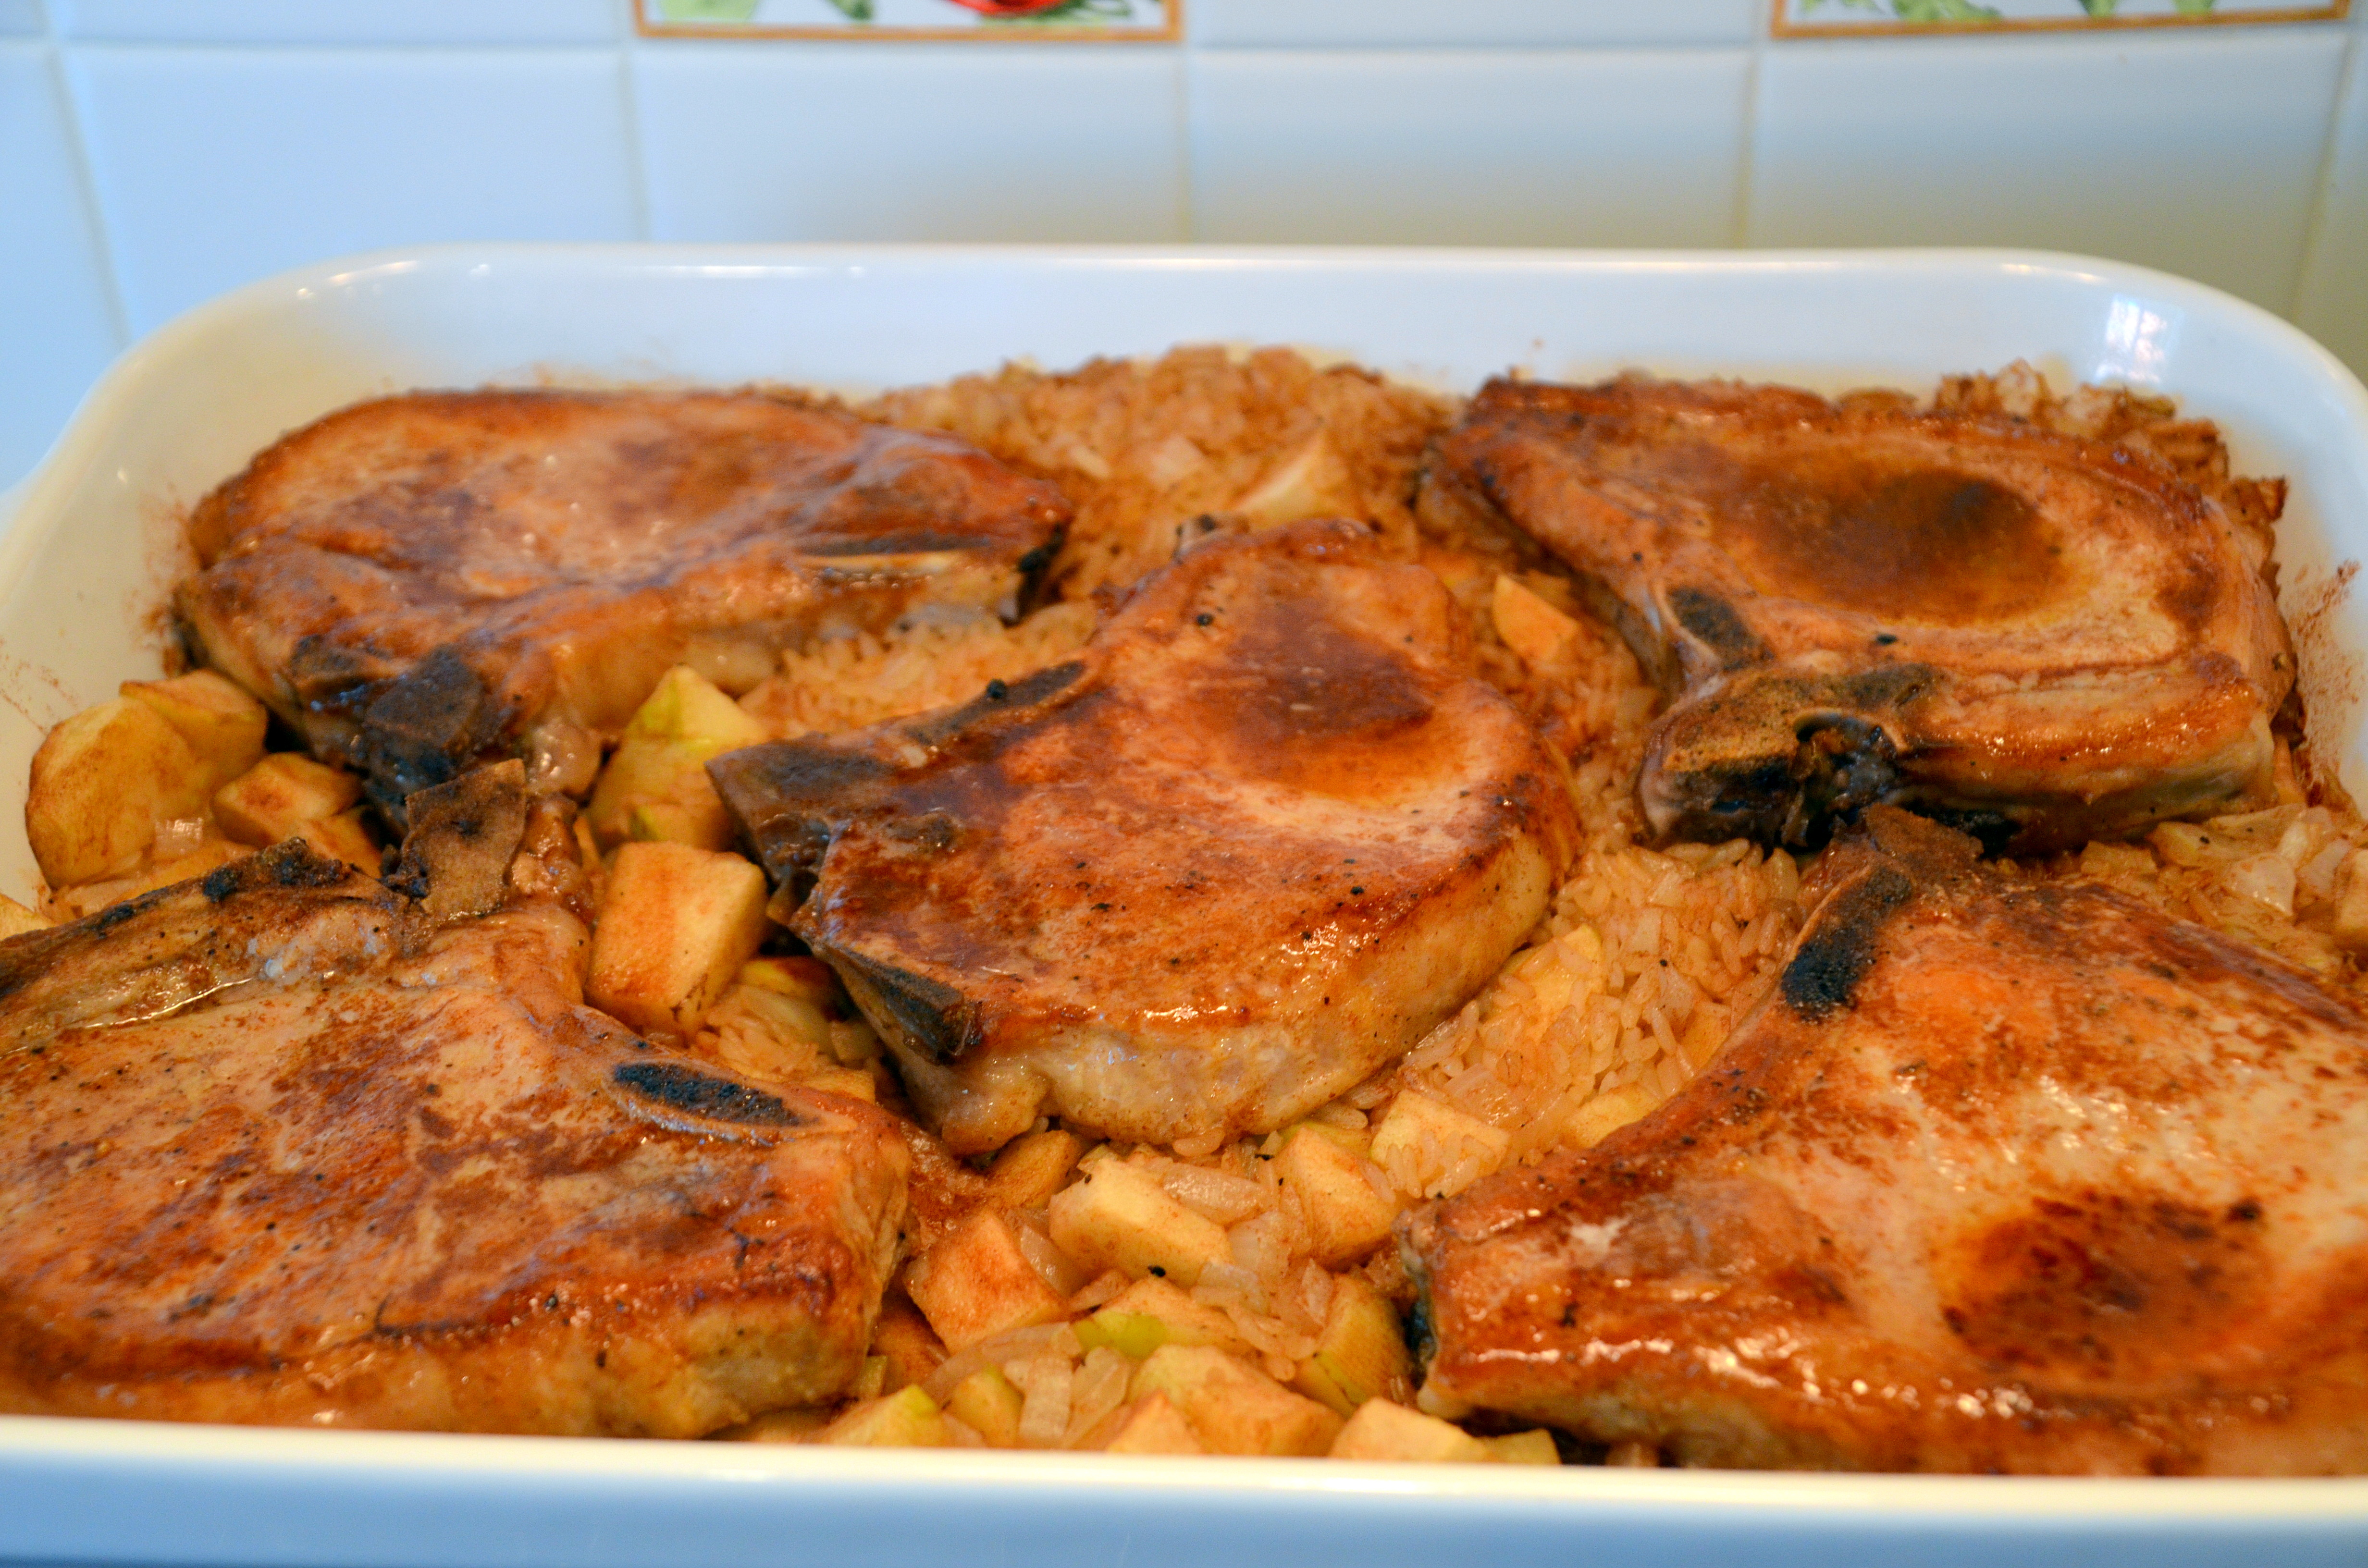
Being raised semi Kosher my mom never made anything using Pork products. We have embraced the vision that Peter had with the sheet coming down. We now enjoy some pork products but they still aren’t my first choice except for bacon! I’m learning and we do well with smoked pork shoulder and ribs!