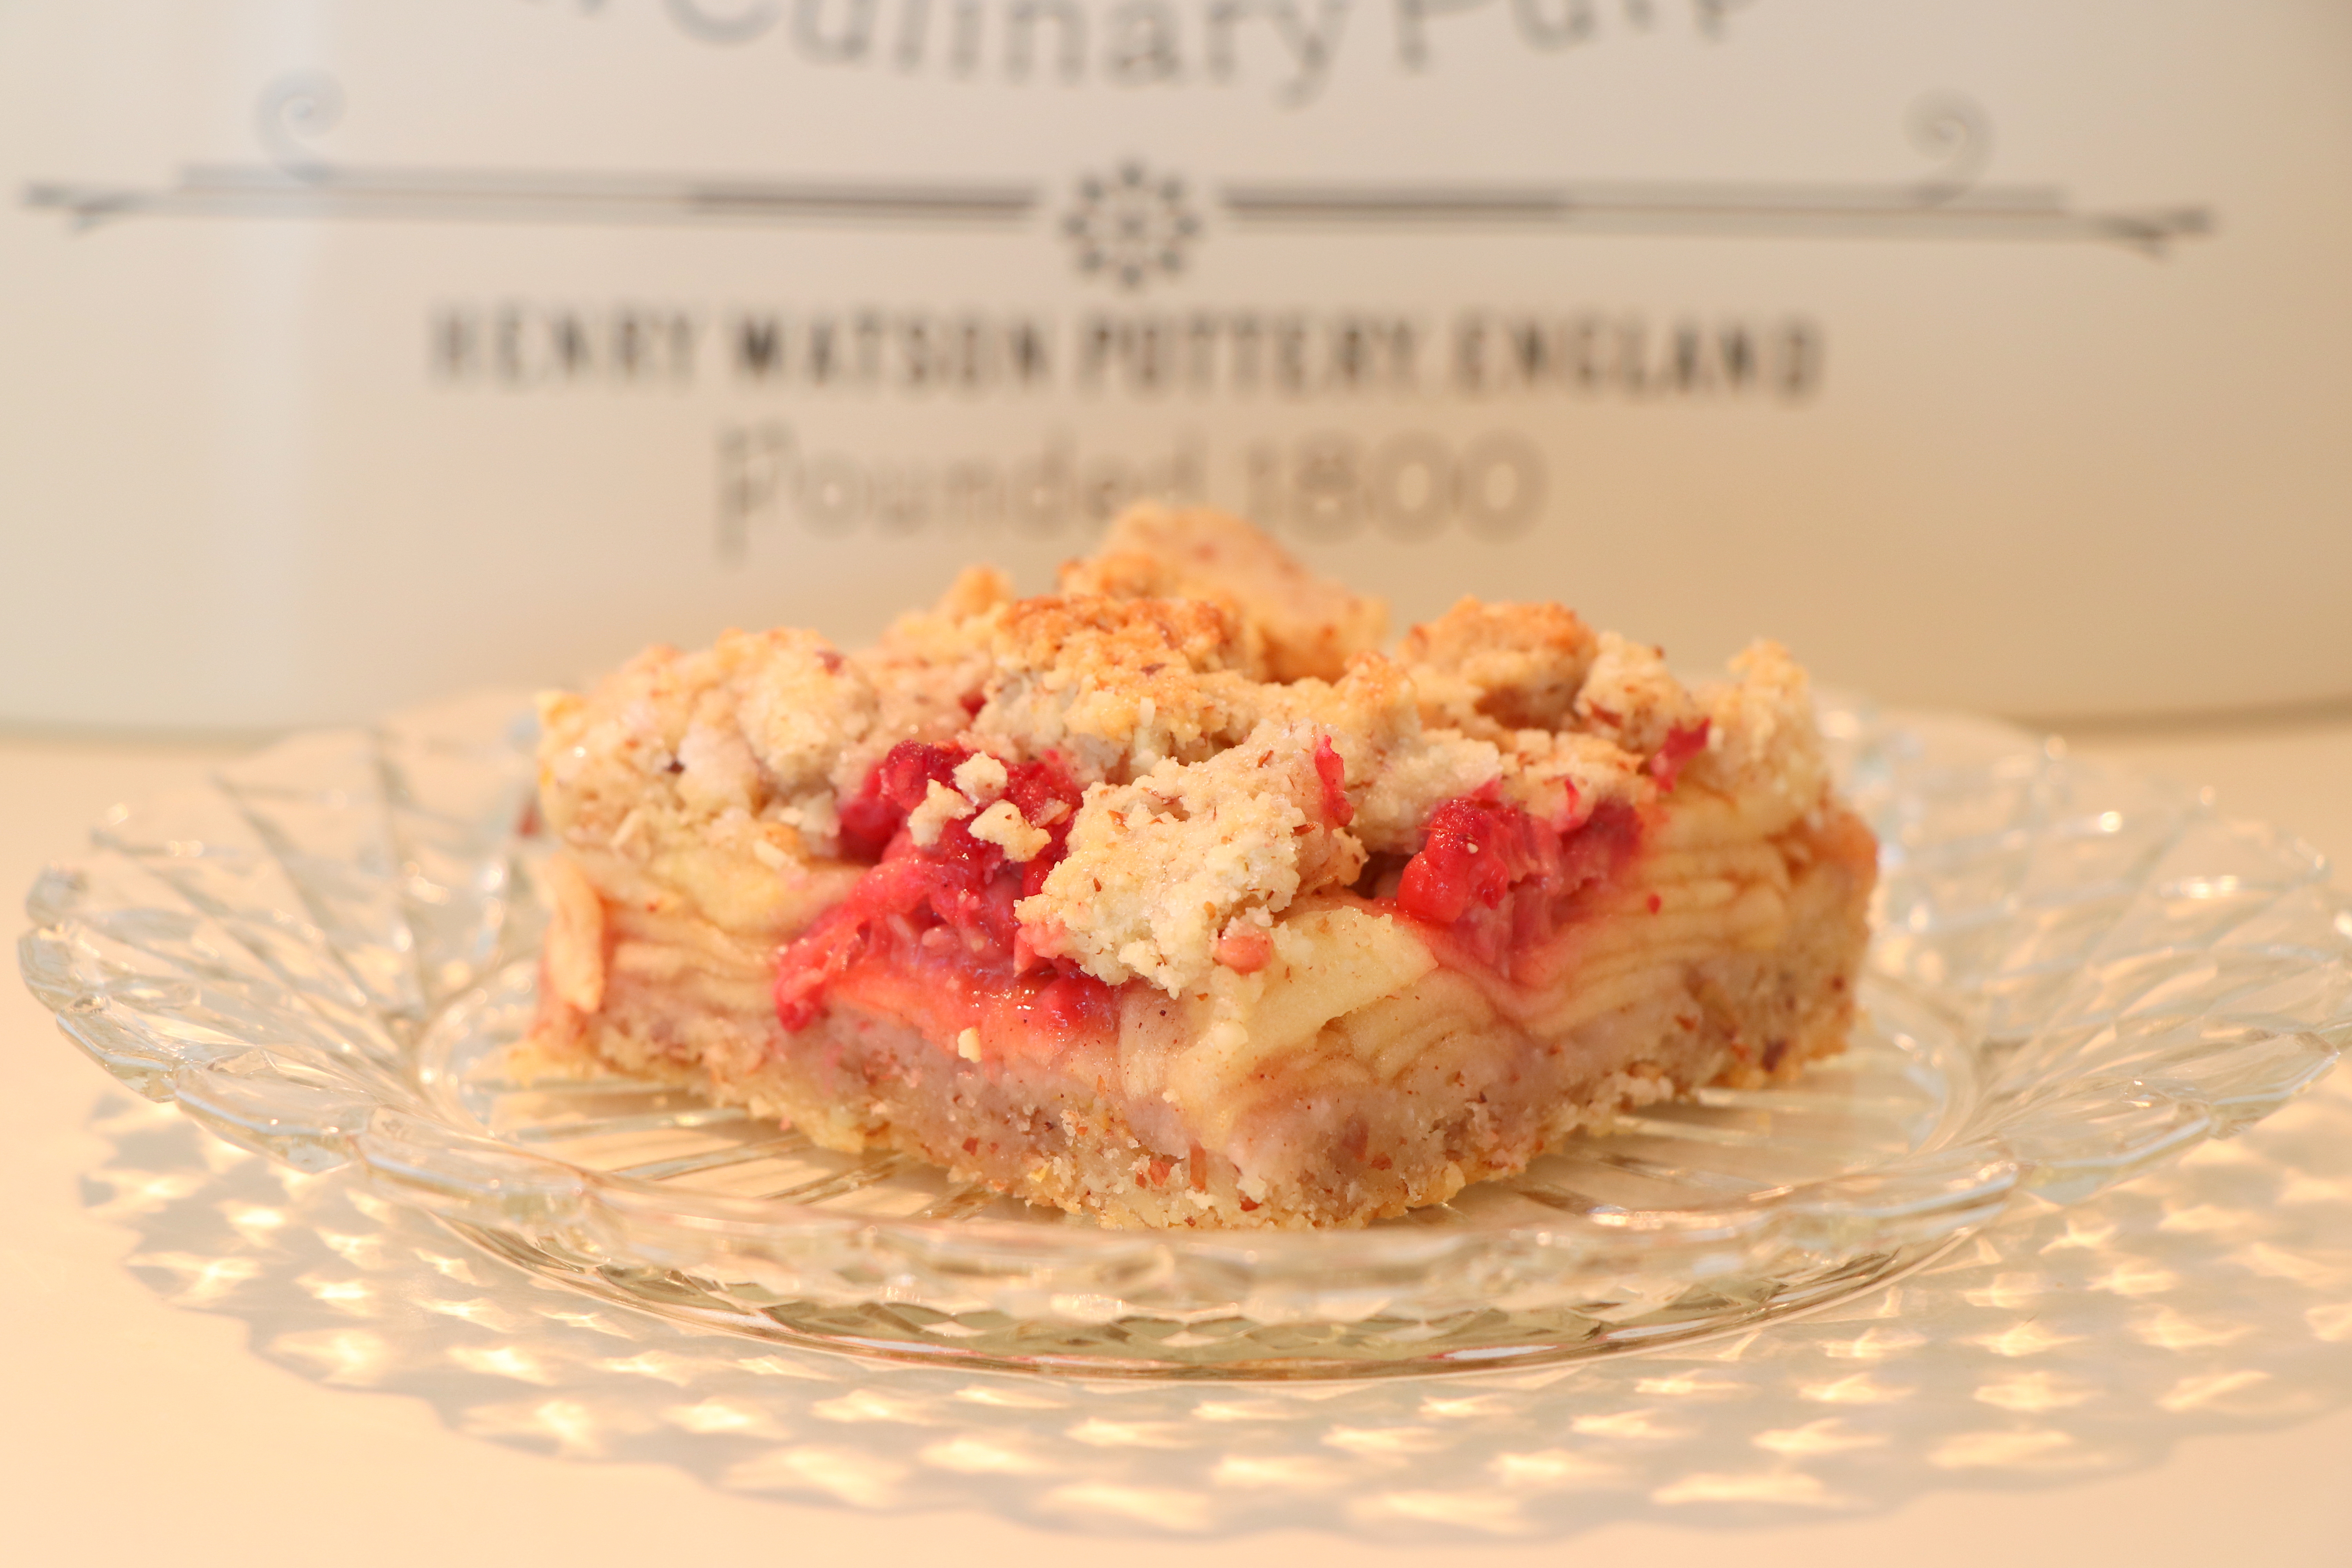
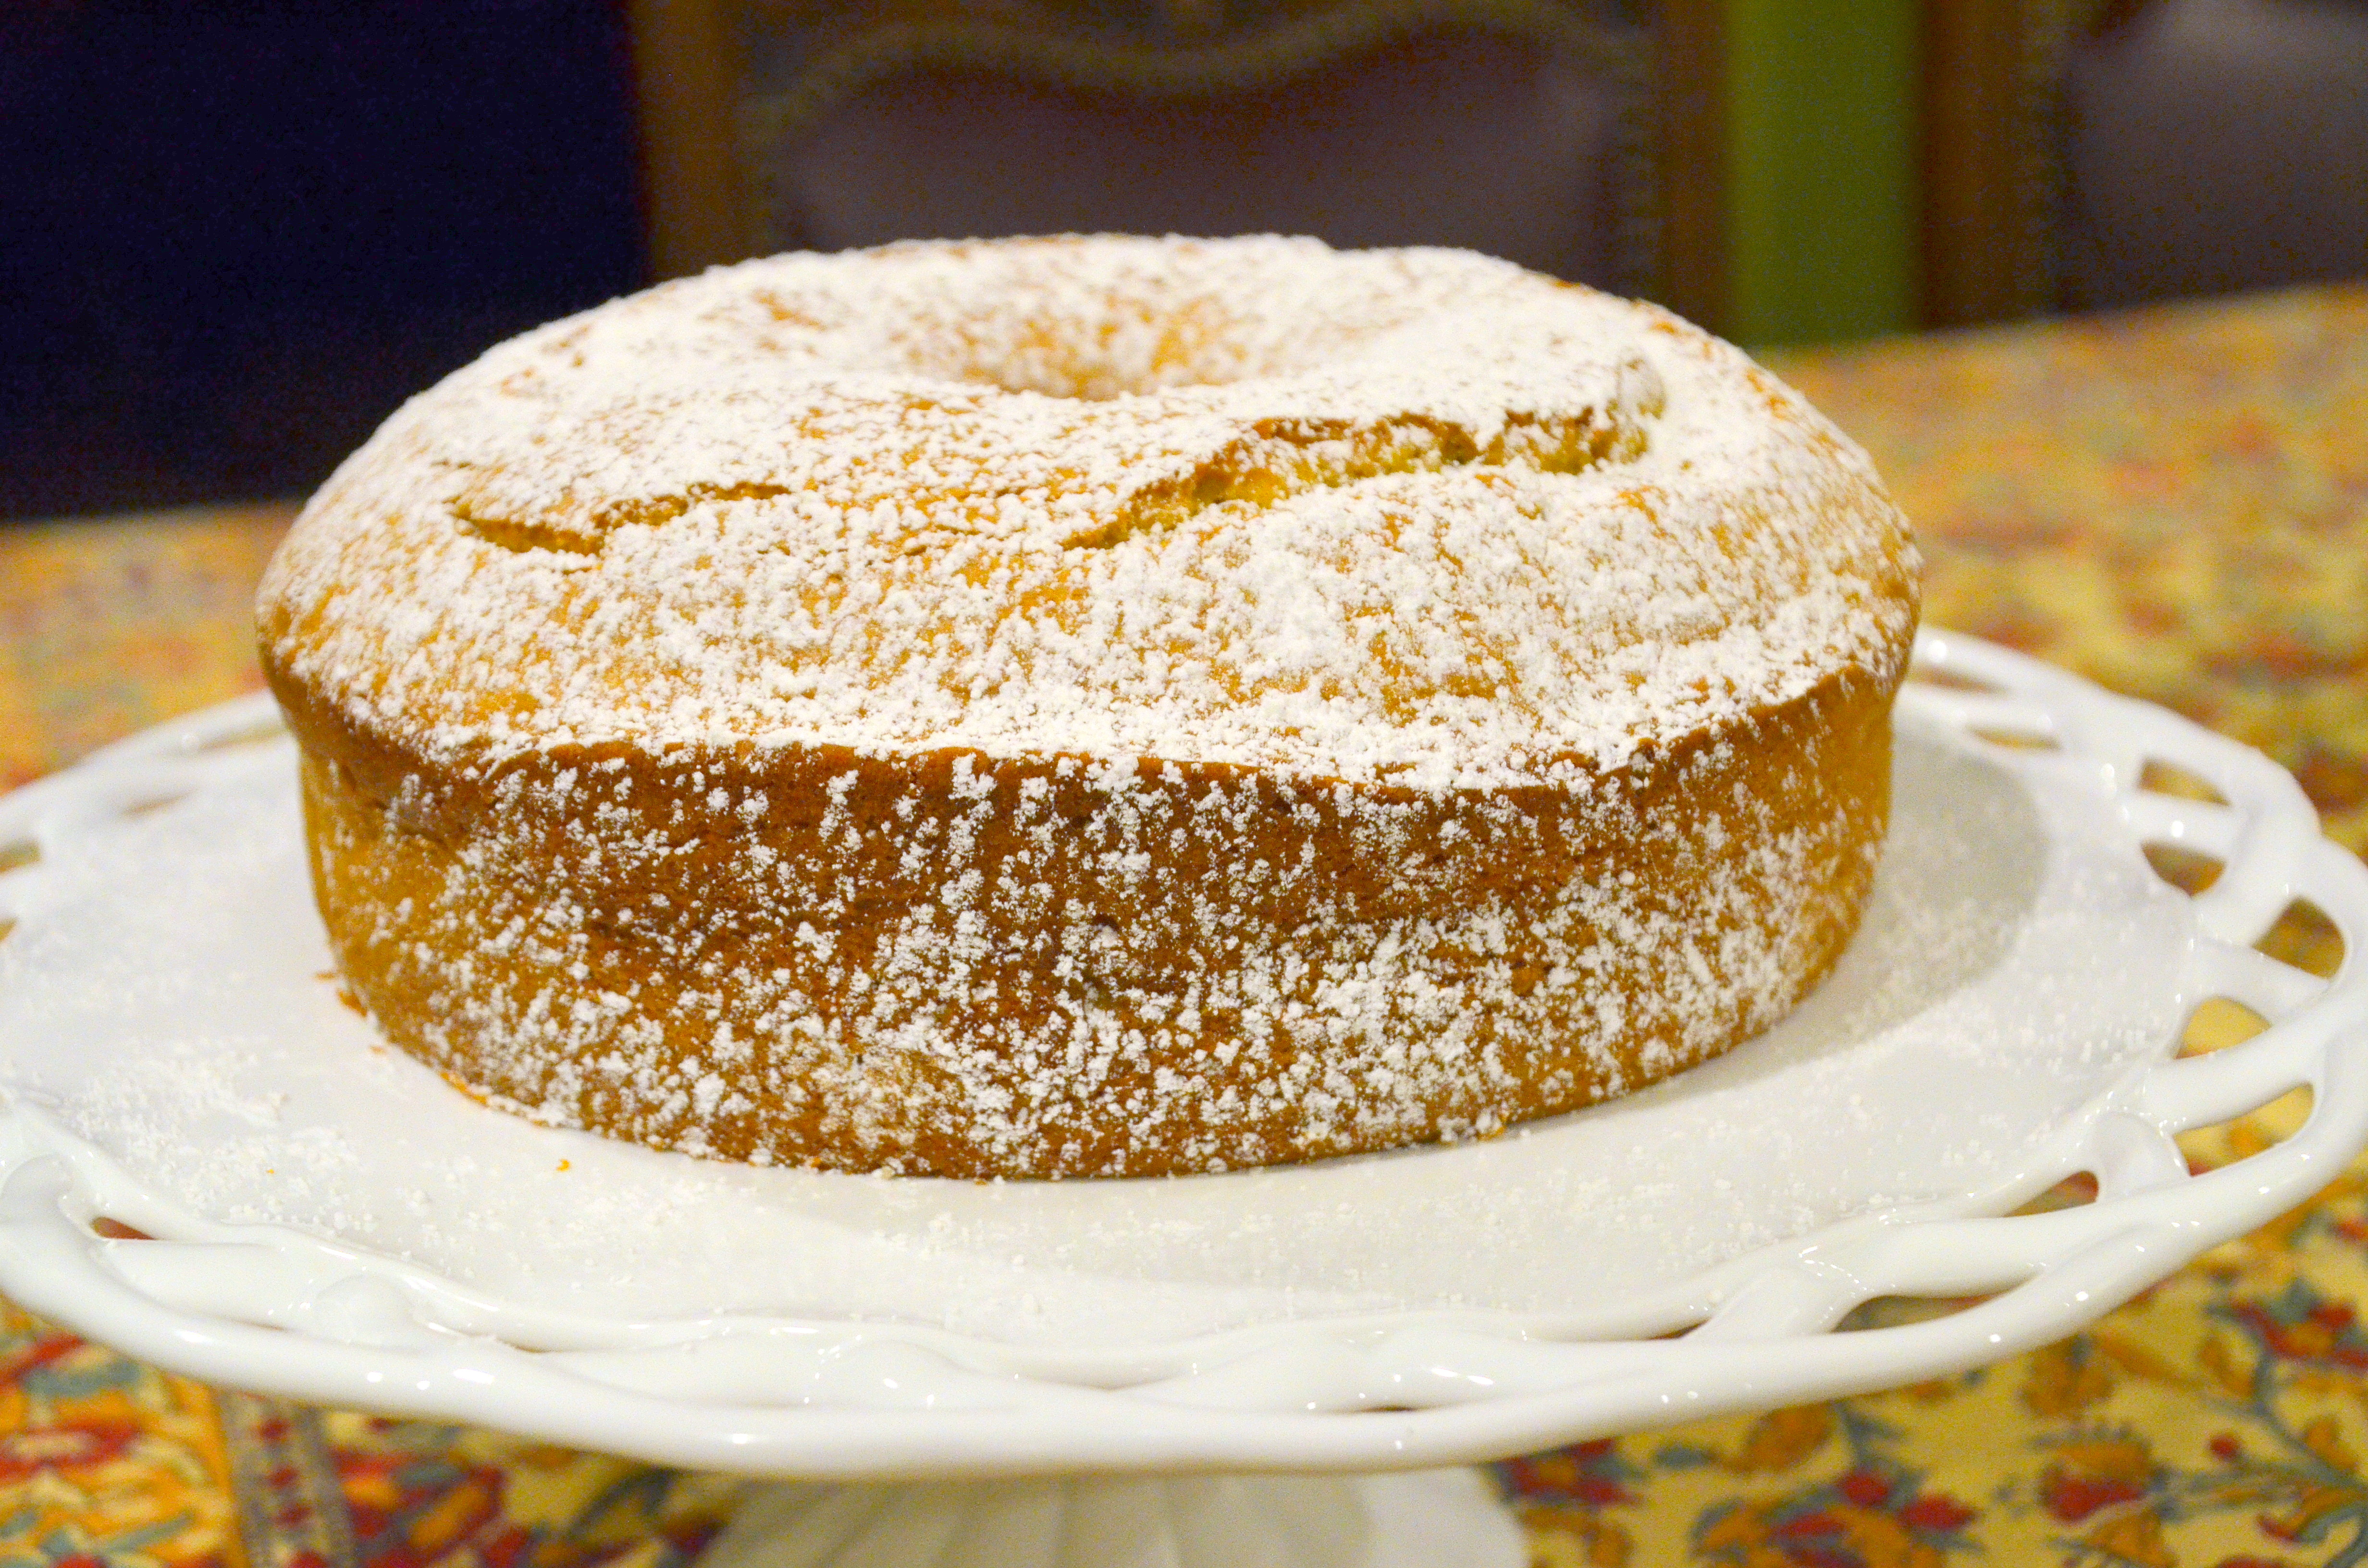
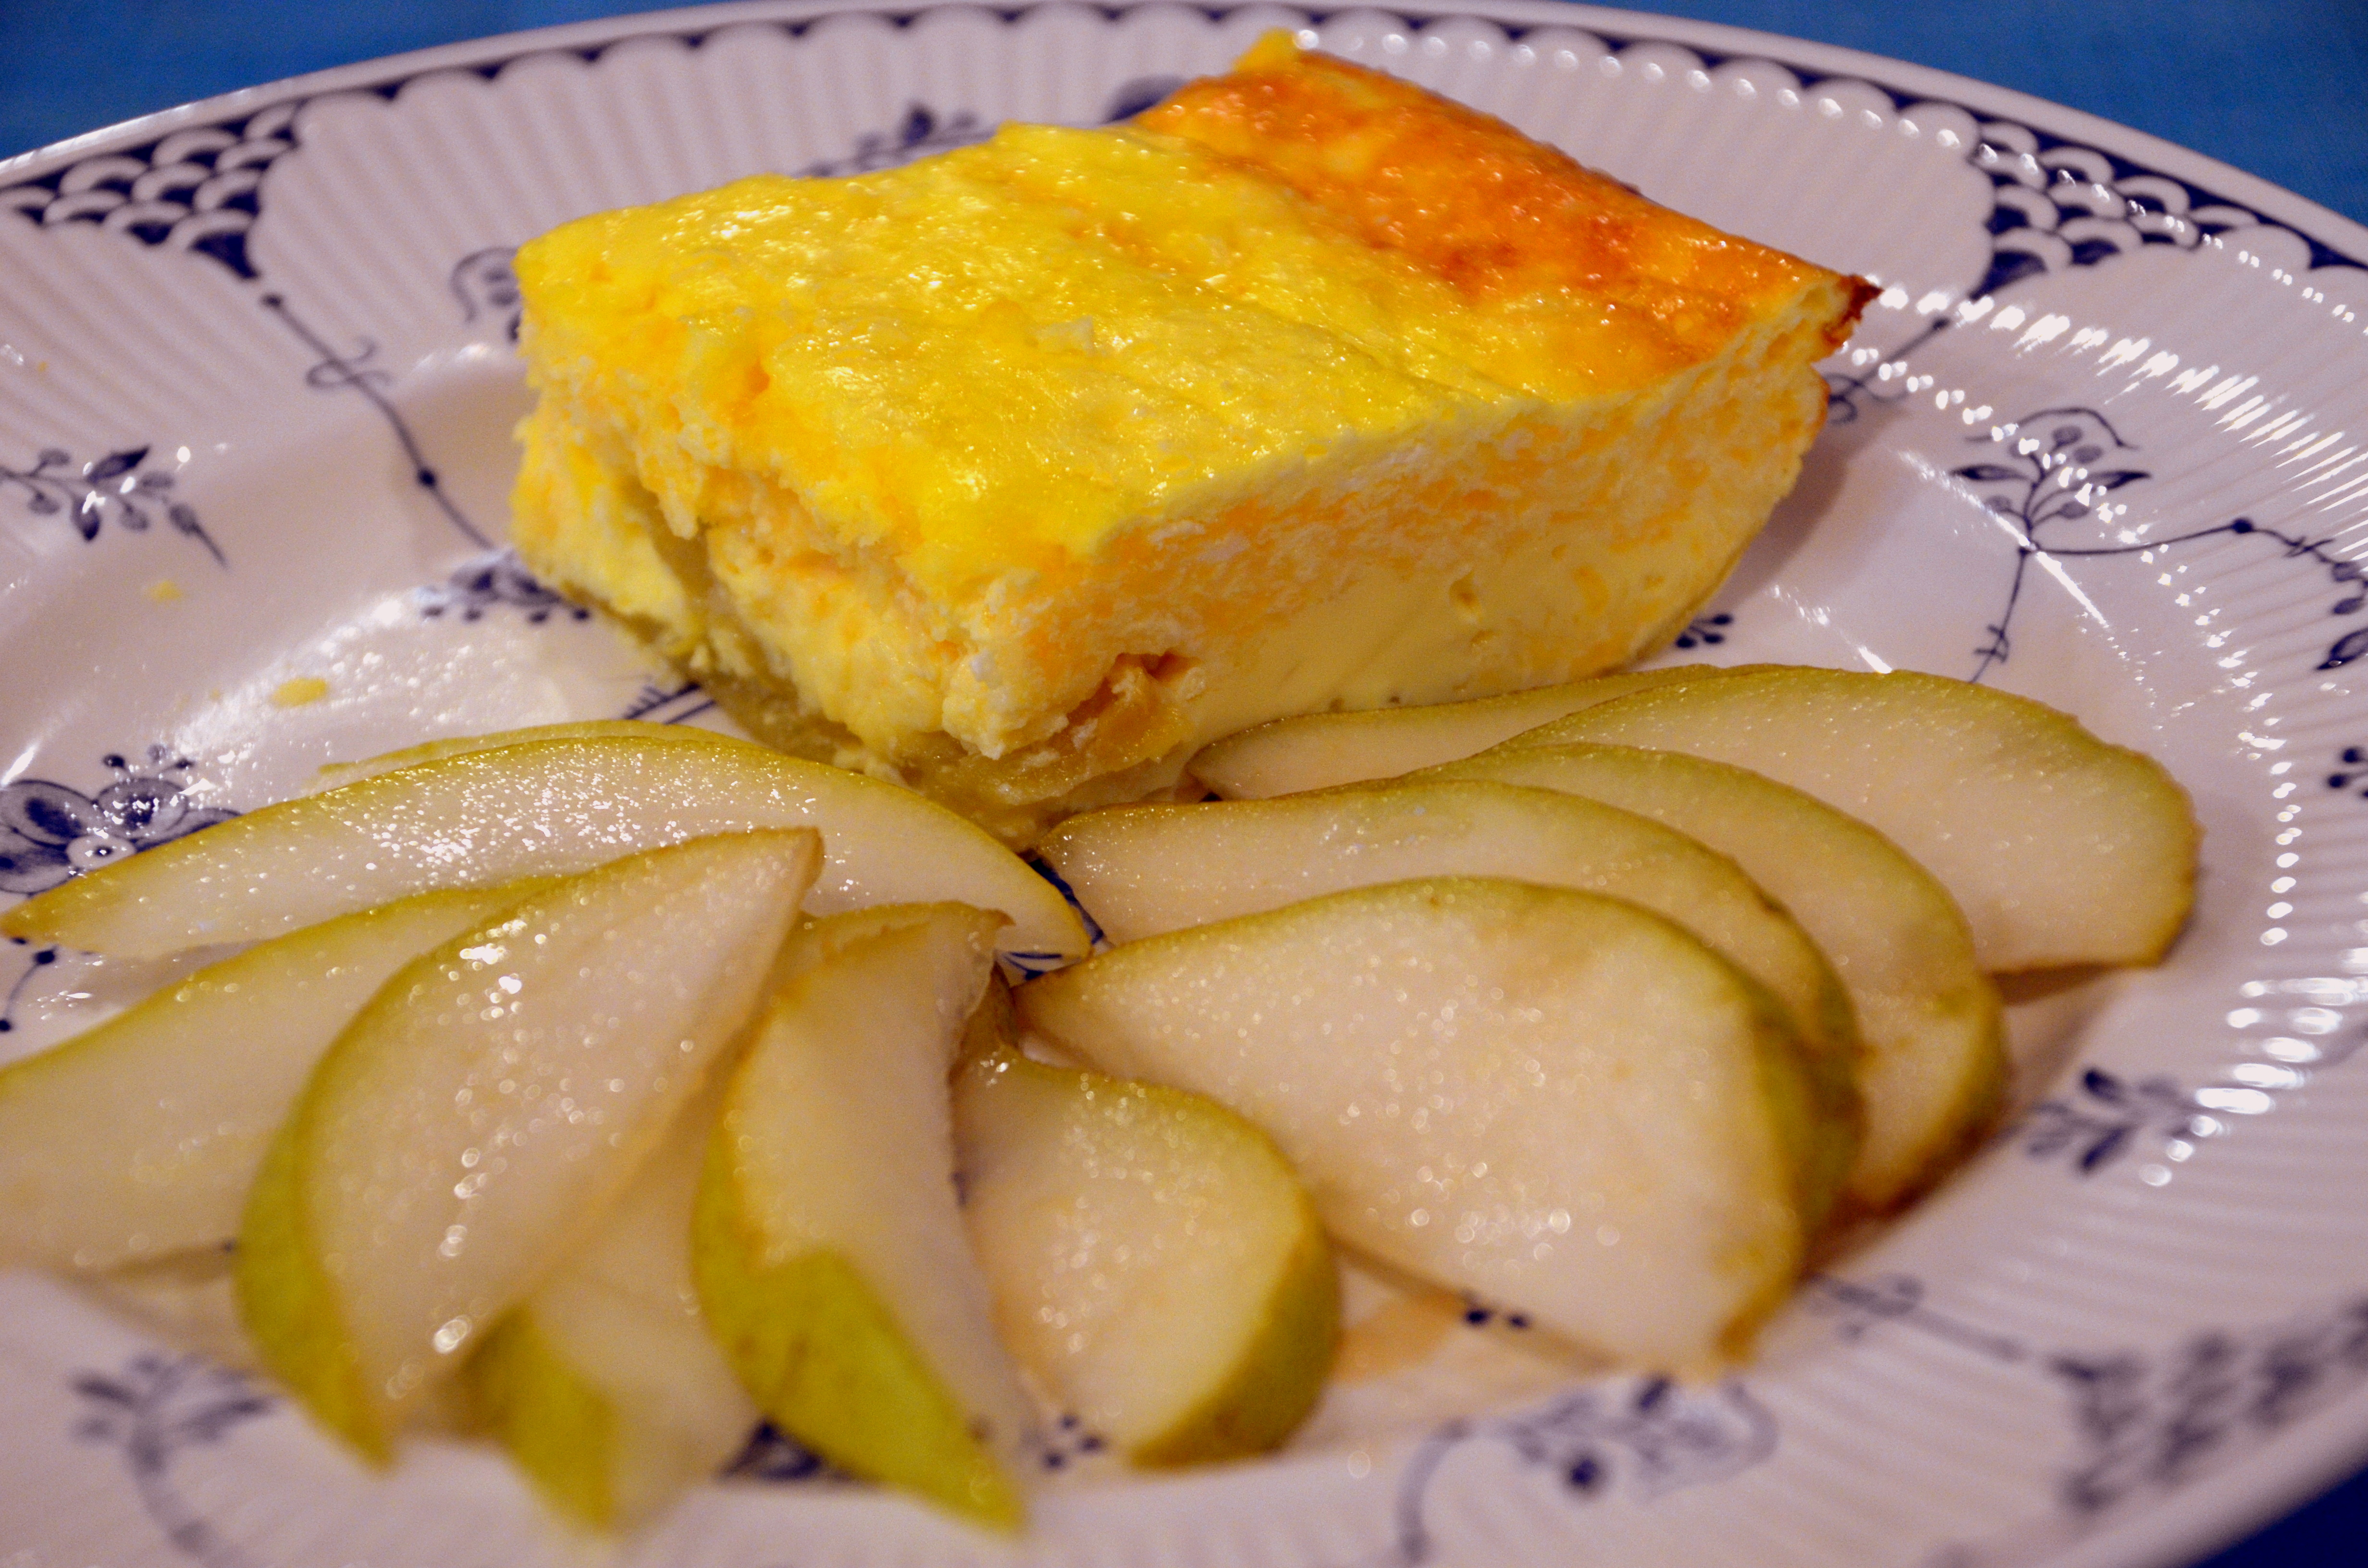
1. For my Sugar, Spice and Everything Nice Friday post I’ll start with this Pumpkin Spice Cake that’s easy to make. I posted it on the Mennonite Girls Can Cook blog this week and you can click HERE to get the recipe.

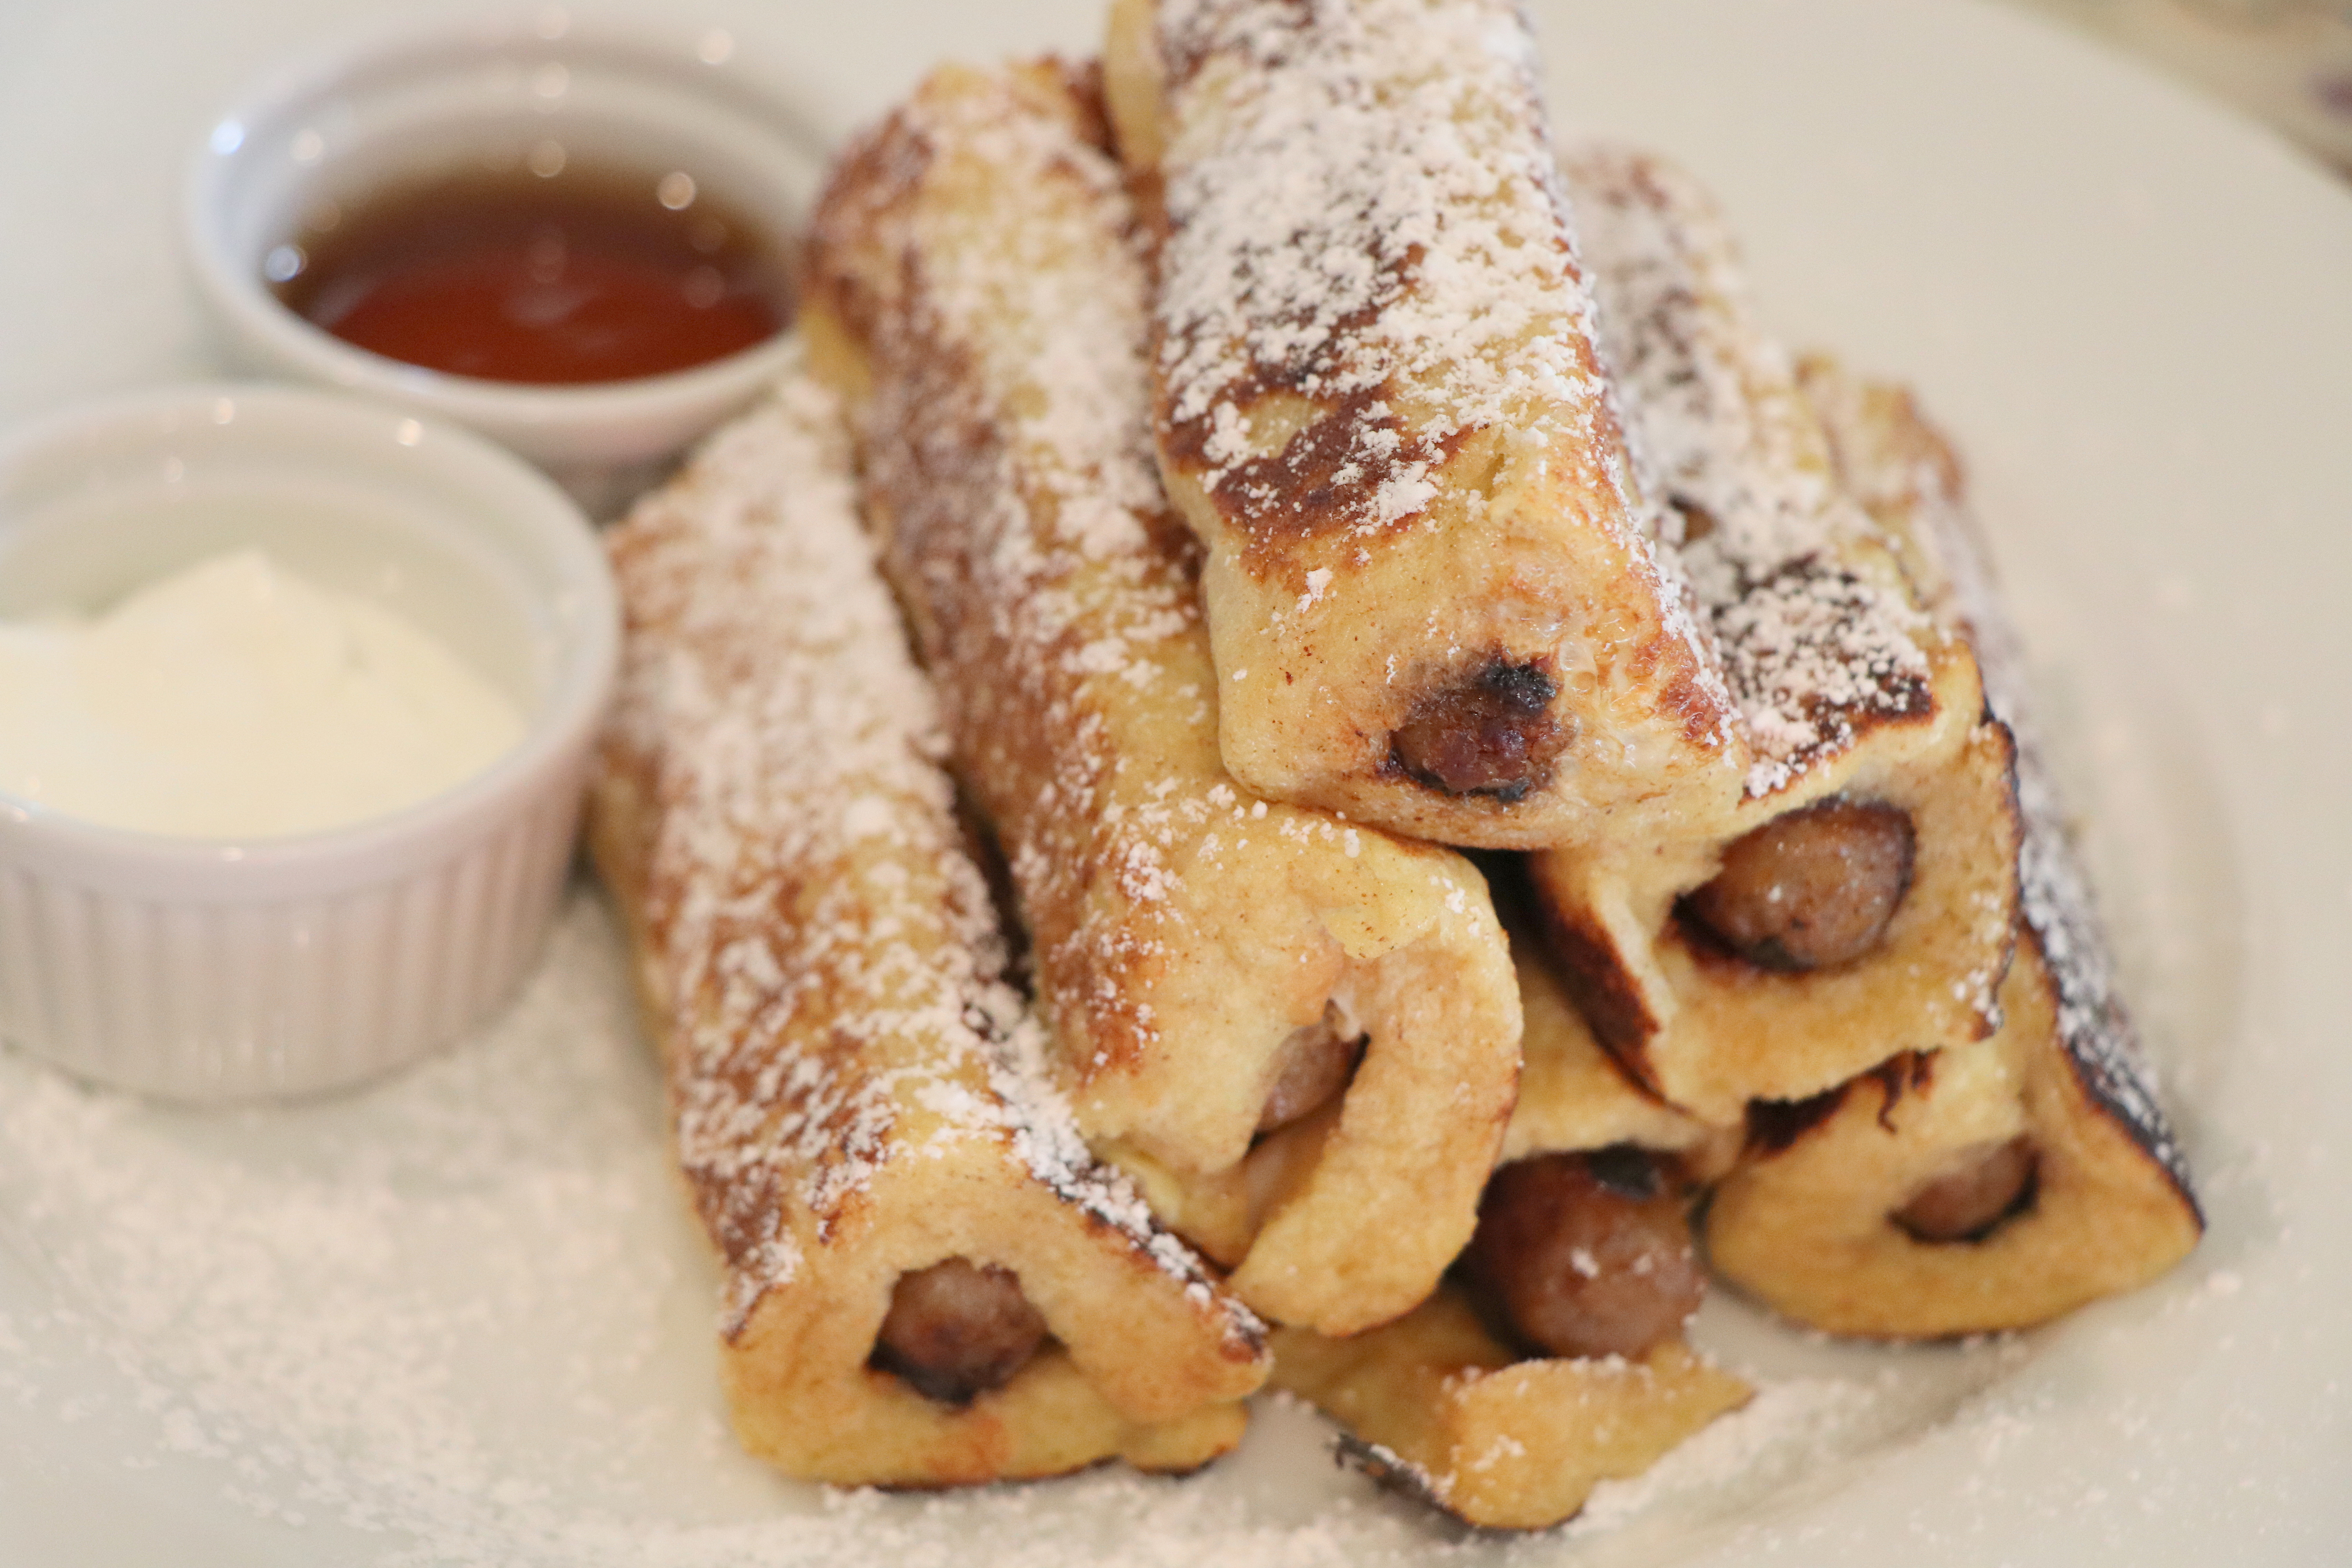
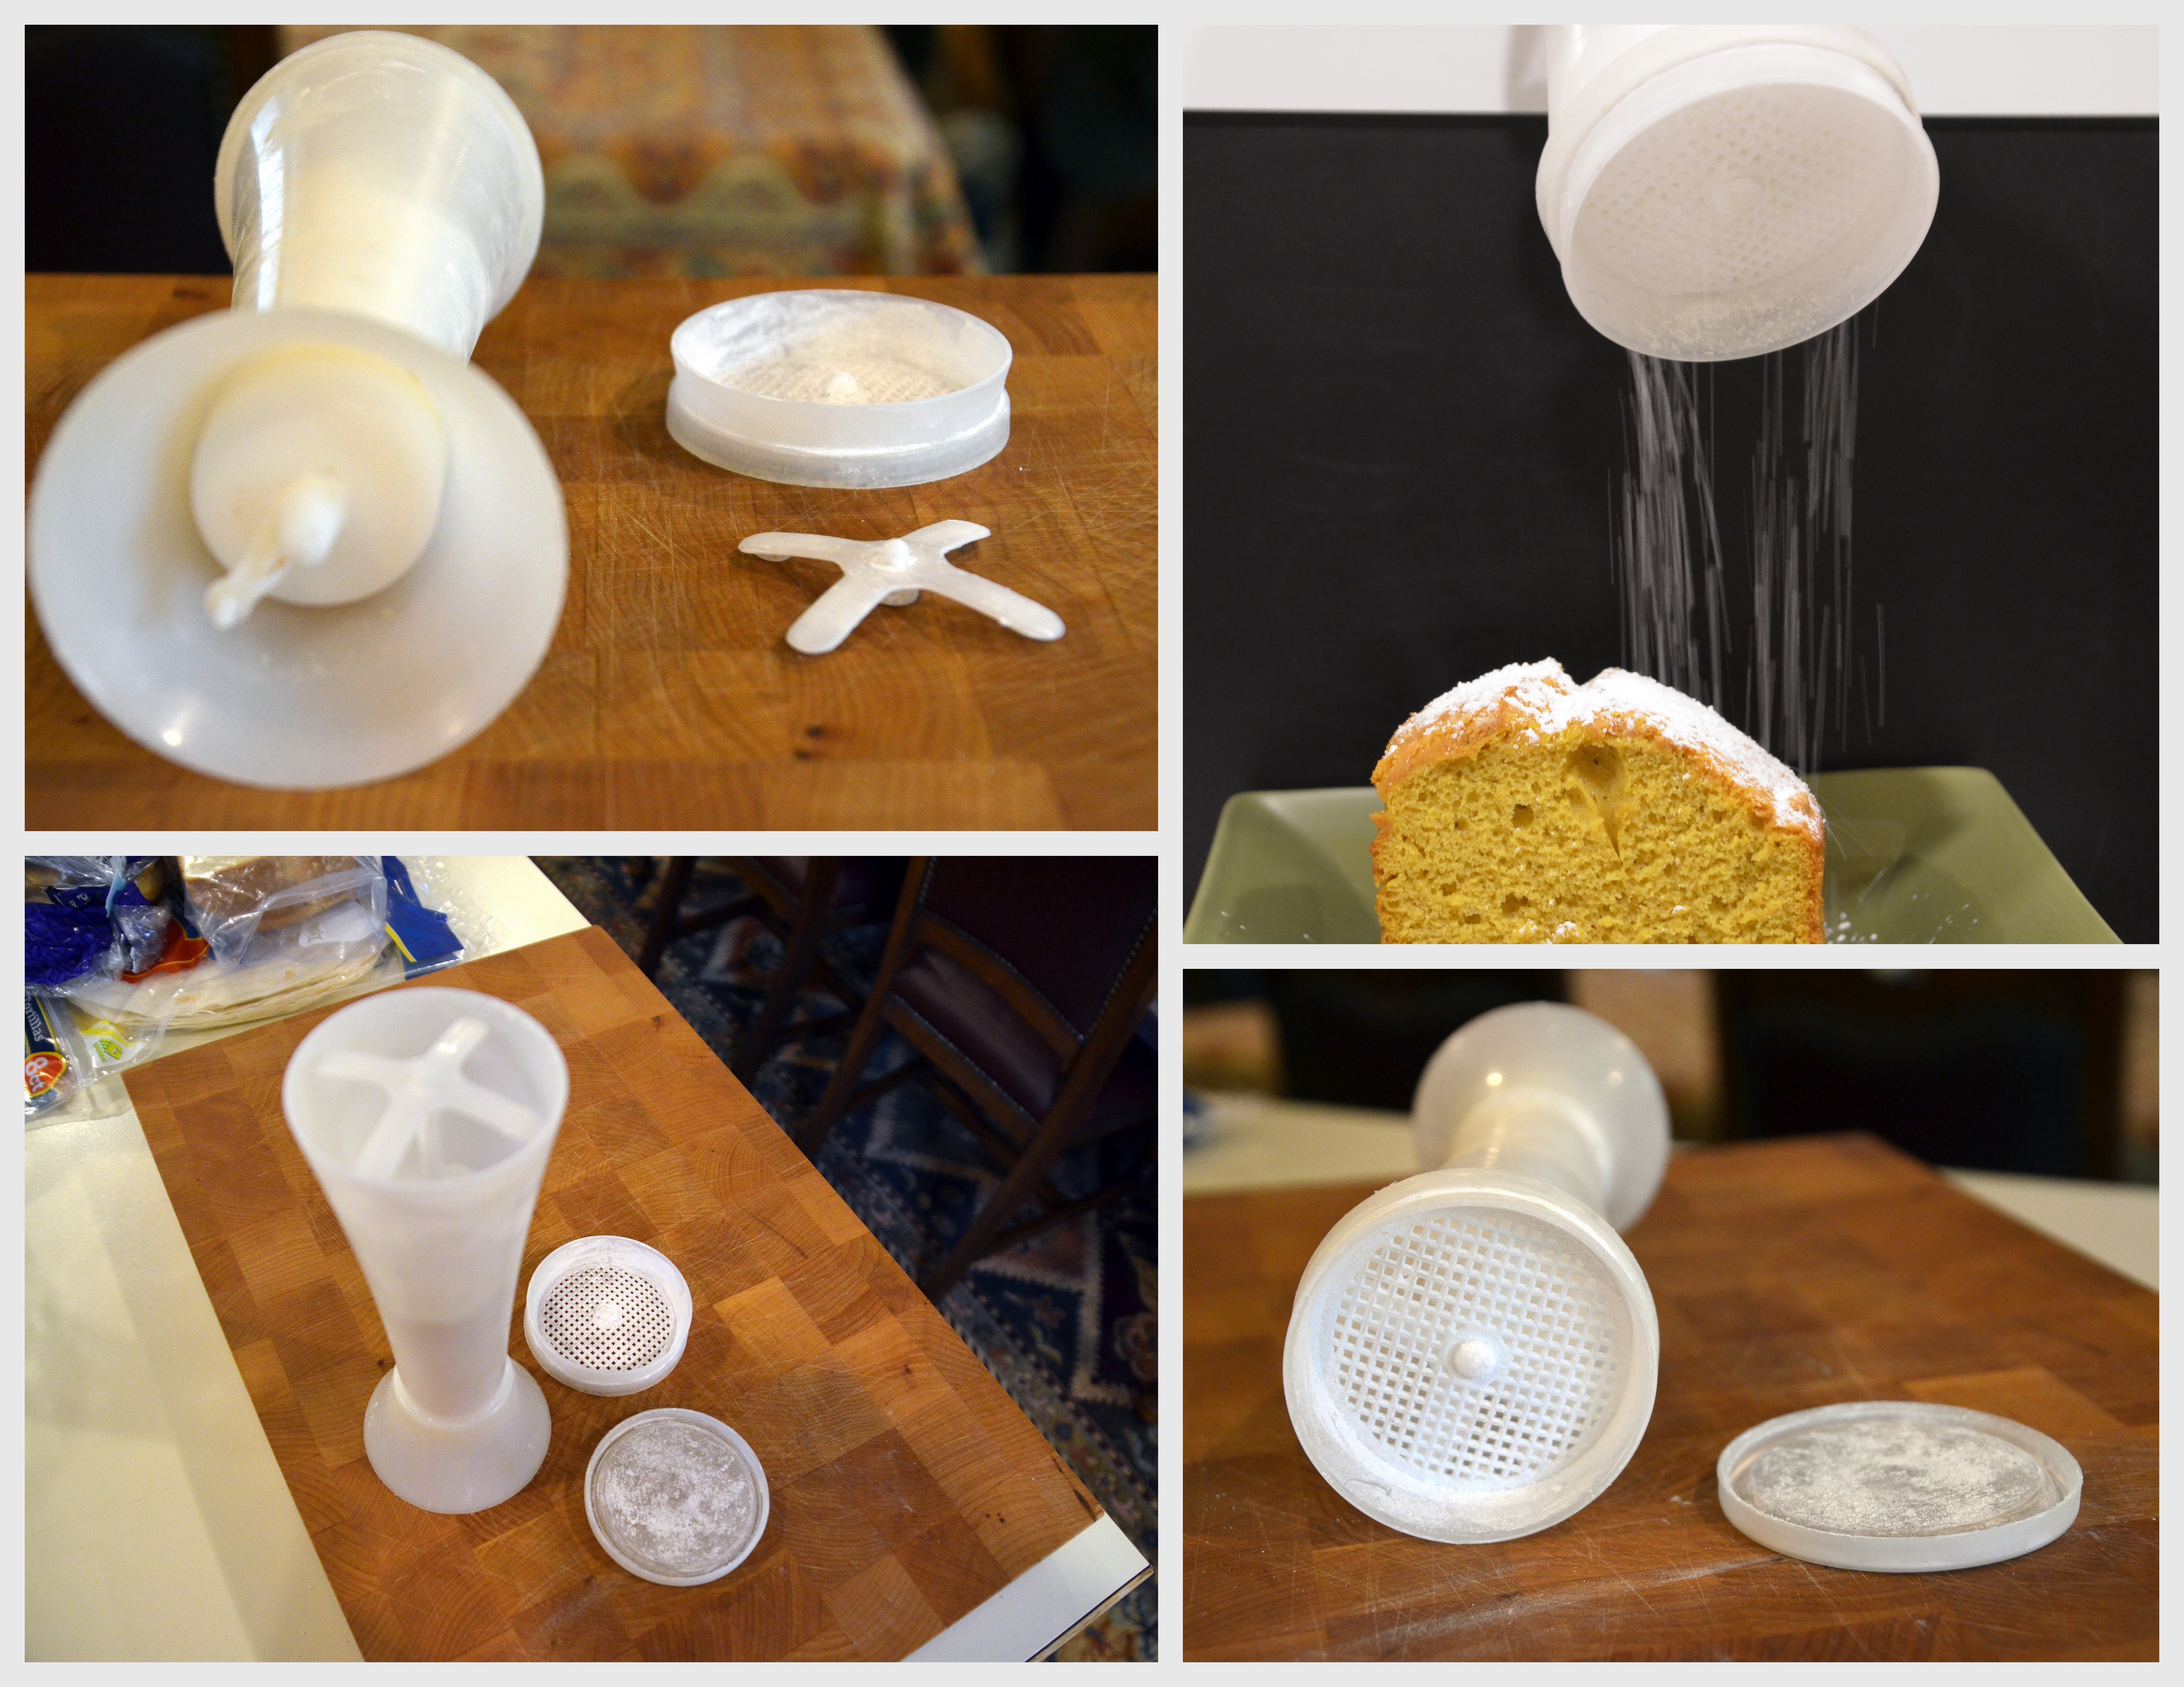
In tandem with my cake above is this collage. Do you have a Jiffi-Sift? We’ve never given ours a name but everyone in the family knows what to grab when you want to lightly dust powdered sugar on anything like French Toast and Spice Cake. I have a post about my Tupperware Jiffi-Sift here. Some of you call powdered sugar icing sugar.

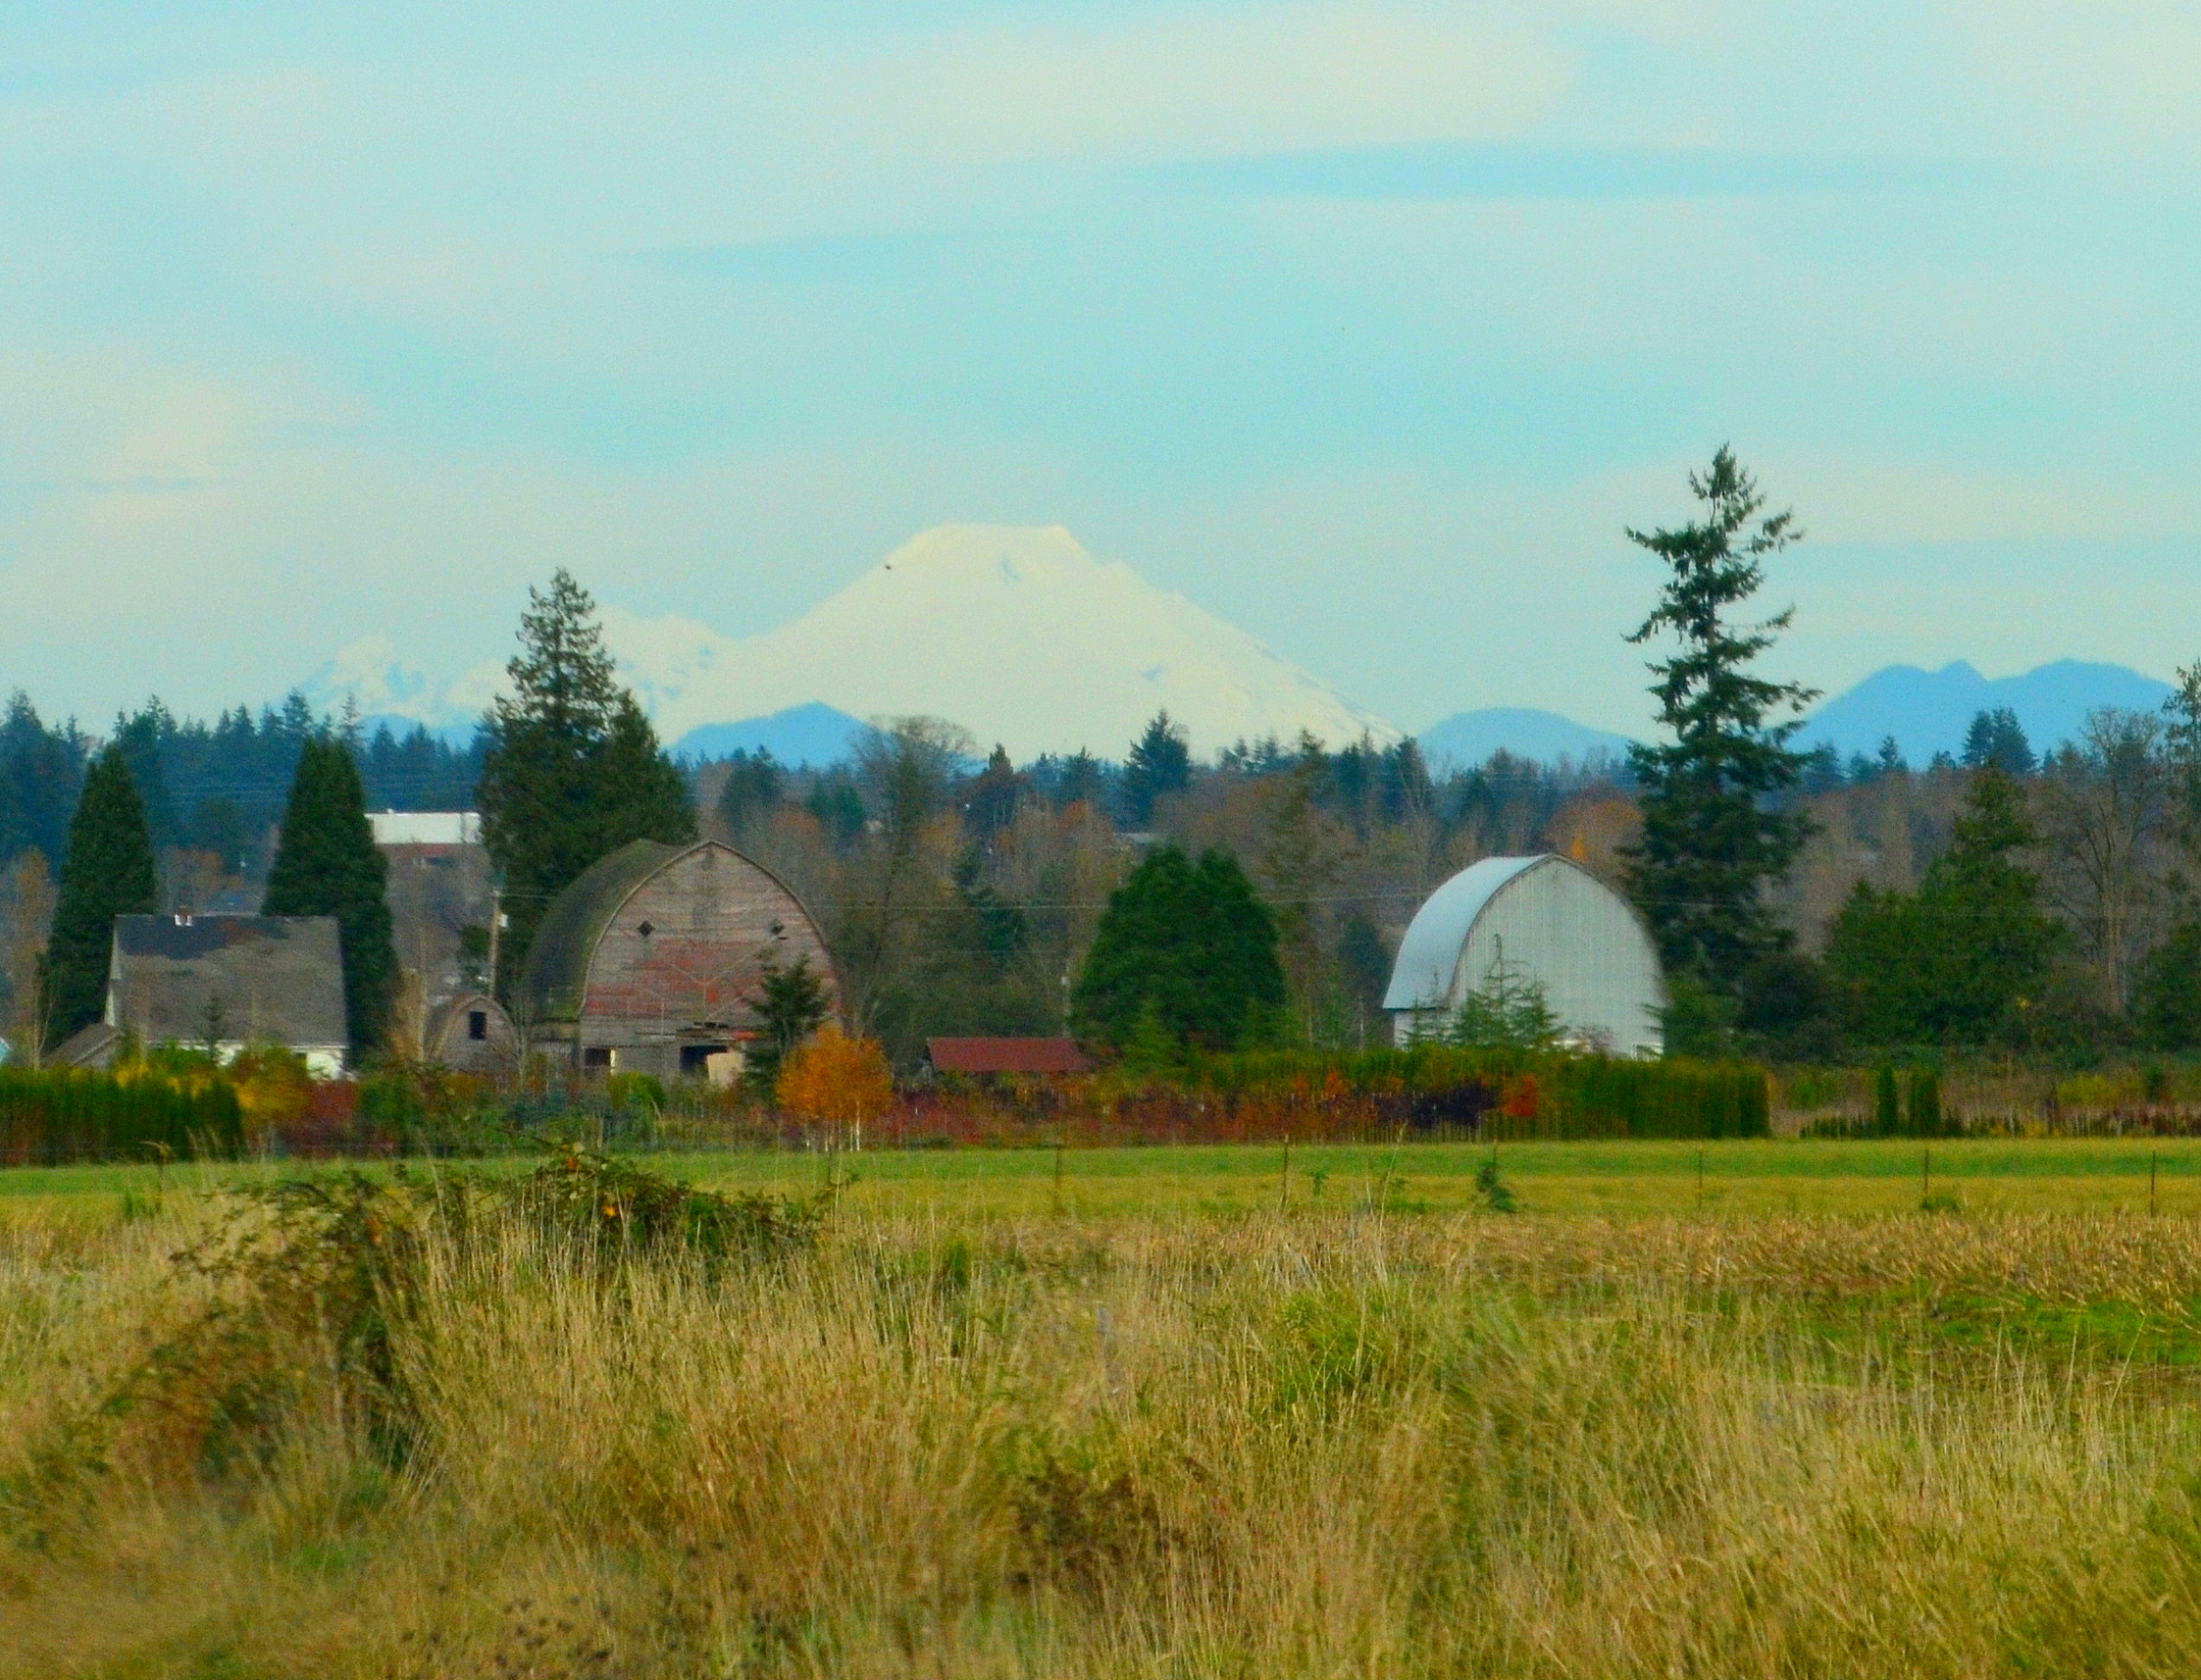
2. On a nice day it’s good to take a little drive to see something different from your regular views. This was taken from the car while we traveled on Highway 9 north past Snohomish. That’s Mount Baker covered with snow and just beyond are our Canadian neighbors.

3. Never stop singing! That’s my motto amongst a few others. This is our little girl (sweet and sassy) singing at her wedding. Photo credit to Jeremy Leffel.

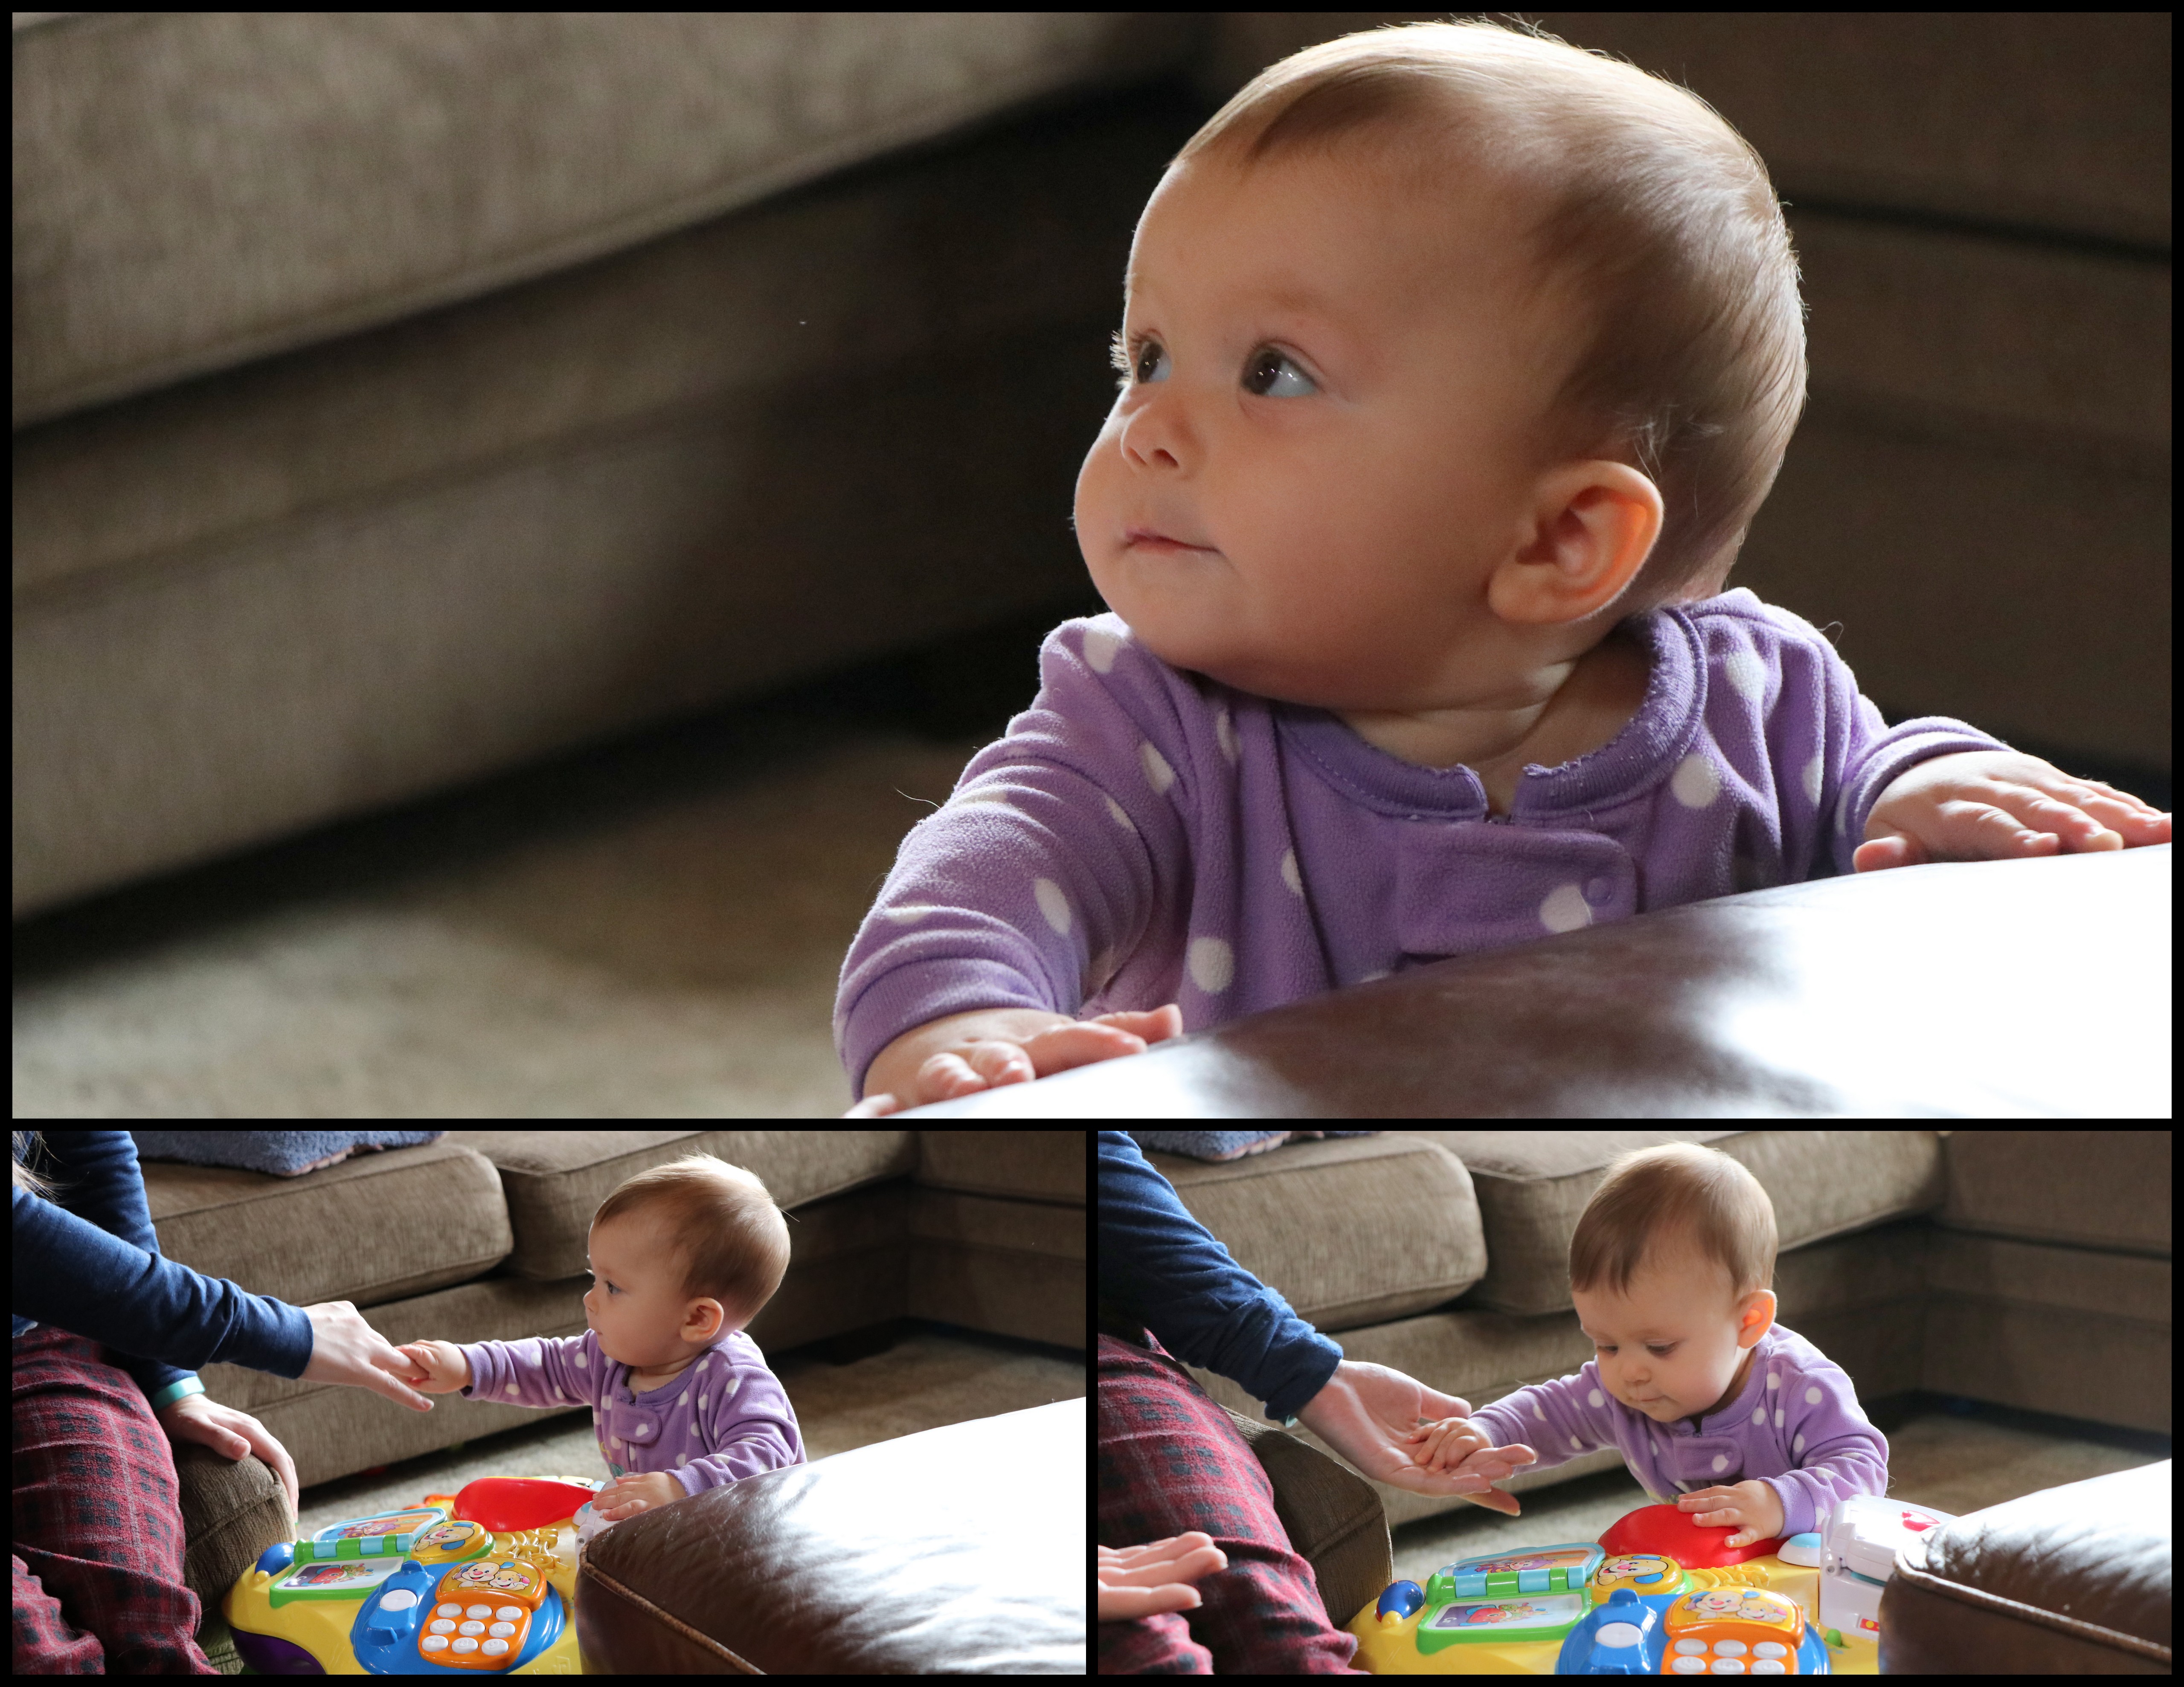
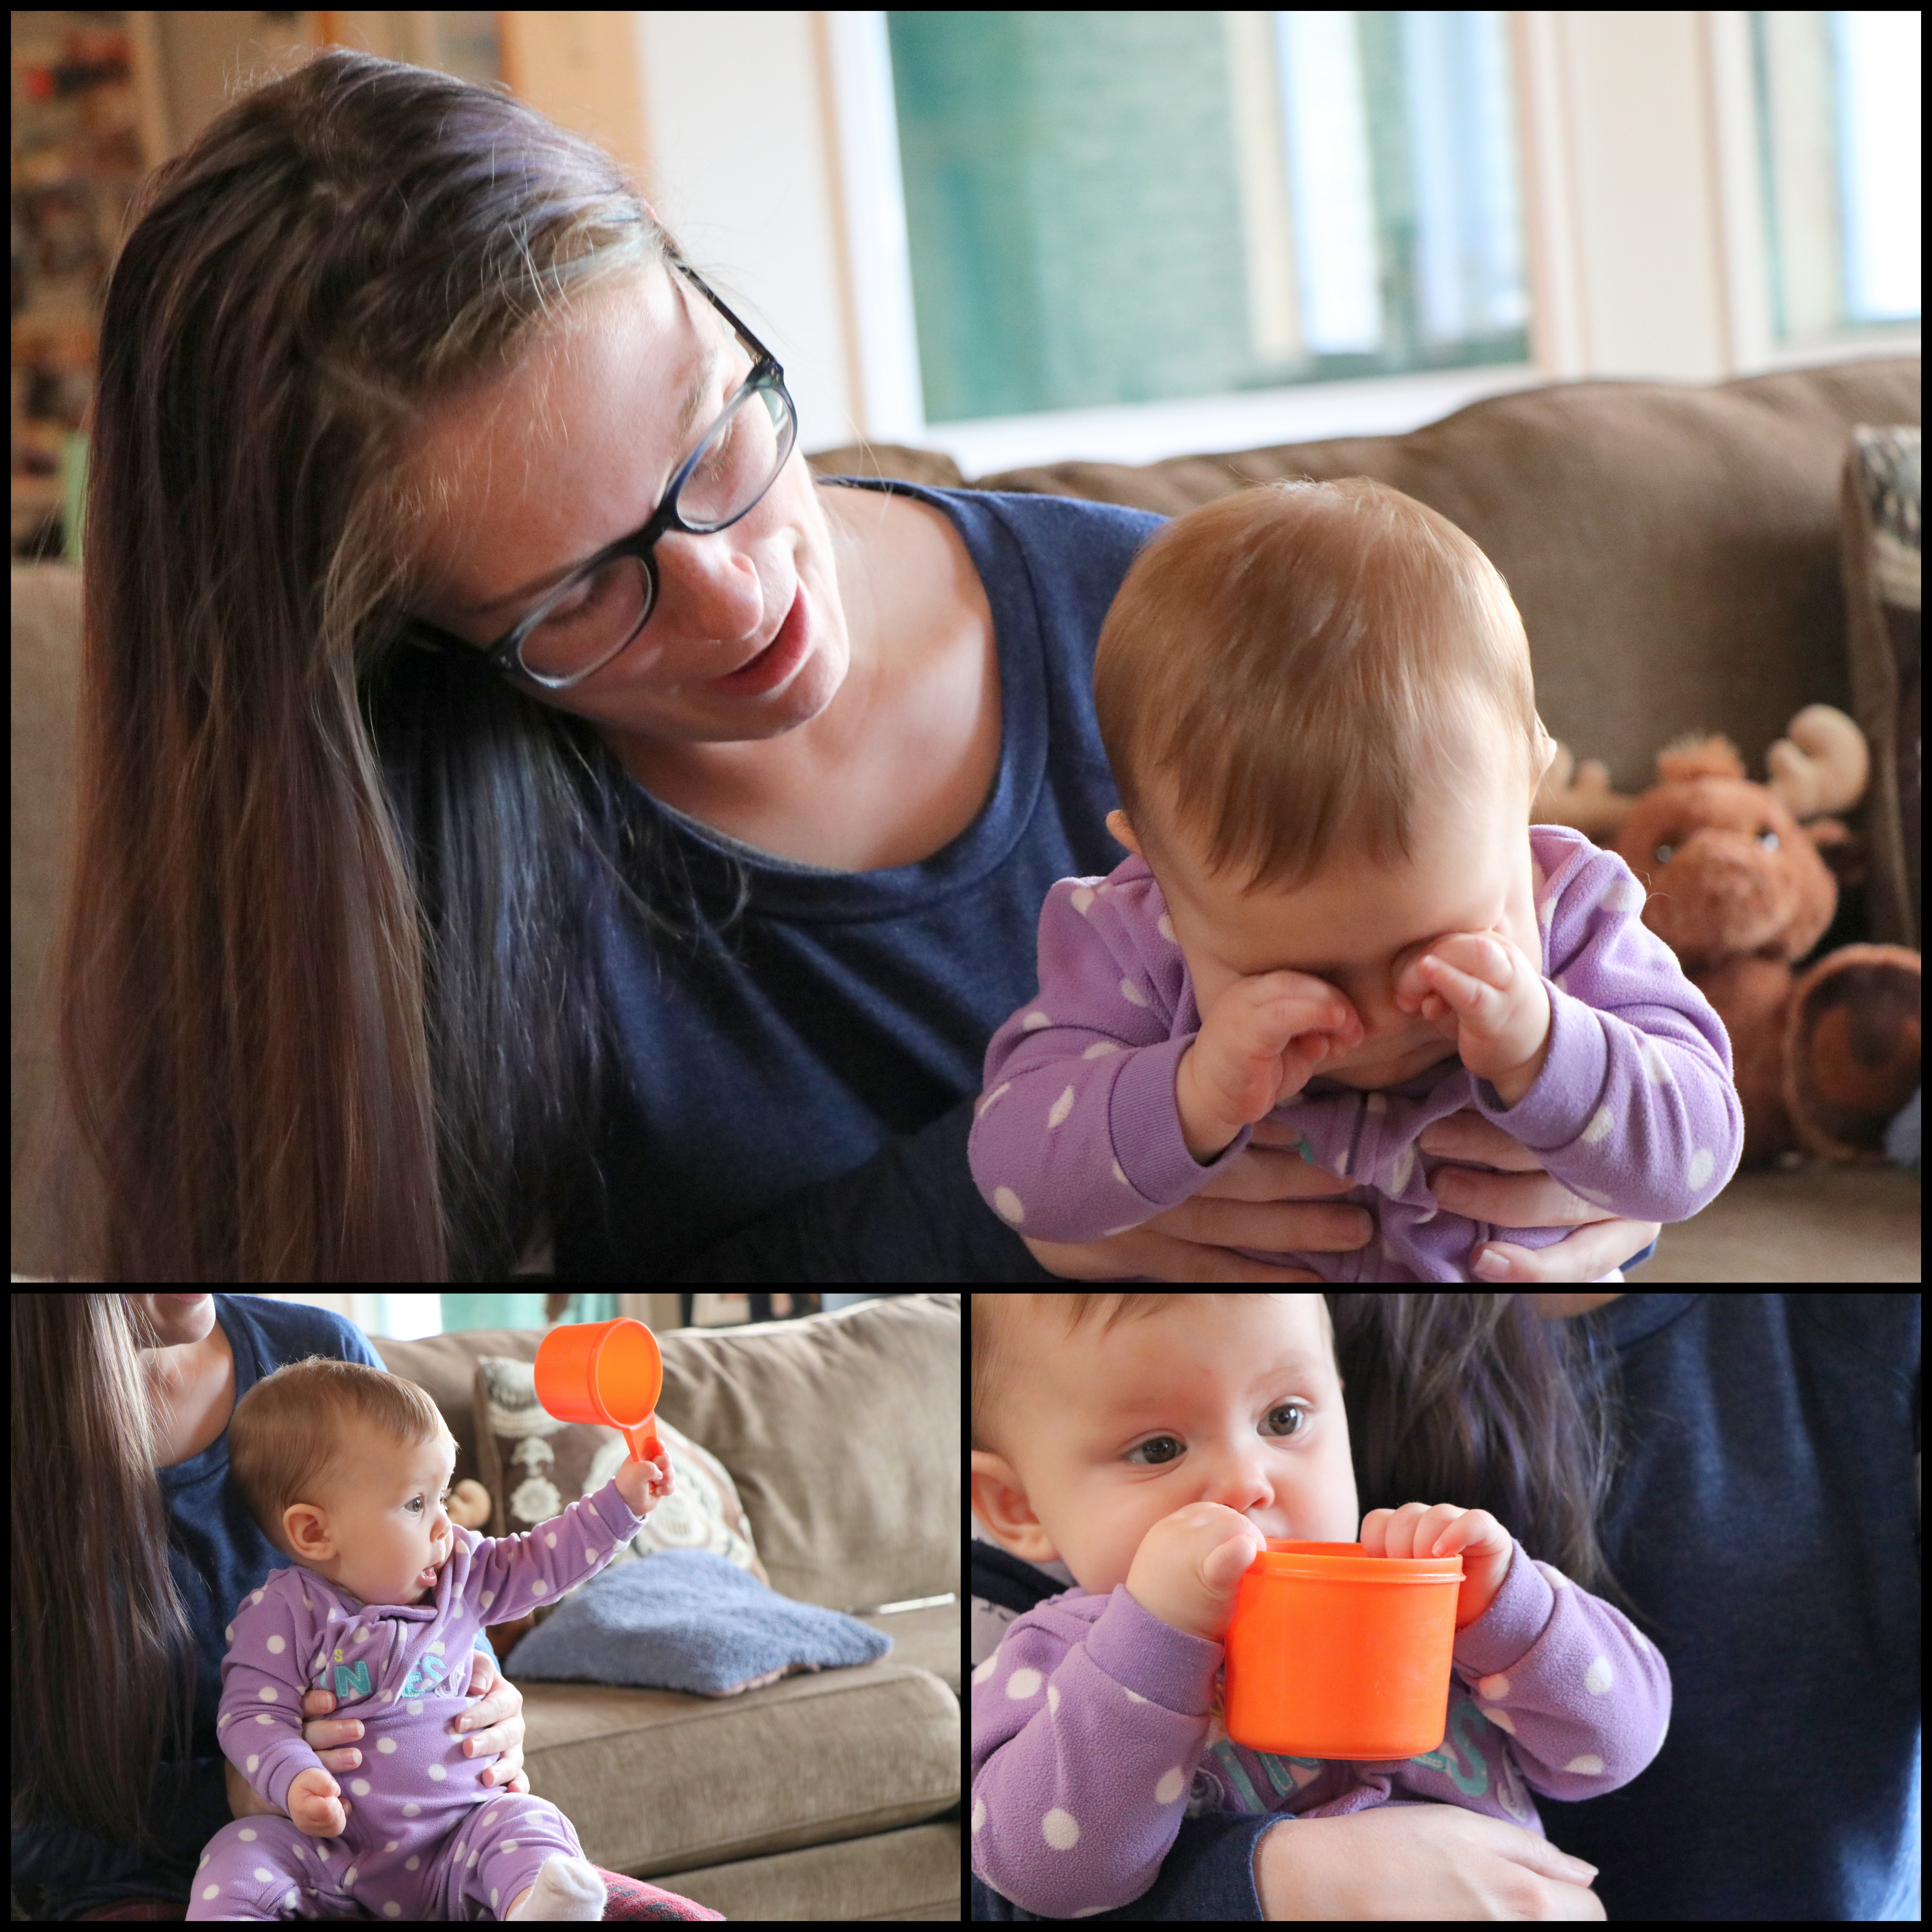
4. Sugar, Spice and Everything Nice that’s what little girls are made of. Continuing on with my Friday theme this week I’m sharing this news again because it’s worthy of repeating. We are grandparents for the first time and our granddaughter should be born sometime in late March or early April if she decides to be late. We are praying for a healthy babe and uncomplicated delivery.
5. And here is this next photo my sister took of my dear old pop who is 93 and is carrying on. Still enjoying his recliner and making jigsaw puzzles. When I call him he says “I’m getting weaker, but I’m okay dochenka”. Dochenka is an endearing word for daughter in Russian. Then he always asks us to pray for him.
 Thankful for these nice things in my life: Cake and other sweet treats, views to enjoy, daughters that delight, new life to anticipate with joy, old Pop to cherish.
What are some of your favorite things that you are thankful for?
Linking up to Friday’s Fave Five with Susanne and Foodie Friday and Everything Else at Rattlebridge Farm.